这篇文章给大家分享的是有关Spring Boot Swagger2的案例分析的内容。小编觉得挺实用的,因此分享给大家做个参考。一起跟随小编过来看看吧。
1.添加Swagger2依赖
<dependency>
  <groupId>io.springfox</groupId>
  <artifactId>springfox-swagger2</artifactId>
  <version>2.2.2</version>
</dependency>
<dependency>
   <groupId>io.springfox</groupId>
  <artifactId>springfox-swagger-ui</artifactId>
  <version>2.2.2</version>
</dependency>2配置类
@Configuration
@EnableSwagger2
public class Swagger2 {
@Bean
public Docket createRestApi() {
return new Docket(DocumentationType.SWAGGER_2)
.apiInfo(apiInfo())
.select()
.apis(RequestHandlerSelectors.basePackage("com.bs.swaggertest.controller"))
.paths(PathSelectors.any())
.build();
}
private ApiInfo apiInfo() {
return new ApiInfoBuilder()
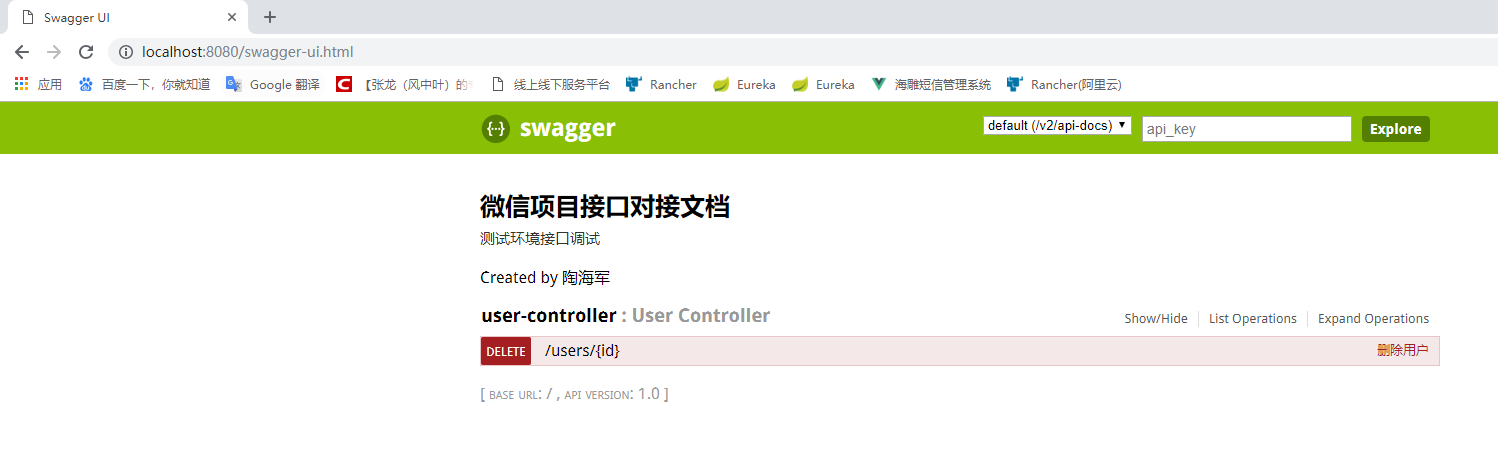
.title("微信项目接口对接文档")
.description("测试环境接口调试")
.contact("陶海军")
.version("1.0")
.build();
}
}3.添加文档内容
@RestController
@RequestMapping(value="/users")
public class UserController {
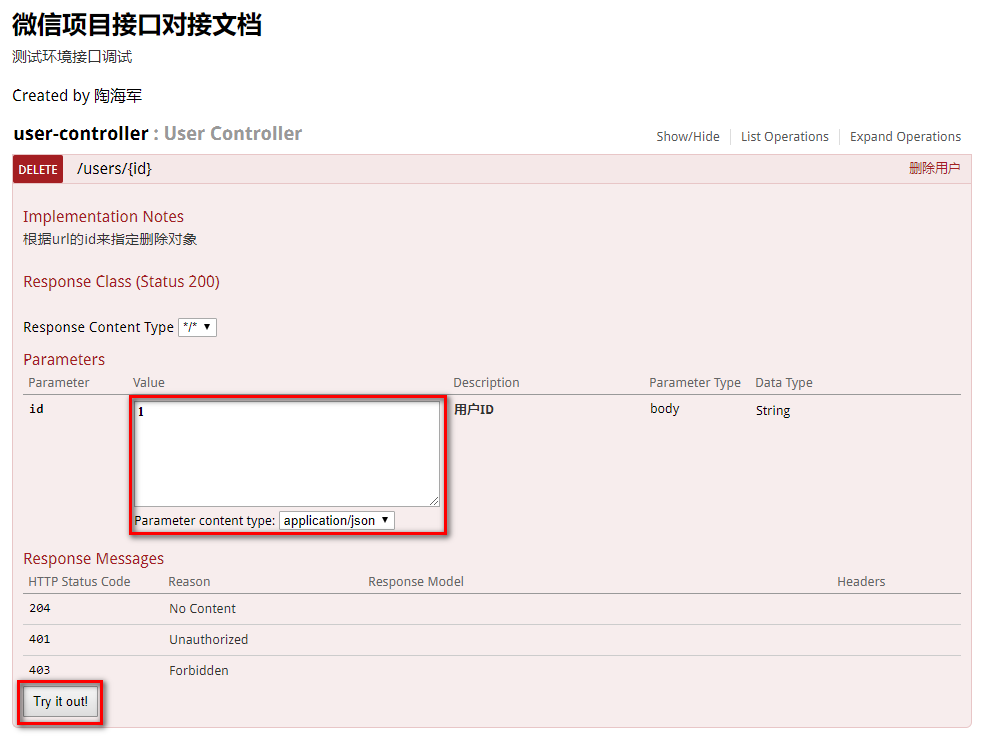
@ApiOperation(value="删除用户", notes="根据url的id来指定删除对象")
@ApiImplicitParam(name = "id", value = "用户ID", required = true, dataType = "String")
@RequestMapping(value="/{id}", method=RequestMethod.DELETE)
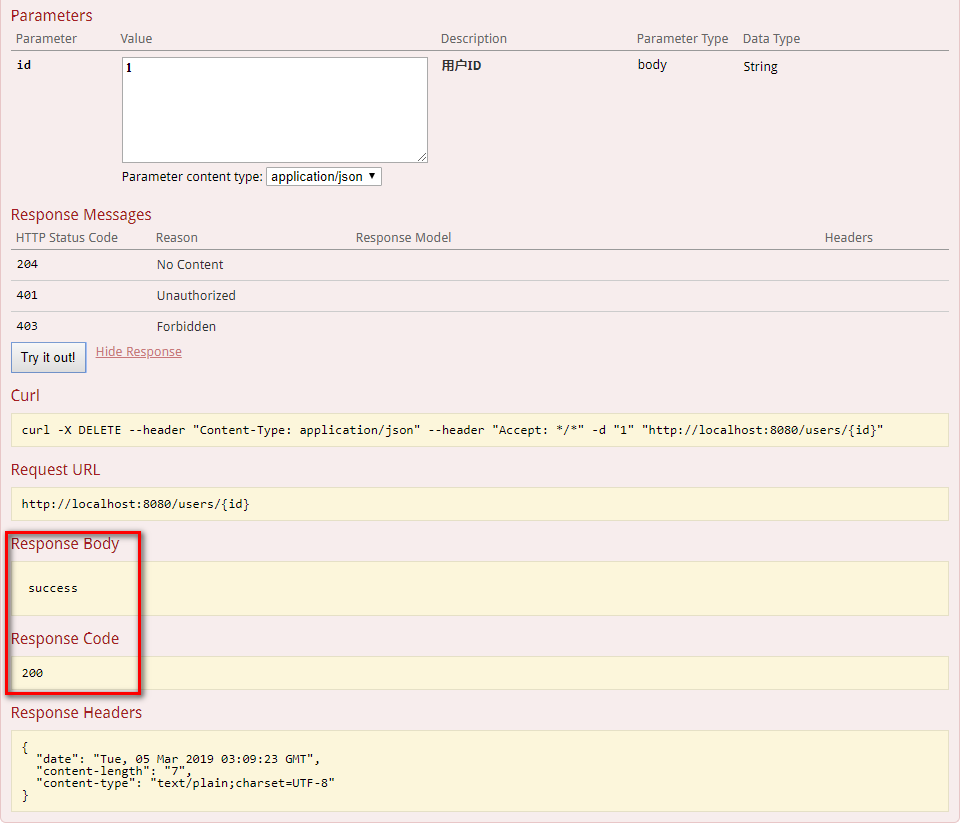
public String deleteUser(@PathVariable String id) {
return "success";
}
}4.测试
http://localhost:8080/swagger-ui.html
感谢各位的阅读!关于Spring Boot Swagger2的案例分析就分享到这里了,希望以上内容可以对大家有一定的帮助,让大家可以学到更多知识。如果觉得文章不错,可以把它分享出去让更多的人看到吧!
亿速云「云服务器」,即开即用、新一代英特尔至强铂金CPU、三副本存储NVMe SSD云盘,价格低至29元/月。点击查看>>
免责声明:本站发布的内容(图片、视频和文字)以原创、转载和分享为主,文章观点不代表本网站立场,如果涉及侵权请联系站长邮箱:is@yisu.com进行举报,并提供相关证据,一经查实,将立刻删除涉嫌侵权内容。


 计算
计算 安全
安全 数据库
数据库 网络和加速
网络和加速 企业服务
企业服务


