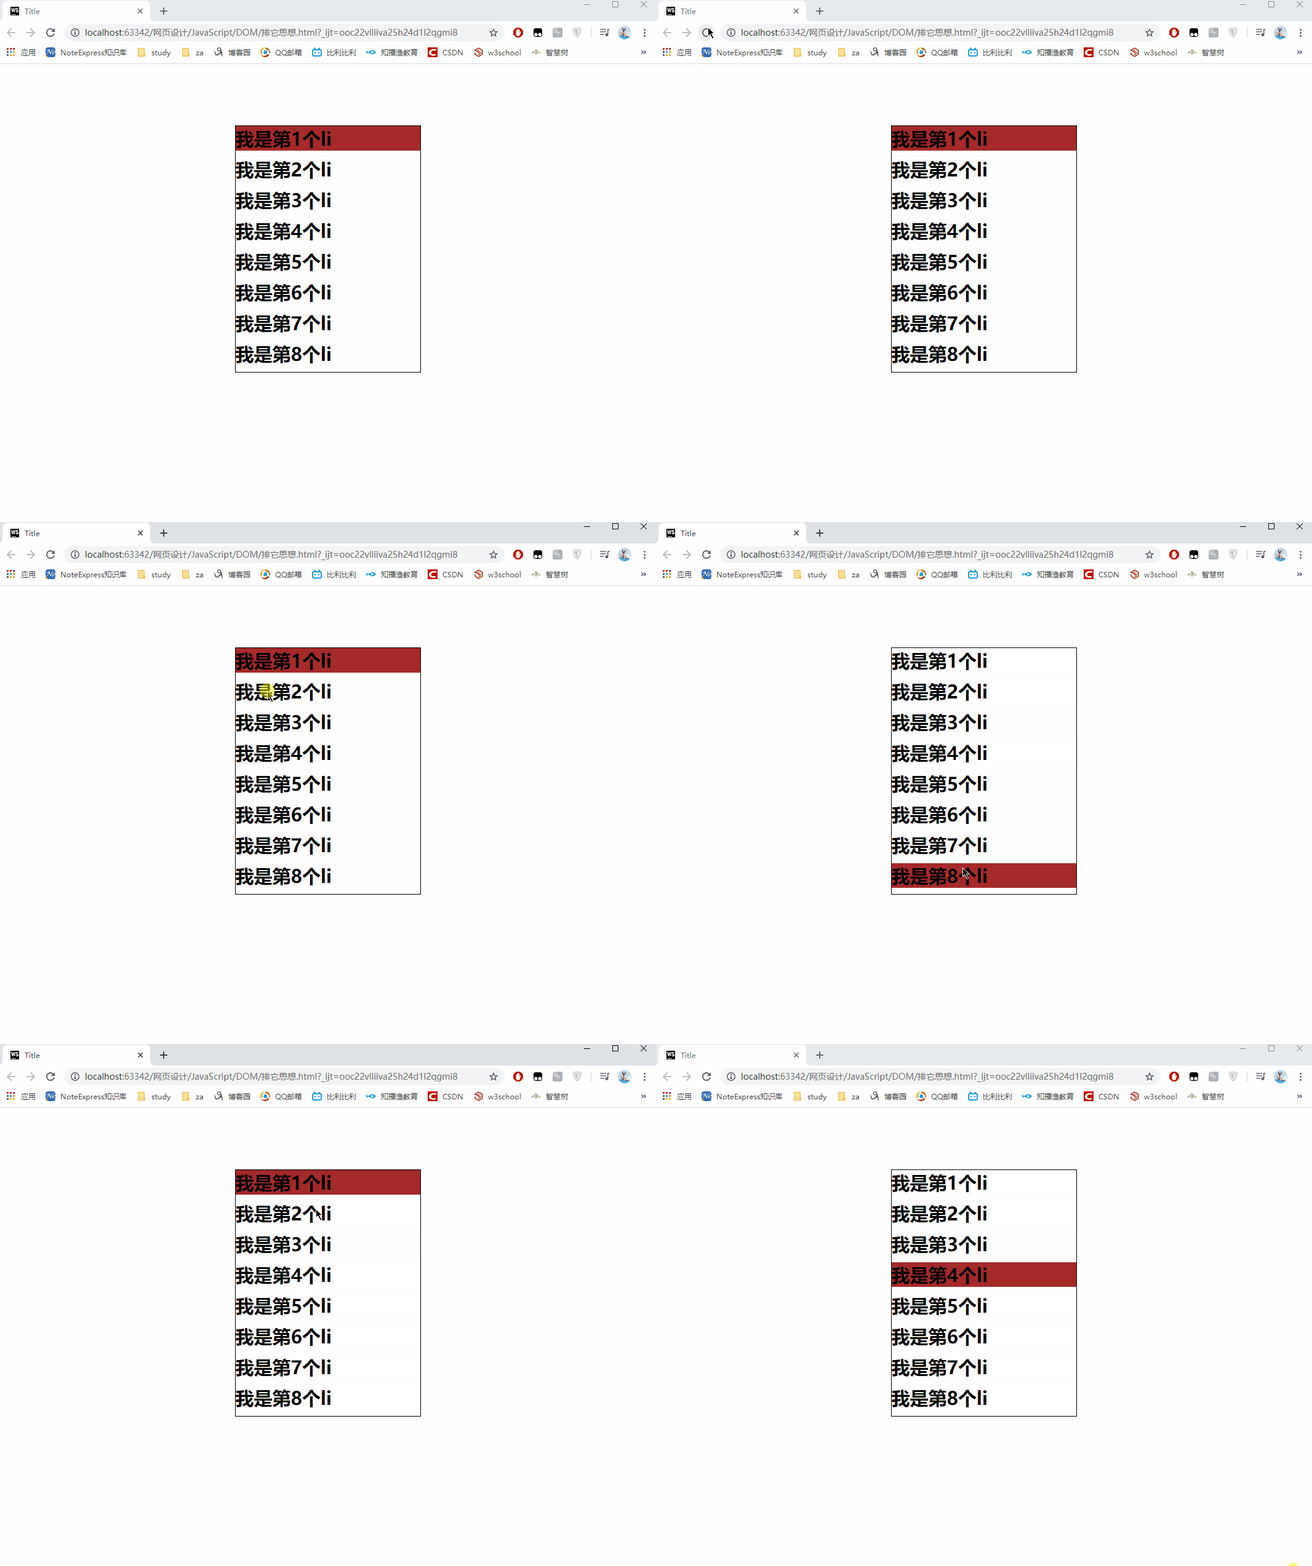
这篇文章主要为大家展示了ES6函数如何实现排它,内容简而易懂,希望大家可以学习一下,学习完之后肯定会有收获的,下面让小编带大家一起来看看吧。
排它思想:清除其它所有的没有选中元素的样式, 只设置当前选中元素的样式
html代码
<!DOCTYPE html>
<html lang="en">
<head>
  <meta charset="UTF-8">
  <title>Title</title>

</head>
<body>
<ul>
  <li class="current">我是第1个li</li>
  <li>我是第2个li</li>
  <li>我是第3个li</li>
  <li>我是第4个li</li>
  <li>我是第5个li</li>
  <li>我是第6个li</li>
  <li>我是第7个li</li>
  <li>我是第8个li</li>
</ul>

</body>
</html>
css代码
<style>
    *{
      margin: 0;
      padding: 0;
    }
    ul{
      list-style: none;
      margin: 100px auto;
      width: 300px;
      height: 400px;
      border: 1px solid #000;
    }
    ul>li{
      font-size: 30px;
      font-weight: bold;
      margin-bottom: 10px;
      cursor: default;
    }

    .current{
      background-color: brown;
    }
  </style>
JavaScript代码
<script>
  /*
  // es6之后的写法
  let items = document.querySelectorAll("li");
  let previousIndex = 0;
  for (let i = 0; i < items.length; i++) {
    // let currentItem = items[i];
    items[i].onclick = function () {
      items[previousIndex].className = "";
      this.className = "current";
      previousIndex = i;
      // console.log(previousIndex);
    };
  }
  */

  // es6之前的写法
  var items = document.querySelectorAll("li");
  var previousIndex = 0;
  for (var i = 0; i < items.length; i++) {
    (function (index) {
      items[index].onclick = function () {
        items[previousIndex].className = "";
        this.className = "current";
        previousIndex = index;
      };
    })(i);
  }
</script>
运行效果

以上就是关于ES6函数如何实现排它的内容,如果你们有学习到知识或者技能,可以把它分享出去让更多的人看到。
免责声明:本站发布的内容(图片、视频和文字)以原创、转载和分享为主,文章观点不代表本网站立场,如果涉及侵权请联系站长邮箱:is@yisu.com进行举报,并提供相关证据,一经查实,将立刻删除涉嫌侵权内容。