第一种方法:通过npm 安装插件
1,安装 npm install vue-print-nb --save
2,引入 安装好以后在main.js文件中引入
 import Print from 'vue-print-nb'
   Vue.use(Print); //注册
3,现在就可以使用了
 <div id="printTest" >
      <p>锄禾日当午</p>
      <p>汗滴禾下土 </p>
      <p>谁知盘中餐</p>
      <p>粒粒皆辛苦</p>
    </div>
    <button v-print="'#printTest'">打印</button>
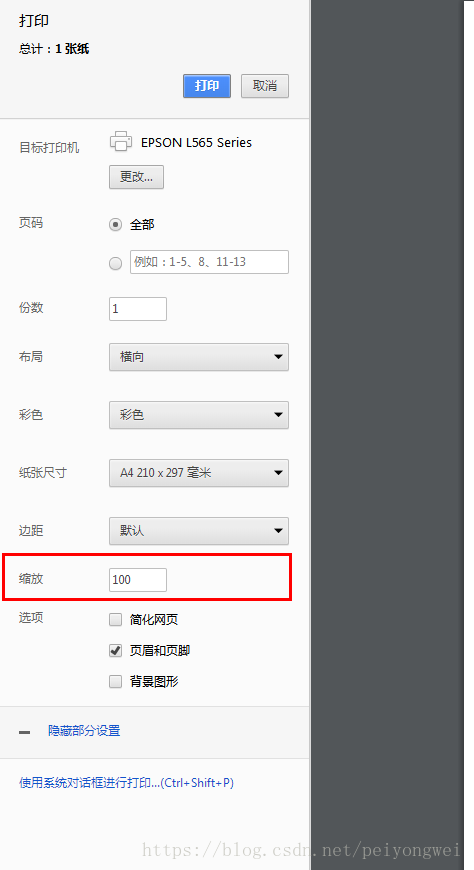
如果内容打印不全,在打印操作时点击更多设置,然后设置缩放
第二种方法:手动下载插件到本地
插件地址:https://github.com/xyl66/vuePlugs_printjs
在src下新建文件夹plugs,将下载好的print.js放入plugs文件夹下,然后操作如下
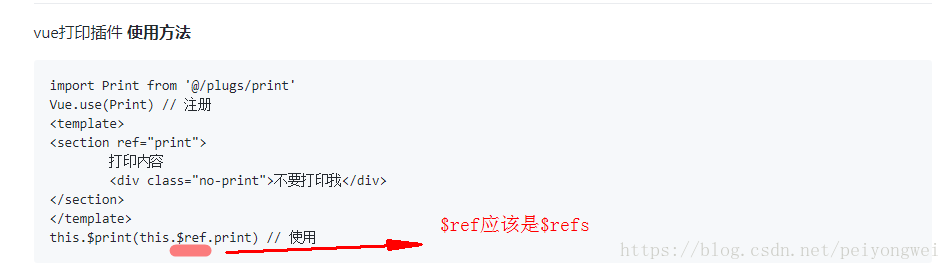
import Print from '@/plugs/print'
Vue.use(Print) // 注册
<template>
<section ref="print">
 打印内容
 <div class="no-print">不要打印我</div>
</section>
</template>
this.$print(this.$refs.print) // 使用
注意事项 需使用ref获取dom节点,若直接通过id或class获取则webpack打包部署后打印内容为空
指定不打印区域
方法1. 添加no-print样式类
<div class="no-print">不要打印我</div>
方法2. 自定义类名
<div class="do-not-print-me-xxx">不要打印我</div>
this.$print(this.$refs.print,{'no-print':'.do-not-print-me-xxx'}) // 使用
提示,github上有一个错误如下,避免踩坑,($ref 会报错,print undefind ; 改为 $refs 就好了)
总结
以上所述是小编给大家介绍的vue实现打印功能的两种方法,希望对大家有所帮助,如果大家有任何疑问请给我留言,小编会及时回复大家的。在此也非常感谢大家对亿速云网站的支持!
免责声明:本站发布的内容(图片、视频和文字)以原创、转载和分享为主,文章观点不代表本网站立场,如果涉及侵权请联系站长邮箱:is@yisu.com进行举报,并提供相关证据,一经查实,将立刻删除涉嫌侵权内容。


