这期内容当中小编将会给大家带来有关vue中怎么通过父组件点击触发子组件事件,文章内容丰富且以专业的角度为大家分析和叙述,阅读完这篇文章希望大家可以有所收获。
父组件app.vue
<template>
  <div id="app">
  <!--父组件-->
  <input v-model="msg">
  <button v-on:click="notify">广播事件</button>
  <!--子组件-->
  <popup ref="child" ></popup>
  </div>
 </template>
 <script>
  import popup from '@/components/popup'
  export default {
  name: 'app',
  data: function () {
   return {
   msg: ''
   }
  },
  components: {
   popup
  },
  methods: {
   notify: function () {
   if (this.msg.trim()) {
    this.$refs.child.parentMsg(this.msg)
   }
   }
  }
  }
 </script>
 <style>
  #app {
  font-family: 'Avenir', Helvetica, Arial, sans-serif;
  -webkit-font-smoothing: antialiased;
  -moz-osx-font-smoothing: grayscale;
  text-align: center;
  color: #2c3e50;
  margin-top: 60px;
  }
 </style>
子组件popup.vue
<template>
   <div>
   <ul>
    <li v-for="item in messages">父组件输入了:{{item}}</li>
   </ul>
   </div>
  </template>
  <style>
   body {
    background-color: #ffffff;
   }
  </style>
  <script>
  export default{
   name: 'popup',
   data: function () {
   return {
    messages: []
   }
   },
   methods: {
   parentMsg: function (msg) {
    this.messages.push(msg)
   }
   }
  }
  </script>
我把这个实例分为几个步骤解读:
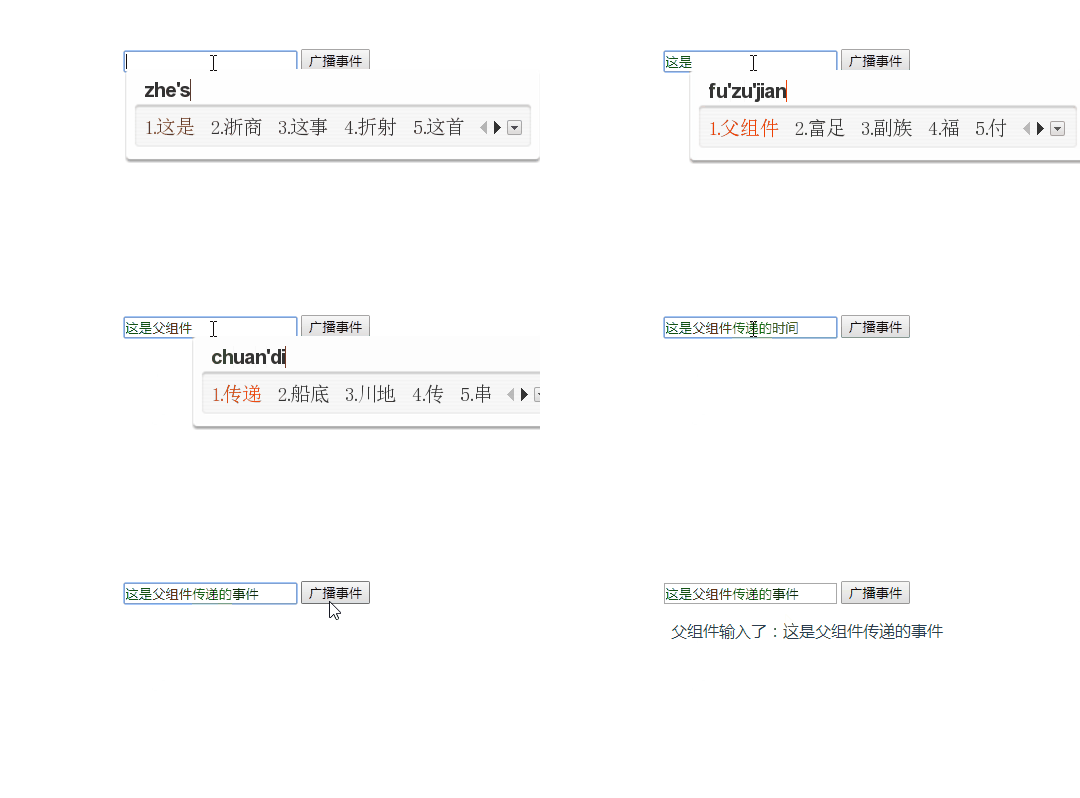
1、父组件的button元素绑定click事件,该事件指向notify方法
2、给子组件注册一个ref="child"
3、父组件的notify的方法在处理时,使用了$refs.child把事件传递给子组件的parentMsg方法,同时携带着父组件中的参数msg
4、子组件接收到父组件的事件后,调用了parentMsg方法,把接收到的msg放到message数组中
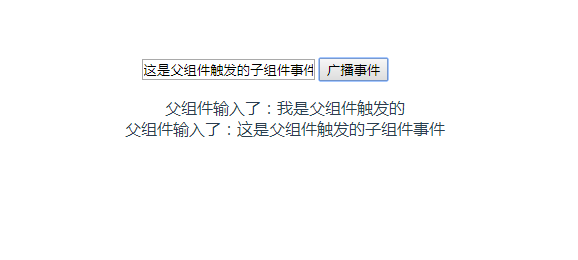
运行结果如下:


上述就是小编为大家分享的vue中怎么通过父组件点击触发子组件事件了,如果刚好有类似的疑惑,不妨参照上述分析进行理解。如果想知道更多相关知识,欢迎关注亿速云行业资讯频道。
免责声明:本站发布的内容(图片、视频和文字)以原创、转载和分享为主,文章观点不代表本网站立场,如果涉及侵权请联系站长邮箱:is@yisu.com进行举报,并提供相关证据,一经查实,将立刻删除涉嫌侵权内容。