说到PopupWindow,应该都会有种熟悉的感觉,使用起来也很简单
// 一个自定义的布局,作为显示的内容
Context context = null;  // 真实环境中要赋值
int layoutId = 0;      // 布局ID
View contentView = LayoutInflater.from(context).inflate(layoutId, null);

final PopupWindow popupWindow = new PopupWindow(contentView,
        LayoutParams.WRAP_CONTENT, LayoutParams.WRAP_CONTENT, true);

popupWindow.setTouchable(true);
// 如果不设置PopupWindow的背景,有些版本就会出现一个问题:无论是点击外部区域还是Back键都无法dismiss弹框
// 这里单独写一篇文章来分析
popupWindow.setBackgroundDrawable(new ColorDrawable());
// 设置好参数之后再show
popupWindow.showAsDropDown(contentView);
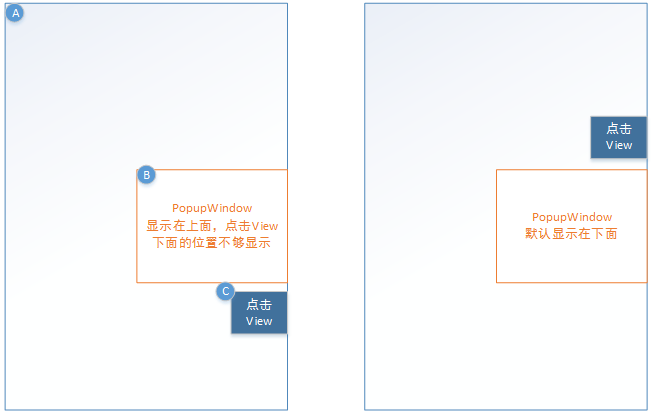
如果创建PopupWindow的时候没有指定高宽,那么showAsDropDown默认只会向下弹出显示,这种情况有个最明显的缺点就是:弹窗口可能被屏幕截断,显示不全,所以需要使用到另外一个方法showAtLocation,这个的坐标是相对于整个屏幕的,所以需要我们自己计算位置。
如下图所示,我们可以根据屏幕左上角的坐标A,屏幕高宽,点击View的左上角的坐标C,点击View的大小以及PopupWindow布局的大小计算出PopupWindow的显示位置B

计算方法源码如下:
  /**
   * 计算出来的位置,y方向就在anchorView的上面和下面对齐显示,x方向就是与屏幕右边对齐显示
   * 如果anchorView的位置有变化,就可以适当自己额外加入偏移来修正
   * @param anchorView 呼出window的view
   * @param contentView  window的内容布局
   * @return window显示的左上角的xOff,yOff坐标
   */
  private static int[] calculatePopWindowPos(final View anchorView, final View contentView) {
    final int windowPos[] = new int[2];
    final int anchorLoc[] = new int[2];
     // 获取锚点View在屏幕上的左上角坐标位置
    anchorView.getLocationOnScreen(anchorLoc);
    final int anchorHeight = anchorView.getHeight();
    // 获取屏幕的高宽
    final int screenHeight = ScreenUtils.getScreenHeight(anchorView.getContext());
    final int screenWidth = ScreenUtils.getScreenWidth(anchorView.getContext());
    contentView.measure(View.MeasureSpec.UNSPECIFIED, View.MeasureSpec.UNSPECIFIED);
    // 计算contentView的高宽
    final int windowHeight = contentView.getMeasuredHeight();
    final int windowWidth = contentView.getMeasuredWidth();
    // 判断需要向上弹出还是向下弹出显示
    final boolean isNeedShowUp = (screenHeight - anchorLoc[1] - anchorHeight < windowHeight);
    if (isNeedShowUp) {
      windowPos[0] = screenWidth - windowWidth;
      windowPos[1] = anchorLoc[1] - windowHeight;
    } else {
      windowPos[0] = screenWidth - windowWidth;
      windowPos[1] = anchorLoc[1] + anchorHeight;
    }
    return windowPos;
  }
接下来调用showAtLoaction显示:
View windowContentViewRoot = 我们要设置给PopupWindow进行显示的View
int windowPos[] = calculatePopWindowPos(view, windowContentViewRoot);
int xOff = 20;// 可以自己调整偏移
windowPos[0] -= xOff;
popupwindow.showAtLocation(view, Gravity.TOP | Gravity.START, windowPos[0], windowPos[1]);
// windowContentViewRoot是根布局View上面的例子只是提供了一种计算方式,在实际开发中可以根据需求自己计算,比如anchorView在左边的情况,在中间的情况,可以根据实际需求写一个弹出位置能够自适应的PopupWindow。
补充上获取屏幕高宽的代码ScreenUtils.java:
  /**
   * 获取屏幕高度(px)
   */
  public static int getScreenHeight(Context context) {
    return context.getResources().getDisplayMetrics().heightPixels;
  }
  /**
   * 获取屏幕宽度(px)
   */
  public static int getScreenWidth(Context context) {
    return context.getResources().getDisplayMetrics().widthPixels;
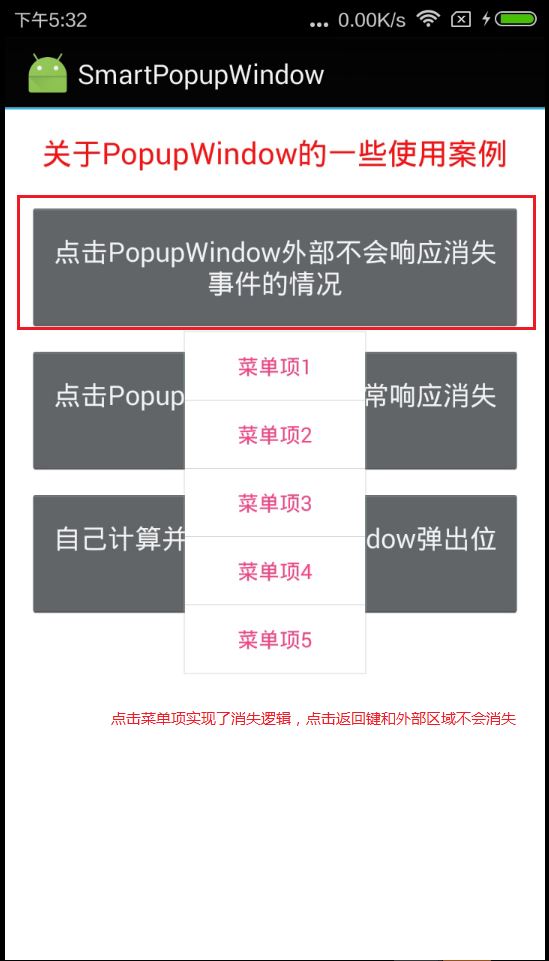
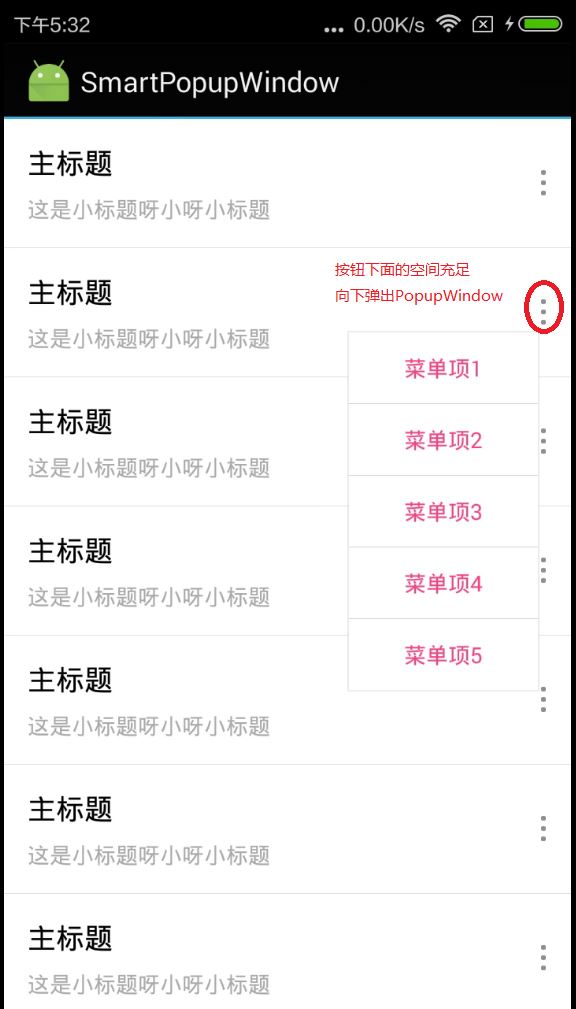
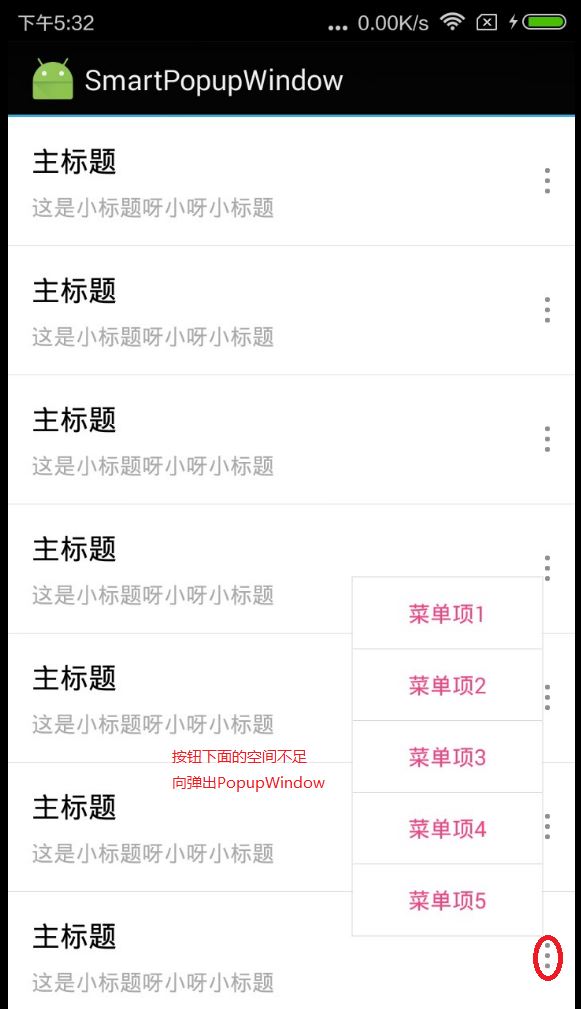
}Demo截图展示:


Demo下载地址:https://github.com/PopFisher/SmartPopupWindow
以上就是本文的全部内容,希望对大家的学习有所帮助,也希望大家多多支持亿速云。
免责声明:本站发布的内容(图片、视频和文字)以原创、转载和分享为主,文章观点不代表本网站立场,如果涉及侵权请联系站长邮箱:is@yisu.com进行举报,并提供相关证据,一经查实,将立刻删除涉嫌侵权内容。