Android 中ActionBar+fragment实现页面导航的实例
为保证android2.0以上均能运行,使用support.v7库下的actionbar及fragment
继承自AppCompatActivity(ActionBarActivity已过时)使用getSupportActionBar()得到ActionBar,
ActionBar.Tab,这里Tab必须设置监听,在监听中实现Fragment的切换。
这里重点提一下,Theme主题一定要适配,因为我使用的是AppCompatActivity所以,
android:theme="@style/Theme.AppCompat.Light" 如果不用AppCompatActivity一定要注意使用相应的主题适配,否则会getActionBar/getSupportActionbar的时候拿不到东西,空指针报错
<RelativeLayout xmlns:android="http://schemas.android.com/apk/res/android"
  xmlns:tools="http://schemas.android.com/tools" android:layout_width="match_parent"
  android:layout_height="match_parent" android:paddingLeft="@dimen/activity_horizontal_margin"
  android:paddingRight="@dimen/activity_horizontal_margin"
  android:paddingTop="@dimen/activity_vertical_margin"
  android:paddingBottom="@dimen/activity_vertical_margin" tools:context=".MainActivity">

  <FrameLayout
    android:id="@+id/context"
    android:layout_width="match_parent"
    android:layout_height="match_parent"/>

</RelativeLayout>
package com.example.yasin.actionbarusing;


import android.app.Activity;
import android.os.Bundle;
import android.support.v4.app.Fragment;
import android.support.v4.app.FragmentTransaction;
import android.support.v7.app.ActionBar;
import android.support.v7.app.ActionBarActivity;
import android.support.v7.app.AppCompatActivity;
import android.util.Log;
import android.view.View;


public class MainActivity extends AppCompatActivity {

  ActionBar actionBar;
  @Override
  protected void onCreate(Bundle savedInstanceState) {
    super.onCreate(savedInstanceState);
    setContentView(R.layout.activity_main);

    actionBar = getSupportActionBar();
    actionBar.setNavigationMode(ActionBar.NAVIGATION_MODE_TABS);

    ActionBar.Tab tab1 = actionBar.newTab().setText("Tab1");
    tab1.setTabListener(new MyTabListener(new Fragment1()));
    ActionBar.Tab tab2 = actionBar.newTab().setText("Tab2");
    tab2.setTabListener(new MyTabListener(new Fragment2()));
    actionBar.addTab(tab1);
    actionBar.addTab(tab2);
  }

  class MyTabListener implements ActionBar.TabListener{

    private Fragment fragment;
    public MyTabListener (Fragment fragment){
      this.fragment=fragment;
    }


    @Override
    public void onTabSelected(ActionBar.Tab tab, FragmentTransaction ft) {
      ft.replace(R.id.context,fragment);
    }

    @Override
    public void onTabUnselected(ActionBar.Tab tab, FragmentTransaction ft) {

    }

    @Override
    public void onTabReselected(ActionBar.Tab tab, FragmentTransaction ft) {
      //ft.remove(fragment);
    }
  }

}
<?xml version="1.0" encoding="utf-8"?>
<LinearLayout xmlns:android="http://schemas.android.com/apk/res/android"
  android:layout_width="match_parent"
  android:layout_height="match_parent">

  <TextView
    android:id="@+id/tv1"
    android:text="fragment1"
    android:layout_width="wrap_content"
    android:layout_height="wrap_content" />

</LinearLayout>
package com.example.yasin.actionbarusing;

import android.os.Bundle;
import android.support.annotation.Nullable;
import android.support.v4.app.Fragment;
import android.view.LayoutInflater;
import android.view.View;
import android.view.ViewGroup;

/**
 * Created by Yasin on 2016/1/3.
 */
public class Fragment1 extends Fragment{
  @Nullable
  @Override
  public View onCreateView(LayoutInflater inflater, ViewGroup container, Bundle savedInstanceState) {
    View view = inflater.inflate(R.layout.fragment1,container,false);

    return view;
  }
}
<?xml version="1.0" encoding="utf-8"?>
<manifest xmlns:android="http://schemas.android.com/apk/res/android"
  package="com.example.yasin.actionbarusing" >

  <application
    android:allowBackup="true"
    android:icon="@mipmap/ic_launcher"
    android:label="@string/app_name"
    android:theme="@style/Theme.AppCompat.Light" >
    <activity
      android:name=".MainActivity"
      android:label="@string/app_name" >
      <intent-filter>
        <action android:name="android.intent.action.MAIN" />

        <category android:name="android.intent.category.LAUNCHER" />
      </intent-filter>
    </activity>
  </application>

</manifest>
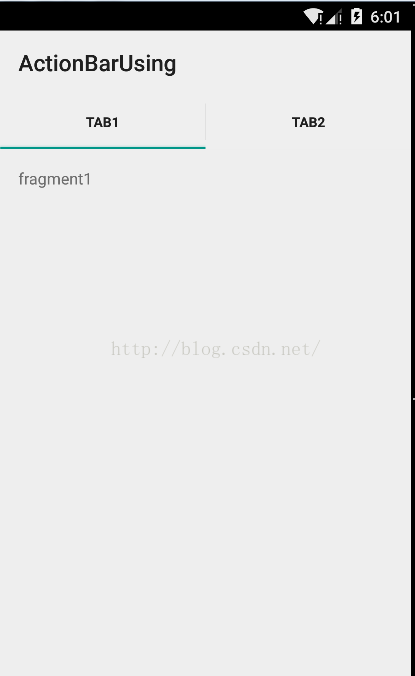
效果图:
如有疑问请留言或者到本站社区交流讨论,大家共同进步,感谢阅读,希望能帮助到大家,谢谢大家对本站的支持!
亿速云「云服务器」,即开即用、新一代英特尔至强铂金CPU、三副本存储NVMe SSD云盘,价格低至29元/月。点击查看>>
免责声明:本站发布的内容(图片、视频和文字)以原创、转载和分享为主,文章观点不代表本网站立场,如果涉及侵权请联系站长邮箱:is@yisu.com进行举报,并提供相关证据,一经查实,将立刻删除涉嫌侵权内容。


 计算
计算 安全
安全 数据库
数据库 网络和加速
网络和加速 企业服务
企业服务


