通常情况下我们想实现文字的走马灯效果需要在xml文件中这样设置
<TextView
  android:layout_width="wrap_content"
  android:layout_height="wrap_content"
  android:singleLine="true"
  android:ellipsize="marquee"
  android:focusable="true"
  android:focusableInTouchMode="true"
android:text="@string/lyric" /> 大家都懂的就不解释了。
singleLine :boolean型的是否让文字只显示在一行而不是多行显示
ellipsize:滚动效果,里面有(none,start,middle,end,marquee),其中none表示正常显示文字,即使一行显示不完全,也无任何效果。star,就是假如文字在一行显示不完全,在开头显示...,同理,end一行的最后一个文字后面加...,middle就是所有文字显示在一行,如果文字太多,在中间加入...。可能我解释的不清楚,大概就是这样 读者可以自己测试一下。至于marquee就是文字走马灯效果啦。
当然,如果你只设置了这些文字还是不会滚动的。还要使TextView获取焦点。
focusable:是否能够焦点,boolean型的
focusableInTouchMode:boolean型的。
在触摸模式下是否获取焦点。
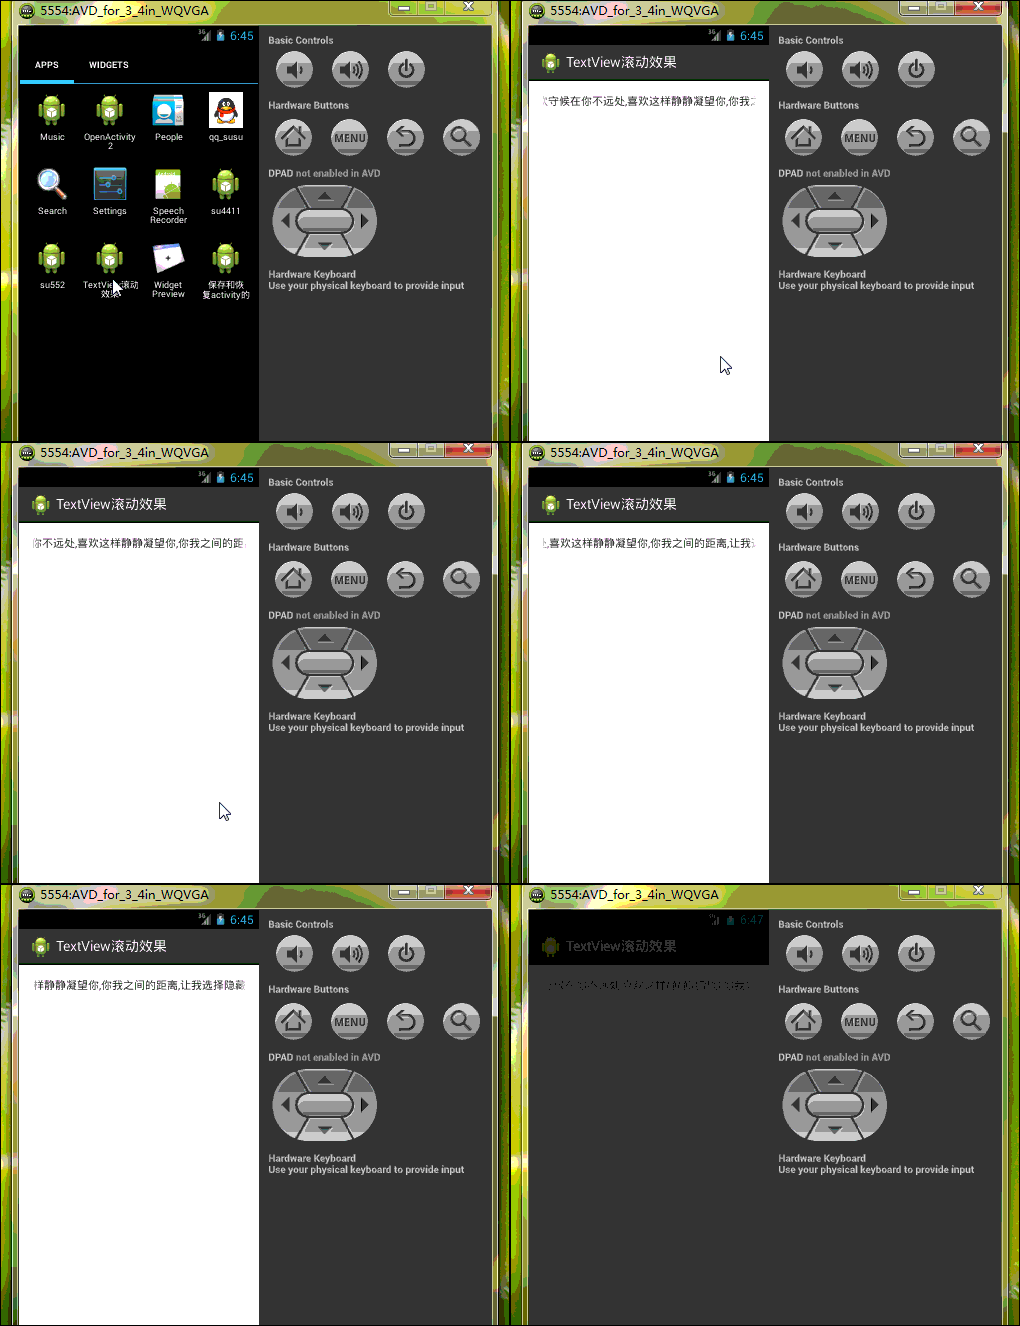
当你设置了这些部署在手机上,很明显会实现走马灯效果。效果如下:

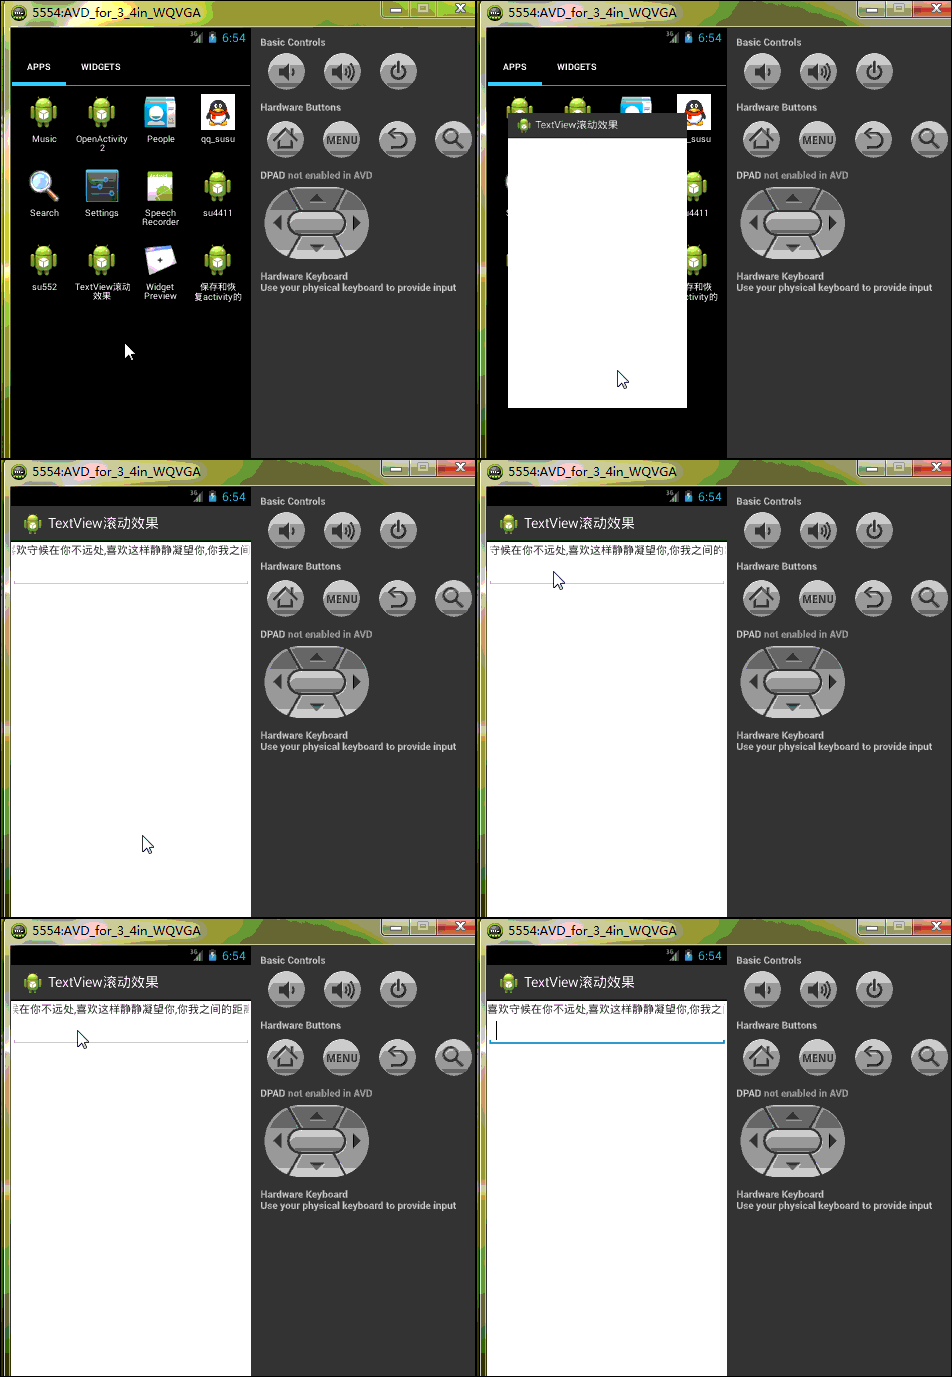
可是如果你在这个Activity实例中再添加一个编辑框控件,点击编辑框后就会发现走马灯效果消失了.
就像这样

这是为什么呢?
因为点击编辑框,编辑框会获取屏幕焦点,由于通常情况下屏幕的焦点只能有一个,TextView失去了焦点,也就不会滚动了。这时候我们要怎么办呢?
那就欺骗系统呗。告诉它我们的TextView也是有焦点的。没错 两个焦点。
如何做?我们就新建一个我们自己的TextView呗。
首先我们新建一个名为MyTextView继承TextView的类,重写里面的方法,其中有三个方法是必须的,就像我们总在MainActivity里面重写OnCreate方法一样,作用是什么 我也不清楚。好奇的同学请百度。哈哈~
我们要知道系统是如何判断一个控件是否获取焦点了呢?
public boolean isFocused() {
  // TODO Auto-generated method stub
  return super.isFocused();
} 就是这个方法。前面说了 我们要欺骗系统 我们的TextViwe是有焦点的。所以我们在这个方法里面一直return true就好了 哈哈 是不是特流氓。。。
做完了这些别忘记把我们的TextView部署到布局文件中哦
布局代码:
<LinearLayout xmlns:android="http://schemas.android.com/apk/res/android"
  android:layout_width="fill_parent"
  android:layout_height="fill_parent"
  android:orientation="vertical" >
  <com.example.textview.MyTextView
    android:layout_width="wrap_content"
    android:layout_height="wrap_content"
    android:ellipsize="marquee"
    android:singleLine="true"
    android:text="@string/lyric" />
  <EditText
    android:layout_width="fill_parent"
    android:layout_height="wrap_content" />
</LinearLayout>
MainActivity.class
package com.example.textview;
import android.os.Bundle;
import android.app.Activity;
import android.view.Menu;
public class MainActivity extends Activity {
  @Override
  protected void onCreate(Bundle savedInstanceState) {
    super.onCreate(savedInstanceState);
    setContentView(R.layout.activity_main);
  }
}
MyTextView.class
package com.example.textview;
import android.content.Context;
import android.util.AttributeSet;
import android.view.WindowId.FocusObserver;
import android.widget.TextView;
public class MyTextView extends TextView{
  public MyTextView(Context context, AttributeSet attrs, int defStyle) {
    super(context, attrs, defStyle);
    // TODO Auto-generated constructor stub
  }
  public MyTextView(Context context, AttributeSet attrs) {
    super(context, attrs);
    // TODO Auto-generated constructor stub
  }
  public MyTextView(Context context) {
    super(context);
    // TODO Auto-generated constructor stub
  }
  @Override
  public boolean isFocused() {
    // TODO Auto-generated method stub
    return true;
  }
}
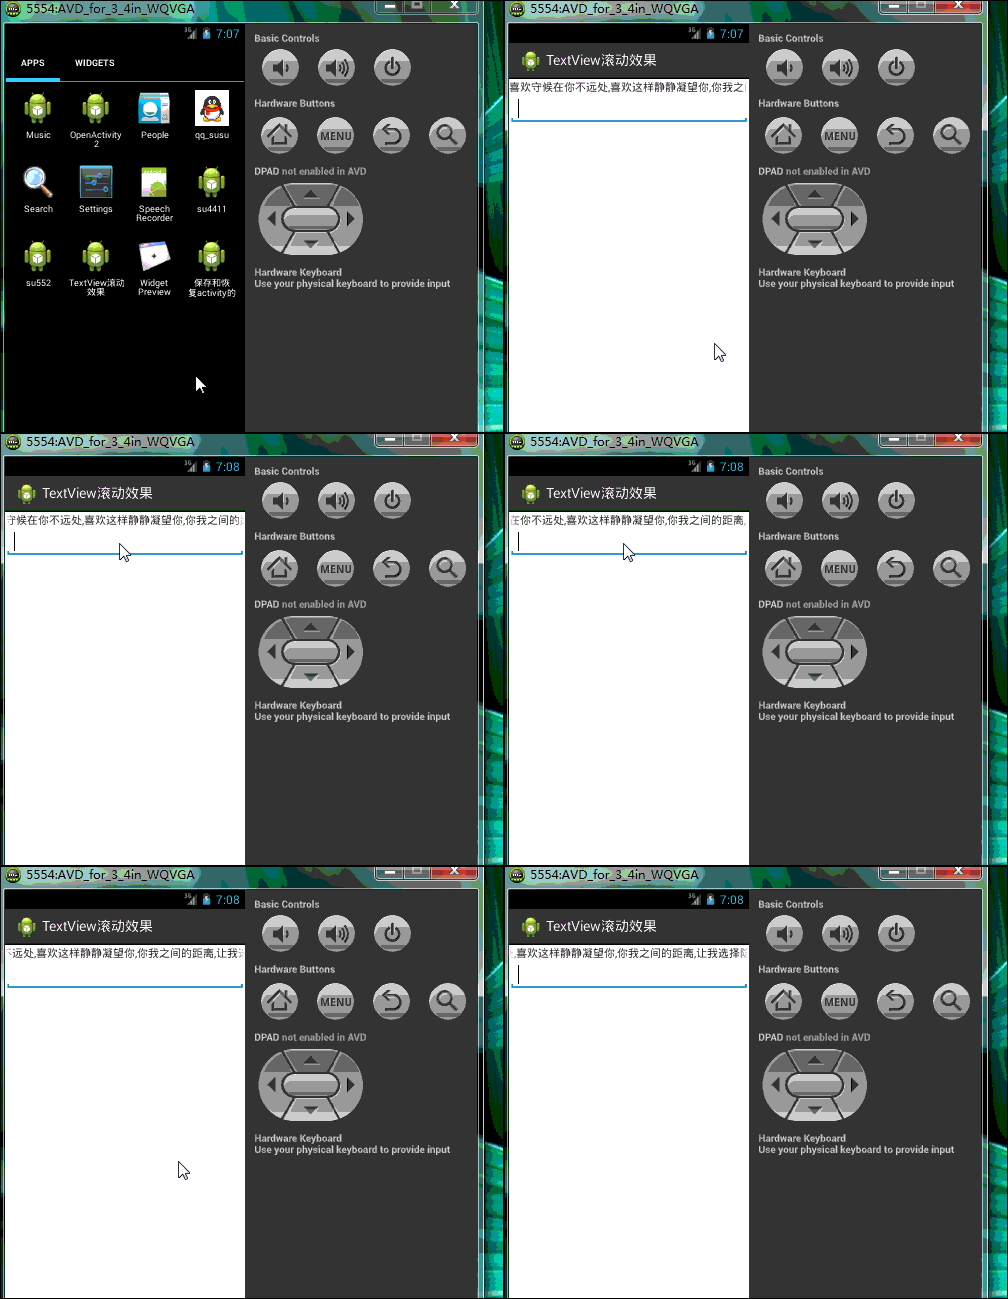
对了 附上效果图。都看到光标在编辑框了~

以上就是本文的全部内容,希望本文的内容对大家的学习或者工作能带来一定的帮助,同时也希望多多支持亿速云!
亿速云「云服务器」,即开即用、新一代英特尔至强铂金CPU、三副本存储NVMe SSD云盘,价格低至29元/月。点击查看>>
免责声明:本站发布的内容(图片、视频和文字)以原创、转载和分享为主,文章观点不代表本网站立场,如果涉及侵权请联系站长邮箱:is@yisu.com进行举报,并提供相关证据,一经查实,将立刻删除涉嫌侵权内容。