在SpringMVC中使用 jquery.uploadify怎么实现一个文件上传功能?针对这个问题,这篇文章详细介绍了相对应的分析和解答,希望可以帮助更多想解决这个问题的小伙伴找到更简单易行的方法。
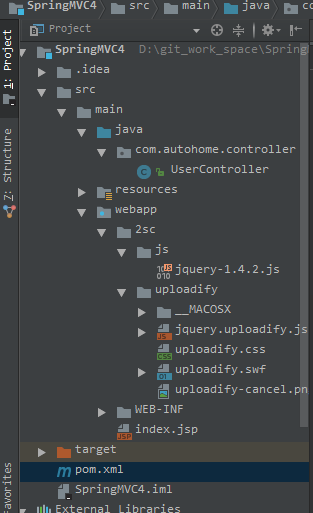
项目结构
普通表单上传
<form action="/User/index" method="post" enctype="multipart/form-data">
<input type="file" name="file">
<input type="submit" value="upload"/>
</form>
@RequestMapping("upload")

 public @ResponseBody String upload(@RequestParam MultipartFile file) throws IOException {


 String path =request.getSession().getServletContext().getRealPath("upload");

 File file=new File(path,file.getOriginalFilename());


 file.transferTo(file); //保存文件


 return "/success";

 }
uploadify上传文件
<%@ page contentType="text/html;charset=UTF-8" language="java" %>
<html>
<head>
<title>Index</title>
<link href="/2sc/uploadify/uploadify.css" rel="external nofollow" rel="stylesheet" type="text/css" />
<script src="/2sc/js/jquery-1.4.2.js" type="text/javascript"></script>
<script src="/2sc/uploadify/jquery.uploadify.js" type="text/javascript"></script>
<style type="text/css">
#fileQueue {position: absolute;bottom: 0;right: 0;}
</style>
</head>
<body>
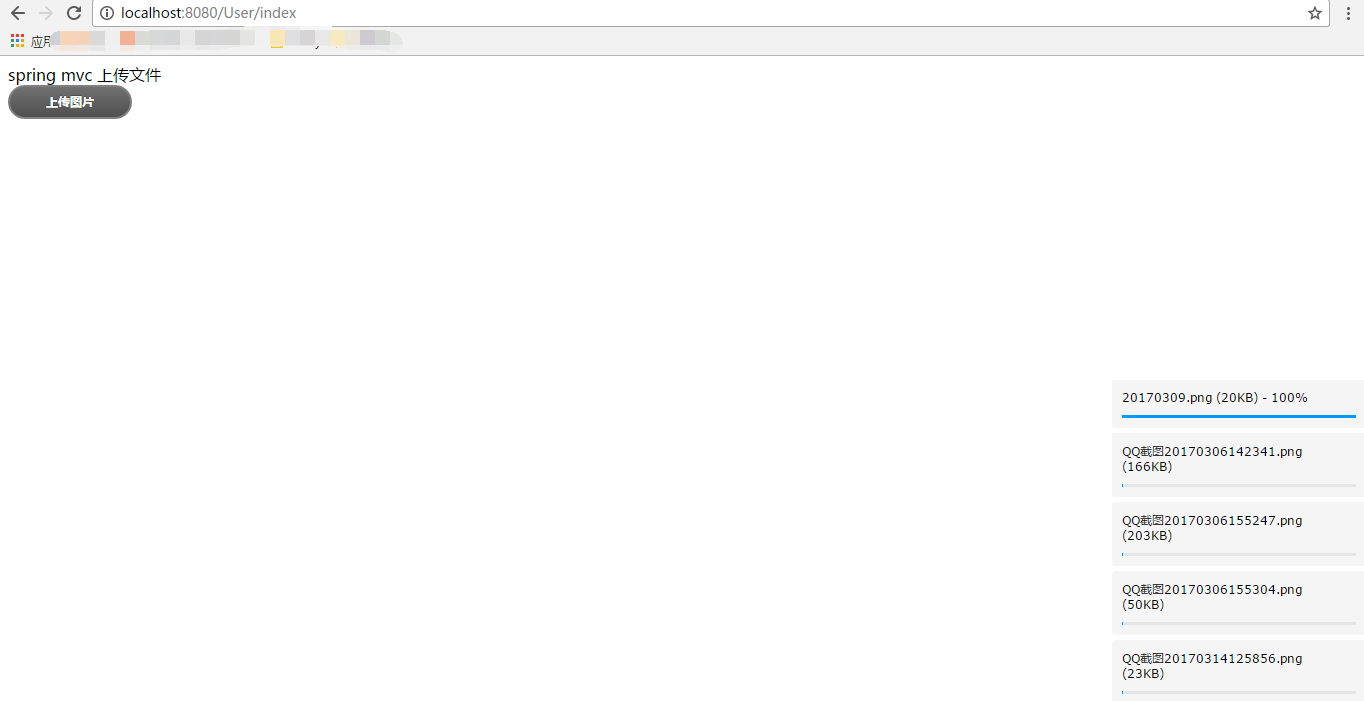
spring mvc 上传文件
<div id="fileQueue">
</div>
<input type="file" name="uploadify" id="uploadify" />
<script type="text/javascript">
$(function () {
$("#uploadify").uploadify({
'method':'post',
//指定swf文件
'swf': '/2sc/uploadify/uploadify.swf',
//后台处理的页面
'uploader': '/User/upload',
//按钮显示的文字
'buttonText': '上传图片',
//显示的高度和宽度,默认 height 30;width 120
//'height': 15,
//'width': 80,
//上传文件的类型 默认为所有文件 'All Files' ; '*.*'
//在浏览窗口底部的文件类型下拉菜单中显示的文本
'fileTypeDesc': 'Image Files',
//允许上传的文件后缀
'fileTypeExts': '*.gif; *.jpg; *.png',
//发送给后台的其他参数通过formData指定
'formData': { 'someKey': 'someValue'},
//上传文件页面中,你想要用来作为文件队列的元素的id, 默认为false 自动生成, 不带#
'queueID': 'fileQueue',
//选择文件后自动上传
'auto': true,
//设置为true将允许多文件上传
'multi': true
});
});
</script>
</body>
</html> 接口
@RequestMapping(value = "/upload",method = RequestMethod.POST)

 public @ResponseBody String upload(HttpServletRequest request, HttpServletResponse response){


 String path =request.getSession().getServletContext().getRealPath("upload");


 MultipartHttpServletRequest multipartHttpServletRequest=(MultipartHttpServletRequest)request;


 Map<String,MultipartFile> map = multipartHttpServletRequest.getFileMap();


 System.out.println("path:"+path);


 File file=new File(path);

 if(!file.exists()){

  file.mkdirs();

 }


 try{


  for(Map.Entry<String,MultipartFile> entity:map.entrySet()){

  MultipartFile multipartFile=entity.getValue();

  File ff = new File(path,multipartFile.getOriginalFilename());

  multipartFile.transferTo(ff);

  }


  return "success";

 }catch (Exception e){

  e.printStackTrace();

  return "error";

 }


} 
关于在SpringMVC中使用 jquery.uploadify怎么实现一个文件上传功能问题的解答就分享到这里了,希望以上内容可以对大家有一定的帮助,如果你还有很多疑惑没有解开,可以关注亿速云行业资讯频道了解更多相关知识。
免责声明:本站发布的内容(图片、视频和文字)以原创、转载和分享为主,文章观点不代表本网站立场,如果涉及侵权请联系站长邮箱:is@yisu.com进行举报,并提供相关证据,一经查实,将立刻删除涉嫌侵权内容。


