这篇文章主要介绍了微信小程序怎么实现MUI数字输入框效果的相关知识,内容详细易懂,操作简单快捷,具有一定借鉴价值,相信大家阅读完这篇微信小程序怎么实现MUI数字输入框效果文章都会有所收获,下面我们一起来看看吧。
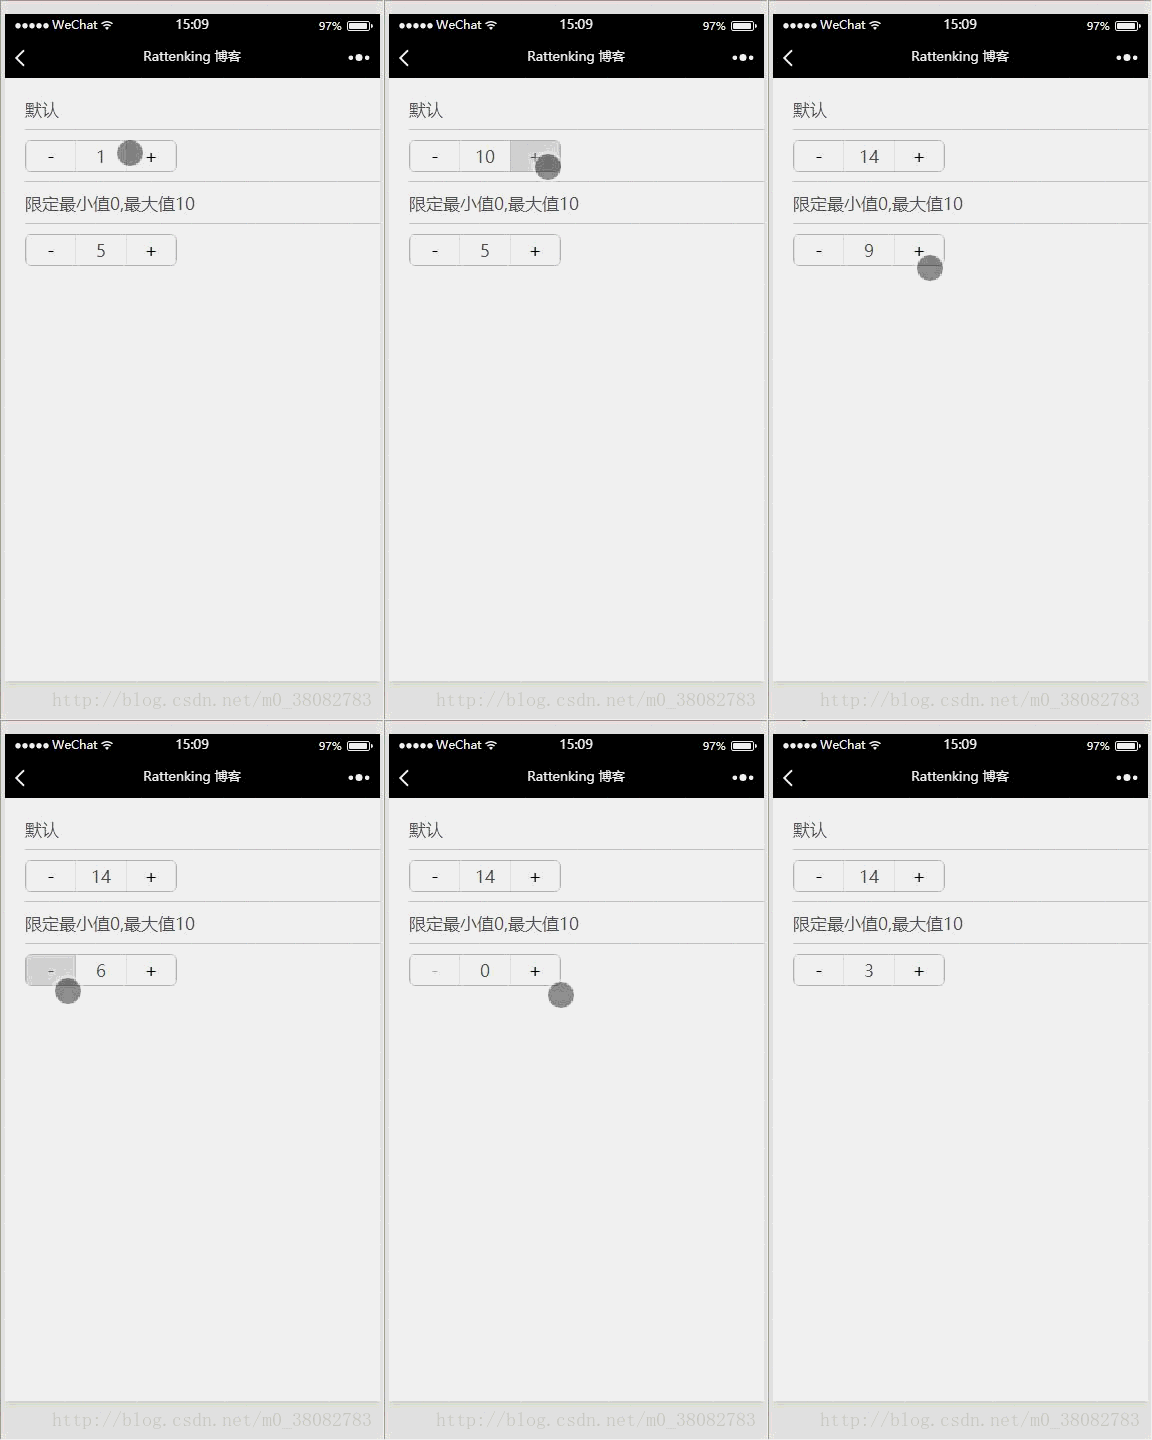
效果图

WXML
<view class="tui-content">
 <view class="tui-gallery-list">默认</view>
 <view class="tui-gallery-list">
 <view class="tui-number-group">
  <button class="tui-number-cell" bindtap="nextNum">-</button>
  <input class="tui-number-cell" type="number" value='{{number}}'></input>
  <button class="tui-number-cell" bindtap="prevNum">+</button>
 </view>
 </view>
 <view class="tui-gallery-list">限定最小值0,最大值10</view>
 <view class="tui-gallery-list">
 <view class="tui-number-group">
  <button class="tui-number-cell" bindtap="nextNum1" disabled='{{disabled1}}'>-</button>
  <input class="tui-number-cell" type="number" value='{{number1}}'></input>
  <button class="tui-number-cell" bindtap="prevNum1" disabled='{{disabled2}}'>+</button>
 </view>
 </view>
</view>WXSS
.tui-number-group{
 display: table;
 table-layout: fixed;
 width: 300rpx;
 text-align: center;
 border-radius: 6px;
 border: 1px solid #bbb;
 overflow: hidden;
}
.tui-number-cell{
 display: table-cell;
 line-height: 1.7;
 border-radius: 0;
}
button::after{
 border-bottom: none;
 border-top: none;
 border-radius: 0;
}JS
Page({
 data: {
 number: 1,
 number1: 5,
 disabled1: false,
 disabled2: false
 },
 prevNum(){
 this.setData({ number: this.data.number + 1 });
 },
 nextNum(){
 this.setData({ number: this.data.number - 1 });
 },
 prevNum1() {
 this.setData({
  number1: this.data.number1 >= 10 ? 10 : this.data.number1 + 1 ,
  disabled1: this.data.number1 !== 0 ? false : true,
  disabled2: this.data.number1 !== 10 ? false : true
 });
 },
 nextNum1() {
 this.setData({
  number1: this.data.number1 <= 0 ? 0 : this.data.number1 - 1 ,
  disabled1: this.data.number1 !== 0 ? false : true,
  disabled2: this.data.number1 !== 10 ? false : true
 });
 }
})注意
button组件的边框和圆角设置在button::after,需要对其重置。
关于“微信小程序怎么实现MUI数字输入框效果”这篇文章的内容就介绍到这里,感谢各位的阅读!相信大家对“微信小程序怎么实现MUI数字输入框效果”知识都有一定的了解,大家如果还想学习更多知识,欢迎关注亿速云行业资讯频道。
亿速云「云服务器」,即开即用、新一代英特尔至强铂金CPU、三副本存储NVMe SSD云盘,价格低至29元/月。点击查看>>
免责声明:本站发布的内容(图片、视频和文字)以原创、转载和分享为主,文章观点不代表本网站立场,如果涉及侵权请联系站长邮箱:is@yisu.com进行举报,并提供相关证据,一经查实,将立刻删除涉嫌侵权内容。
原文链接:https://www.xuebuyuan.com/3277894.html