这篇文章将为大家详细讲解有关springboot中怎么配置https证书,文章内容质量较高,因此小编分享给大家做个参考,希望大家阅读完这篇文章后对相关知识有一定的了解。
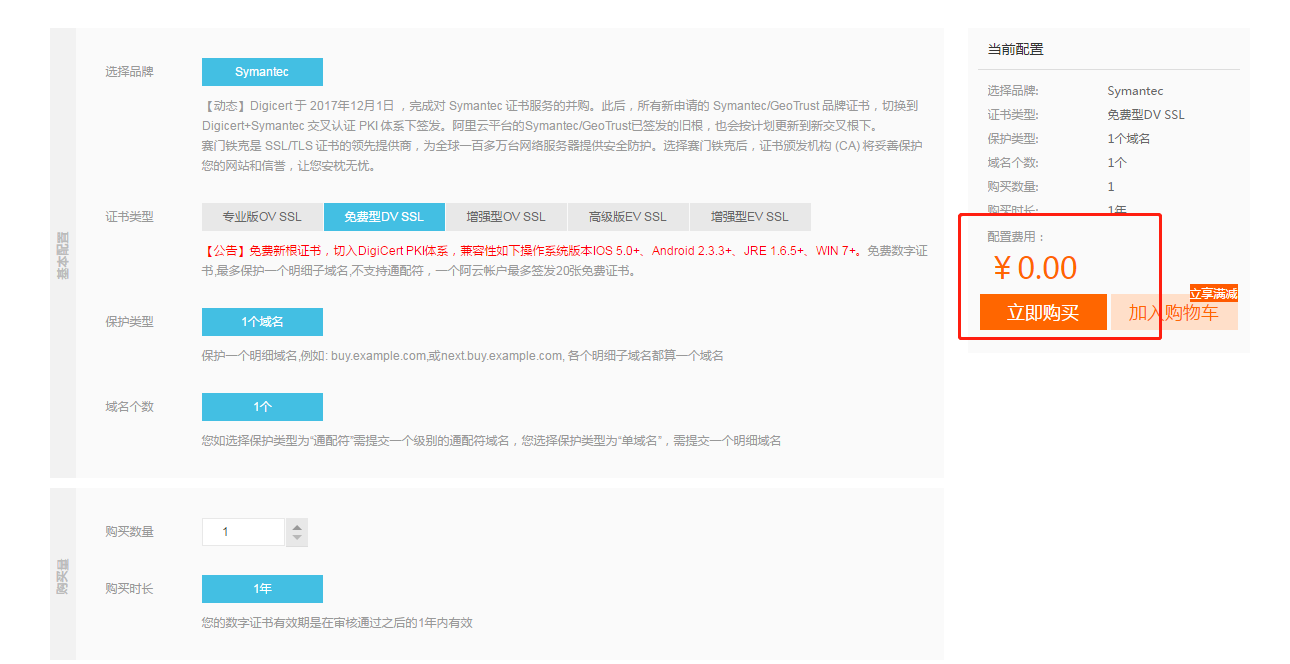
1、购买页面是这样的
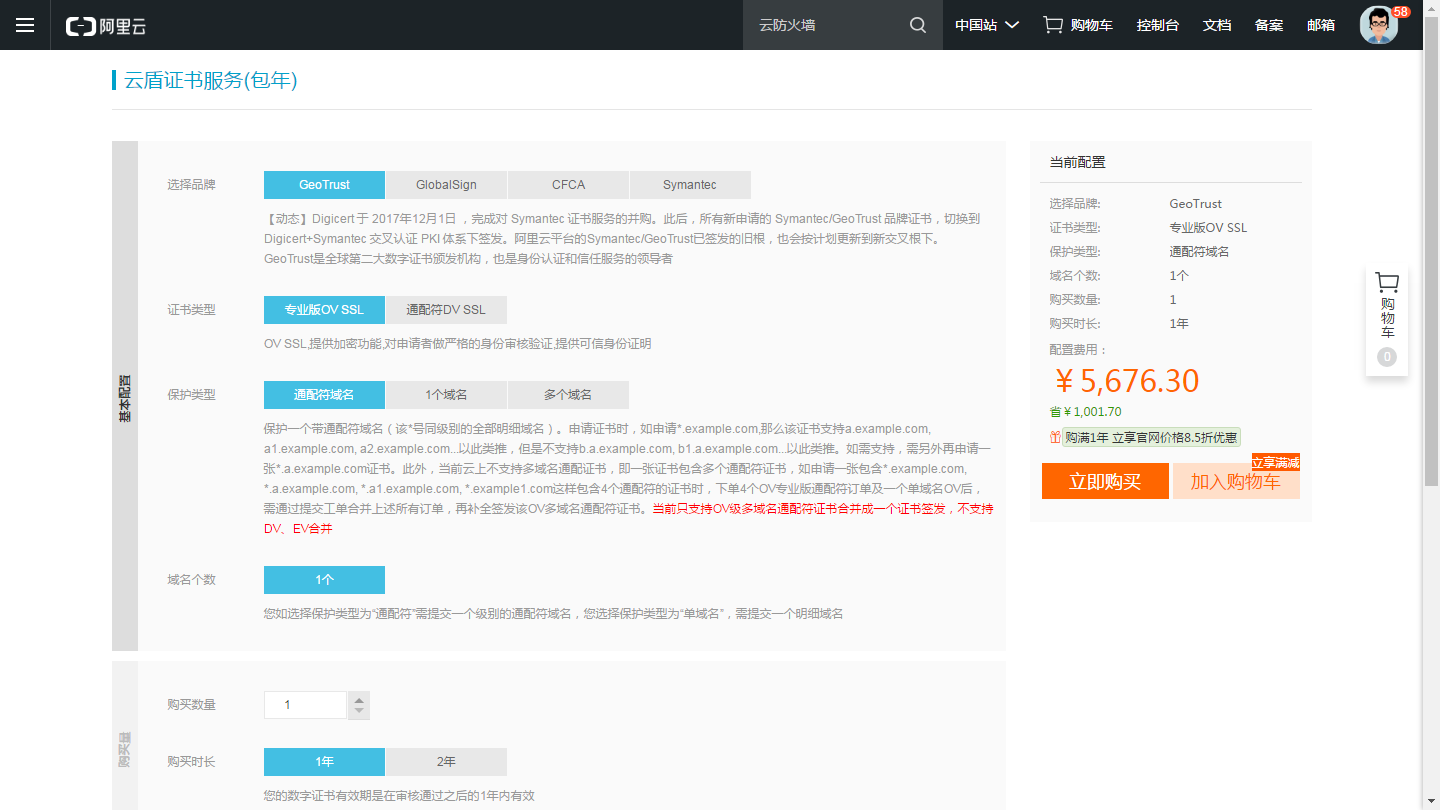
按照顺序选择
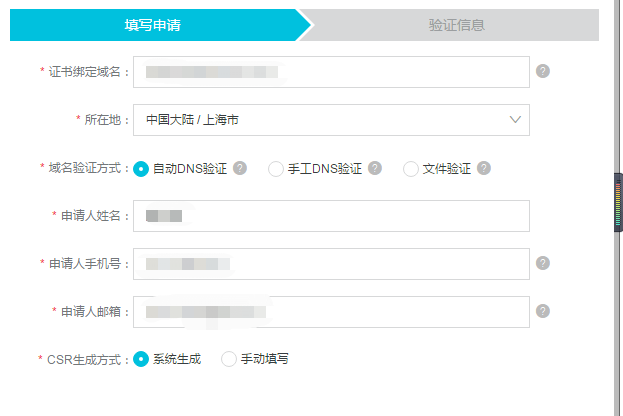
然后就去购买成功,我们会看到证书没有签发,我们需要去申请
一般等个半个小时就会审核成功,然后下载tomcat证书,我们解压证书压缩包,看到如下信息
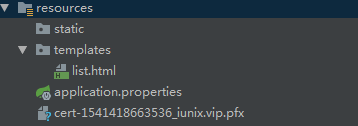
配置application.properties文件【似乎无需加classpath,似乎是要放绝对地址】
server.port=443
server.ssl.key-store=classpath:cert-1541418663536_iunix.vip.pfx
server.ssl.key-store-password=krdg77SD
server.ssl.keyStoreType=PKCS12密码值在对应的证书包中的文本文件中,上图中list.html代码如下
<!DOCTYPE html>
<html xmlns:th="http://www.thymeleaf.org">
<head>
    <meta charset="UTF-8" />
    <title>Insert title here</title>
</head>
<body>
<h3>用户列表</h3>
<div>
    <ul>
        <li  th:each="user:${users}">
            <span th:text="${user.id}"></span>-
            <span th:text="${user.name}"></span>-
            <span th:text="${user.age}"></span>-
            <span th:text="${user.address}"></span>
        </li>
    </ul>
</div>
</body>
</html>
创建一个Controller 一个实体类,代码分别如下
/**
 * @Auther: Tang XiaoBai
 * @Date: 2018/11/7 20:24
 * @Description:
 */
@Controller
public class UserController {

    @RequestMapping("/list")
    public String  listUser(Model model) {
        List<User> userList = new ArrayList<User>();
        for (int i = 0; i <10; i++) {
            userList.add(new User(i,"张三"+i,20+i,"中国广州"));
        }
        model.addAttribute("users", userList);
        return "list";
    }
}
public class User {
    private Integer id;
    private String name;
    private Integer age;
    private String address;
    //省略get和set方法、构造函数
}关于springboot中怎么配置https证书就分享到这里了,希望以上内容可以对大家有一定的帮助,可以学到更多知识。如果觉得文章不错,可以把它分享出去让更多的人看到。
亿速云「云服务器」,即开即用、新一代英特尔至强铂金CPU、三副本存储NVMe SSD云盘,价格低至29元/月。点击查看>>
免责声明:本站发布的内容(图片、视频和文字)以原创、转载和分享为主,文章观点不代表本网站立场,如果涉及侵权请联系站长邮箱:is@yisu.com进行举报,并提供相关证据,一经查实,将立刻删除涉嫌侵权内容。
原文链接:https://my.oschina.net/airship/blog/3093066


 计算
计算 安全
安全 数据库
数据库 网络和加速
网络和加速 企业服务
企业服务


