本篇内容主要讲解“ES的基本介绍和使用方法”,感兴趣的朋友不妨来看看。本文介绍的方法操作简单快捷,实用性强。下面就让小编来带大家学习“ES的基本介绍和使用方法”吧!
官方文档:https://www.elastic.co/guide/en/elasticsearch/reference/current/index.html
批量插入数据的文档:https://www.elastic.co/guide/en/elasticsearch/reference/7.5/docs-bulk.html


增,删,改,查 全部遵循refult 风格
使用postman来新建一个文档
1 增加
http://localhost:9200/blog1/article/1
{
	"id":1,
	"title":"在弹性搜索中创建索引时,"
	,"content":"为什么呢?因为mappings里有写参数在elasticsearch6版本里不支持了,index_analyzer就不支持了,改成了analyzer,改过来,就好了,可以建立索引成功"
}2 查询
根据id来查询 GET : http://localhost:9200/blog1/article/1
根据关键字查询 POST:http://localhost:9200/blog1/article/_search
{
	"query":{
		"term":{
			"content":"因"
		}
	}
}使用字符串查询(对查询条件进行分词之后再进行查询) POST : http://localhost:9200/blog1/article/_search
{
	"query":{
		"query_string":{
			"default_field":"content",
			"query":"创建索引"
		}
	}
}
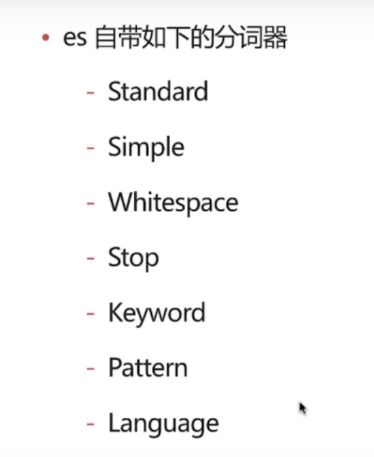
# 自带的分词器
POST _analyze
{
  "analyzer": "standard",
  "text": "The 2 QUICK Brown-Foxex jumped over the lazy dog's bone."
}

POST _analyze
{
  "analyzer": "simple",
  "text": "The 2 QUICK Brown-Foxex jumped over the lazy dog's bone."
}

POST _analyze
{
  "analyzer": "whitespace",
  "text": "The 2 QUICK Brown-Foxex jumped over the lazy dog's bone."
}

POST _analyze
{
  "analyzer": "stop",
  "text": "The 2 QUICK Brown-Foxex jumped over the lazy dog's bone."
}


POST _analyze
{
  "analyzer": "keyword",
  "text": "The 2 QUICK Brown-Foxex jumped over the lazy dog's bone."
}


POST _analyze
{
  "analyzer": "pattern",
  "text": "The 2 QUICK Brown-Foxex jumped over the lazy dog's bone."
}
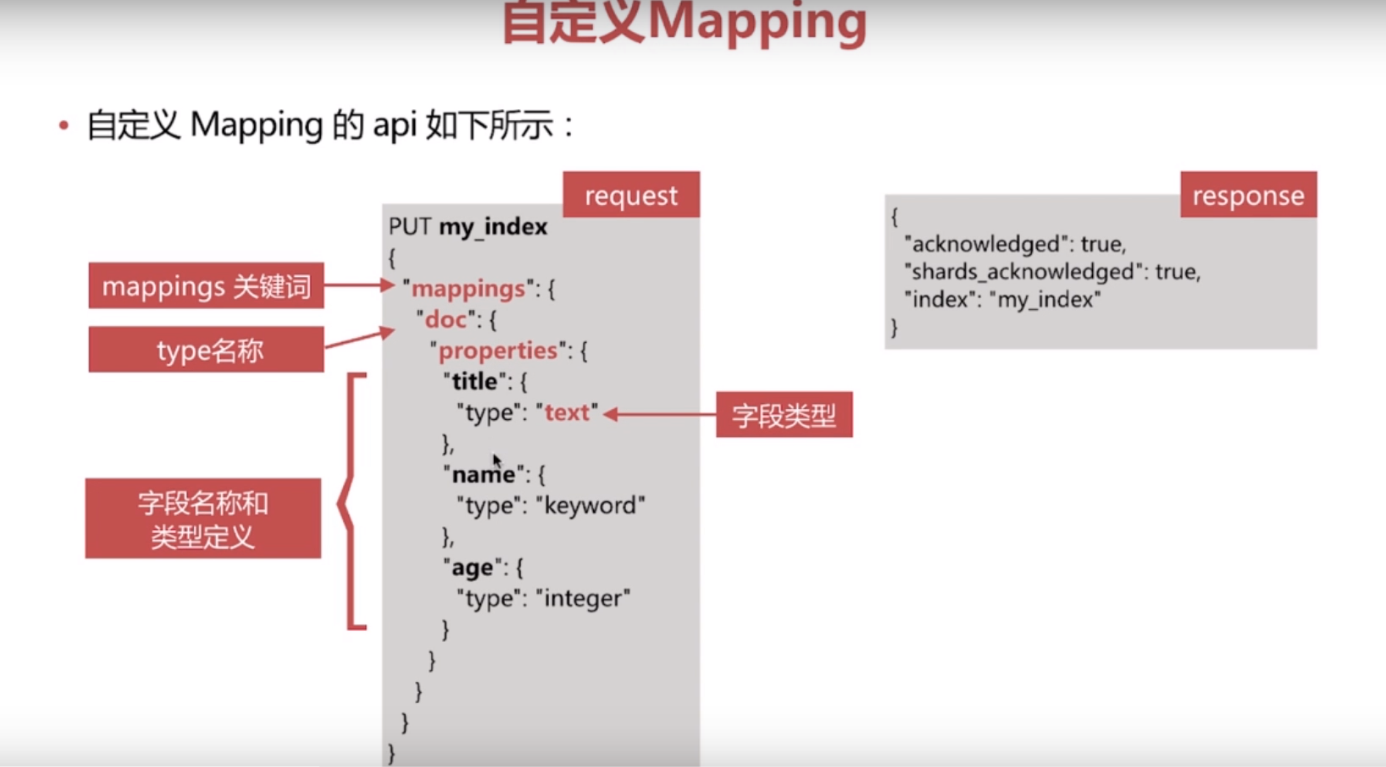
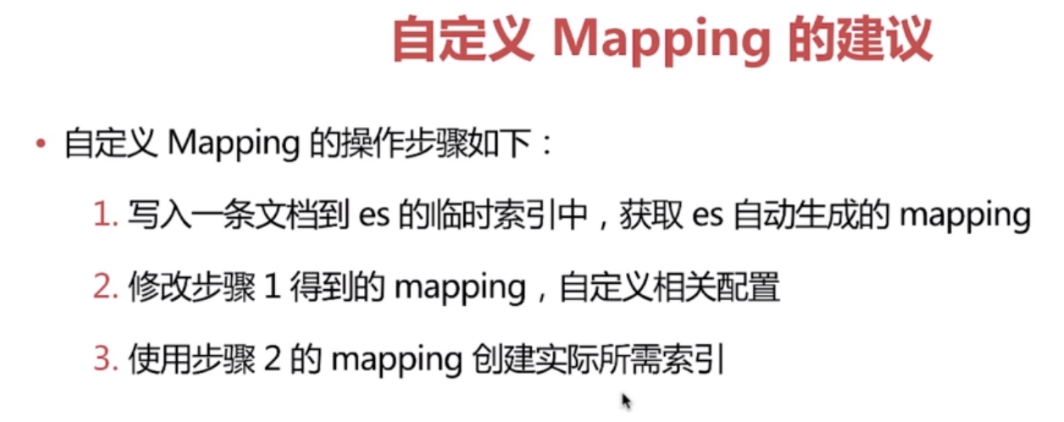
#创建mapping的简介步骤
#1 向es中插入一条数据 (es7中要使用_doc)
PUT my_index_test/_doc/1
{
"referrer":"-",
"response_code":"200",
"remote_ip":"192.168.1.1",
"method":"post",
"user_name":"zhangsan",
"http_version":"1.1",
"body_sent":{
"bytes":"0"
},
"url":"/query/list"
}
#2 获取刚刚创建的index mapping
GET my_index_test/_mapping
#3 删除该index
DELETE my_index_test
#4 改造刚刚获取的index mapping
PUT my_index_test
{
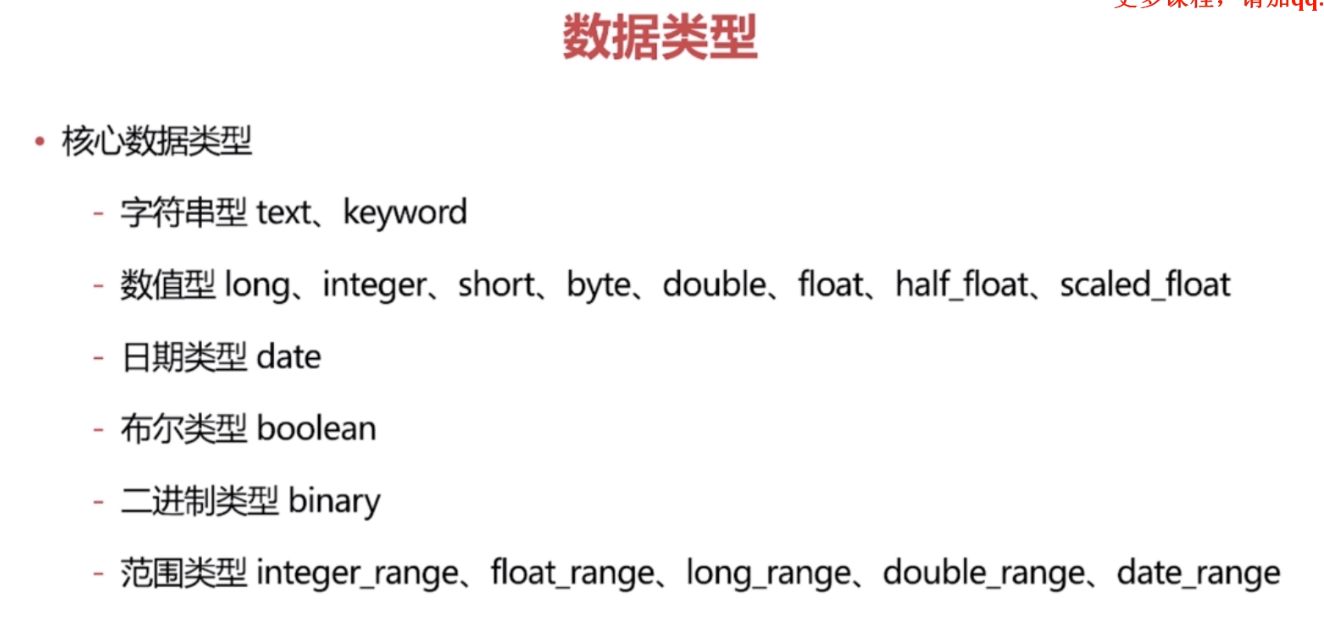
"mappings": {
"properties": {
"body_sent": {
"properties": {
"bytes": {
"type": "text"
}
}
},
"http_version": {
"type": "keyword"
},
"method": {
"type": "keyword"
},
"referrer": {
"type": "keyword"
},
"remote_ip": {
"type": "ip"
},
"response_code": {
"type": "keyword"
},
"url": {
"type": "text"
},
"user_name": {
"type": "text"
}
}
}
}
#5 校验刚才插入的数据
GET my_index_test/_doc/1到此,相信大家对“ES的基本介绍和使用方法”有了更深的了解,不妨来实际操作一番吧!这里是亿速云网站,更多相关内容可以进入相关频道进行查询,关注我们,继续学习!
亿速云「云服务器」,即开即用、新一代英特尔至强铂金CPU、三副本存储NVMe SSD云盘,价格低至29元/月。点击查看>>
免责声明:本站发布的内容(图片、视频和文字)以原创、转载和分享为主,文章观点不代表本网站立场,如果涉及侵权请联系站长邮箱:is@yisu.com进行举报,并提供相关证据,一经查实,将立刻删除涉嫌侵权内容。
原文链接:https://my.oschina.net/u/3677987/blog/3095494


 计算
计算 安全
安全 数据库
数据库 网络和加速
网络和加速 企业服务
企业服务


