这篇文章主要讲解了“微服务中eureka+zuul的基本部署教程”,文中的讲解内容简单清晰,易于学习与理解,下面请大家跟着小编的思路慢慢深入,一起来研究和学习“微服务中eureka+zuul的基本部署教程”吧!
由于前段时间遇到工作危机差点被开让我意识到技术的重要性,所以在公司架构师的建议下开始了解和学习微服务,首先学习的就是zuul网关和eureka注册中心,因为白天工作开发量比较多,所以只能晚上抽空学习,如今终于可以简单的部署一套环境并成功运行起来了,虽然这些对于老手来说可以算是皮毛了,但是对我来说还是值得高兴的。
关于zuul和eureka的相关介绍我就不多说了一搜一大把,直接上配置。
1.首先创建Spring boot。

下一步修改项目名
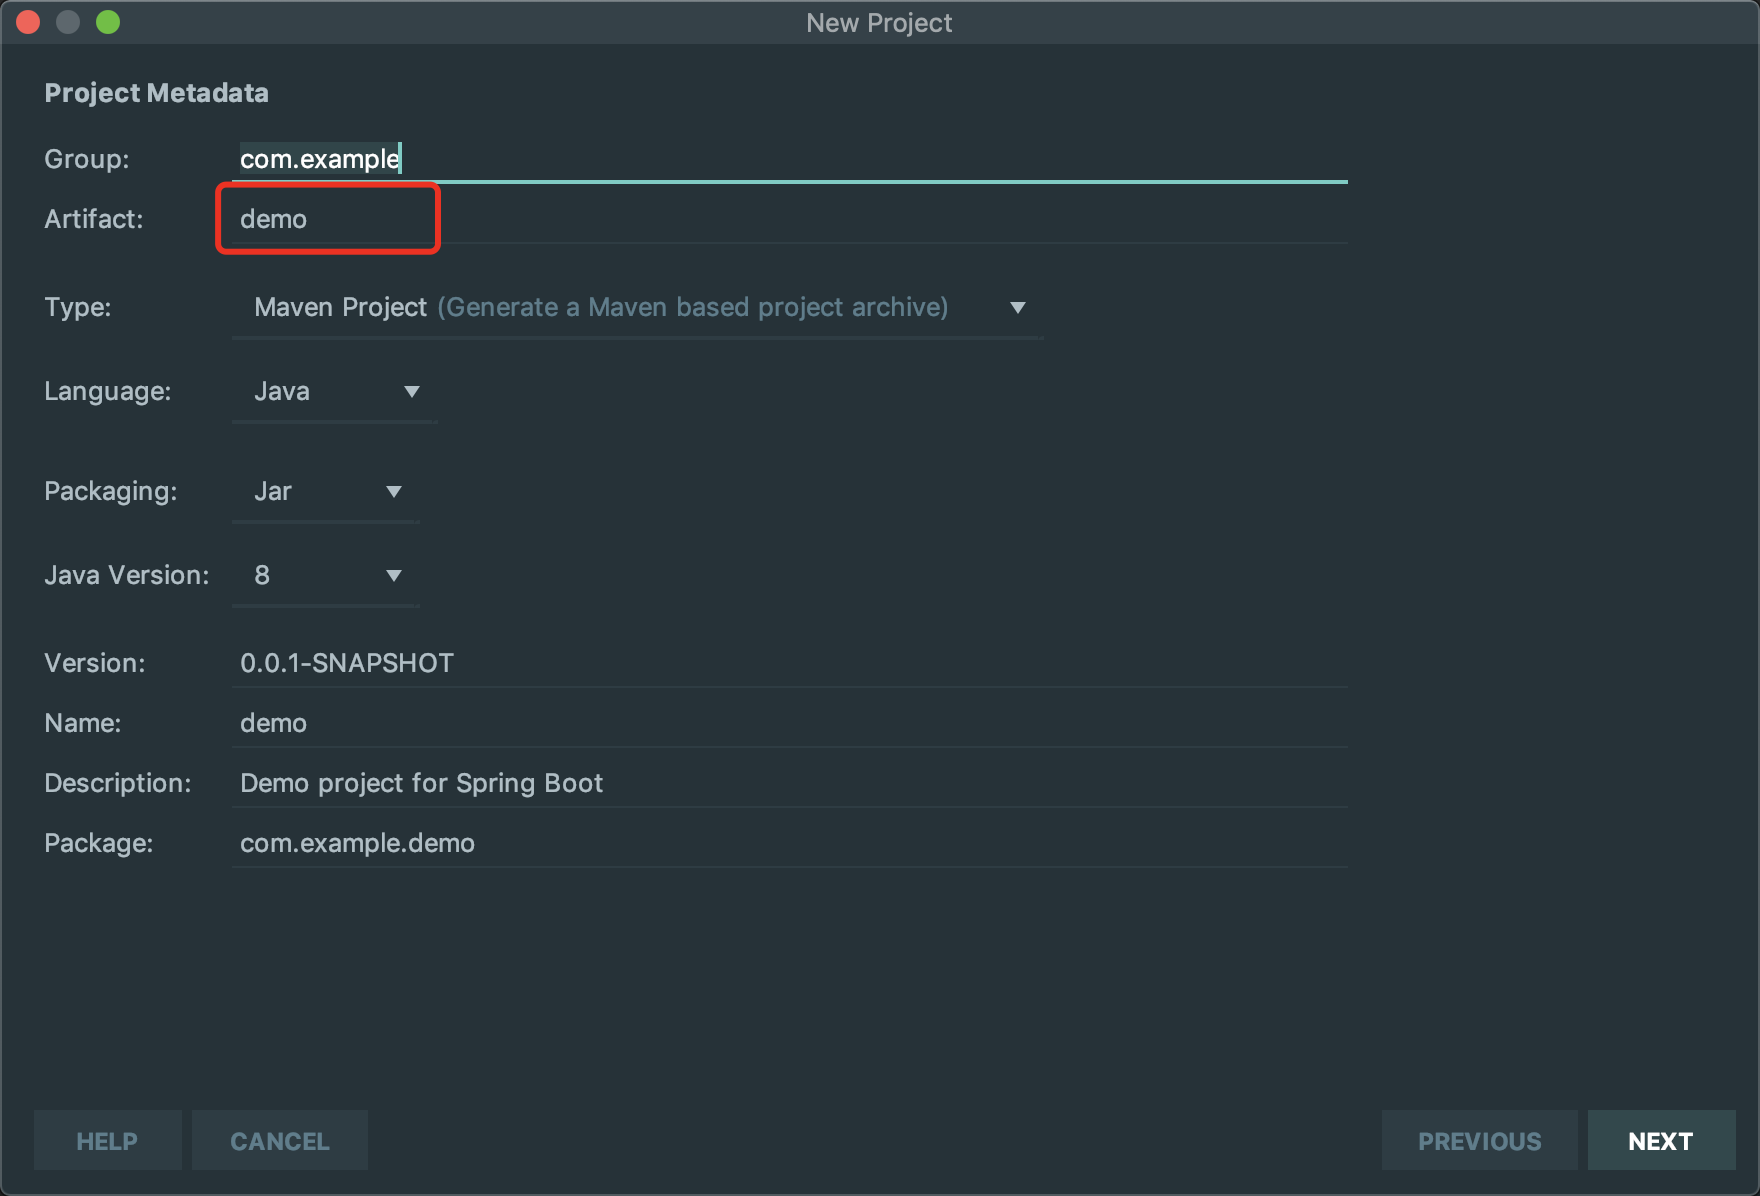
然后一直下一步就可以了,中间选择组件的时候我直接跳过,创建后在pom里加也可以。
2.引入相关依赖
eureka:
 <!-- 服务端 ->
 <dependency>
    <groupId>org.springframework.cloud</groupId>
    <artifactId>spring-cloud-starter-netflix-eureka-server</artifactId>
</dependency>zuul:
        <dependency>
            <groupId>org.springframework.cloud</groupId>
            <artifactId>spring-cloud-starter-netflix-zuul</artifactId>
        </dependency>
        <!-- 客户端 -->
        <dependency>
            <groupId>org.springframework.cloud</groupId>
            <artifactId>spring-cloud-starter-netflix-eureka-client</artifactId>
</dependency>dome1、dome2:
        <!-- 客户端 -->
        <dependency>
            <groupId>org.springframework.cloud</groupId>
            <artifactId>spring-cloud-starter-netflix-eureka-client</artifactId>
        </dependency>

        <dependency>
            <groupId>org.springframework.boot</groupId>
            <artifactId>spring-boot-starter-web</artifactId>
</dependency>3.启动类注解
eureka:
@EnableEurekaServerzuul:
@EnableZuulProxydome1、dome2:
@EnableEurekaClient4:配置文件
eureka:application.properties
server.port=8080
eureka.instance.hostname=127.0.0.1
# 是否向服务中心注册自己
eureka.client.register-with-eureka=false
# 是否检索服务
eureka.client.fetch-registry=false
eureka.instance.prefer-ip-address=true
# 服务注册中心的配置内容,指定服务注册中心的位置
eureka.client.service-url.defaultZone=http://${eureka.instance.hostname}:${server.port}/eureka/zuul:application.yml
server:
  port: 8084 #服务端口
spring:
  application:
    name: api-zuul #服务名
eureka:
  client:
    registry-fetch-interval-seconds: 5 # 获取服务列表的周期:5s
    service-url:
      defaultZone: http://127.0.0.1:8080/eureka #eureka地址
zuul:
  prefix: /api # 添加路由前缀所有访问路由加这个前缀
  retryable: true #是否开启重试功能
  routes:
    api: # 随便起
      path: /service/** #访问地址以service请求的都会转发到service-provider-A
serviceId: service-provider-A # 如果两个服务名都是以service-provider-A注册到eureka,zuul会随机转发dome1、dome2:application.properties(端口不同,服务名相同)
# 注册中心的注册地址
eureka.client.service-url.defaultZone=http://127.0.0.1:8080/eureka/
# 服务名称--调用的时候根据名称来调用该服务的方法
spring.application.name=service-provider-A
server.port=8081以上配置为负载均衡的配置,反向代理可将zuul中routes下的配置新增一个名,path和serviceid为另一个服务名就可以。
dome1、dome2需要各自创建一个测试类
package com.example.eurekaclientdemo.controller;

import org.springframework.web.bind.annotation.GetMapping;
import org.springframework.web.bind.annotation.PathVariable;
import org.springframework.web.bind.annotation.RequestMapping;
import org.springframework.web.bind.annotation.RestController;

import java.util.HashMap;
import java.util.Map;

@RequestMapping("/users")
@RestController
public class UserController {

    @GetMapping("/{name}")
    public Map<String,Object> getUser(@PathVariable("name") String userName) {
        Map<String,Object> data = new HashMap<>();
        data.put("id",userName);
        data.put("from","provider-A-1");
        return data;
    }

}package com.example.eurekaclient2demo.controller;
import org.springframework.web.bind.annotation.GetMapping;
import org.springframework.web.bind.annotation.PathVariable;
import org.springframework.web.bind.annotation.RequestMapping;
import org.springframework.web.bind.annotation.RestController;
import java.util.HashMap;
import java.util.Map;
@RequestMapping("/users")
@RestController
public class UserController {
@GetMapping("/{name}")
public Map<String,Object> getUser(@PathVariable("name") String userName) {
Map<String,Object> data = new HashMap<>();
data.put("id",userName);
data.put("from","provider-A-2");
return data;
}
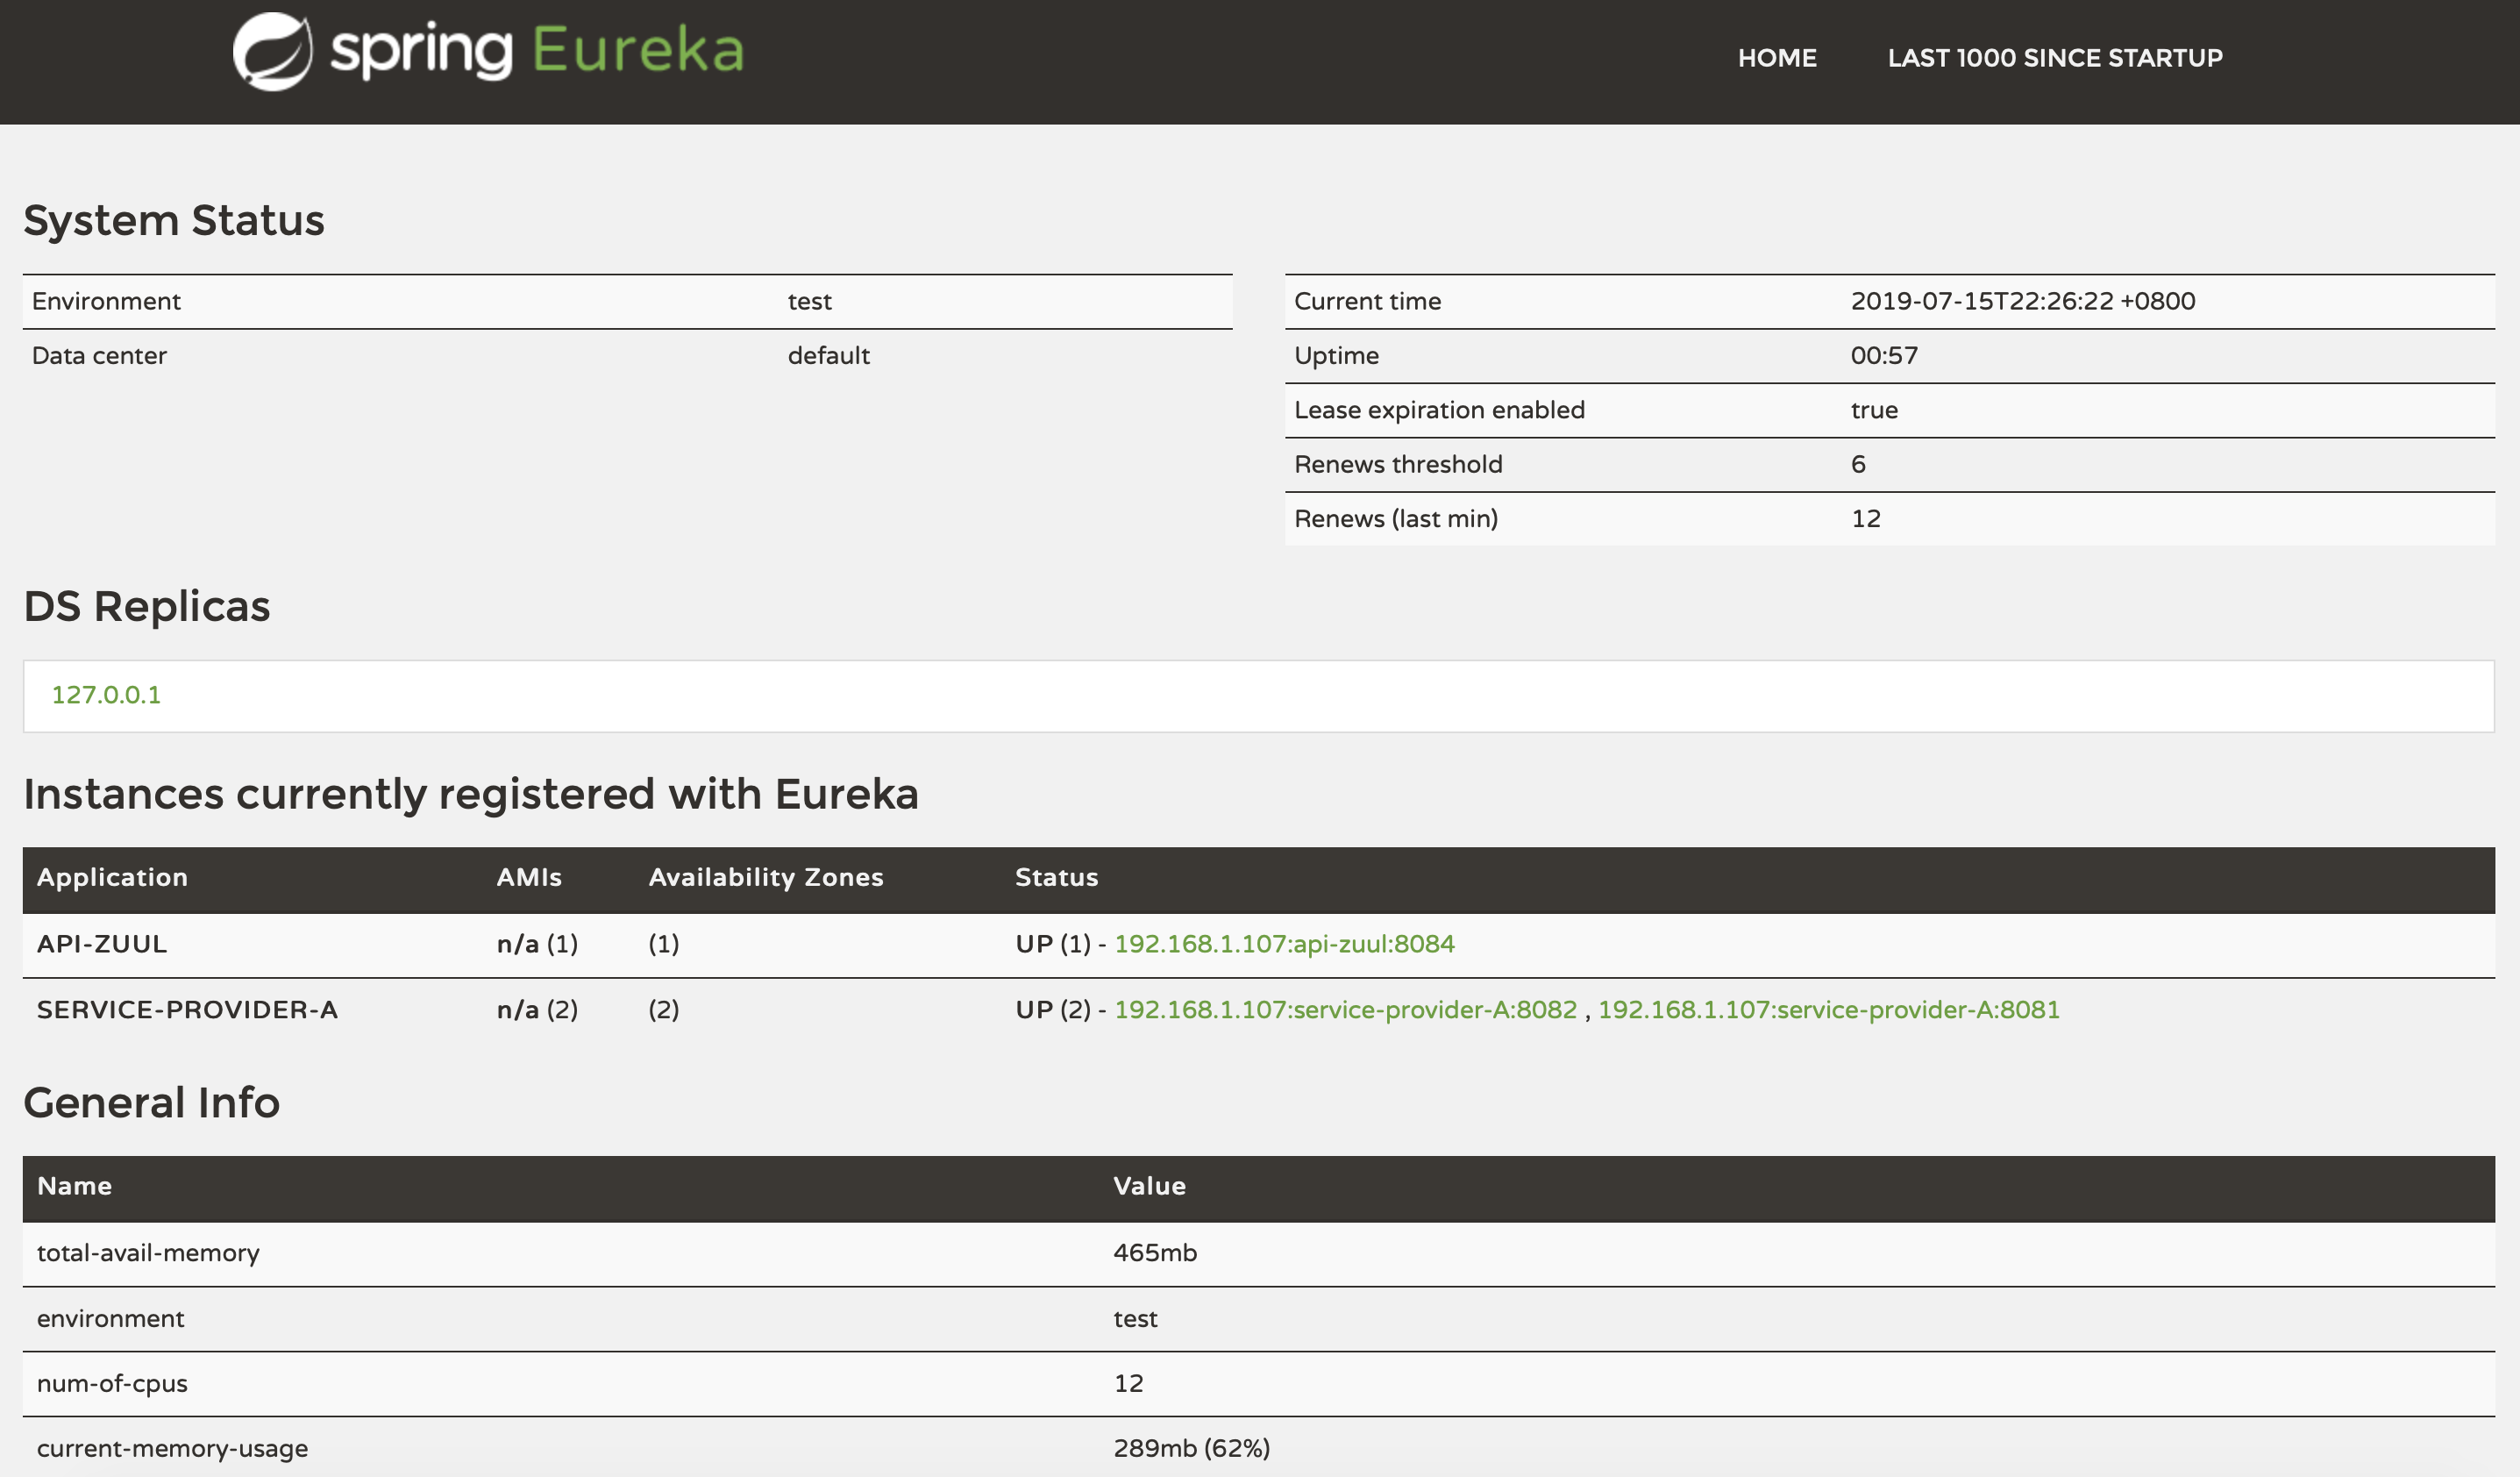
}以上配置完成后,依次启动eureka、zuul、dome1、dome2。在浏览器输入http://127.0.0.1:8080后查看注册的服务
然后在浏览器输入http://127.0.0.1:8084/api/service/users/sdffsd,需要刷新来看效果。


感谢各位的阅读,以上就是“微服务中eureka+zuul的基本部署教程”的内容了,经过本文的学习后,相信大家对微服务中eureka+zuul的基本部署教程这一问题有了更深刻的体会,具体使用情况还需要大家实践验证。这里是亿速云,小编将为大家推送更多相关知识点的文章,欢迎关注!
亿速云「云服务器」,即开即用、新一代英特尔至强铂金CPU、三副本存储NVMe SSD云盘,价格低至29元/月。点击查看>>
免责声明:本站发布的内容(图片、视频和文字)以原创、转载和分享为主,文章观点不代表本网站立场,如果涉及侵权请联系站长邮箱:is@yisu.com进行举报,并提供相关证据,一经查实,将立刻删除涉嫌侵权内容。
原文链接:https://my.oschina.net/u/3734470/blog/3074552


 计算
计算 安全
安全 数据库
数据库 网络和加速
网络和加速 企业服务
企业服务


