这篇文章主要讲解了“Drools Workbench 6.5.0.Final环境部署教程”,文中的讲解内容简单清晰,易于学习与理解,下面请大家跟着小编的思路慢慢深入,一起来研究和学习“Drools Workbench 6.5.0.Final环境部署教程”吧!
本环境的搭建只是用来学习用,不可用于线上环境。
0、环境
tomcat7+
jdk1.5+
maven
Linux系统
1、下载
https://www.drools.org/download/download.html
下载 Drools Workbench 的 Tomcat7 WAR包,下载后文件:kie-server-distribution-6.5.0.Final.zip

解压后可得到三个文件,选择kie-drools-wb-6.5.0.Final-tomcat7.war
2、将(1)中解压得到的kie-drools-wb-6.5.0.Final-tomcat7.war改名为kiewb.war后,放到tomcat/webapps/目录下。启动tomcat会报错,这个时候需要参考war解压后的README.txt文件。
2.1 Install bitronix transaction manager into your tomcat 7
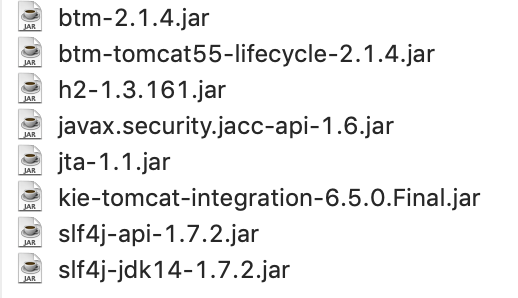
- copy following libs into TOMCAT_HOME/lib

NOTE: versions of the libraries can be different as these are the actual on the time of writing.
2.2 Create configuration files inside TOMCAT_HOME/conf
* btm-config.properties
bitronix.tm.serverId=tomcat-btm-node0
bitronix.tm.journal.disk.logPart1Filename=${btm.root}/work/btm1.tlog
bitronix.tm.journal.disk.logPart2Filename=${btm.root}/work/btm2.tlog
bitronix.tm.resource.configuration=${btm.root}/conf/resources.properties* resources.properties
resource.ds1.className=bitronix.tm.resource.jdbc.lrc.LrcXADataSource
resource.ds1.uniqueName=jdbc/jbpm
resource.ds1.minPoolSize=10
resource.ds1.maxPoolSize=20
resource.ds1.driverProperties.driverClassName=org.h3.Driver
resource.ds1.driverProperties.url=jdbc:h3:file:~/jbpm
resource.ds1.driverProperties.user=sa
resource.ds1.driverProperties.password=
resource.ds1.allowLocalTransactions=trueNOTE: jdbc/jbpm is the JNDI name used by tomcat distribution of the application
2.3 Define system properties for btm.root, bitronix config file, JBoss logging provider and others.
create setenv.sh (or setenv.bat) file inside TOMCAT_HOME/bin and add following:
CATALINA_OPTS="-Xmx512M -XX:MaxPermSize=512m -Dbtm.root=$CATALINA_HOME \
  -Dbitronix.tm.configuration=$CATALINA_HOME/conf/btm-config.properties \
  -Djbpm.tsr.jndi.lookup=java:comp/env/TransactionSynchronizationRegistry \
  -Djava.security.auth.login.config=$CATALINA_HOME/webapps/kiewb/WEB-INF/classes/login.config \
  -Dorg.jboss.logging.provider=jdk \
-Dorg.uberfire.async.executor.safemode=true" (*注意:该标红配置在README.txt文件中并没有,但是如果按照README.txt配置启动仍会报错) NOTE: On Debian based systems $CATALINA_HOME needs to be replaced with $CATALINA_BASE. ($CATALINA_HOME defaults to /usr/share/tomcat7 and $CATALINA_BASE defaults to /var/lib/tomcat7/)
NOTE: this is an example for unix like systems for Windows $CATALINA_HOME needs to be replaced with windows env variable or absolute path
NOTE: java.security.auth.login.config value includes name of the folder in which application is deployed by default it assumes kie-drools-wb so ensure that matches real installation.
login.config file can be externalized as well meaning be placed outside of war file. *******************************************************************************
2.4 Configure JEE security for kie-wb on tomcat (with default realm backed by tomcat-users.xml)
2a. Copy "kie-tomcat-integration" JAR into TOMCAT_HOME/lib (org.kie:kie-tomcat-integration)
2b. Copy "JACC" JAR into TOMCAT_HOME/lib (javax.security.jacc:artifactId=javax.security.jacc-api in JBoss Maven Repository)
2c. Copy "slf4j-api" JAR into TOMCAT_HOME/lib (org.slf4j:artifactId=slf4j-api in JBoss Maven Repository)
2d. Add valve configuration into TOMCAT_HOME/conf/server.xml inside Host element as last valve definition:
<Valve className="org.kie.integration.tomcat.JACCValve" />
2e. Edit TOMCAT_HOME/conf/tomcat-users.xml to include roles and users, make sure there will be 'analyst' or 'admin' roles defined as it's required to be authorized to use kie-wb
  <role rolename="analyst"/>
  <role rolename="admin"/>
<user username="kie-wb" password="kie-wb" roles="analyst,admin"/>3、安装配置Maven
#vi /etc/profile
    ......
    JAVA_HOME=/usr/local/java
    JRE_HOME=$JAVA_HOME/jre
    M2_HOME=/data/wangxh/maven
PATH=$JAVA_HOME/bin:$JRE_HOME/bin:$M2_HOME/bin:$PATH#source /etc/profile
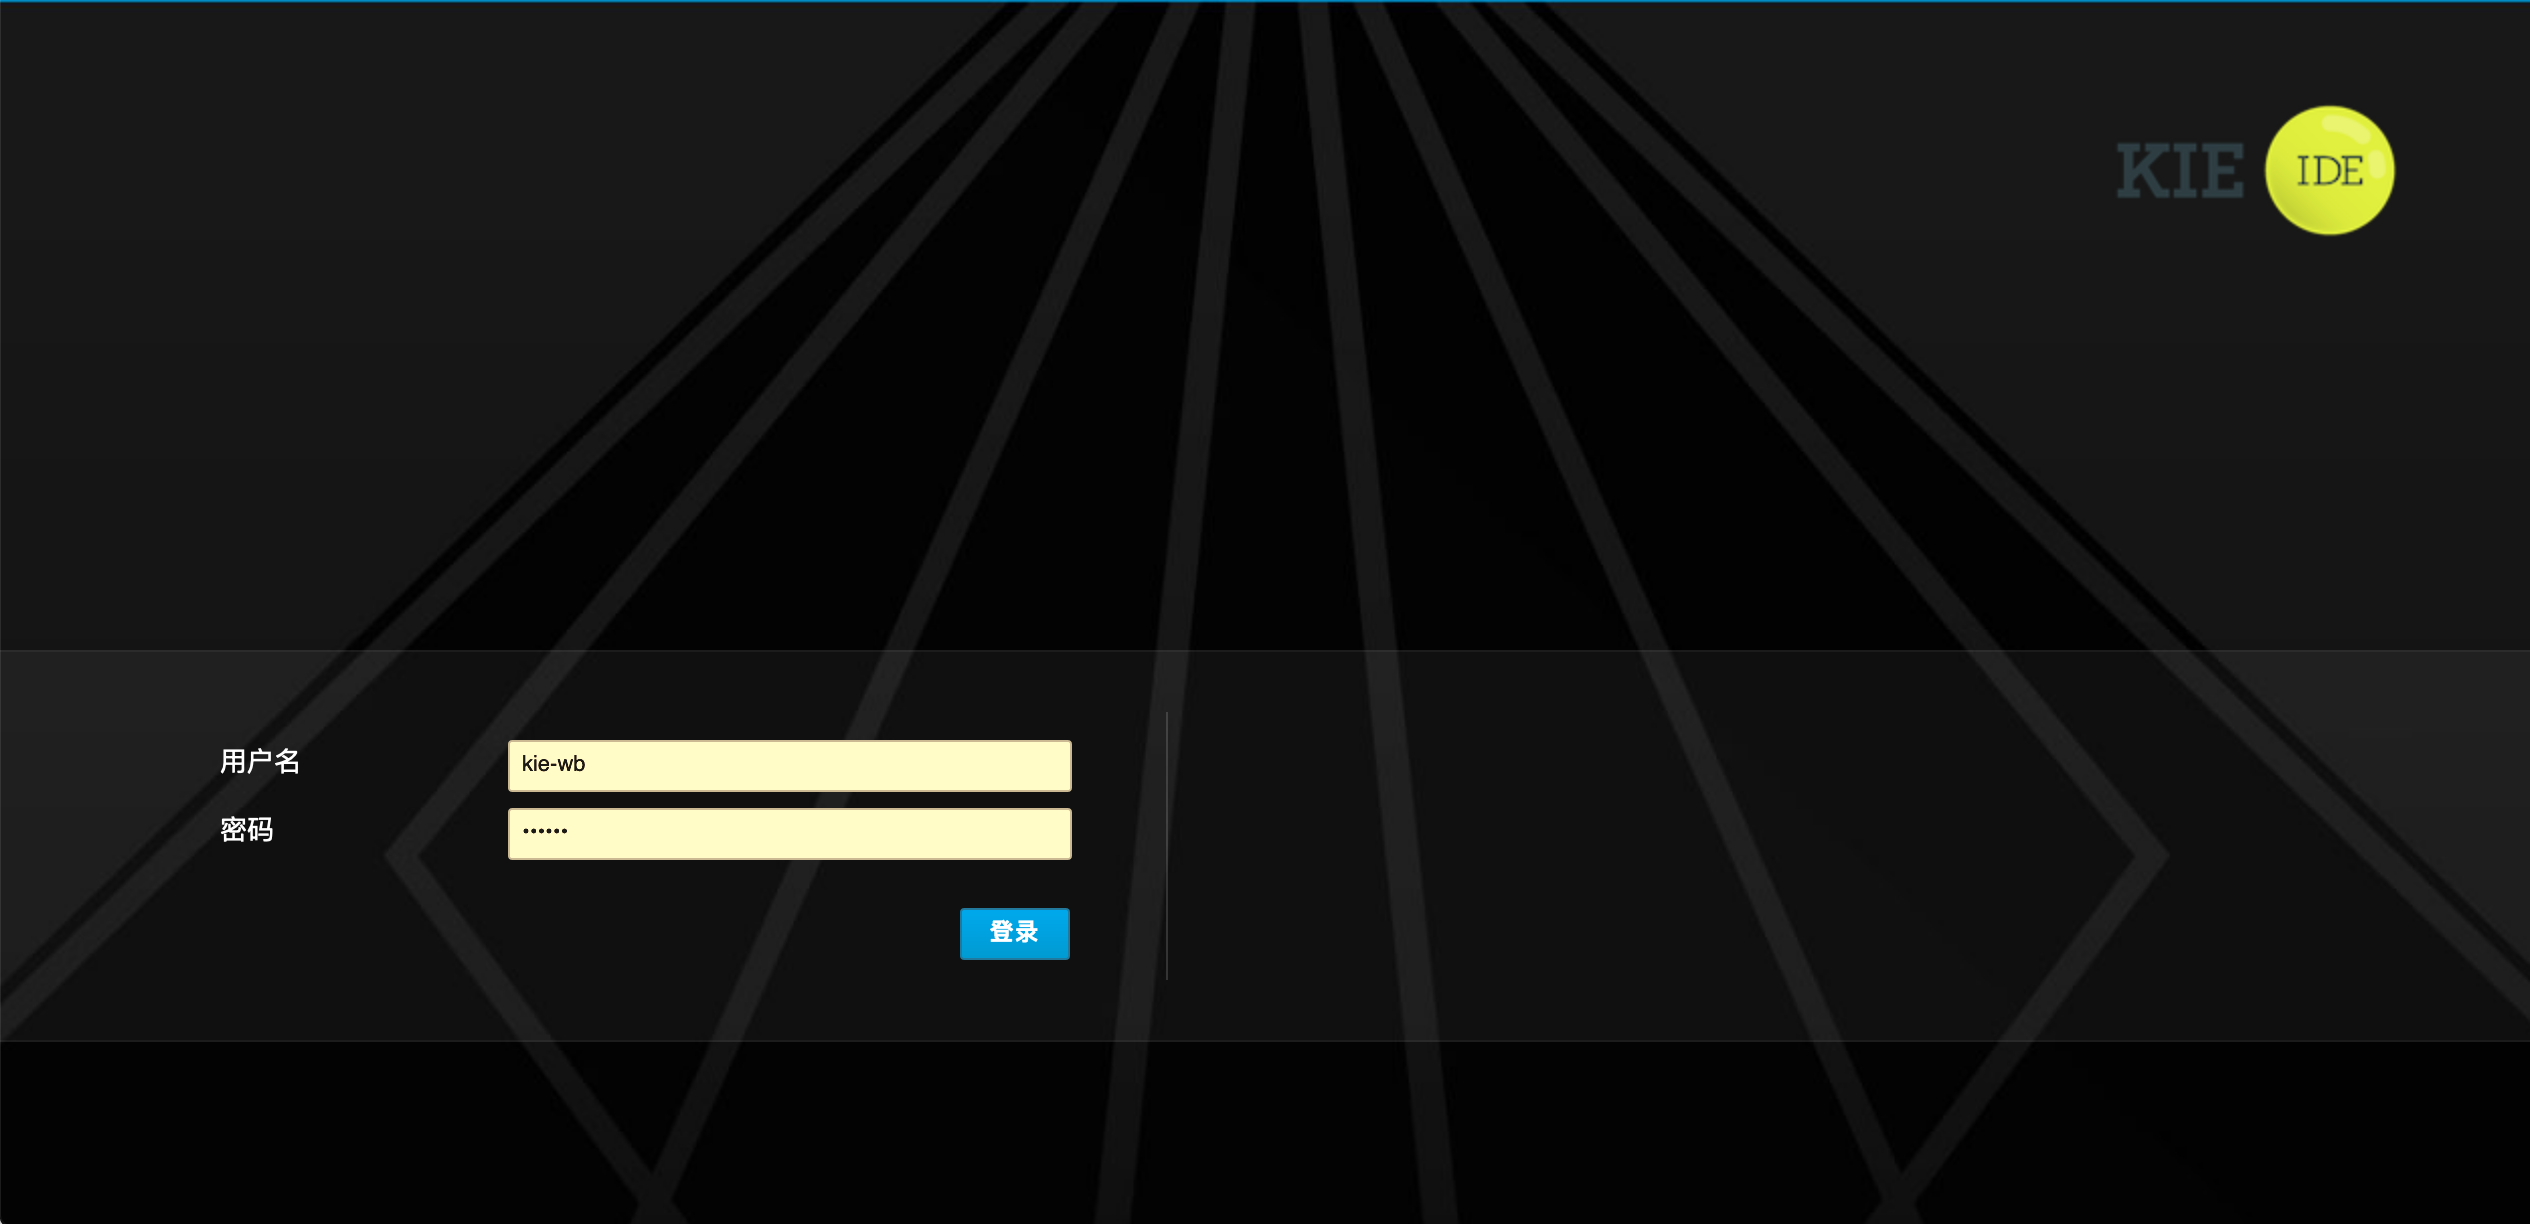
4、启动Tomcat可正常启动,访问:http://10.10.76.174:8090/kiewb可到登录页

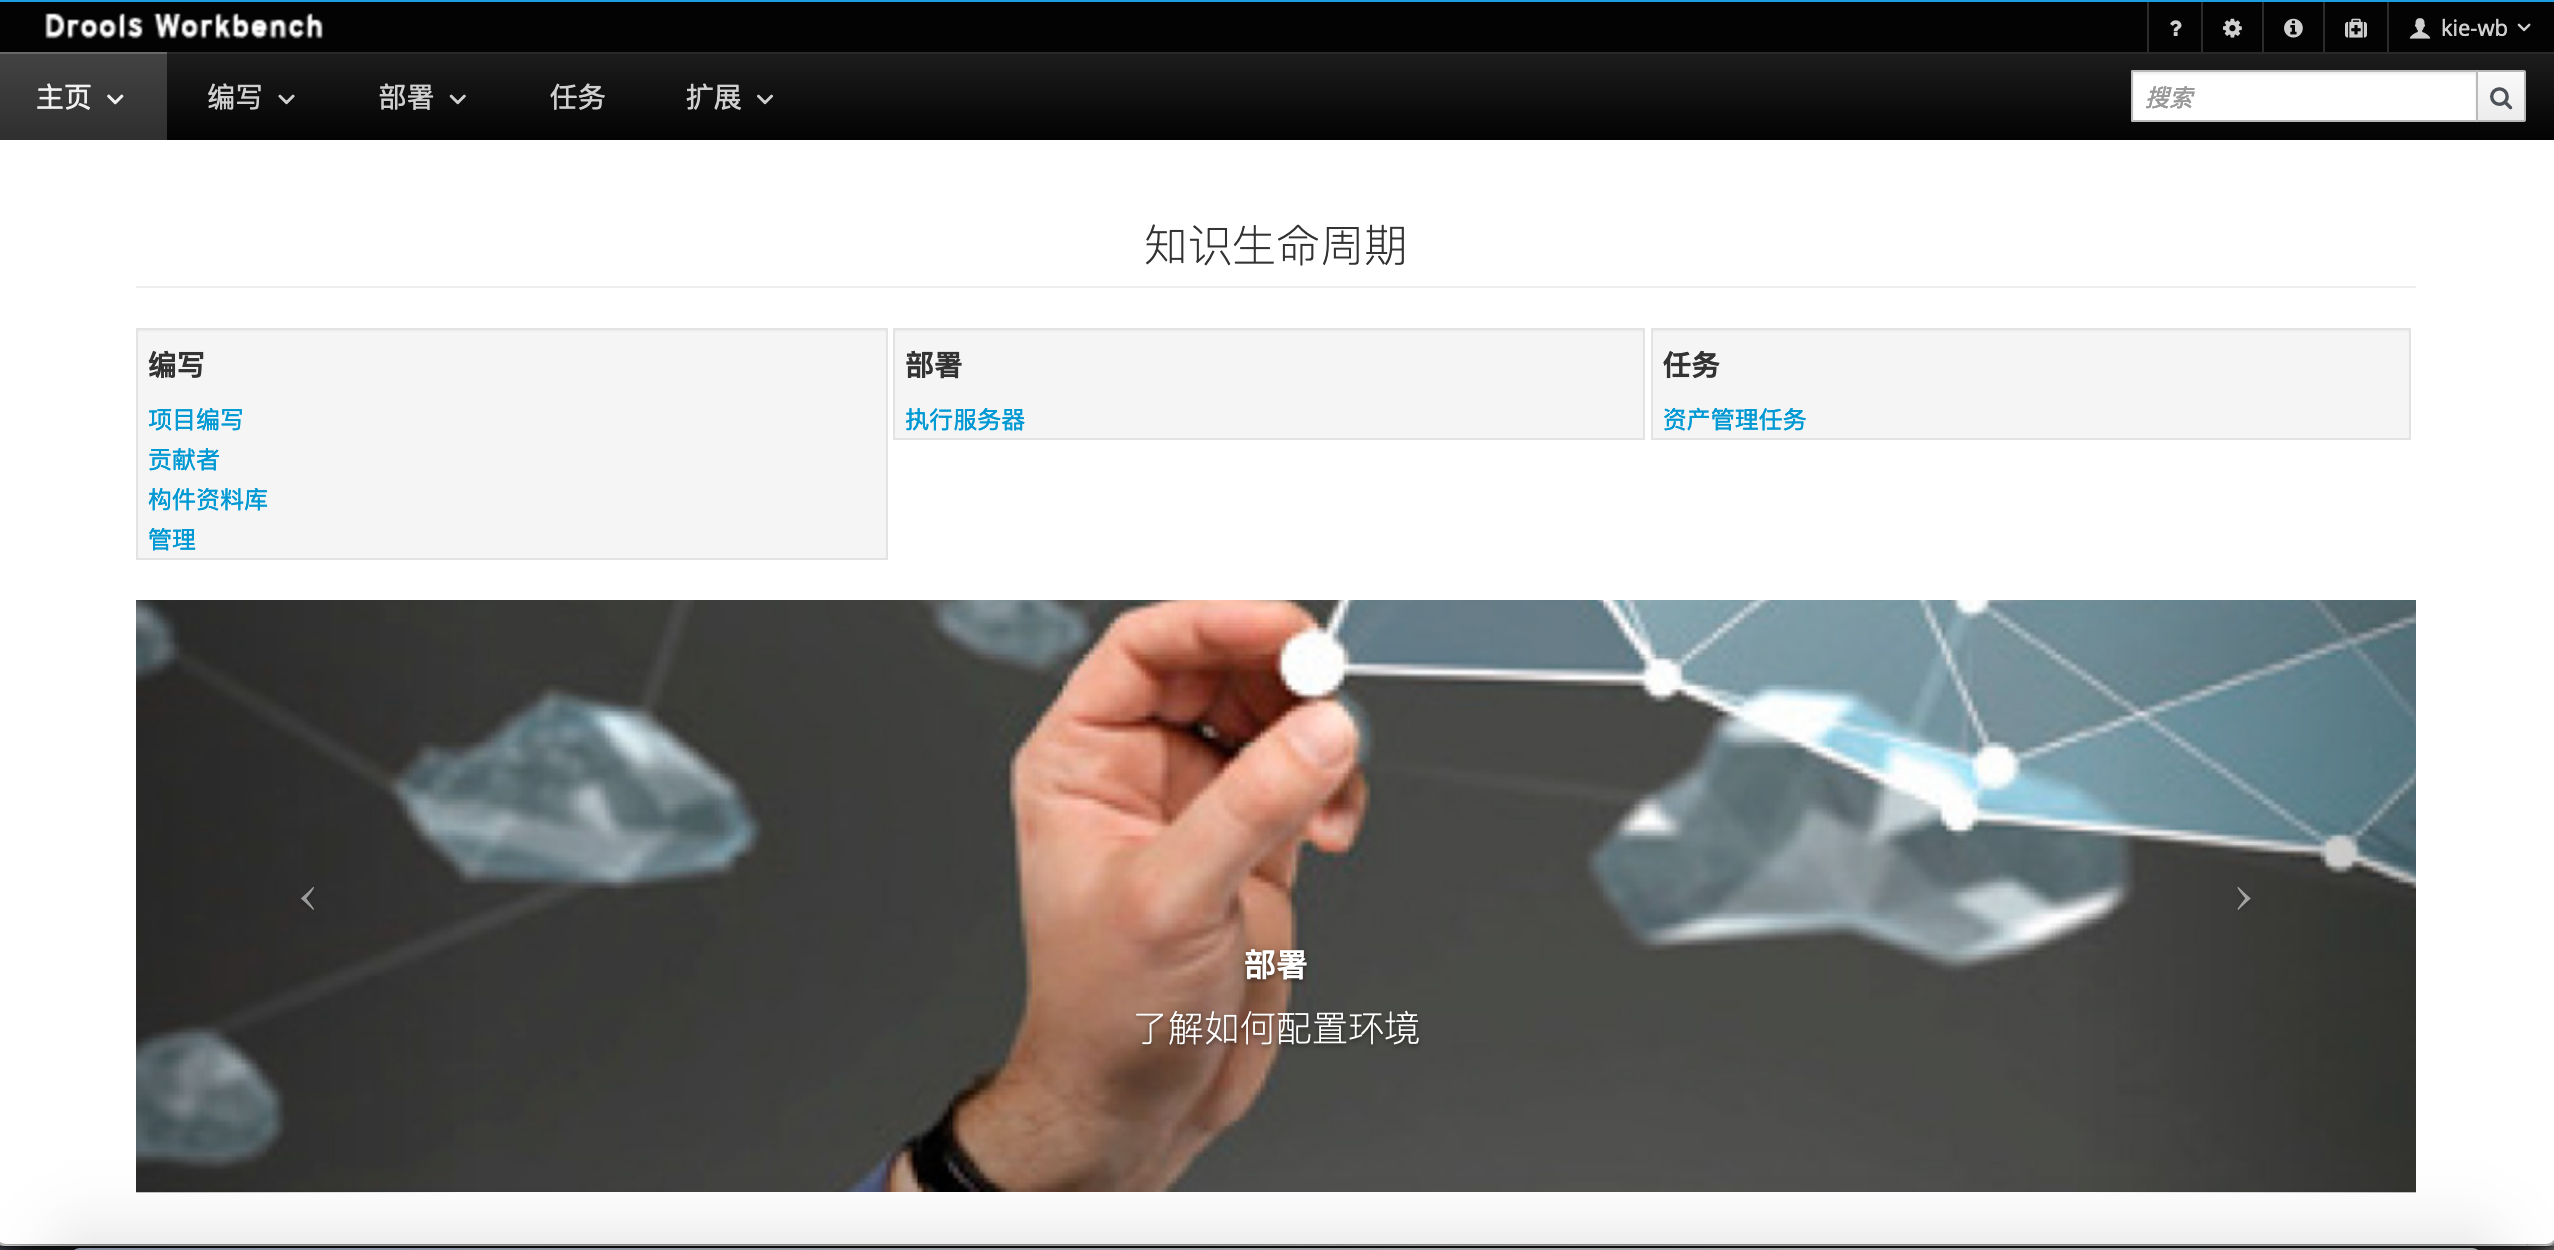
使用在tomcat-user.xml中配置的用户和密码kie-wb进行登录,即可进入管理页面:

下面便可以进行相关操作了。
感谢各位的阅读,以上就是“Drools Workbench 6.5.0.Final环境部署教程”的内容了,经过本文的学习后,相信大家对Drools Workbench 6.5.0.Final环境部署教程这一问题有了更深刻的体会,具体使用情况还需要大家实践验证。这里是亿速云,小编将为大家推送更多相关知识点的文章,欢迎关注!
亿速云「云服务器」,即开即用、新一代英特尔至强铂金CPU、三副本存储NVMe SSD云盘,价格低至29元/月。点击查看>>
免责声明:本站发布的内容(图片、视频和文字)以原创、转载和分享为主,文章观点不代表本网站立场,如果涉及侵权请联系站长邮箱:is@yisu.com进行举报,并提供相关证据,一经查实,将立刻删除涉嫌侵权内容。
原文链接:https://my.oschina.net/u/227504/blog/3076381