Netty中怎么整合WebSocket,很多新手对此不是很清楚,为了帮助大家解决这个难题,下面小编将为大家详细讲解,有这方面需求的人可以来学习下,希望你能有所收获。
WebSocket协议是基于
TCP的一种新的网络协议。它实现了浏览器与服务器全双工(full-duplex)通信——允许服务器主动发送信息给客户端 ,它是先进行一次Http的连接,连接成功后转为TCP连接。
现在我们来做一个WebSocket HelloWorld,意思为接收一条WebSocket客户端发送过来的消息,然后刷到所有连接上的客户端,大家都可以看到这条消息。
@Slf4j@AllArgsConstructorpublic class WebSocketServer {private int port;    public void run() throws InterruptedException {
        EventLoopGroup boss = new NioEventLoopGroup();        EventLoopGroup worker = new NioEventLoopGroup();        try {
            ServerBootstrap bootstrap = new ServerBootstrap();            bootstrap.group(boss,worker)
                    .channel(NioServerSocketChannel.class)
                    .option(ChannelOption.SO_BACKLOG,1024)
                    .childOption(ChannelOption.TCP_NODELAY,true)
                    .childHandler(new ChannelInitializer<SocketChannel>() {@Override                        protected void initChannel(SocketChannel ch) throws Exception {//web基于http协议的解码器                            ch.pipeline().addLast(new HttpServerCodec());                            //对大数据流的支持                            ch.pipeline().addLast(new ChunkedWriteHandler());                            //对http message进行聚合,聚合成FullHttpRequest或FullHttpResponse                            ch.pipeline().addLast(new HttpObjectAggregator(1024 * 64));                            //websocket服务器处理对协议,用于指定给客户端连接访问的路径                            //该handler会帮你处理一些繁重的复杂的事                            //会帮你处理握手动作:handshaking(close,ping,pong) ping + pong = 心跳                            //对于websocket来讲,都是以frames进行传输的,不同的数据类型对应的frames也不同                            ch.pipeline().addLast(new WebSocketServerProtocolHandler("/ws"));                            //添加我们的自定义channel处理器                            ch.pipeline().addLast(new WebSocketHandler());                        }
                    });            log.info("服务器启动中");            ChannelFuture future = bootstrap.bind(port).sync();            future.channel().closeFuture().sync();        } finally {
            worker.shutdownGracefully();            boss.shutdownGracefully();        }

    }
}
channel处理器
/** * TextWebSocketFrame: 在netty中,用于为websocket专门处理文本的对象,frame是消息的载体 */@Slf4jpublic class WebSocketHandler extends SimpleChannelInboundHandler<TextWebSocketFrame> {//用于记录和管理所有客户端的channel    private static ChannelGroup clients = new DefaultChannelGroup(GlobalEventExecutor.INSTANCE);    @Override    protected void channelRead0(ChannelHandlerContext ctx, TextWebSocketFrame msg) throws Exception {//获取客户端传输过来的消息        String content = msg.text();        log.info("接收到的数据" + content);        clients.stream().forEach(channel -> channel.writeAndFlush(new TextWebSocketFrame("[服务器在]" + LocalDateTime.now() + "接收到消息:" + content)
        ));        //下面的方法与上面一致//        clients.writeAndFlush(new TextWebSocketFrame("[服务器在]" + LocalDateTime.now() +//                "接收到消息:" + content));    }/**     * 当客户端连接服务端之后(打开连接)     * 获取客户端的channel,并且放到ChannelGroup中去进行管理     * @param ctx     * @throws Exception     */    @Override    public void handlerAdded(ChannelHandlerContext ctx) throws Exception {clients.add(ctx.channel());    }@Override    public void handlerRemoved(ChannelHandlerContext ctx) throws Exception {//当触发handlerRemoved,ChannelGroup会自动移除对应的客户端的channel        //所以下面这条语句可不写//        clients.remove(ctx.channel());        log.info("客户端断开,channel对应的长id为:" + ctx.channel().id().asLongText());        log.info("客户端断开,channel对应的短id为:" + ctx.channel().id().asShortText());    }
}
服务器启动
@SpringBootApplicationpublic class WebsocketApplication {   public static void main(String[] args) throws InterruptedException {
      SpringApplication.run(WebsocketApplication.class, args);      new WebSocketServer(10101).run();   }

}
客户端写一个html文件,代码如下
<!DOCTYPE html>
<html>
    <head>
        <meta charset="utf-8" />
        <title></title>
    </head>
    <body>
        <div>发送消息:</div>
        <input type="text" id="msgContent" />
        <input type="button" value="发送" onclick="CHAT.chat()" />

        <div>接受消息:</div>
        <div id="receiveMsg" ></div>

        <script type="application/javascript">
            window.CHAT = {
                socket: null,
                init: function() {
                    if (window.WebSocket) {
                        CHAT.socket = new WebSocket("ws://127.0.0.1:10101/ws");
                        CHAT.socket.onopen = function() {
                            console.log("连接建立成功");
                        },
                        CHAT.socket.onclose = function() {
                            console.log("连接关闭");
                        },
                        CHAT.socket.onerror = function() {
                            console.log("发生错误");
                        },
                        CHAT.socket.onmessage = function(e) {
                            console.log("接收到消息" + e.data);
                            var receiveMsg = document.getElementById("receiveMsg");
                            var html = receiveMsg.innerHTML;
                            receiveMsg.innerHTML = html + "<br/>" + e.data;
                        }
                    }else {
                        alert("浏览器不支持WebSocket协议...");
                    }
                },
                chat: function() {
                    var msg = document.getElementById("msgContent");
                    CHAT.socket.send(msg.value);
                }
            }
            CHAT.init();
        </script>
    </body>
</html>
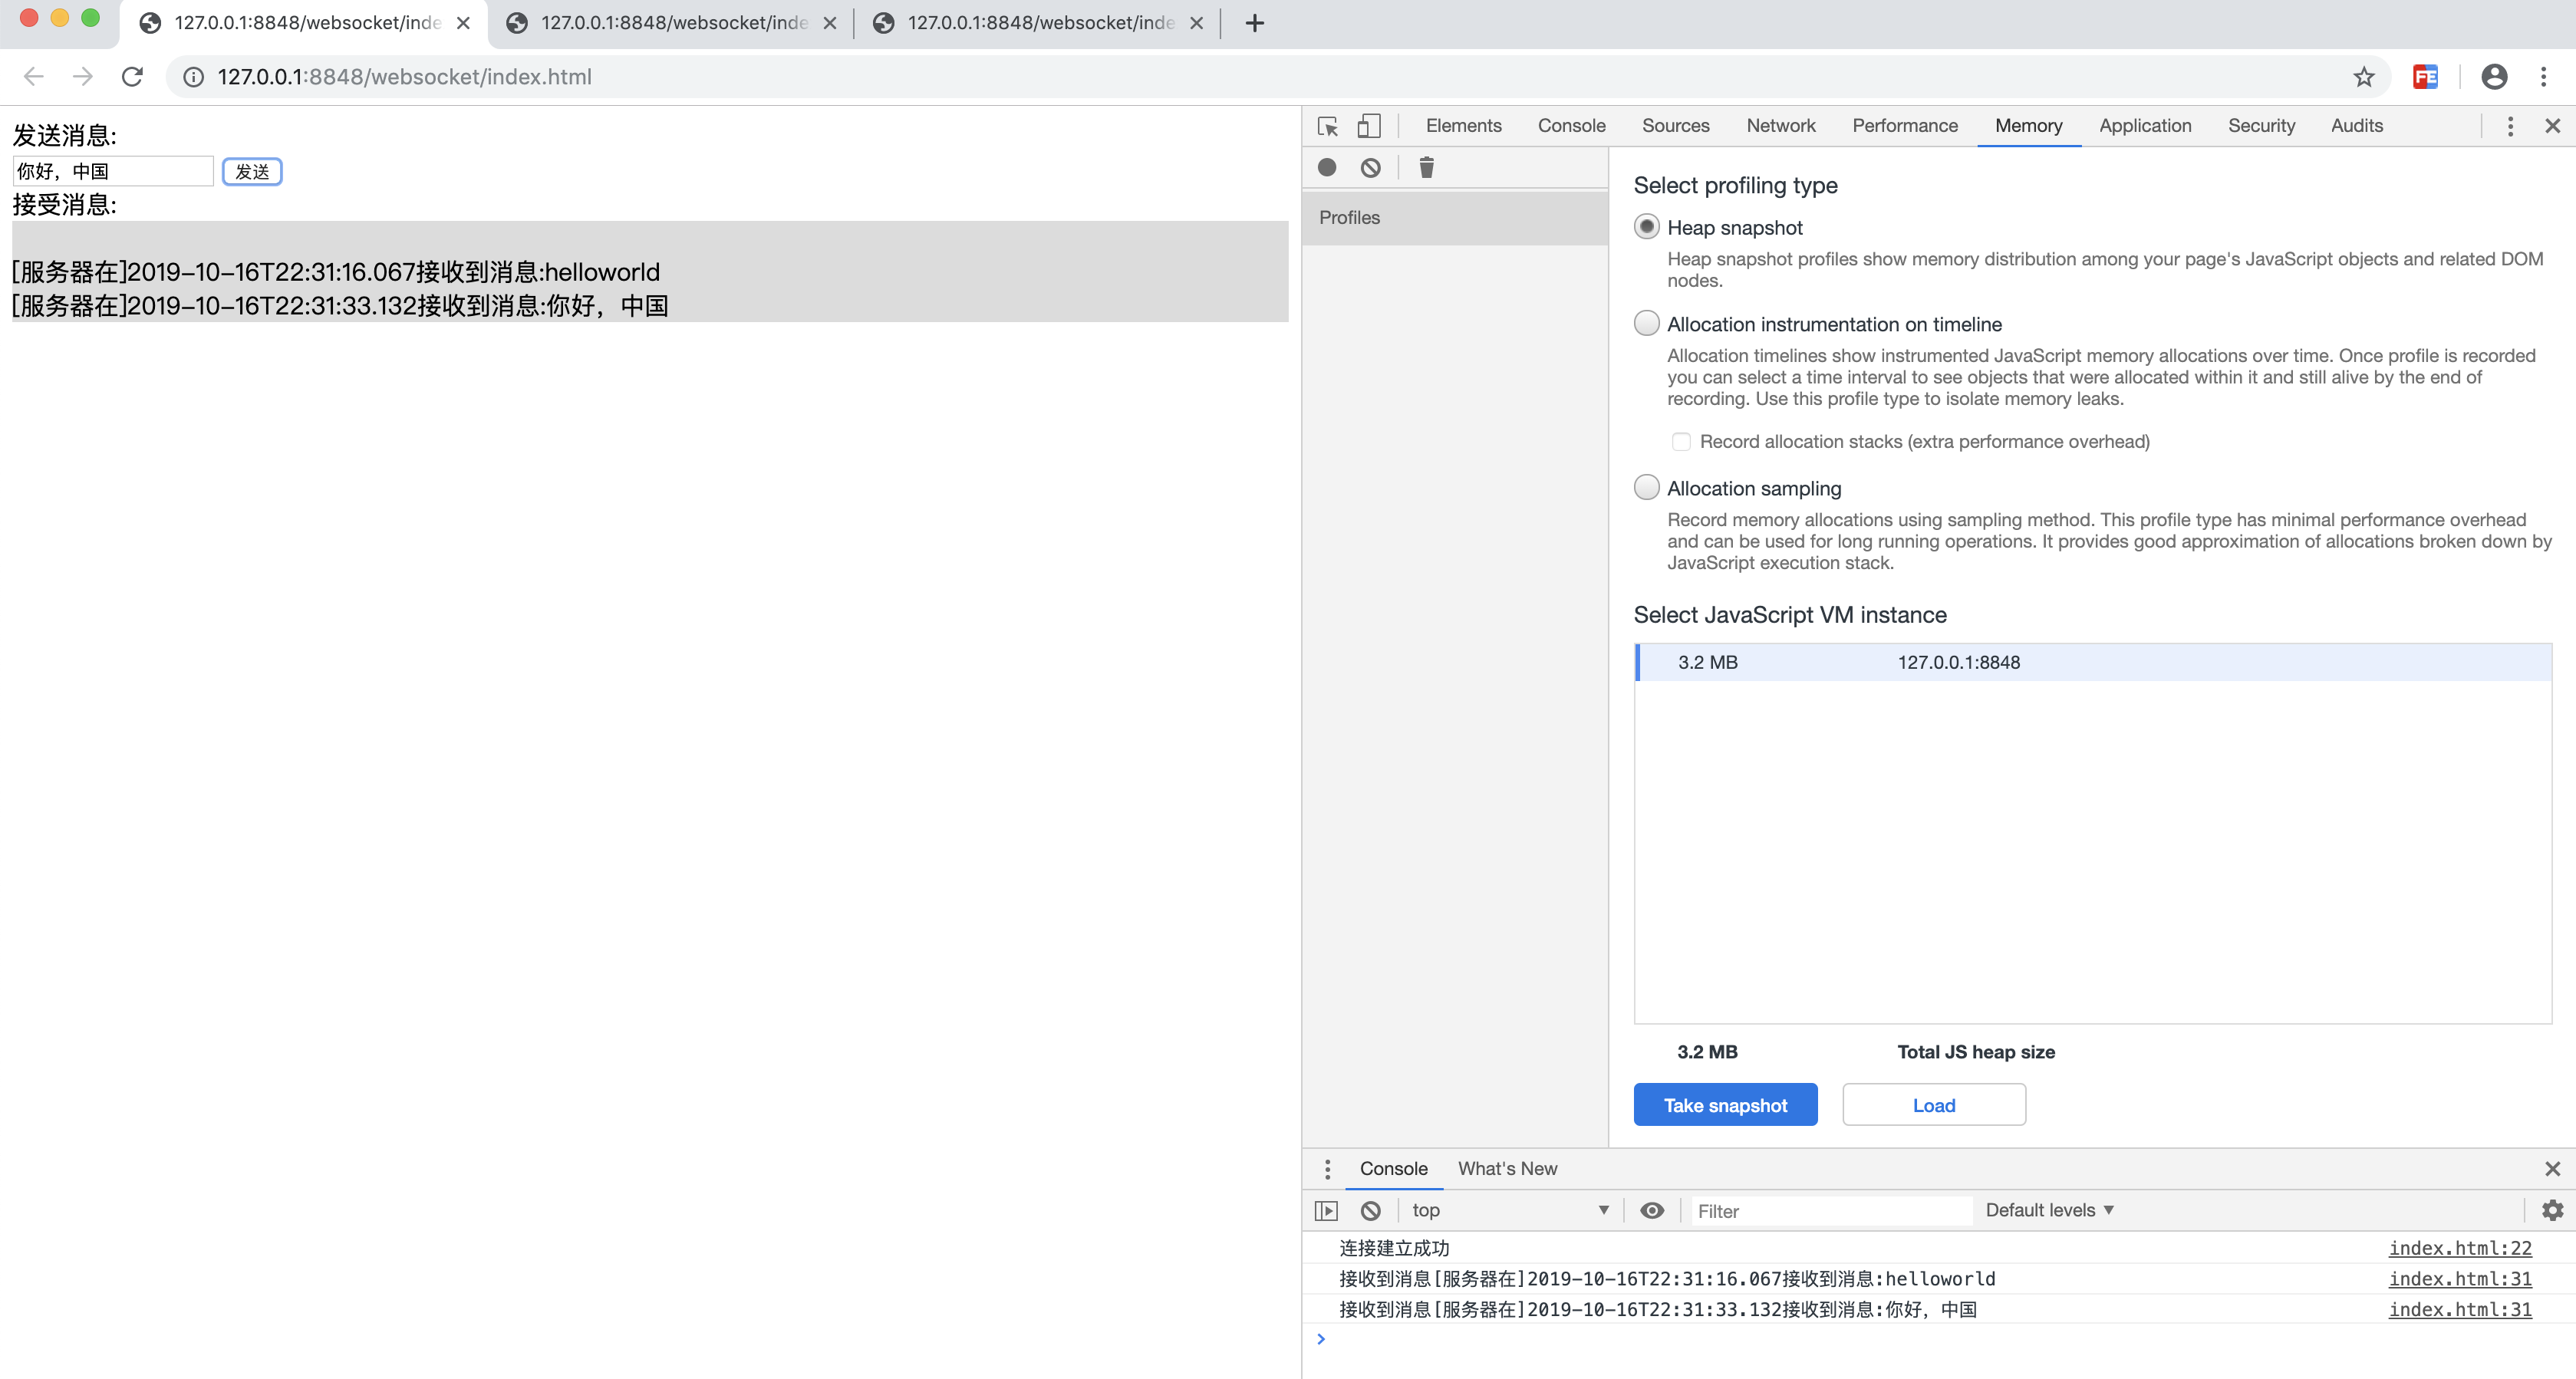
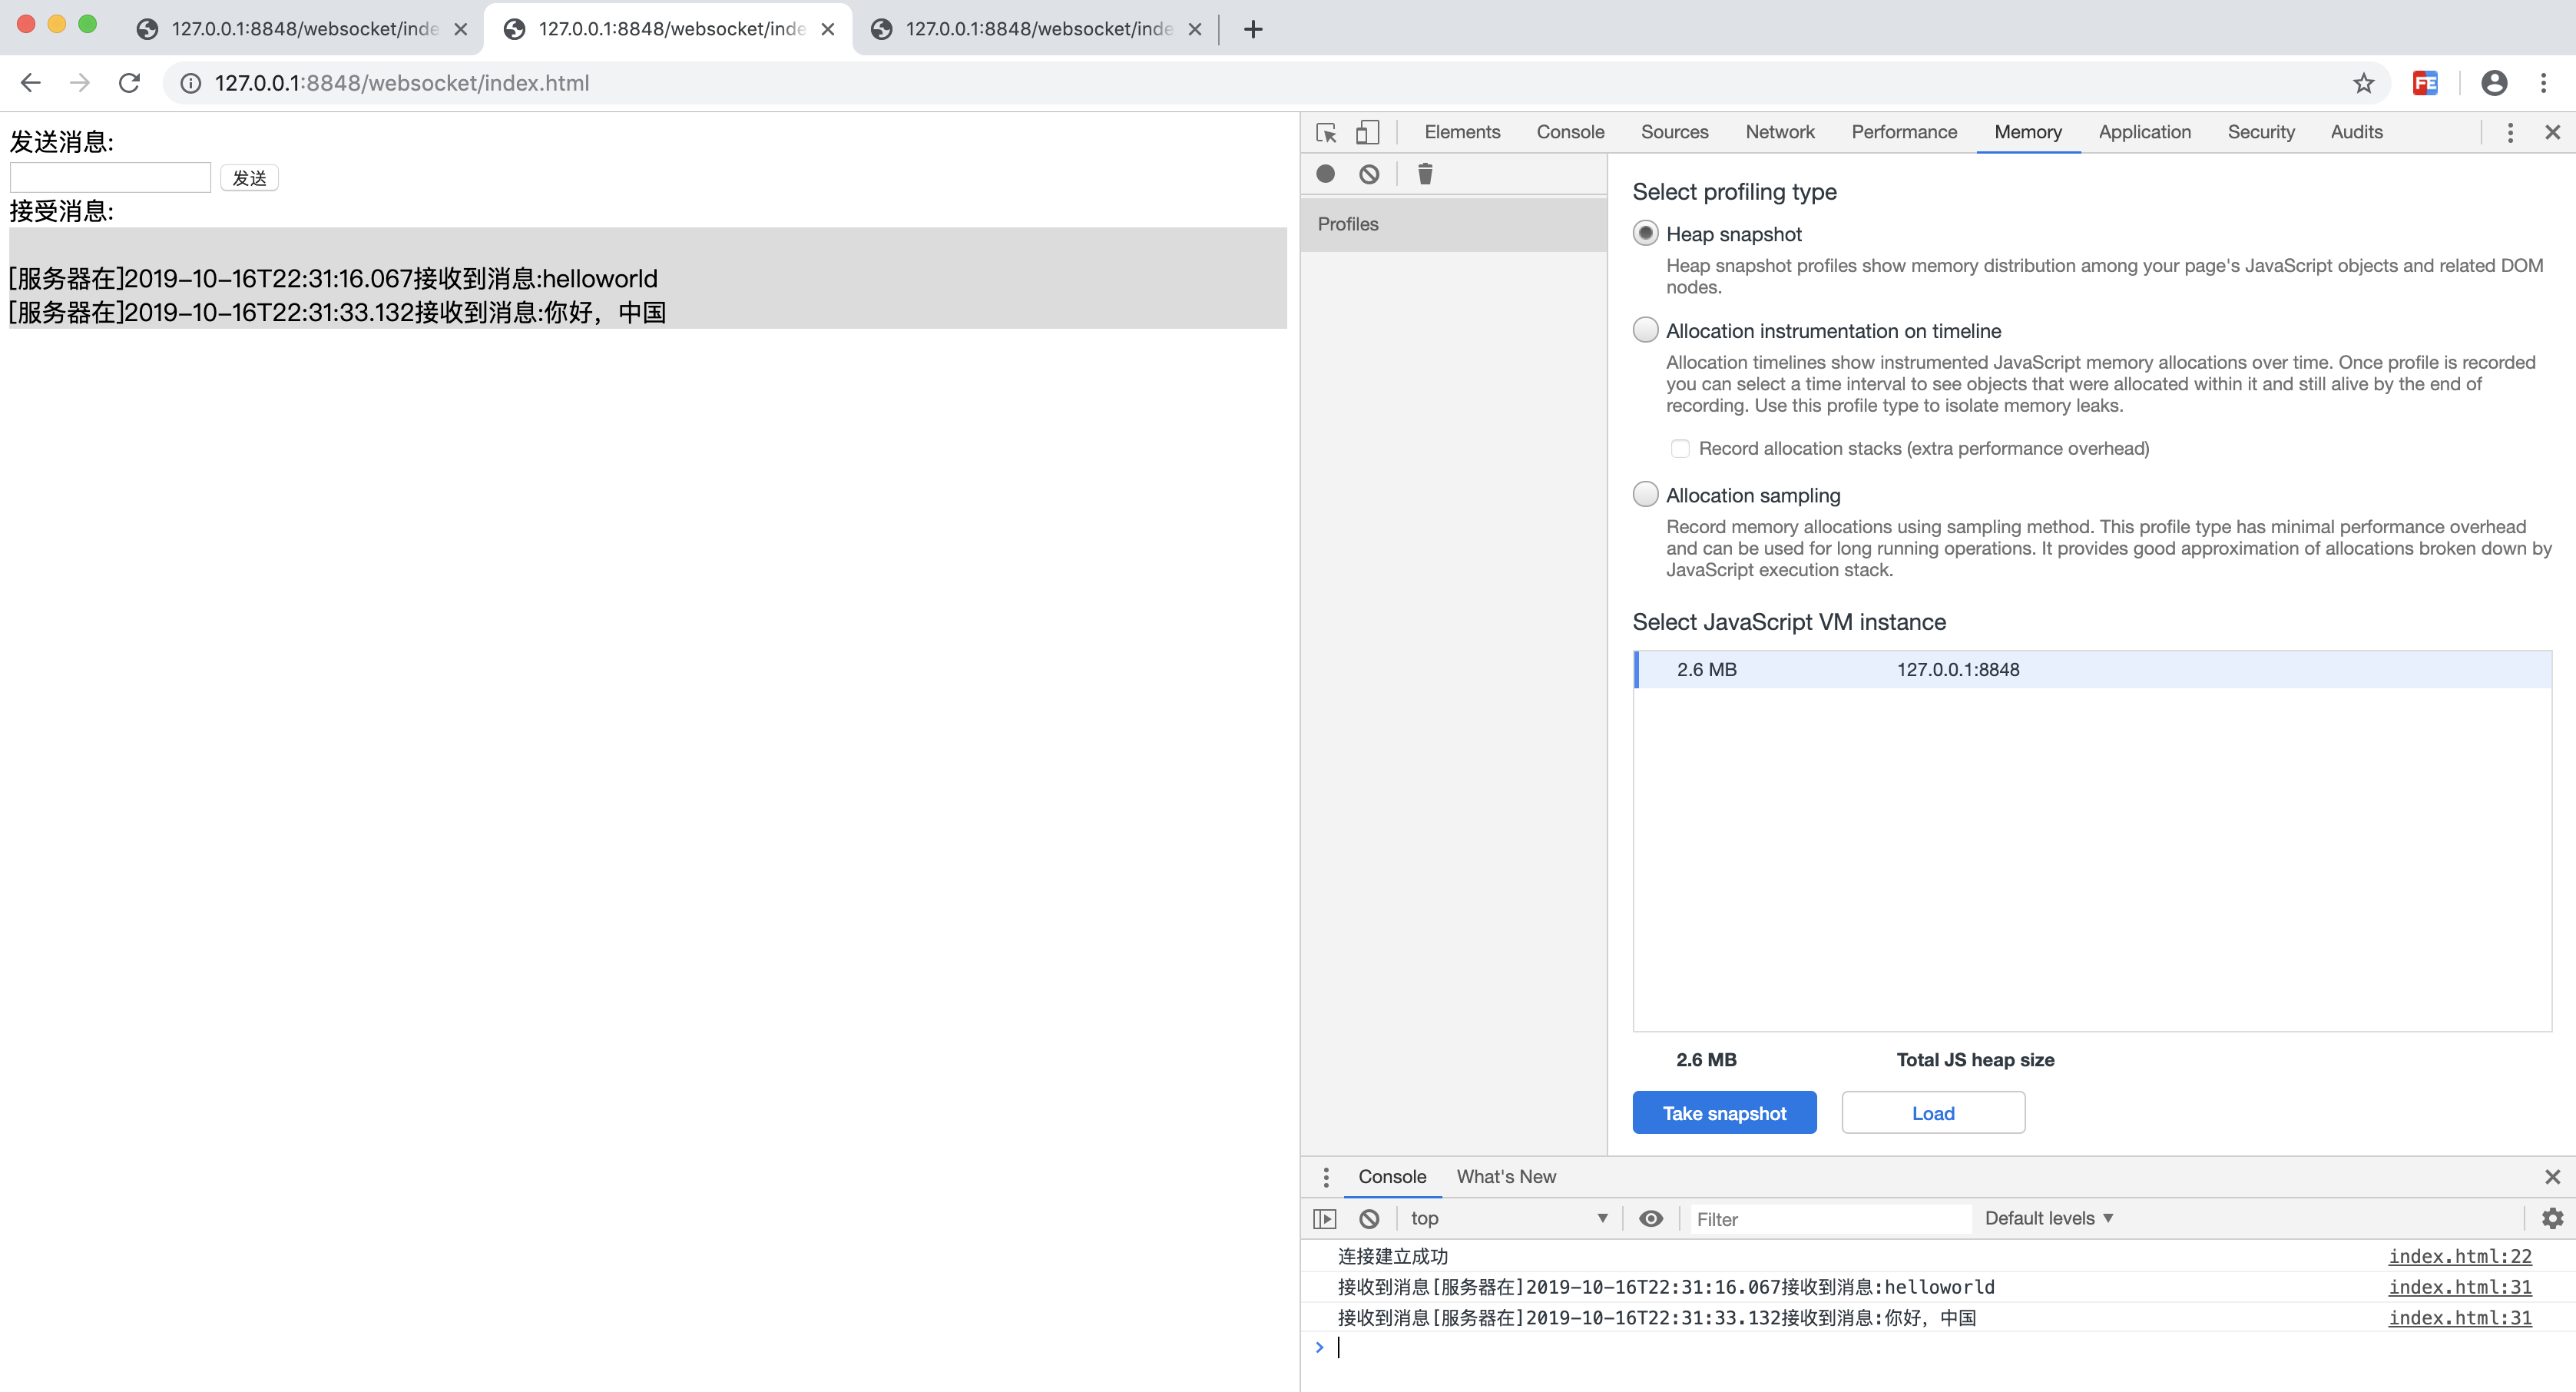
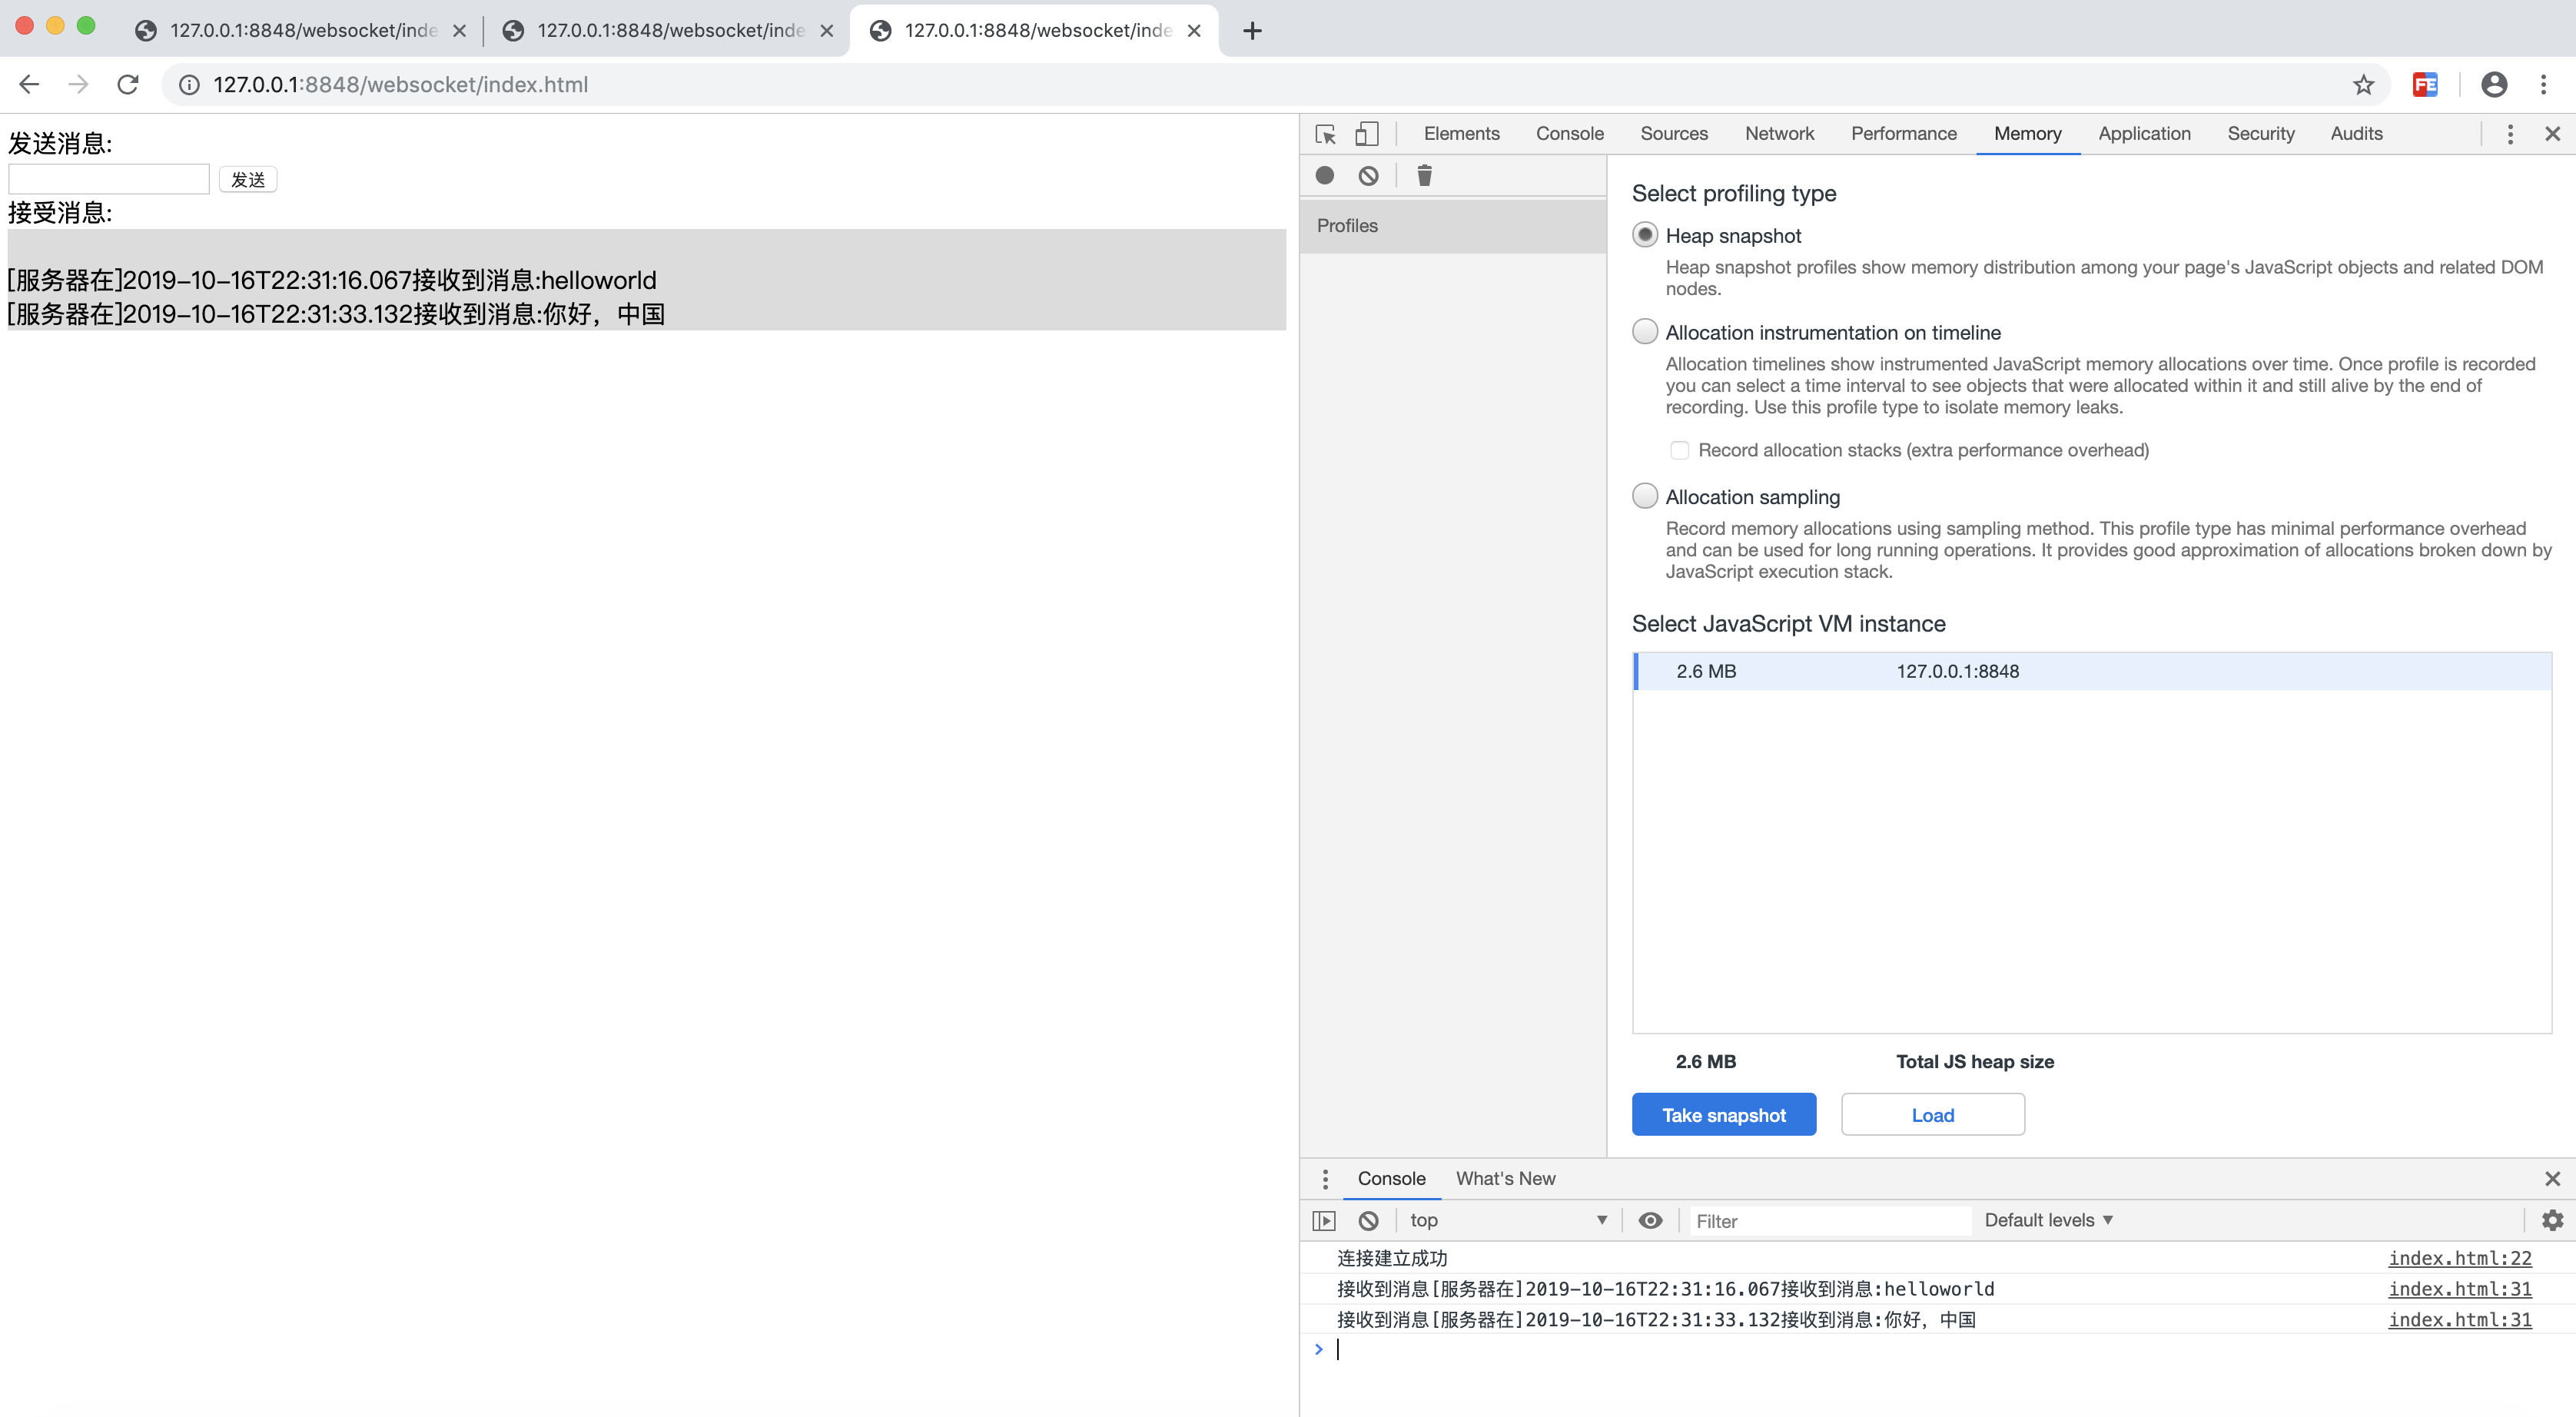
打开浏览器如下

此时我们输入一段话,发送


我们可以看到所有打开的连接,都会收到相同的消息。
此时服务器的日志
2019-10-16 22:31:16.066 INFO 1376 --- [ntLoopGroup-3-5] c.g.w.netty.websocket.WebSocketHandler : 接收到的数据helloworld
2019-10-16 22:31:33.131 INFO 1376 --- [ntLoopGroup-3-5] c.g.w.netty.websocket.WebSocketHandler : 接收到的数据你好,中国
如果我们关闭一个页面,服务器的日志为
2019-10-16 22:36:39.390 INFO 1376 --- [ntLoopGroup-3-7] c.g.w.netty.websocket.WebSocketHandler : 客户端断开,channel对应的长id为:acde48fffe001122-00000560-00000007-9ca78ac7e2b907ab-0b15dfcb
2019-10-16 22:36:39.390 INFO 1376 --- [ntLoopGroup-3-7] c.g.w.netty.websocket.WebSocketHandler : 客户端断开,channel对应的短id为:0b15dfcb
现在我们来做一个点对点的聊天功能。
首先WebSocketServer添加空闲处理器
@Slf4j@AllArgsConstructorpublic class WebSocketServer {private int port;    public void run() throws InterruptedException {
        EventLoopGroup boss = new NioEventLoopGroup();        EventLoopGroup worker = new NioEventLoopGroup();        try {
            ServerBootstrap bootstrap = new ServerBootstrap();            bootstrap.group(boss,worker)
                    .channel(NioServerSocketChannel.class)
                    .option(ChannelOption.SO_BACKLOG,1024)
                    .childOption(ChannelOption.TCP_NODELAY,true)
                    .childHandler(new ChannelInitializer<SocketChannel>() {@Override                        protected void initChannel(SocketChannel ch) throws Exception {//web基于http协议的解码器                            ch.pipeline().addLast(new HttpServerCodec());                            //对大数据流的支持                            ch.pipeline().addLast(new ChunkedWriteHandler());                            //对http message进行聚合,聚合成FullHttpRequest或FullHttpResponse                            ch.pipeline().addLast(new HttpObjectAggregator(1024 * 64));                            //websocket服务器处理对协议,用于指定给客户端连接访问的路径                            //该handler会帮你处理一些繁重的复杂的事                            //会帮你处理握手动作:handshaking(close,ping,pong) ping + pong = 心跳                            //对于websocket来讲,都是以frames进行传输的,不同的数据类型对应的frames也不同                            ch.pipeline().addLast(new WebSocketServerProtocolHandler("/ws"));                            //针对客户端,如果1分钟时没有向服务端发送读写心跳(All),则主动断开                            //如果是读空闲或者是写空闲,不处理                            ch.pipeline().addLast(new IdleStateHandler(20,40,60));                            //添加我们的自定义channel处理器                            ch.pipeline().addLast(new WebSocketHandler());                        }
                    });            log.info("服务器启动中");            ChannelFuture future = bootstrap.bind(port).sync();            future.channel().closeFuture().sync();        } finally {
            worker.shutdownGracefully();            boss.shutdownGracefully();        }

    }
}
然后我们需要增加两个实体类——消息类和聊天类
首先添加一个消息的接口
public interface Chat {/** * 保存消息到数据库 * @param chatMsg */ public void save(Chat chatMsg); /** * 签名消息 * @param msgIdList */ public void updateMsgSigned(List<Long> msgIdList); /** * 查找未读未签名消息 * @param acceptUserId * @return */ public List<ChatMsg> findUnReadChat(Long acceptUserId);}添加一个消息的类来实现该接口
@ToString@Datapublic class ChatMsg implements Serializable,Chat{@JSONField(serializeUsing = ToStringSerializer.class)private Long senderId; //发送者的用户id    @JSONField(serializeUsing = ToStringSerializer.class)private Long receiverId; //接收者的用户id    private String msg;    @JSONField(serializeUsing = ToStringSerializer.class)private Long msgId; //用于消息的签收    private MsgSignFlagEnum signed; //消息签收状态    private LocalDateTime createDate;    @Override    @Transactional    public void save(Chat chatMsg) {
        ChatDao chatDao = SpringBootUtil.getBean(ChatDao.class);        IdService idService = SpringBootUtil.getBean(IdService.class);        ((ChatMsg)chatMsg).setMsgId(idService.genId());        ((ChatMsg)chatMsg).setCreateDate(LocalDateTime.now());        chatDao.saveChat((ChatMsg) chatMsg);    }@Transactional    @Override    public void updateMsgSigned(List<Long> msgIdList) {
        ChatDao chatDao = SpringBootUtil.getBean(ChatDao.class);        chatDao.updateMsgSigned(msgIdList);    }@Transactional    @Override    public List<ChatMsg> findUnReadChat(Long acceptUserId) {
        ChatDao chatDao = SpringBootUtil.getBean(ChatDao.class);        return chatDao.findUnReadMsg(acceptUserId);    }
}
其中MsgSignFlagEnum为一个枚举类型,代码如下
public enum MsgSignFlagEnum implements LocalisableAll {unsign(0,"未签收"),    signed(1,"已签收");    public final int type;    public final String value;    private MsgSignFlagEnum(int type,String value) {this.type = type;        this.value = value;    }@Override    public int getType() {return type;    }@Override    public String getValue() {return value;    }
}
建立一个消息的工厂
public class ChatMsgFactory {public static Chat createChatMsgService() {return new ChatMsg();    }
}
然后是聊天类
@Datapublic class DataContent implements Serializable {private Integer action; //动作类型 private ChatMsg chatMsg; //用户的聊天内容entity private String extand; //扩展字段}我们根据动作类型来定义一个枚举
public enum MsgActionEnum {CONNECT(1,"第一次(或重连)初始化连接"),    CHAT(2,"聊天消息"),    SIGNED(3,"消息签收"),    KEEPALIVE(4,"客户端保持心跳");    public final Integer type;    public final String content;    private MsgActionEnum(Integer type,String content) {this.type = type;        this.content = content;    }
}
在写WebSocketHandler之前,我们需要将用户Id跟Channel做一个绑定
/** * 用户id和channel的关联关系的处理 */@Slf4jpublic class UserChannelRel {private static Map<Long,Channel> manager = new HashMap<>();    public static void put(Long senderId,Channel channel) {manager.put(senderId,channel);    }public static Channel get(Long senderId) {return manager.get(senderId);    }public static void output() {manager.entrySet().stream().forEach(entry ->log.info("UserId:" + entry.getKey() + ",ChannelId:" +
                    entry.getValue().id().asLongText())
        );    }
}
最后WebSocketHandler改写如下
/** * TextWebSocketFrame: 在netty中,用于为websocket专门处理文本的对象,frame是消息的载体 */@Slf4jpublic class WebSocketHandler extends SimpleChannelInboundHandler<TextWebSocketFrame> {//用于记录和管理所有客户端的channel    private static ChannelGroup users = new DefaultChannelGroup(GlobalEventExecutor.INSTANCE);    private Chat chatMsgService = ChatMsgFactory.createChatMsgService();    @Override    protected void channelRead0(ChannelHandlerContext ctx, TextWebSocketFrame msg) throws Exception {//获取客户端传输过来的消息        String content = msg.text();        log.info("content为:" + content);        Channel currentChannel = ctx.channel();        //解析传输过来的消息转成聊天对象        DataContent dataContent = JSONObject.parseObject(content,DataContent.class);        //获取聊天对象的动作        Integer action = dataContent.getAction();        if (action == MsgActionEnum.CONNECT.type) {//当websocket第一次open的时候,初始化channel,把用的channel和userId关联起来            Long senderId = dataContent.getChatMsg().getSenderId();            UserChannelRel.put(senderId,currentChannel);            //测试            users.stream().forEach(channel -> log.info(channel.id().asLongText()));            UserChannelRel.output();        }else if (action == MsgActionEnum.CHAT.type) {//聊天类型的消息,把聊天记录保存到数据库,同时标记消息的签收状态[未签收]            ChatMsg chatMsg = dataContent.getChatMsg();            String msgText = chatMsg.getMsg();            Long receiverId = chatMsg.getReceiverId();            Long senderId = chatMsg.getSenderId();            //保存数据库            chatMsgService.save(chatMsg);            Channel receiverChannel = UserChannelRel.get(receiverId);            if (receiverChannel == null) {//接收方离线状态,此处无需处理            }else {
                Channel findChannel = users.find(receiverChannel.id());                if (findChannel != null) {
                    findChannel.writeAndFlush(new TextWebSocketFrame(
                            JSONObject.toJSONString(chatMsg)
                    ));                }else {//接收方离线,此处无需处理                }
            }
        }else if (action == MsgActionEnum.SIGNED.type) {//签收消息类型,针对具体的消息进行签收,修改数据库中对应消息的签收状态[已签收]            //扩展字段在signed类型的消息中,代表需要去签收的消息id,逗号间隔            String msgIdsStr = dataContent.getExtand();            log.info("extand为:" + msgIdsStr);            String[] msgIds = msgIdsStr.split(",");            List<Long> msgIdList = new ArrayList<>();            for (String mId : msgIds) {if (!StringUtils.isEmpty(mId)) {
                    msgIdList.add(Long.valueOf(mId));                }
            }log.info(msgIdList.toString());            if (!CollectionUtils.isEmpty(msgIdList)) {//批量签收                chatMsgService.updateMsgSigned(msgIdList);            }
        }else if (action == MsgActionEnum.KEEPALIVE.type) {//心跳类型的消息            log.info("收到来自channel为[" + currentChannel + "]的心跳包");        }
    }/**     * 当客户端连接服务端之后(打开连接)     * 获取客户端的channel,并且放到ChannelGroup中去进行管理     * @param ctx     * @throws Exception     */    @Override    public void handlerAdded(ChannelHandlerContext ctx) throws Exception {users.add(ctx.channel());    }@Override    public void handlerRemoved(ChannelHandlerContext ctx) throws Exception {//当触发handlerRemoved,ChannelGroup会自动移除对应的客户端的channel        //所以下面这条语句可不写//        clients.remove(ctx.channel());        log.info("客户端断开,channel对应的长id为:" + ctx.channel().id().asLongText());        log.info("客户端断开,channel对应的短id为:" + ctx.channel().id().asShortText());    }@Override    public void exceptionCaught(ChannelHandlerContext ctx, Throwable cause) throws Exception {
        cause.printStackTrace();        ctx.channel().close();        users.remove(ctx.channel());    }@Override    public void userEventTriggered(ChannelHandlerContext ctx, Object evt) throws Exception {//IdleStateEvent是一个用户事件,包含读空闲/写空闲/读写空闲        if (evt instanceof IdleStateEvent) {
            IdleStateEvent event = (IdleStateEvent) evt;            if (event.state() == IdleState.READER_IDLE) {log.info("进入读空闲");            }else if (event.state() == IdleState.WRITER_IDLE) {log.info("进入写空闲");            }else if (event.state() == IdleState.ALL_IDLE) {log.info("channel关闭前,用户数量为:" + users.size());                //关闭无用的channel,以防资源浪费                ctx.channel().close();                log.info("channel关闭后,用户数量为:" + users.size());            }

        }
    }
}
此处我们可以看到有两个地方注释了//接收方离线状态,此处无需处理。所以我们需要在用户上线的时候获取未签名的消息,只需要通过Controller从数据库获取就好
@RestControllerpublic class UnReadMessageController {   private Chat chatService = ChatMsgFactory.createChatMsgService();   @SuppressWarnings("unchecked")   @PostMapping("/notification-anon/getunreadmeg")   public Result<List<ChatMsg>> getUnReadMessage(@RequestParam("receiverid") Long receiverId) {      return Result.success(chatService.findUnReadChat(receiverId));   }
}
由于我们登录用的是OAuth框架,在user模块添加
@PostMapping("/users-anon/finduser")public LoginAppUser findUserByName(@RequestParam("username") String username) {return appUserService.findByUsername(username);}修改网关登录,登录后可以获取用户的信息,首先添加User模块的feign
@FeignClient("user-center")public interface UserClient {@PostMapping("/users-anon/finduser")
    LoginAppUser findUserByName(@RequestParam("username") String username);}
/** * 登陆、刷新token、退出 * * @author 关键 */@Slf4j@RestControllerpublic class TokenController {@Autowired private Oauth3Client oauth3Client; @Autowired private UserClient userClient; /** * 系统登陆<br> * 根据用户名登录<br> * 采用oauth3密码模式获取access_token和refresh_token * * @param username * @param password * @return */ @SuppressWarnings("unchecked")@PostMapping("/sys/login")public Result<Map> login(@RequestParam String username,@RequestParam String password) {
Map<String, String> parameters = new HashMap<>(); parameters.put(OAuth3Utils.GRANT_TYPE, "password"); parameters.put(OAuth3Utils.CLIENT_ID, "system"); parameters.put("client_secret", "system"); parameters.put(OAuth3Utils.SCOPE, "app");// parameters.put("username", username); // 为了支持多类型登录,这里在username后拼装上登录类型 parameters.put("username", username + "|" + CredentialType.USERNAME.name()); parameters.put("password", password); Map<String, Object> tokenInfo = oauth3Client.postAccessToken(parameters); AppUser user = userClient.findUserByName(username); tokenInfo.put("user",user); saveLoginLog(username, "用户名密码登陆"); return Result.success(tokenInfo); }@Autowired private LogClient logClient; /** * 登陆日志 * * @param username */ private void saveLoginLog(String username, String remark) {log.info("{}登陆", username); // 异步 CompletableFuture.runAsync(() -> {try {
Log log = Log.builder().username(username).module(LogModule.LOGIN).remark(remark).createTime(new Date())
.build(); logClient.save(log); } catch (Exception e) {// do nothing }
}); }/** * 系统刷新refresh_token * * @param refresh_token * @return */ @PostMapping("/sys/refresh_token")public Map<String, Object> refresh_token(String refresh_token) {
Map<String, String> parameters = new HashMap<>(); parameters.put(OAuth3Utils.GRANT_TYPE, "refresh_token"); parameters.put(OAuth3Utils.CLIENT_ID, "system"); parameters.put("client_secret", "system"); parameters.put(OAuth3Utils.SCOPE, "app"); parameters.put("refresh_token", refresh_token); return oauth3Client.postAccessToken(parameters); }/** * 退出 * * @param access_token */ @GetMapping("/sys/logout")public void logout(String access_token, @RequestHeader(required = false, value = "Authorization") String token) {if (StringUtils.isBlank(access_token)) {if (StringUtils.isNoneBlank(token)) {
access_token = token.substring(OAuth3AccessToken.BEARER_TYPE.length() + 1); }
}oauth3Client.removeToken(access_token); }
}做如上修改后,我们登录后可以获得用户的Id,以上省略Dao,Mapper
这个时候服务端就全部完成了,我们再来看一下客户端
先建立一个全局变量app.js
window.app = {

	/**
	 * 和后端的枚举对应
	 */
	CONNECT: 1,			//"第一次(或重连)初始化连接"),
	CHAT: 2,			//"聊天消息"),
	SIGNED: 3,			//"消息签收"),
	KEEPALIVE: 4,		//"客户端保持心跳");

	/**
	* 和后端的ChatMsg聊天模型对象保持一致
	* @param {Object} senderId
	* @param {Object} receiverId
	* @param {Object} msg
	* @param {Object} msgId
	*/
	ChatMsg: function(senderId,receiverId,msg,msgId) {
		this.senderId = senderId;
		this.receiverId = receiverId;
		this.msg = msg;
		this.msgId = msgId;
	},

	/**
	* 构建消息模型对象
	* @param {Object} action
	* @param {Object} chatMsg
	* @param {Object} extand
	*/
	DataContent: function(action,chatMsg,extand) {
		this.action = action;
		this.chatMsg = chatMsg;
		this.extand = extand;
	}
}
由于这里只是聊天样例,没有处理登录功能,我们现在就以1,2来代表两个用户的id
用户id为1的代码,文件名index.html
<!DOCTYPE html>
<html>
	<head>
		<meta charset="utf-8" />
		<title></title>
	</head>
	<body>
		<div>发送消息:</div>
		<input type="text" id="msgContent" />
		<input type="button" value="发送" onclick="CHAT.chat(1,2,msgContent.value,app.CHAT,null)" />

		<div>接受消息:</div>
		<div id="receiveMsg" ></div>
		<script type="application/javascript" src="js/app.js"></script>
		<script type="application/javascript" src="js/mui.min.js"></script>
		<script type="application/javascript">
			window.CHAT = {
				socket: null,
				init: function() {
					if (window.WebSocket) {
						CHAT.socket = new WebSocket("ws://127.0.0.1:9999/ws");
						CHAT.socket.onopen = function() {
							console.log("连接建立成功");

							CHAT.chat(1,null,null,app.CONNECT,null);
							//每次连接的时候获取未读消息
							fetchUnReadMsg();
							//定时发送心跳,30秒一次
							setInterval("CHAT.keepalive()",30000);
						},
						CHAT.socket.onclose = function() {
							console.log("连接关闭");
						},
						CHAT.socket.onerror = function() {
							console.log("发生错误");
						},
						CHAT.socket.onmessage = function(e) {
							console.log("接收到消息" + e.data);
							var receiveMsg = document.getElementById("receiveMsg");
							var html = receiveMsg.innerHTML;
							var chatMsg = JSON.parse(e.data);
							receiveMsg.innerHTML = html + "<br/>" + chatMsg.msg;
							//消息签收
							CHAT.chat(chatMsg.receiverId,null,null,app.SIGNED,String(chatMsg.msgId));
						}
					}else {
						alert("浏览器不支持WebSocket协议...");
					}
				},
				chat: function(senderId,receiverId,msg,action,extand) {
					var chatMsg = new app.ChatMsg(senderId,receiverId,msg,null);
					var dataContent = new app.DataContent(action,chatMsg,extand);
					CHAT.socket.send(JSON.stringify(dataContent));
				},
				keepalive: function() {
					CHAT.chat(1,null,null,app.KEEPALIVE,null);
					fetchUnReadMsg();
				}
			}
			CHAT.init();
			function fetchUnReadMsg() {
				mui.ajax('http://127.0.0.1:8008/notification-anon/getunreadmeg?receiverid=1',{
					data:{},
					dataType:'json',//服务器返回json格式数据
					type:'post',//HTTP请求类型
					timeout:10000,//超时时间设置为10秒;
					success:function(data){
						if (data.code == 200) {
							var contactList = data.data;
							var ids = "";
							console.log(JSON.stringify(contactList));
							var receiveMsg = document.getElementById("receiveMsg");
							for (var i = 0;i < contactList.length;i++) {
								var msgObj = contactList[i];
								var html = receiveMsg.innerHTML;
								receiveMsg.innerHTML = html + "<br/>" + msgObj.msg;
								ids = ids + msgObj.msgId + ",";
							}
							//批量签收未读消息
							CHAT.chat(1,null,null,app.SIGNED,ids);
						}
					}
				});
			}
		</script>
	</body>
</html>
用户id为2的代码,文件名receive.html
<!DOCTYPE html>
<html>
	<head>
		<meta charset="utf-8" />
		<title></title>
	</head>
	<body>
		<div>发送消息:</div>
		<input type="text" id="msgContent" />
		<input type="button" value="发送" onclick="CHAT.chat(2,1,msgContent.value,app.CHAT,null)" />

		<div>接受消息:</div>
		<div id="receiveMsg" ></div>
		<script type="application/javascript" src="js/app.js"></script>
		<script type="application/javascript" src="js/mui.min.js"></script>
		<script type="application/javascript">
			window.CHAT = {
				socket: null,
				init: function() {
					if (window.WebSocket) {
						CHAT.socket = new WebSocket("ws://127.0.0.1:9999/ws");
						CHAT.socket.onopen = function() {
							console.log("连接建立成功");

							CHAT.chat(2,null,null,app.CONNECT,null);
							//每次连接的时候获取未读消息
							fetchUnReadMsg();
							//定时发送心跳,30秒一次
							setInterval("CHAT.keepalive()",30000);
						},
						CHAT.socket.onclose = function() {
							console.log("连接关闭");
						},
						CHAT.socket.onerror = function() {
							console.log("发生错误");
						},
						CHAT.socket.onmessage = function(e) {
							console.log("接收到消息" + e.data);
							var receiveMsg = document.getElementById("receiveMsg");
							var html = receiveMsg.innerHTML;
							var chatMsg = JSON.parse(e.data);
							receiveMsg.innerHTML = html + "<br/>" + chatMsg.msg;
							//消息签收
							CHAT.chat(chatMsg.receiverId,null,null,app.SIGNED,String(chatMsg.msgId));
						}
					}else {
						alert("浏览器不支持WebSocket协议...");
					}
				},
				chat: function(senderId,receiverId,msg,action,extand) {
					var chatMsg = new app.ChatMsg(senderId,receiverId,msg,null);
					var dataContent = new app.DataContent(action,chatMsg,extand);
					CHAT.socket.send(JSON.stringify(dataContent));
				},
				keepalive: function() {
					CHAT.chat(2,null,null,app.KEEPALIVE,null);
					fetchUnReadMsg();
				}
			}
			CHAT.init();
			function fetchUnReadMsg() {
				mui.ajax('http://127.0.0.1:8008/notification-anon/getunreadmeg?receiverid=2',{
					data:{},
					dataType:'json',//服务器返回json格式数据
					type:'post',//HTTP请求类型
					timeout:10000,//超时时间设置为10秒;
					success:function(data){
						if (data.code == 200) {
							var contactList = data.data;
							var ids = "";
							console.log(JSON.stringify(contactList));
							var receiveMsg = document.getElementById("receiveMsg");
							for (var i = 0;i < contactList.length;i++) {
								var msgObj = contactList[i];
								var html = receiveMsg.innerHTML;
								receiveMsg.innerHTML = html + "<br/>" + msgObj.msg;
								ids = ids + msgObj.msgId + ",";
							}
							//批量签收未读消息
							CHAT.chat(2,null,null,app.SIGNED,ids);
						}
					}
				});
		</script>
	</body>
</html>
这里都是通过Json来做数据的序列化的,之后会修改为ProtoBuffer来处理。
现在来增加发图片的功能。首先我们需要搭建好一个fastdfs服务器,具体可以参考分布式文件系统FastDFS安装配置 以及Springboot 2.0+FastDFS开发配置 。
这里只放入我们需要的Controller
@RestControllerpublic class FastDFSController {@Autowired    private FastDFSClientWrapper dfsClient;    @PostMapping("/files-anon/fdfsupload")@SuppressWarnings("unchecked")public Result<String> upload(@RequestParam("file") MultipartFile file) throws Exception {
        String imgUrl = dfsClient.uploadFile(file);        return Result.success(imgUrl);    }
}
然后修改我们的用户id为1的前端代码
<!DOCTYPE html>
<html>
	<head>
		<meta charset="utf-8" />
		<title></title>
	</head>
	<body>
		<div>发送消息:</div>
		<input type="text" id="msgContent" />
		<input type="button" value="发送" onclick="CHAT.chat(1,2,msgContent.value,app.CHAT,null)" />
		<input type="file" id="file" name="file">
		<input type="button" id="button" value="发送图片" >
		<div>接受消息:</div>
		<div id="receiveMsg" ></div>
		<script type="application/javascript" src="js/app.js"></script>
		<script type="application/javascript" src="js/mui.min.js"></script>
		<script type="application/javascript" src="js/jquery-3.3.1.min.js"></script>
		<script type="application/javascript">
			window.CHAT = {
				socket: null,
				init: function() {
					if (window.WebSocket) {
						CHAT.socket = new WebSocket("ws://127.0.0.1:9999/ws");
						CHAT.socket.onopen = function() {
							console.log("连接建立成功");

							CHAT.chat(1,null,null,app.CONNECT,null);
							//每次连接的时候获取未读消息
							fetchUnReadMsg();
							//定时发送心跳,30秒一次
							setInterval("CHAT.keepalive()",30000);
						},
						CHAT.socket.onclose = function() {
							console.log("连接关闭");
						},
						CHAT.socket.onerror = function() {
							console.log("发生错误");
						},
						CHAT.socket.onmessage = function(e) {
							console.log("接收到消息" + e.data);
							var receiveMsg = document.getElementById("receiveMsg");
							var html = receiveMsg.innerHTML;
							var chatMsg = JSON.parse(e.data);
							receiveMsg.innerHTML = html + "<br/>" + chatMsg.msg;
							//消息签收
							CHAT.chat(chatMsg.receiverId,null,null,app.SIGNED,String(chatMsg.msgId));
						}
					}else {
						alert("浏览器不支持WebSocket协议...");
					}
				},
				chat: function(senderId,receiverId,msg,action,extand) {
					var chatMsg = new app.ChatMsg(senderId,receiverId,msg,null);
					var dataContent = new app.DataContent(action,chatMsg,extand);
					CHAT.socket.send(JSON.stringify(dataContent));
				},
				keepalive: function() {
					CHAT.chat(1,null,null,app.KEEPALIVE,null);
					fetchUnReadMsg();
				}
			}
			CHAT.init();
			function fetchUnReadMsg() {
				mui.ajax('http://127.0.0.1:8008/notification-anon/getunreadmeg?receiverid=2',{
					data:{},
					dataType:'json',//服务器返回json格式数据
					type:'post',//HTTP请求类型
					timeout:10000,//超时时间设置为10秒;
					success:function(data){
						if (data.code == 200) {
							var contactList = data.data;
							var ids = "";
							console.log(JSON.stringify(contactList));
							var receiveMsg = document.getElementById("receiveMsg");
							for (var i = 0;i < contactList.length;i++) {
								var msgObj = contactList[i];
								var html = receiveMsg.innerHTML;
								receiveMsg.innerHTML = html + "<br/>" + msgObj.msg;
								ids = ids + msgObj.msgId + ",";
							}
							//批量签收未读消息
							CHAT.chat(2,null,null,app.SIGNED,ids);
						}
					}
				});
			}
			$(function () {
			        $("#button").click(function () {
			            var form = new FormData();
			            form.append("file", document.getElementById("file").files[0]);
			             $.ajax({
			                 url: "http://xxx.xxx.xxx.xxx:8010/files-anon/fdfsupload",        //后台url
			                 data: form,
			                 cache: false,
			                 async: false,
			                 type: "POST",                   //类型,POST或者GET
			                 dataType: 'json',              //数据返回类型,可以是xml、json等
			                 processData: false,
			                 contentType: false,
			                 success: function (data) {      //成功,回调函数
			                     if (data.code == 200) {
			                     	console.log(data.data);
									CHAT.chat(1,2,"<img src='" + data.data + "' height='200' width='200' />",app.CHAT,null);
			                     }
			                 }
			             });

			        })

			    })
		</script>
	</body>
</html>
意思即为使用ajax访问我们的上传文件Controller,获取上传成功后的url,将该url拼接到<img />的标签中,当称普通聊天信息发送出去即可。
用户id为2的前端代码相同。
<!DOCTYPE html>
<html>
	<head>
		<meta charset="utf-8" />
		<title></title>
	</head>
	<body>
		<div>发送消息:</div>
		<input type="text" id="msgContent" />
		<input type="button" value="发送" onclick="CHAT.chat(2,1,msgContent.value,app.CHAT,null)" />
		<input type="file" id="file" name="file">
		<input type="button" id="button" value="发送图片" >
		<div>接受消息:</div>
		<div id="receiveMsg" ></div>
		<script type="application/javascript" src="js/app.js"></script>
		<script type="application/javascript" src="js/mui.min.js"></script>
		<script type="application/javascript" src="js/jquery-3.3.1.min.js"></script>
		<script type="application/javascript">
			window.CHAT = {
				socket: null,
				init: function() {
					if (window.WebSocket) {
						CHAT.socket = new WebSocket("ws://127.0.0.1:9999/ws");
						CHAT.socket.onopen = function() {
							console.log("连接建立成功");

							CHAT.chat(2,null,null,app.CONNECT,null);
							//每次连接的时候获取未读消息
							fetchUnReadMsg();
							//定时发送心跳,30秒一次
							setInterval("CHAT.keepalive()",30000);
						},
						CHAT.socket.onclose = function() {
							console.log("连接关闭");
						},
						CHAT.socket.onerror = function() {
							console.log("发生错误");
						},
						CHAT.socket.onmessage = function(e) {
							console.log("接收到消息" + e.data);
							var receiveMsg = document.getElementById("receiveMsg");
							var html = receiveMsg.innerHTML;
							var chatMsg = JSON.parse(e.data);
							receiveMsg.innerHTML = html + "<br/>" + chatMsg.msg;
							//消息签收
							CHAT.chat(chatMsg.receiverId,null,null,app.SIGNED,String(chatMsg.msgId));
						}
					}else {
						alert("浏览器不支持WebSocket协议...");
					}
				},
				chat: function(senderId,receiverId,msg,action,extand) {
					var chatMsg = new app.ChatMsg(senderId,receiverId,msg,null);
					var dataContent = new app.DataContent(action,chatMsg,extand);
					CHAT.socket.send(JSON.stringify(dataContent));
				},
				keepalive: function() {
					CHAT.chat(2,null,null,app.KEEPALIVE,null);
					fetchUnReadMsg();
				}
			}
			CHAT.init();
			function fetchUnReadMsg() {
				mui.ajax('http://127.0.0.1:8008/notification-anon/getunreadmeg?receiverid=2',{
					data:{},
					dataType:'json',//服务器返回json格式数据
					type:'post',//HTTP请求类型
					timeout:10000,//超时时间设置为10秒;
					success:function(data){
						if (data.code == 200) {
							var contactList = data.data;
							var ids = "";
							console.log(JSON.stringify(contactList));
							var receiveMsg = document.getElementById("receiveMsg");
							for (var i = 0;i < contactList.length;i++) {
								var msgObj = contactList[i];
								var html = receiveMsg.innerHTML;
								receiveMsg.innerHTML = html + "<br/>" + msgObj.msg;
								ids = ids + msgObj.msgId + ",";
							}
							//批量签收未读消息
							CHAT.chat(2,null,null,app.SIGNED,ids);
						}
					}
				});
			}
			$(function () {
			        $("#button").click(function () {
			            var form = new FormData();
			            form.append("file", document.getElementById("file").files[0]);
			             $.ajax({
			                 url: "http://xxx.xxx.xxx.xxx:8010/files-anon/fdfsupload",        //后台url
			                 data: form,
			                 cache: false,
			                 async: false,
			                 type: "POST",                   //类型,POST或者GET
			                 dataType: 'json',              //数据返回类型,可以是xml、json等
			                 processData: false,
			                 contentType: false,
			                 success: function (data) {      //成功,回调函数
			                     if (data.code == 200) {
			                     	console.log(data.data);
									CHAT.chat(2,1,"<img src='" + data.data + "' height='200' width='200' />",app.CHAT,null);
			                     }
			                 }
			             });

			        })

			    })
		</script>
	</body>
</html>
看完上述内容是否对您有帮助呢?如果还想对相关知识有进一步的了解或阅读更多相关文章,请关注亿速云行业资讯频道,感谢您对亿速云的支持。
免责声明:本站发布的内容(图片、视频和文字)以原创、转载和分享为主,文章观点不代表本网站立场,如果涉及侵权请联系站长邮箱:is@yisu.com进行举报,并提供相关证据,一经查实,将立刻删除涉嫌侵权内容。