这篇文章主要介绍了JavaScript如何实现简易轮播图,具有一定借鉴价值,感兴趣的朋友可以参考下,希望大家阅读完这篇文章之后大有收获,下面让小编带着大家一起了解一下。
具体内容如下
完整代码:
<!DOCTYPE html>
<html>
<head>
<meta charset="UTF-8">
<title>ES6轮播图</title>
<script></script>
<style>
* {
margin: 0;
padding: 0;
}
.box {
width: 500px;
height: 300px;
border: 1px solid silver;
overflow: hidden;
margin: auto;
margin-top: 50px;
position: relative;
top: 0;
left: 0;
}
.outer {
list-style: none;
position: absolute;
top: 0;
left: 0;
transition: .3s all linear;
}
.img {
width: 500px;
height: 300px;
float: left;
}
.btns span {
position: absolute;
width: 25px;
height: 40px;
top: 50%;
margin-top: -20px;
line-height: 40px;
text-align: center;
font-weight: bold;
font-family: Simsun;
font-size: 30px;
border: 1px solid silver;
opacity: 0.5;
cursor: pointer;
color: #fff;
background: black;
}
.btns .left {
left: 5px;
}
.btns .right {
left: 100%;
margin-left: -32px;
}
.right > :first-child, .left > :first-child {
width: 35px;
height: 35px;
}
.oOl {
width: 163px;
position: absolute;
right: 0;
left: 0;
margin: auto;
bottom: 10px;
list-style: none;
}
.oLi {
width: 25px;
height: 25px;
background: white;
border-radius: 50%;
float: left;
}
.color {
background: black;
}
</style>
</head>
<body>
<div class="box">
<ul class="outer">
<li class="img" ></li>
<li class="img" ></li>
<li class="img" ></li>
<li class="img" ></li>
<li class="img" ></li>
</ul>
<div class="btns">
<span class="left"><</span>
<span class="right">></span>
</div>
</div>
</body>
<script>
class Chart{
constructor(name, json) {
//获取盒子名
this.box = document.querySelector(name);
this.json = json;
//获取轮播图的属性
this.outer = document.querySelector(name + ' .outer'); //注意加空格
this.left = document.querySelector(name + ' .left');
this.right = document.querySelector(name + ' .right');
//初始化
this.timer = null; //自动播放
this.iNow = 0;
this.init();
}
init() {
const that = this; //保存一个this
console.log(this.json.a);
if (this.json.a){
console.log(1);
}
//克隆第一张放到最后
let uLi = that.outer.children[0].cloneNode(true);
that.outer.appendChild(uLi);
that.outer.style.width = that.outer.children.length * that.outer.children[0].offsetWidth + 'px';
//点击左右滑动
if (that.json.slide) {
that.left.style.display = 'block';
that.right.style.display = 'block';
this.left.onclick = () => that.rightGo();
this.right.onclick = () => that.leftGo();
}
//自动播放
if (that.json.move) {
that.moveGo();
//鼠标移入移出
if (that.json.loop) {
that.box.onmousemove = () => clearInterval(that.timer);
that.box.onmouseout = () => that.moveGo();
}
}
//展示小圆点
if (that.json.nav) {
let oOL = document.createElement('ol');
oOL.className = 'oOl';
oOL.style.left = that.json.distanceLeft + 'px';
that.box.appendChild(oOL);
for (let i = 0; i < that.outer.children.length - 1; i++) {
let oLi = document.createElement('li');
oLi.className = 'oLi';
oLi.style.marginLeft = that.json.distance + 'px';
oOL.appendChild(oLi);
}
oOL.style.width = ((that.outer.children.length - 1) * document.querySelector('.oLi').offsetWidth) + (that.json.distance * that.outer.children.length) + 'px';
that.alike();
}
};
rightGo() {
this.iNow++;
if (this.iNow >= this.outer.children.length) {
this.iNow = 1;
this.outer.style.transition = '0s all linear';
this.outer.style.left = 0;
}
this.outer.style.left = -this.iNow * this.outer.children[0].offsetWidth + 'px';
this.outer.style.transition = '0.3s all linear';
this.alike();
};
leftGo() {
this.iNow--;
if (this.iNow <= -1) {
this.iNow = this.outer.children.length - 1;
this.outer.style.transition = '0s all linear';
this.outer.style.left = -(this.outer.children.length - 1) * this.outer.children[0].offsetWidth + 'px';
this.iNow = this.outer.children.length - 2;
}
this.outer.style.left = -this.iNow * this.outer.children[0].offsetWidth + 'px';
this.outer.style.transition = '0.3s all linear';
this.alike();
};
moveGo() {
const that = this;
this.timer = setInterval(() => that.rightGo(), that.json.speed || 1500)
};
//圆点对应每张图片
alike() {
let li = document.querySelectorAll('.oLi');
for (let i = 0; i < li.length; i++) {
li[i].classList.remove('color');
if (i == this.iNow) {
li[i].classList.add('color');
} else {
li[i].classList.remove('color');
}
//特殊:最后一张的时候是第一个
if (this.iNow == li.length) {
li[0].classList.add('color');
}
//小圆点点击事件
if (this.json.event) {
li[i].onmouseover = () => {
for (let i = 0; i < li.length; i++) {
li[i].classList.remove('color');
}
li[i].classList.add('color');
this.outer.style.left = -i * this.outer.children[0].offsetWidth + 'px';
}
}
}
}
}
new Chart('.box', {
move: true, //自动轮播
speed: 1500, //轮播速度
loop: true, //鼠标移入移出效果
slide: true, //点击左右滑动效果
nav: true, //展示小圆点
distance: 20, //小圆点间距
event: true //小圆点事件
})
</script>
</html>图片:

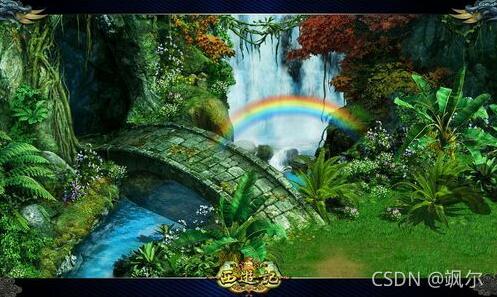

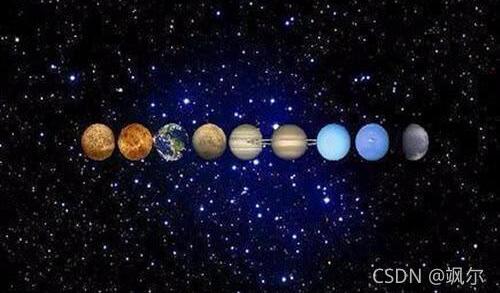
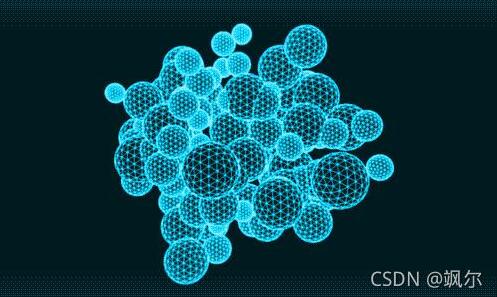
感谢你能够认真阅读完这篇文章,希望小编分享的“JavaScript如何实现简易轮播图”这篇文章对大家有帮助,同时也希望大家多多支持亿速云,关注亿速云行业资讯频道,更多相关知识等着你来学习!
免责声明:本站发布的内容(图片、视频和文字)以原创、转载和分享为主,文章观点不代表本网站立场,如果涉及侵权请联系站长邮箱:is@yisu.com进行举报,并提供相关证据,一经查实,将立刻删除涉嫌侵权内容。