小编给大家分享一下Ant Design中怎么定制动态主题,相信大部分人都还不怎么了解,因此分享这篇文章给大家参考一下,希望大家阅读完这篇文章后大有收获,下面让我们一起去了解一下吧!
为了方便,本文中示例使用了 create-react-app + caco + craco-less 实现:
# 创建项目
create-react-app demo
# 安装必要依赖
yarn add antd # 记得要装最新版
yarn add -D @craco/craco craco-less babel-plugin-import
将 package.json 中的 npm-script 修改一下即可:
{
  scripts: {
    "start": "craco start"
  }
}
顺便添加下初始的 craco.config.js:
const CracoLessPlugin = require('craco-less');

module.exports = {
  plugins: [{ plugin: CracoLessPlugin }],
};
然后,改一下 App.js:
import { useState } from 'react';
import { Avatar, Card, Button, Space, Switch } from 'antd';

function App() {
  const [theme, setTheme] = useState('light');
  const checked = theme === 'light';

  const handleThemeChange = (checked) => {
    setTheme(checked ? 'light' : 'dark');
  };

  return (
    <div className="App">
      <Card title={<Avatar size="large" src={logo} />}>
        <Space>
          <Switch
            checked={checked}
            checkedChildren="亮"
            unCheckedChildren="暗"
            onChange={handleThemeChange}
          />
          <Button type="primary">动态主题</Button>
        </Space>
      </Card>
    </div>
  );
}

export default App;
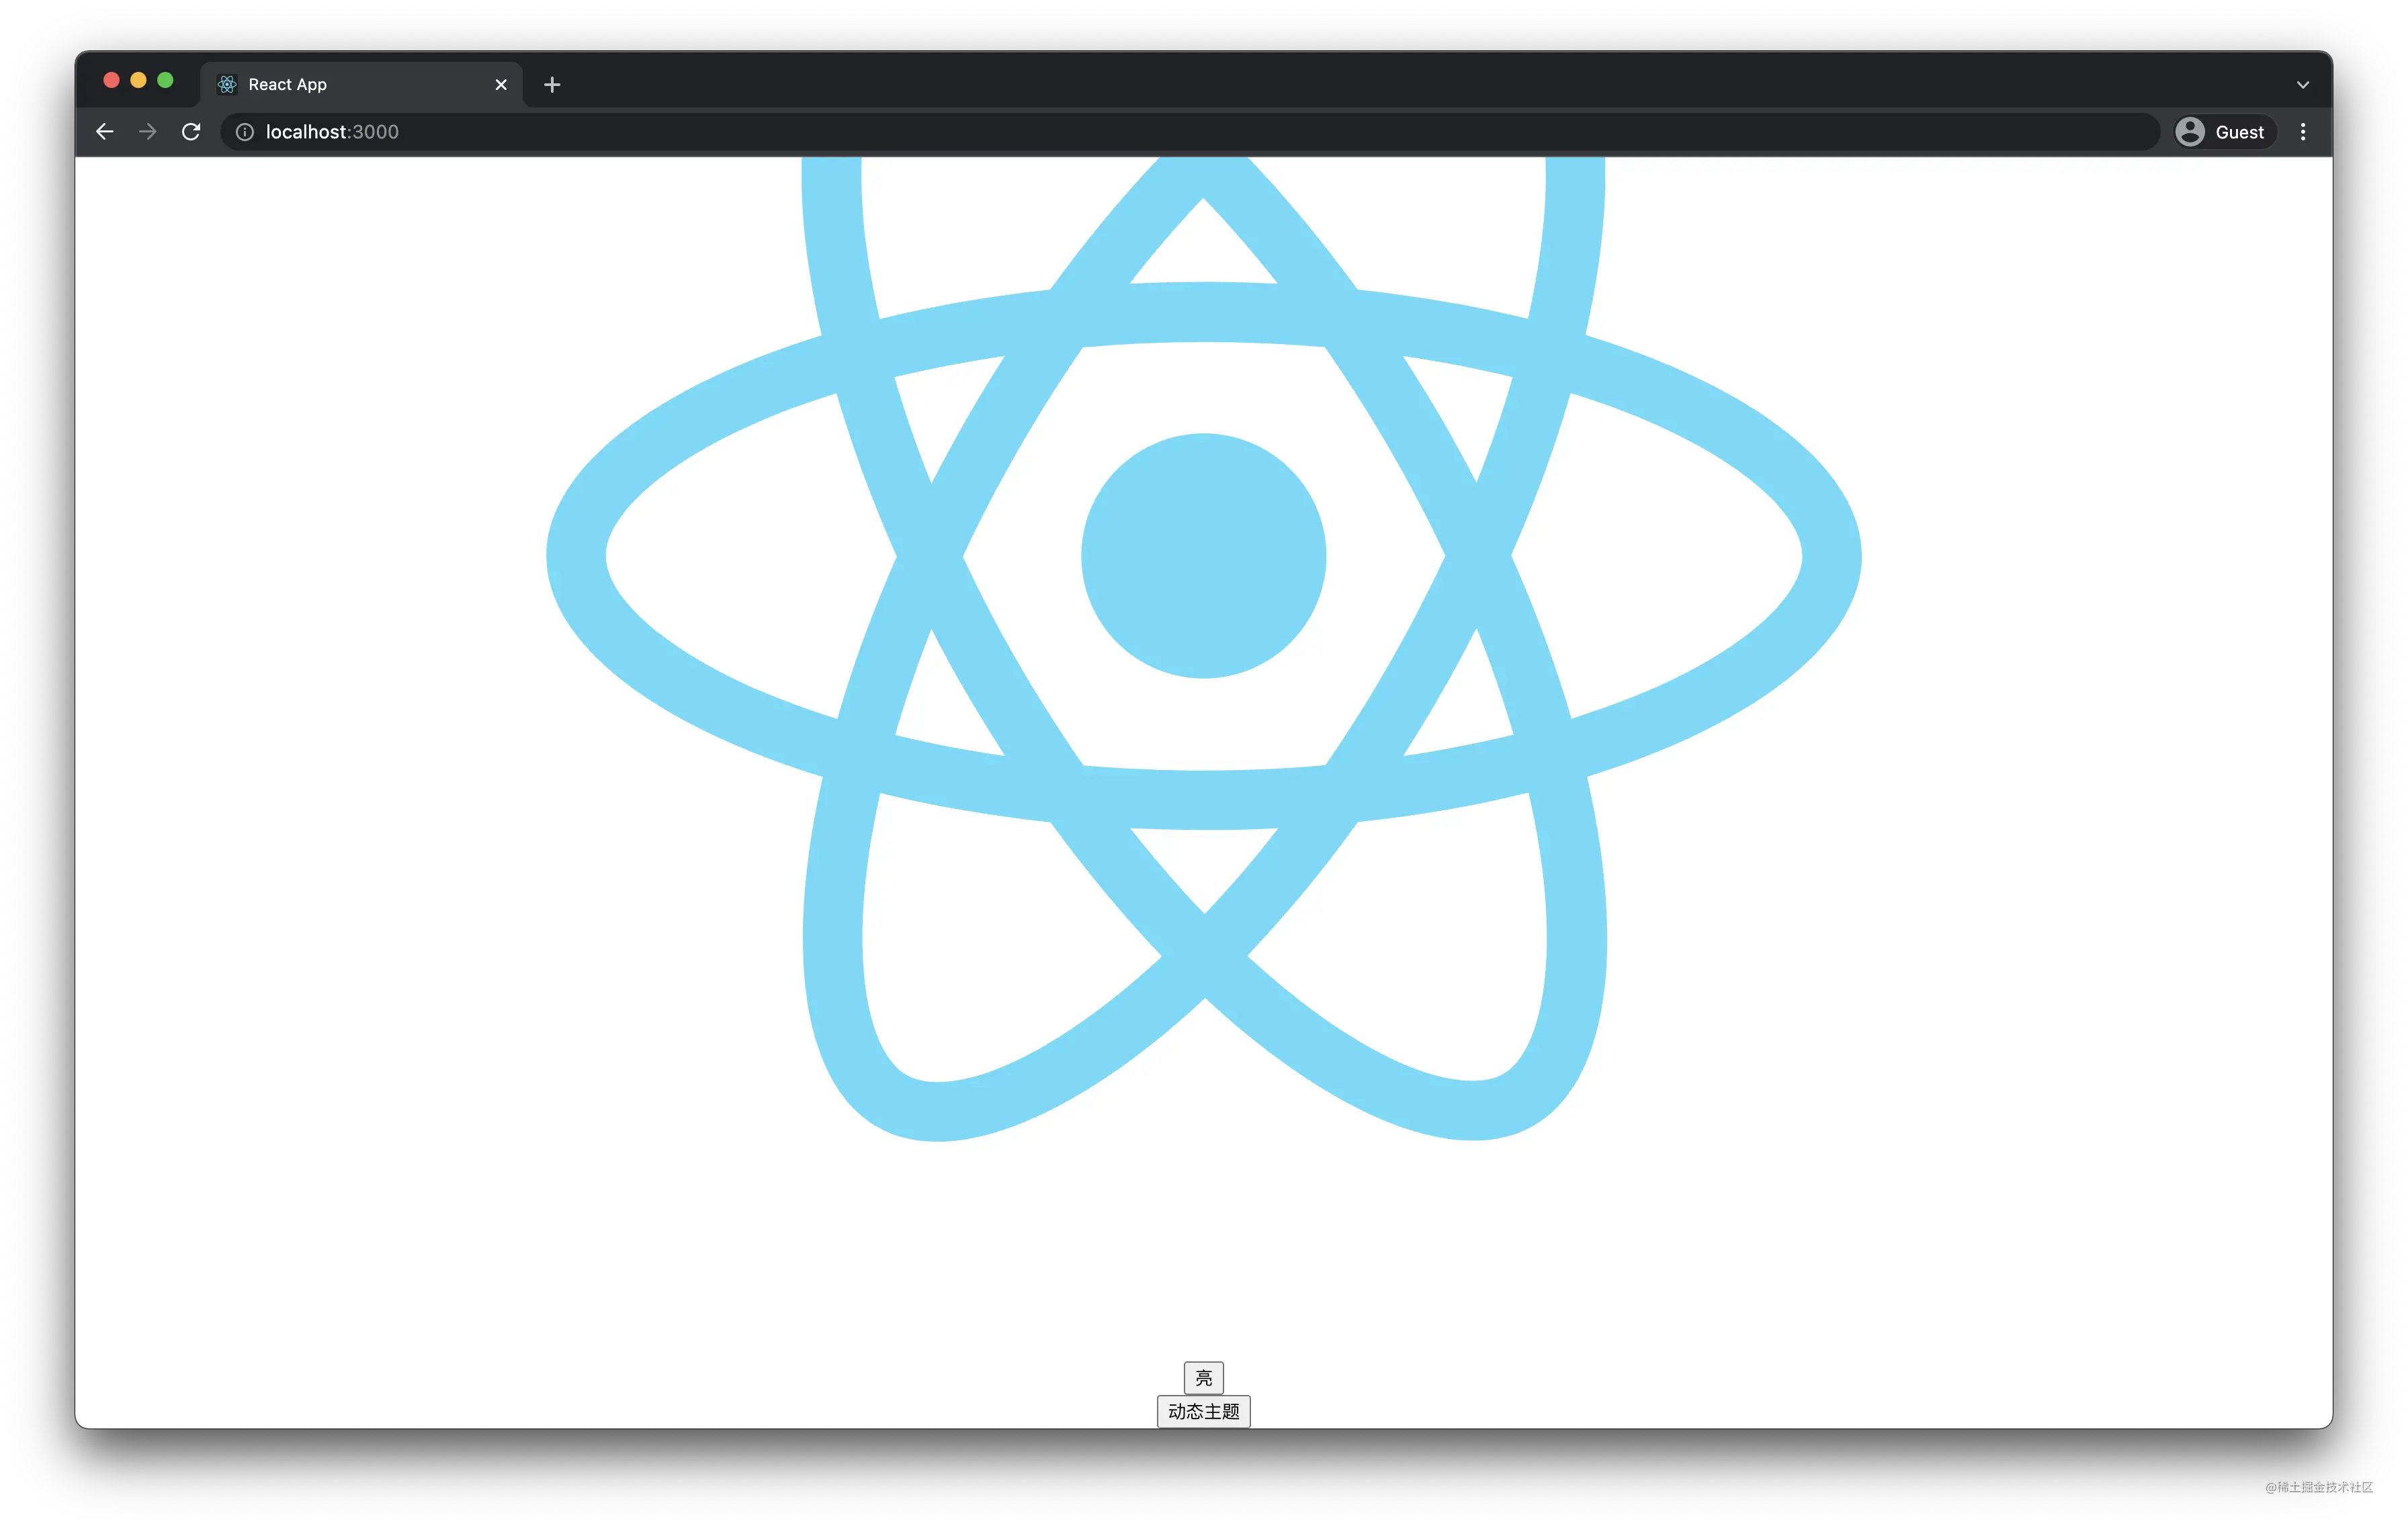
然后启动就可以看到如下界面:
在 Ant Design 中,有很多种姿势引入主题,下面先来简单的整理一下。
1. 引入样式文件
直接在 App.js 中引入样式文件:
// App.js
import 'antd/dist/antd.css';
但既然使用了 craco-less 那就使用 Ant Design 的 less 文件吧,但是当你直接引入 antd.less 时,会得到如下错误:
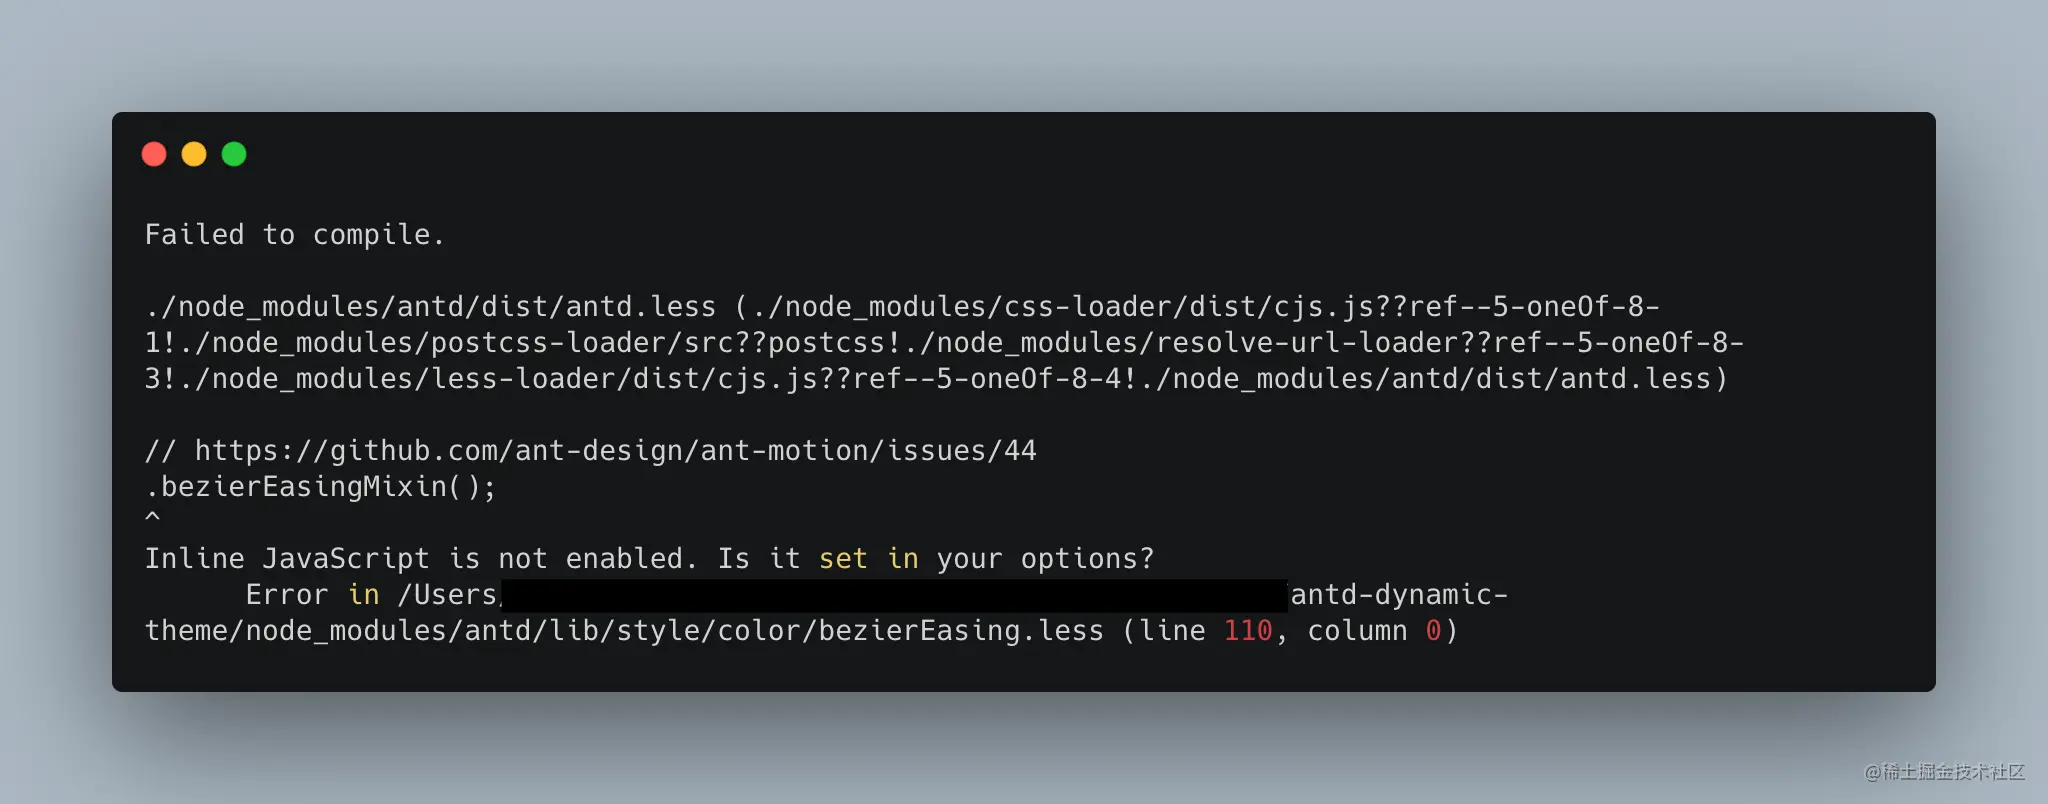
解决这个问题很简单,只需要在 lessOption 中将 javascriptEnabled 打开即可:
const CracoLessPlugin = require('craco-less');

module.exports = {
  plugins: [
    {
      plugin: CracoLessPlugin,
      options: {
        lessLoaderOptions: {
          lessOptions: {
            javascriptEnabled: true,
          },
        },
      },
    },
  ],
};
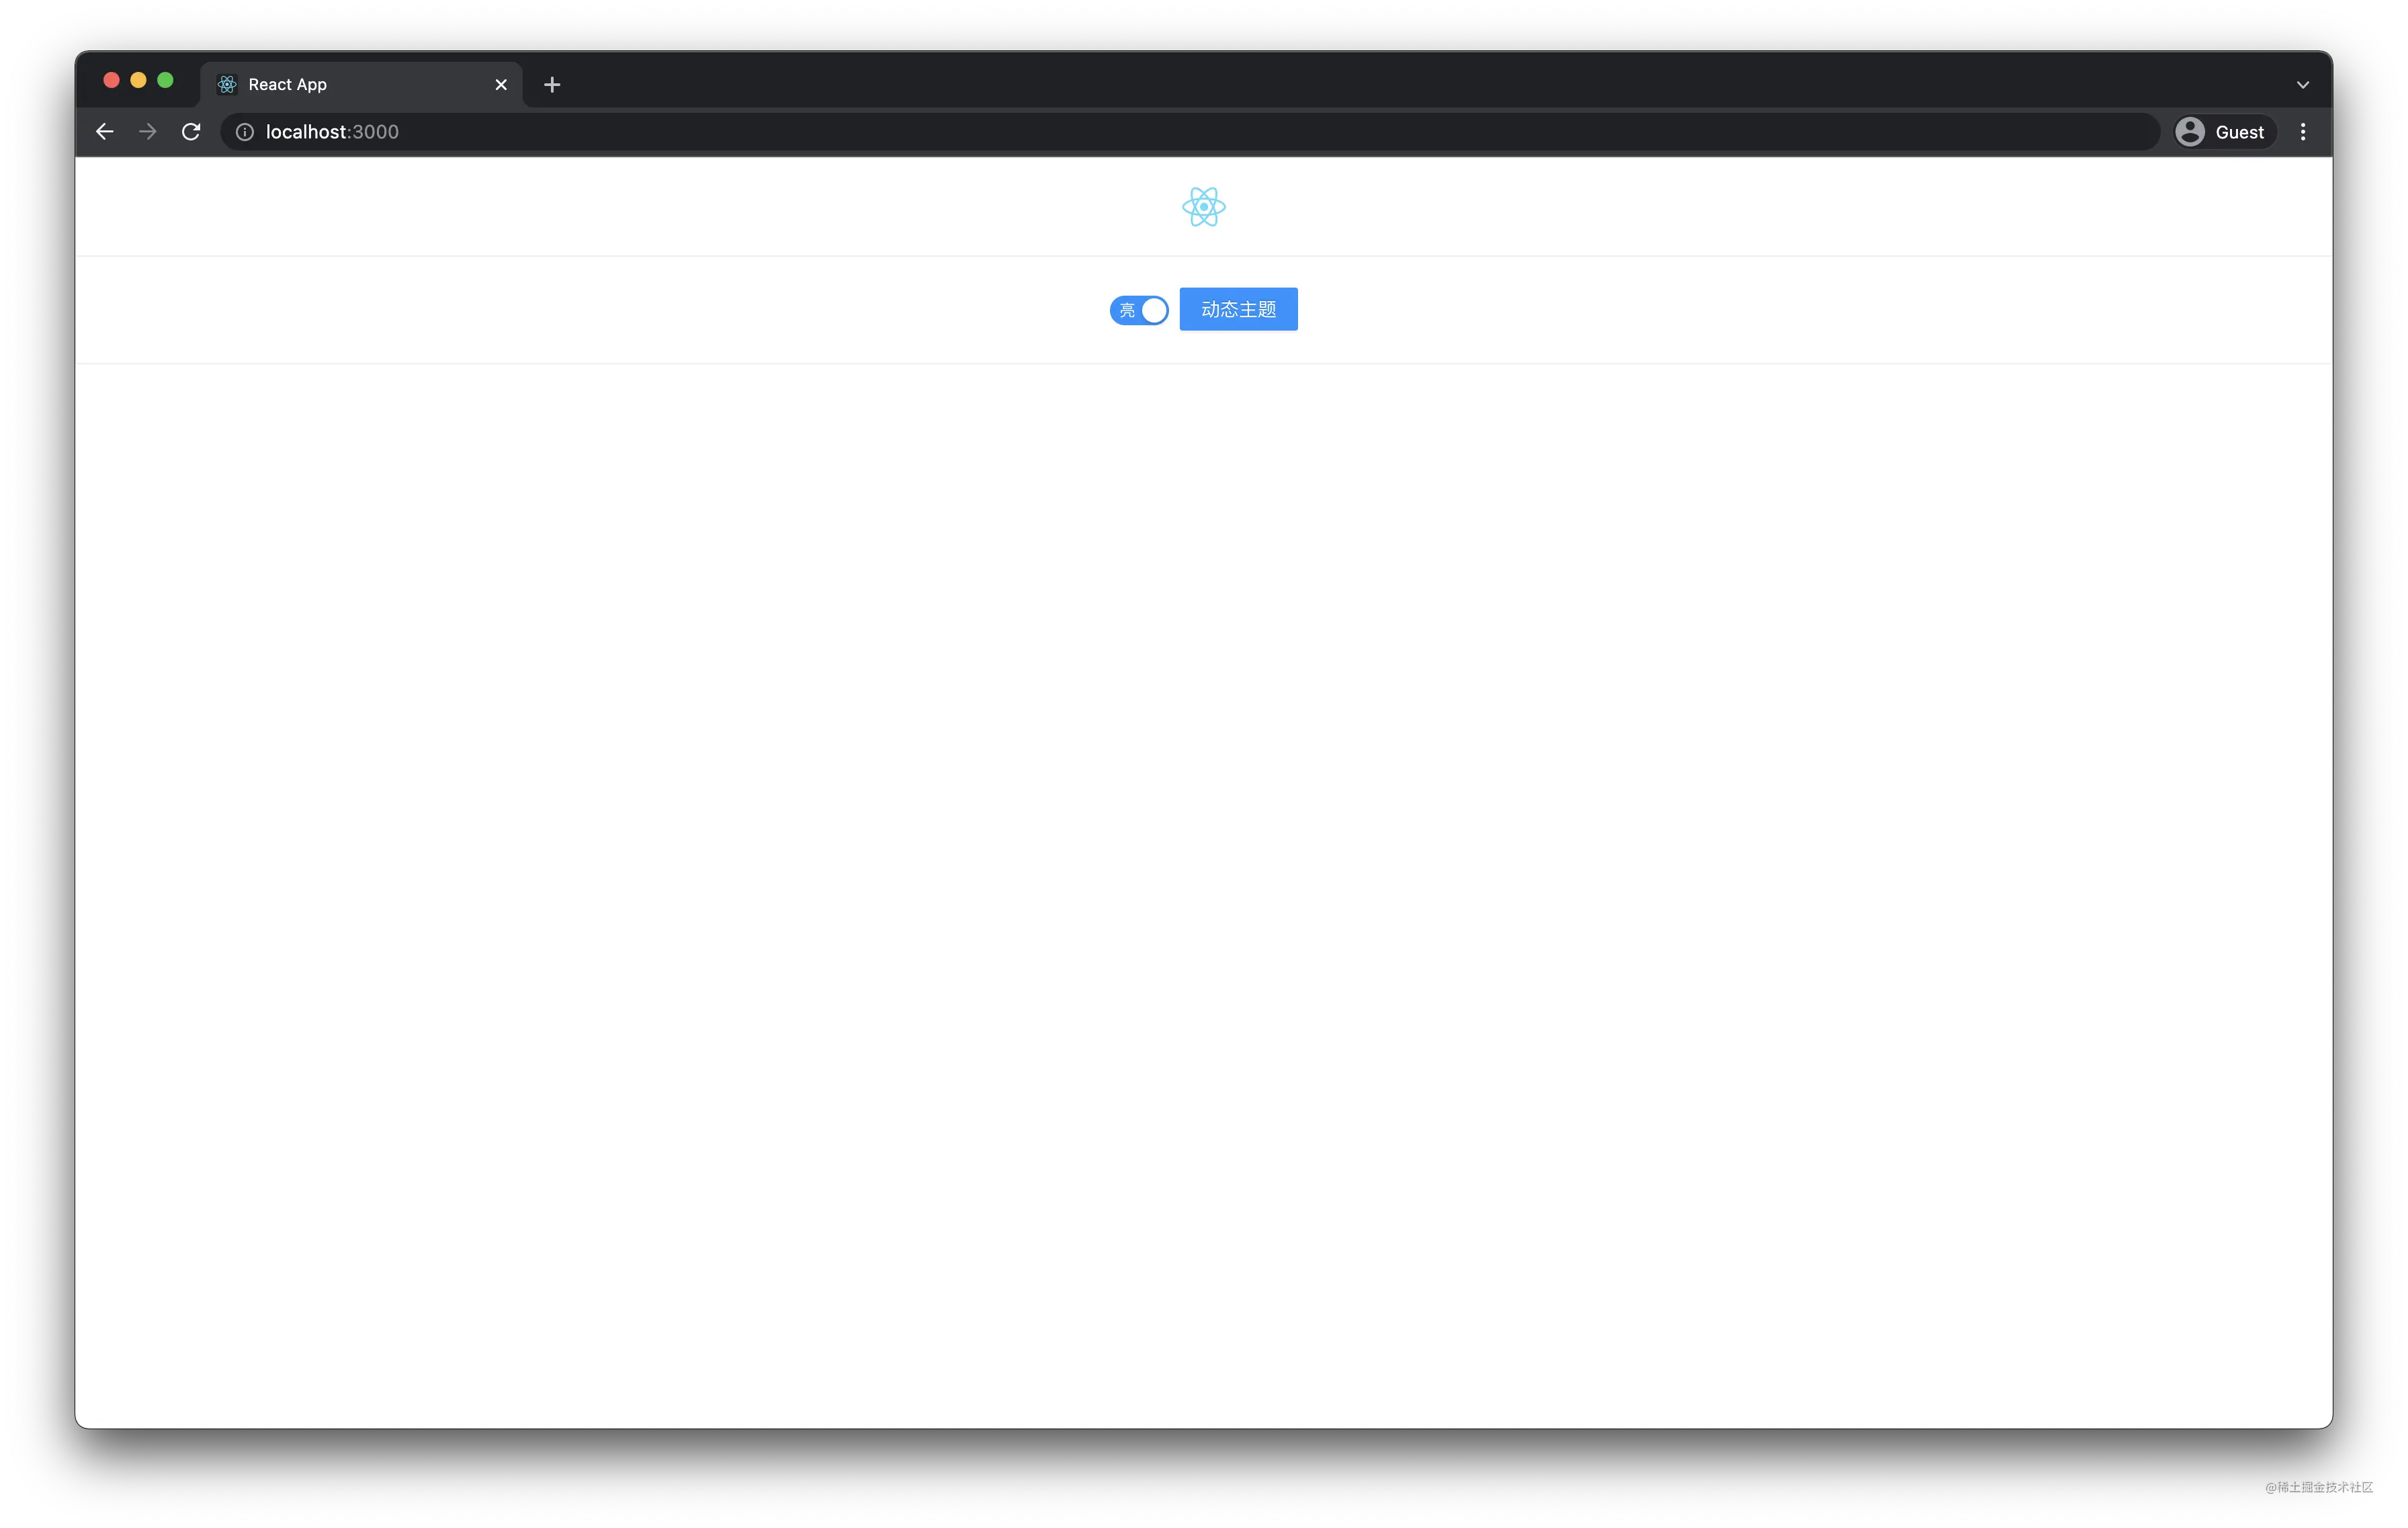
然后就可以看到如下界面:
当然你也可以选择在 App.less 中引入:
@import '~antd/dist/antd.less';
2. babel-plugin-import
之前的文章中说过如何使用 babel-plugin-import,配合 craco 的使用步骤是一样的,只不过需要在 craco.config.js 中添加对应的配置即可:
// craco.config.js

module.exports = {
  babel: {
    plugins: [
      ['import', { libraryName: 'antd', libraryDirectory: 'es', style: true }],
    ],
  },
  // ...
};
这样就可以删掉上面在 App.js/App.less 引入的样式了。
上面两种方式就是最常用的引入 Ant Design 样式的方式,下面讲基于上面的方式来讲解如何修改覆盖原有样式。
其实可以发现在 antd/dist 中提供了很多种样式文件:
├── antd.compact.less
├── antd.dark.less
├── antd.less
├── antd.variable.less
├── compact-theme.js
├── dark-theme.js
├── default-theme.js
├── theme.js
└── variable-theme.js
antd.(dark|compact).less 两个文件分别是黑暗和紧凑模式的样式,而 antd.variable.less 文件则是最新版 Ant Design 才有的文件,它有什么用下面会说到,除了 .less 样式文件之外各位会发现还有几个 xxx-theme.js 文件,如果你打开会发现里面其实都是各个主题的变量值,以 dark-theme.js 为例:
const darkThemeSingle = {
  "theme": "dark",
  "popover-background": "#1f1f1f",
  "popover-customize-border-color": "#3a3a3a",
  "body-background": "@black",
  "component-background": "#141414",
  // ...
};
如何使用下面会讲,现在就开始本文的主题:实现定制主题和动态主题。
1. 定制主题
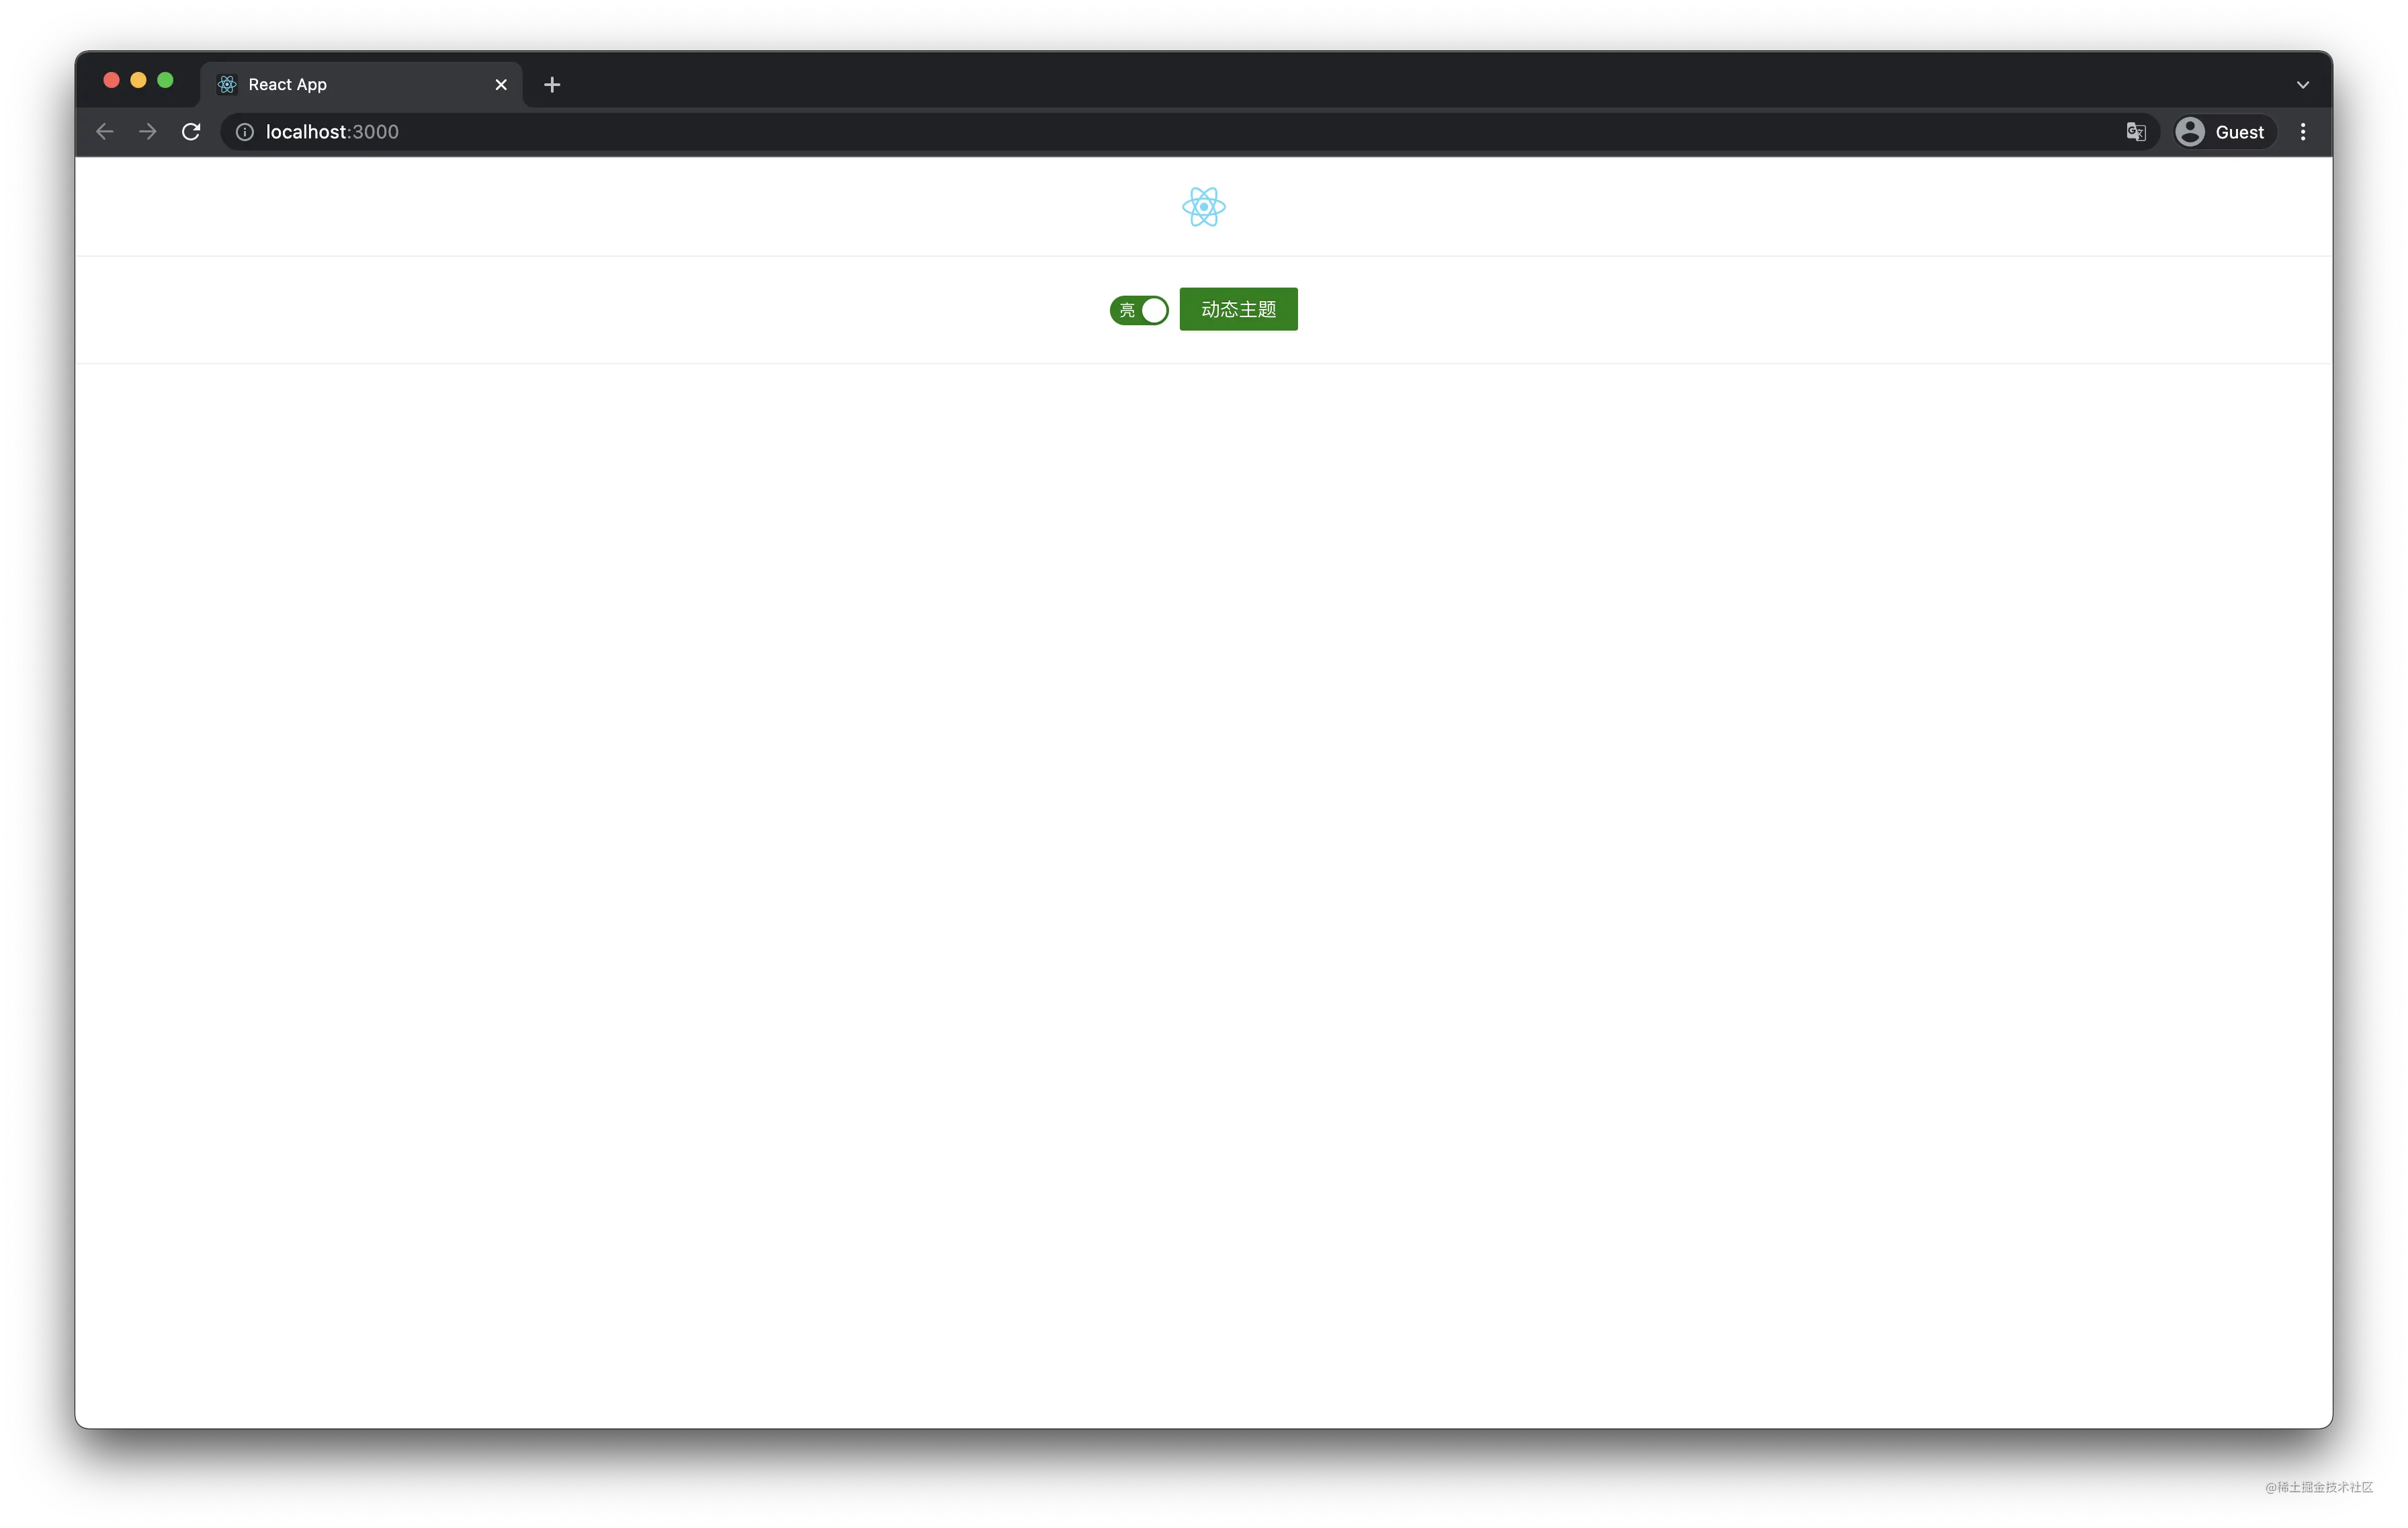
如果你想实现定制主题,那很简单,简单来说就是 样式覆盖,比如使用黑暗主题就直接引入黑暗模式的样式文件,比如在默认主题下想修改主色调一般有两种方式:通过修改样式文件或通过 lessOption。
// 1. 通过修改样式文件
// App.less
@import  '~antd/dist/antd.less';

@primary-color: green;
// 2. 通过 lessOptions
// craco.config.js
module.exports = {
  // ...
  plugins: [
    {
      plugin: CracoLessPlugin,
      options: {
        lessLoaderOptions: {
          lessOptions: {
            modifyVars: {
              'primary-color': 'cyan',
            },
            javascriptEnabled: true,
          },
        },
      },
    },
  ],
};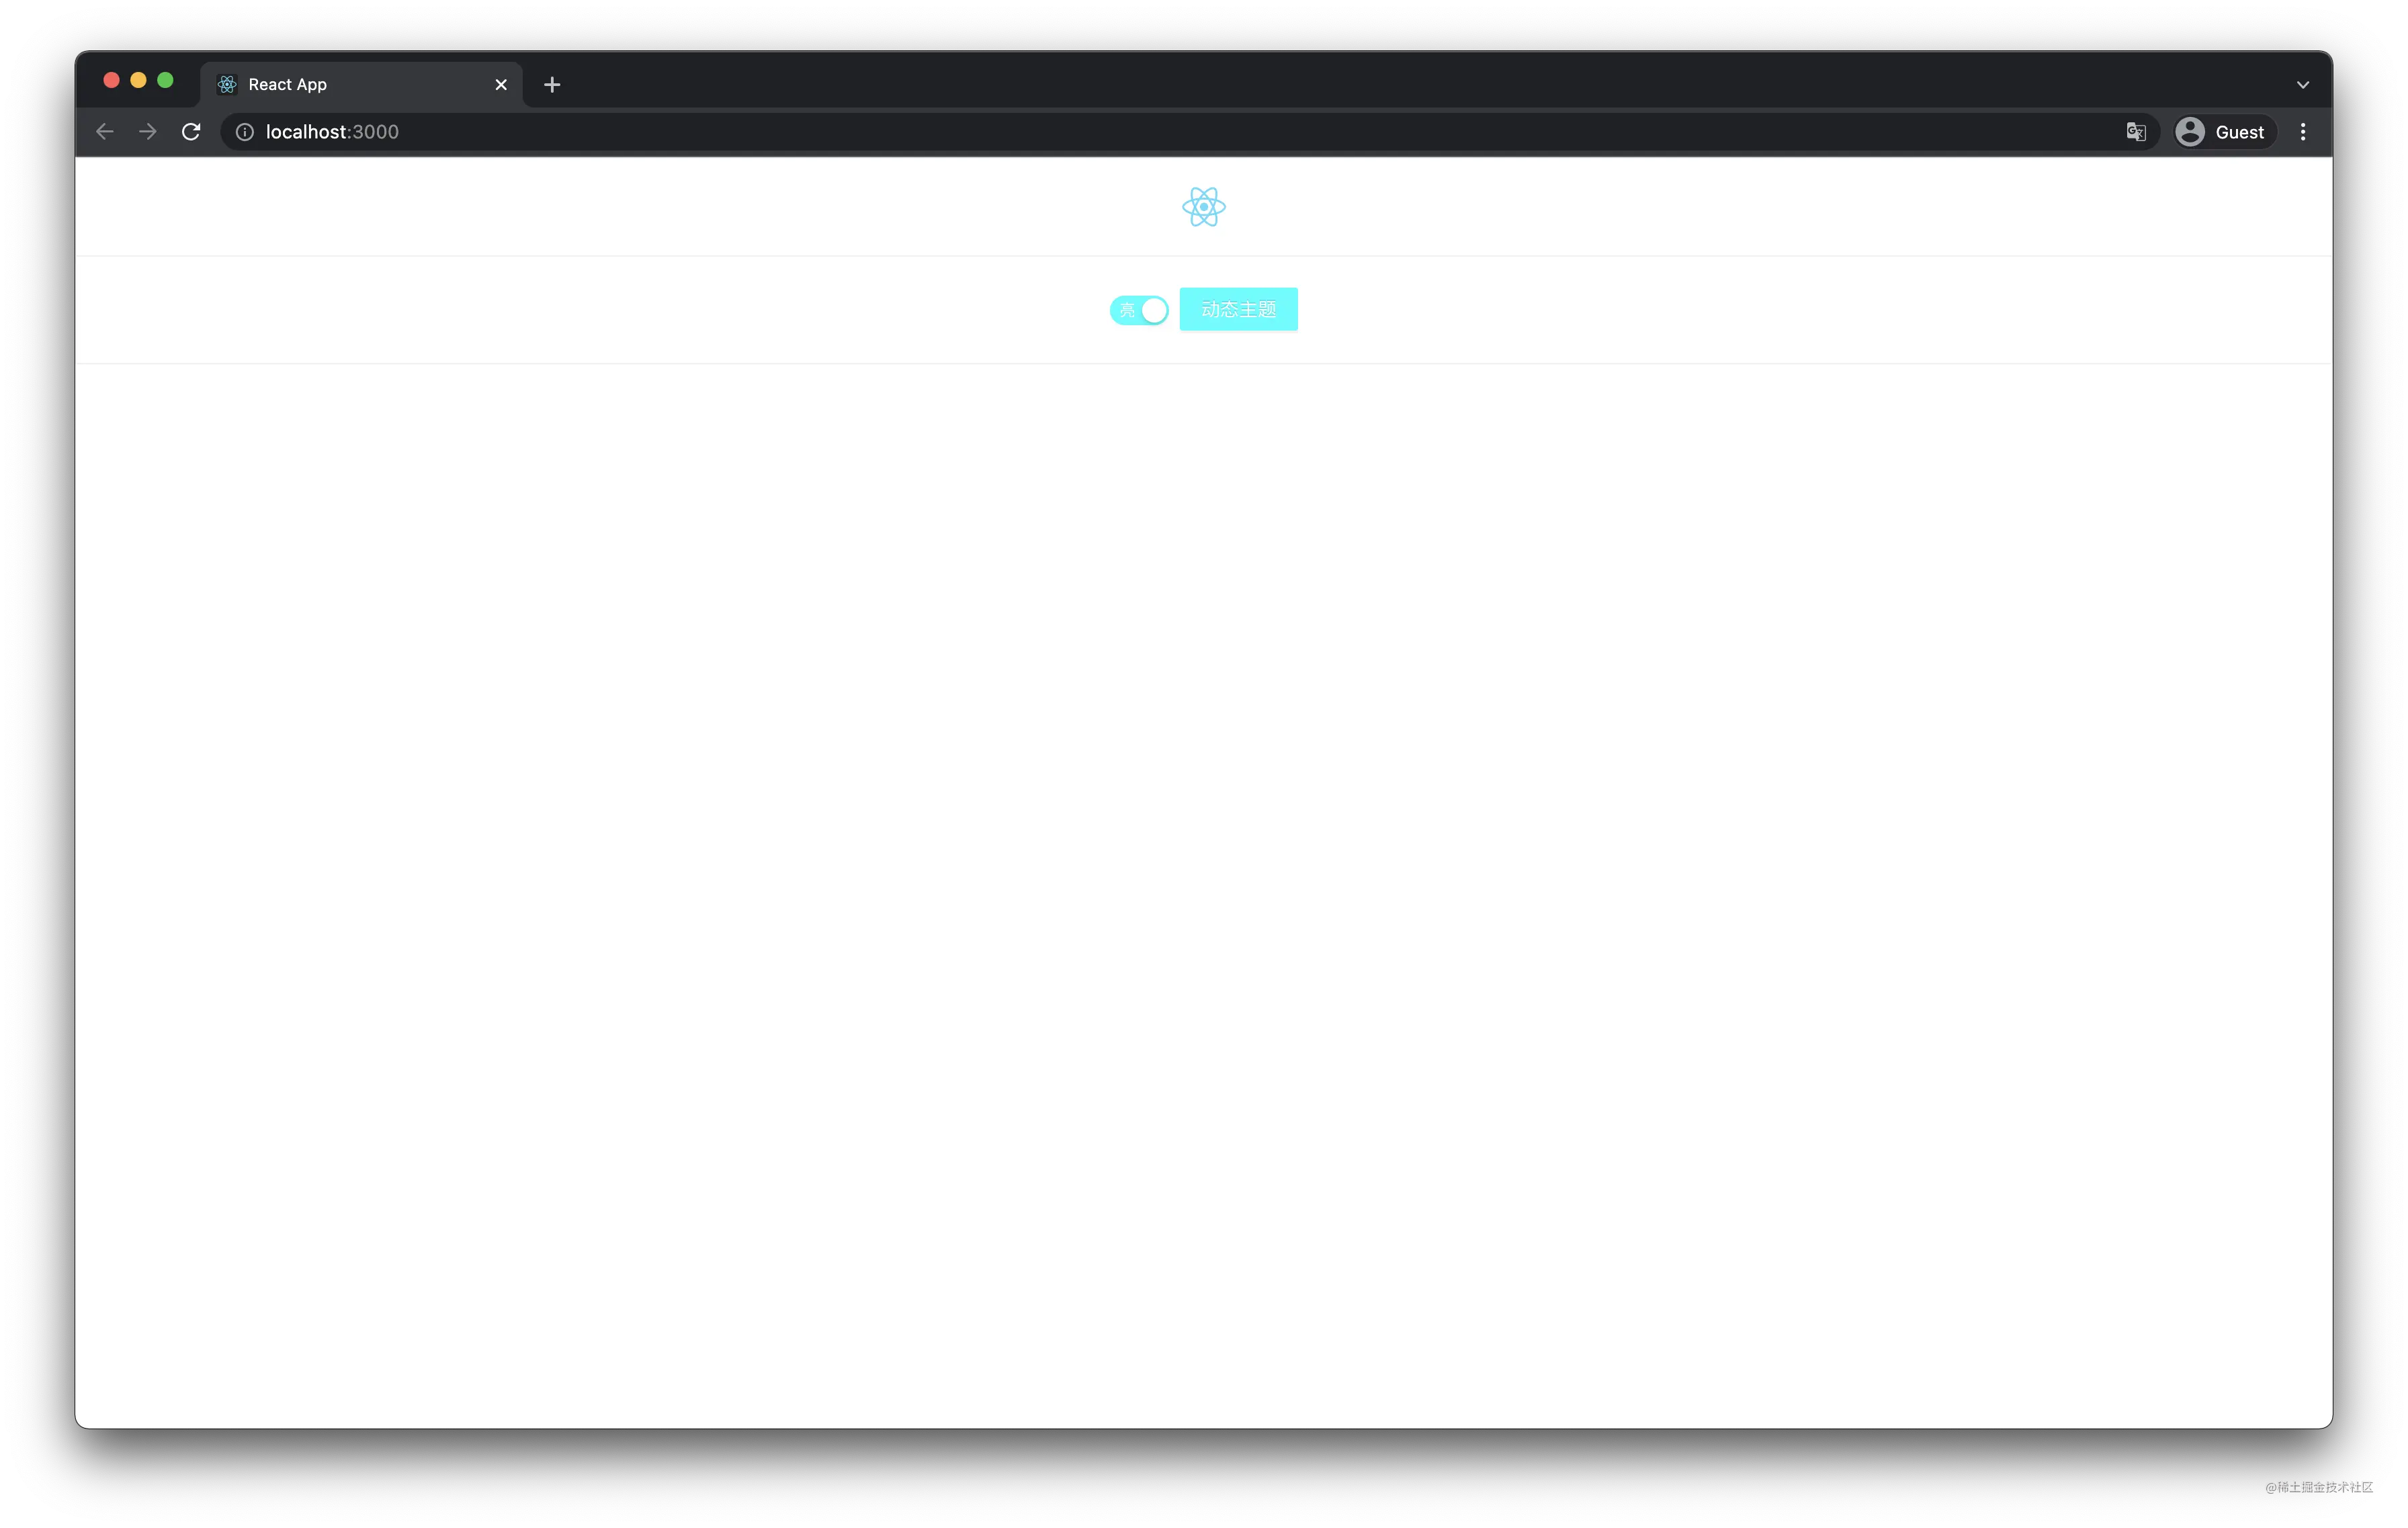
需要说一下,如果同时使用了这两种定制主题的方式,则只会应用第二种通过 modifyVars 设置的内容。如果你问我为啥,那我就额外插一节 less 讲解的课吧
Less 小课堂
前提:在
App.less中引入antd.less并且覆盖@primary-color(以上面配置的green为例)
less 提供了命令行让我们可以通过 Terminal 命令将 .less 文件转义为 CSS:
# 转义 less 文件
npx lessc ./src/App.less ./src/App.css --js
让我们看一下 App.css 中的 primary-color 是什么:
.ant-btn-primary {
  border-color: green;
  background: green;
}
可以看到 primary-color 设为 green 生效了,我们再加上 modifyVars 看下呢?
npx lessc ./src/App.less ./src/App.css --js --modify-var="primary-color: cyan"
在看下生成的 App.css 嘞:
.ant-btn-primary {
  border-color: cyan;
  background: cyan;
}
Wow~竟然和我们本地开发时一样替换成了 modifyVars 中的内容!这又是为啥呢?
我们进入 node_modules/.bin/lessc 文件,在 parseLessFile 中 console 一下 data 和 options 内容会得到源文件字符串和命令行中的一些配置,在此我们会得到:
# data
@import 'antd/dist/antd.less';

@primary-color: green;

.App {
  text-align: center;
}

# options
{
  javascriptEnabled: true,
  modifyVars: { 'primary-color': 'cyan' }
}
随后我们再进入 node_modules/less/lib/less/render.js 文件,进入 render 方法可以看到:
var parseTree = new ParseTree(root, imports);
这一步是将 less 转为 AST,让我们来看一下转换后的 AST:
console.log(parseTree.root.rules);
// Rules AST
[
  // ...
  Node {
  	name: '@primary-color',
  	value: Node {
  		value: 'green'
  	}
  },
  Node {
  	name: '@primary-color',
  	value: Node {
  		value: 'cyan'
  	}
  },
  // ...
]
这样是不是可以理解了?就是 modifyVars 中的变量覆盖了样式文件中的变量。下课!
再回到定制主题的相关内容,现在说下如何使用上面说到的 darkSingleTheme,我们可以看下 theme.js 的内容:
function getThemeVariables(options = {}) {
  let themeVar = {
    'hack': `true;@import "${require.resolve('antd/lib/style/color/colorPalette.less')}";`,
    ...defaultTheme
  };
  if(options.dark) {
    themeVar = {
      ...themeVar,
      ...darkThemeSingle
    }
  }
  if(options.compact){
    themeVar = {
      ...themeVar,
      ...compactThemeSingle
    }
  }
  return themeVar;
}
可以看到,如果我们在使用 getThemeVariables 时将 dark 或 compact 设为 true 就能应用上对应的样式,我们来试下:
// craco.config.js
module.exports = {
  // ...
  plugins: [
    {
      plugin: CracoLessPlugin,
      options: {
        lessLoaderOptions: {
          lessOptions: {
            modifyVars: {
              ...getThemeVariables({
                dark: true,
              }),
            },
            javascriptEnabled: true,
          },
        },
      },
    },
  ],
};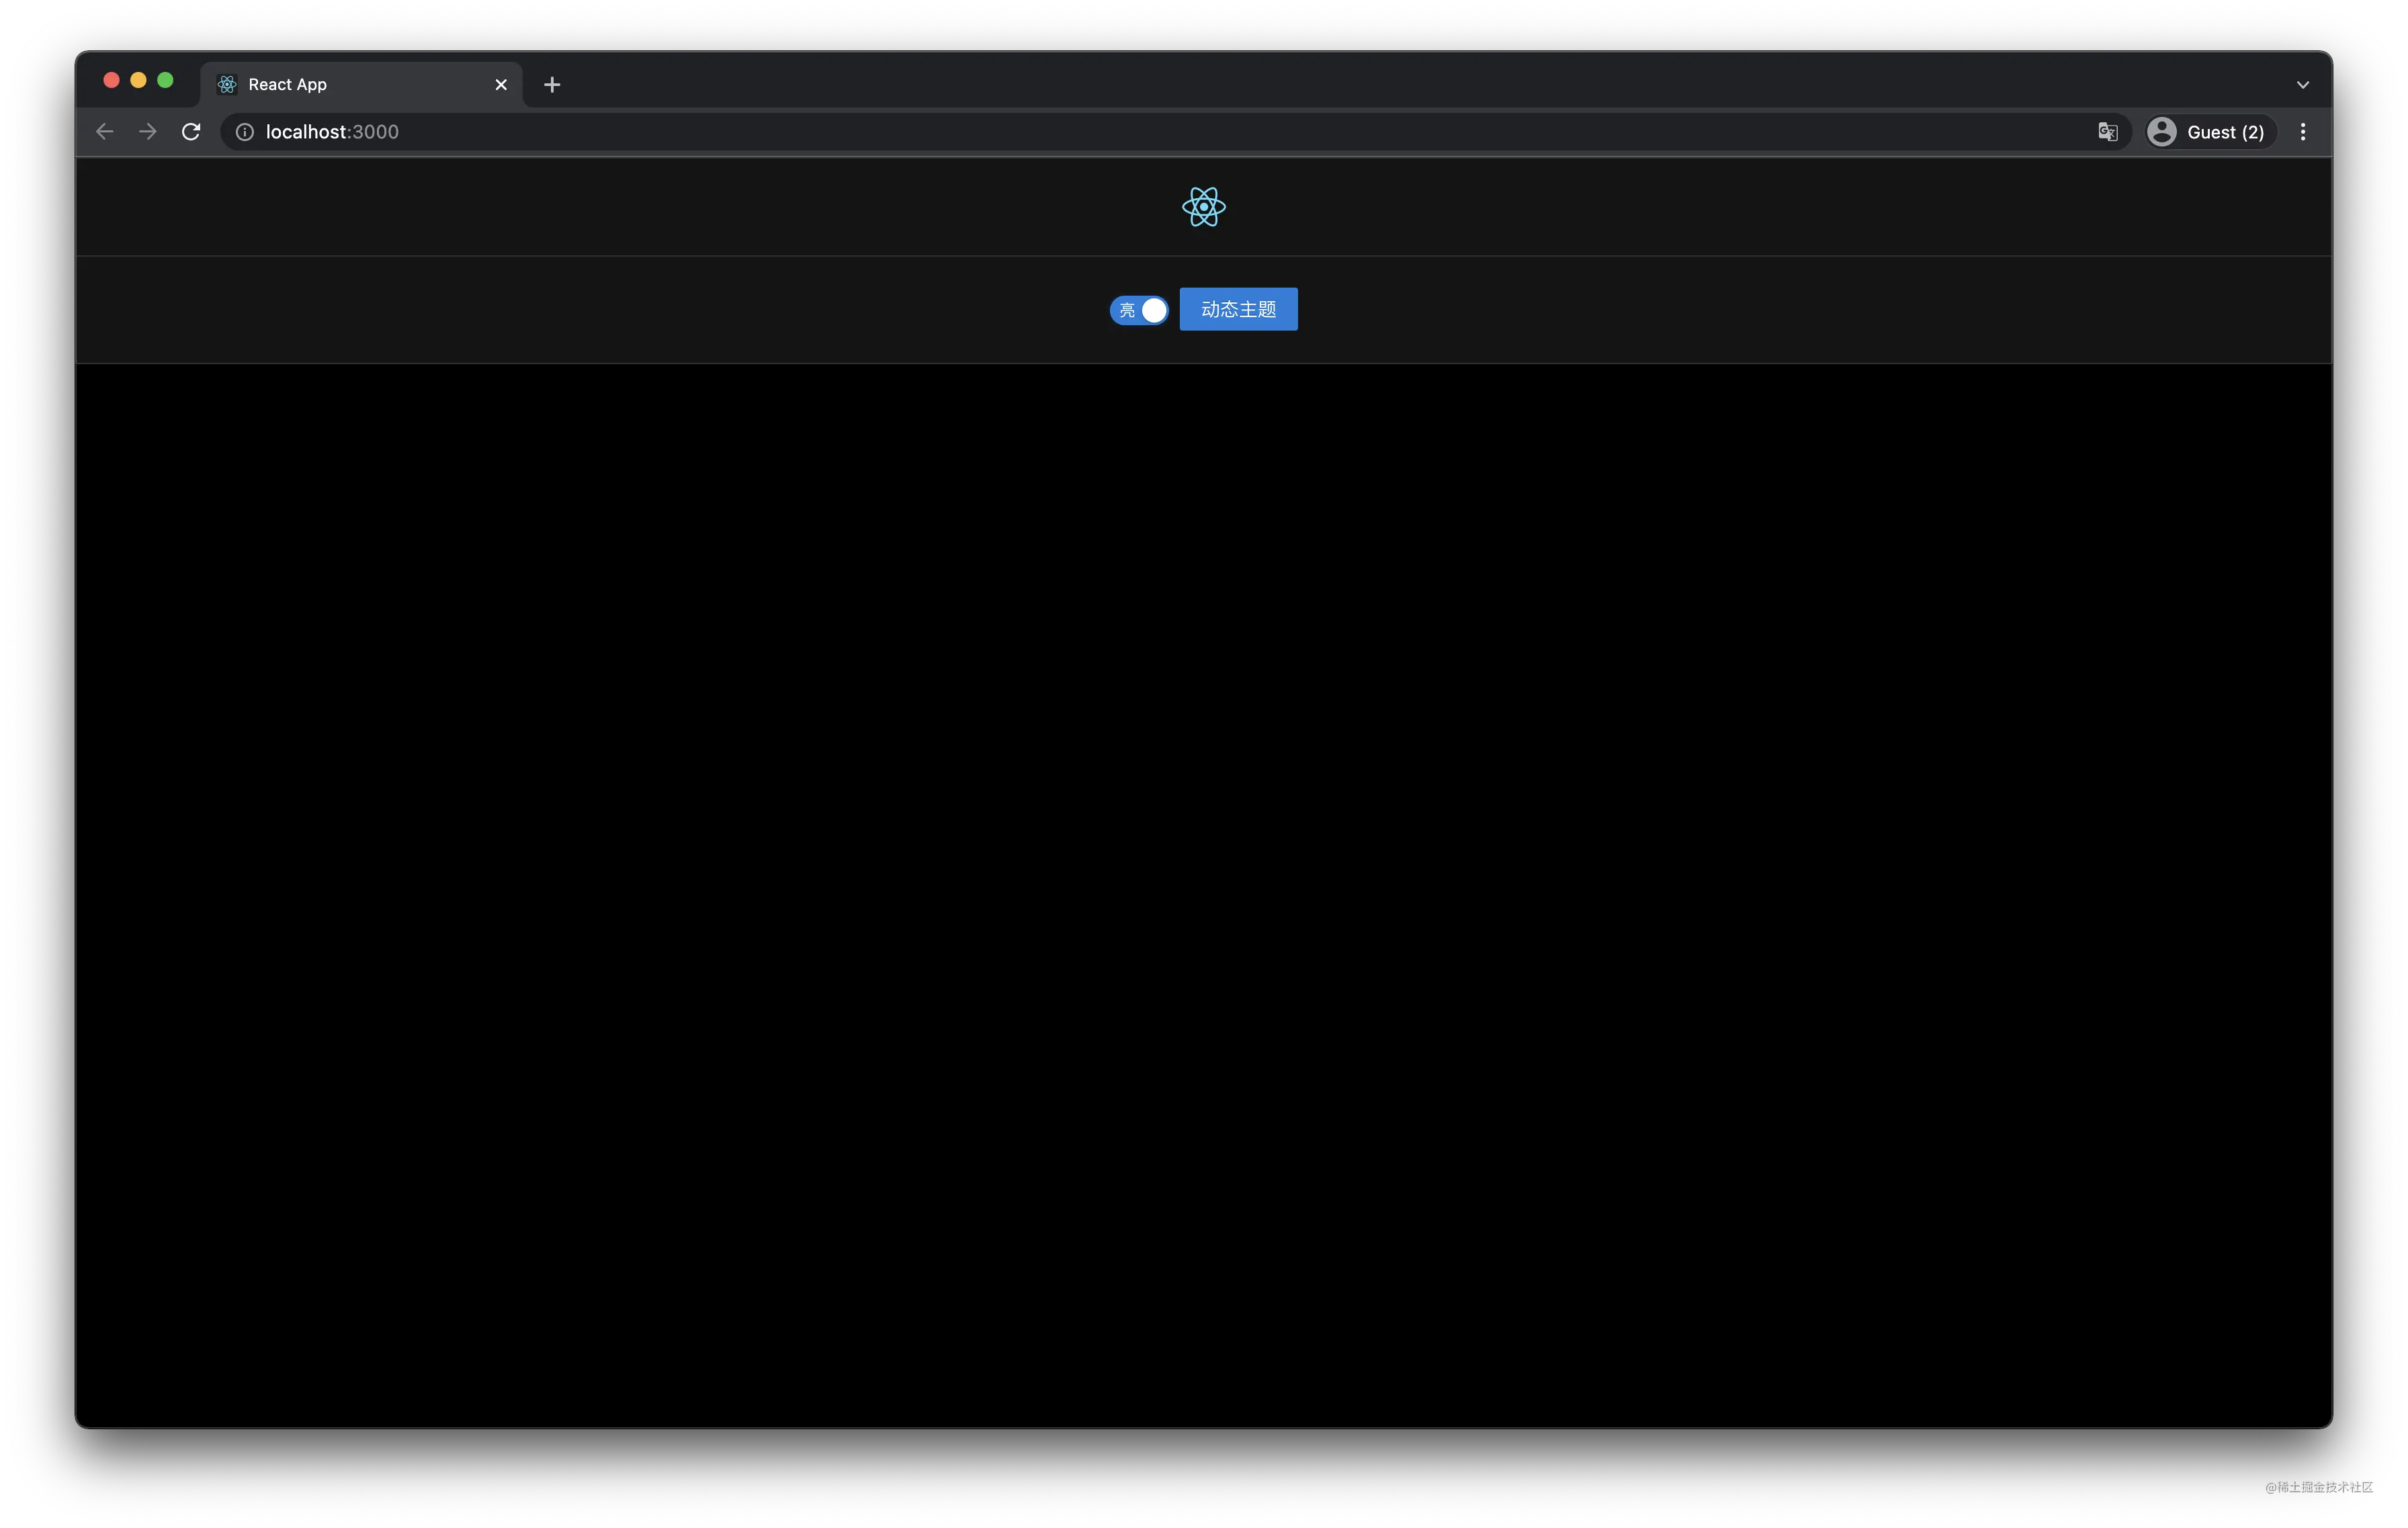
就是这么简单,在使用 getThemeVariables 时也可以搭配前面所说的 modifyVars 来覆盖样式。这就是常用的定制主题的方式,就是之前所说的 覆盖变量,总结一下这两种方式:
引入主题样式文件并覆盖对应 Less 变量;
使用 getThemeVariables 引入对应主题,通过 modifyVars 覆盖变量值;
2. 动态主题
到现在 Ant Design 文档都没有出切换亮/暗模式的功能,但在文档中却有提到相应功能。在本文中主要介绍3种方式,其中一种就是官方出的 动态主题(实验性)。
I. 动态切换样式文件
切换样式文件,这应该是最容易想到的一个方案,Ant Design 本来就提供了例如 default/dark/compact 主题的样式,我们只需要将这些文件保存在我们的项目中,按需切换即可,这个方案不赘述,实现起来也十分简单。
II. ConfigProvider
ConfigProvider 是 Ant Design 提供的一个实验性的动态主题方案,使用很简单,在入口 .less 文件中引入 variable.less 文件,然后在 ConfigProvider 中复写对应变量,具体使用如下:
// App.less
@import 'antd/dist/antd.variable.less';
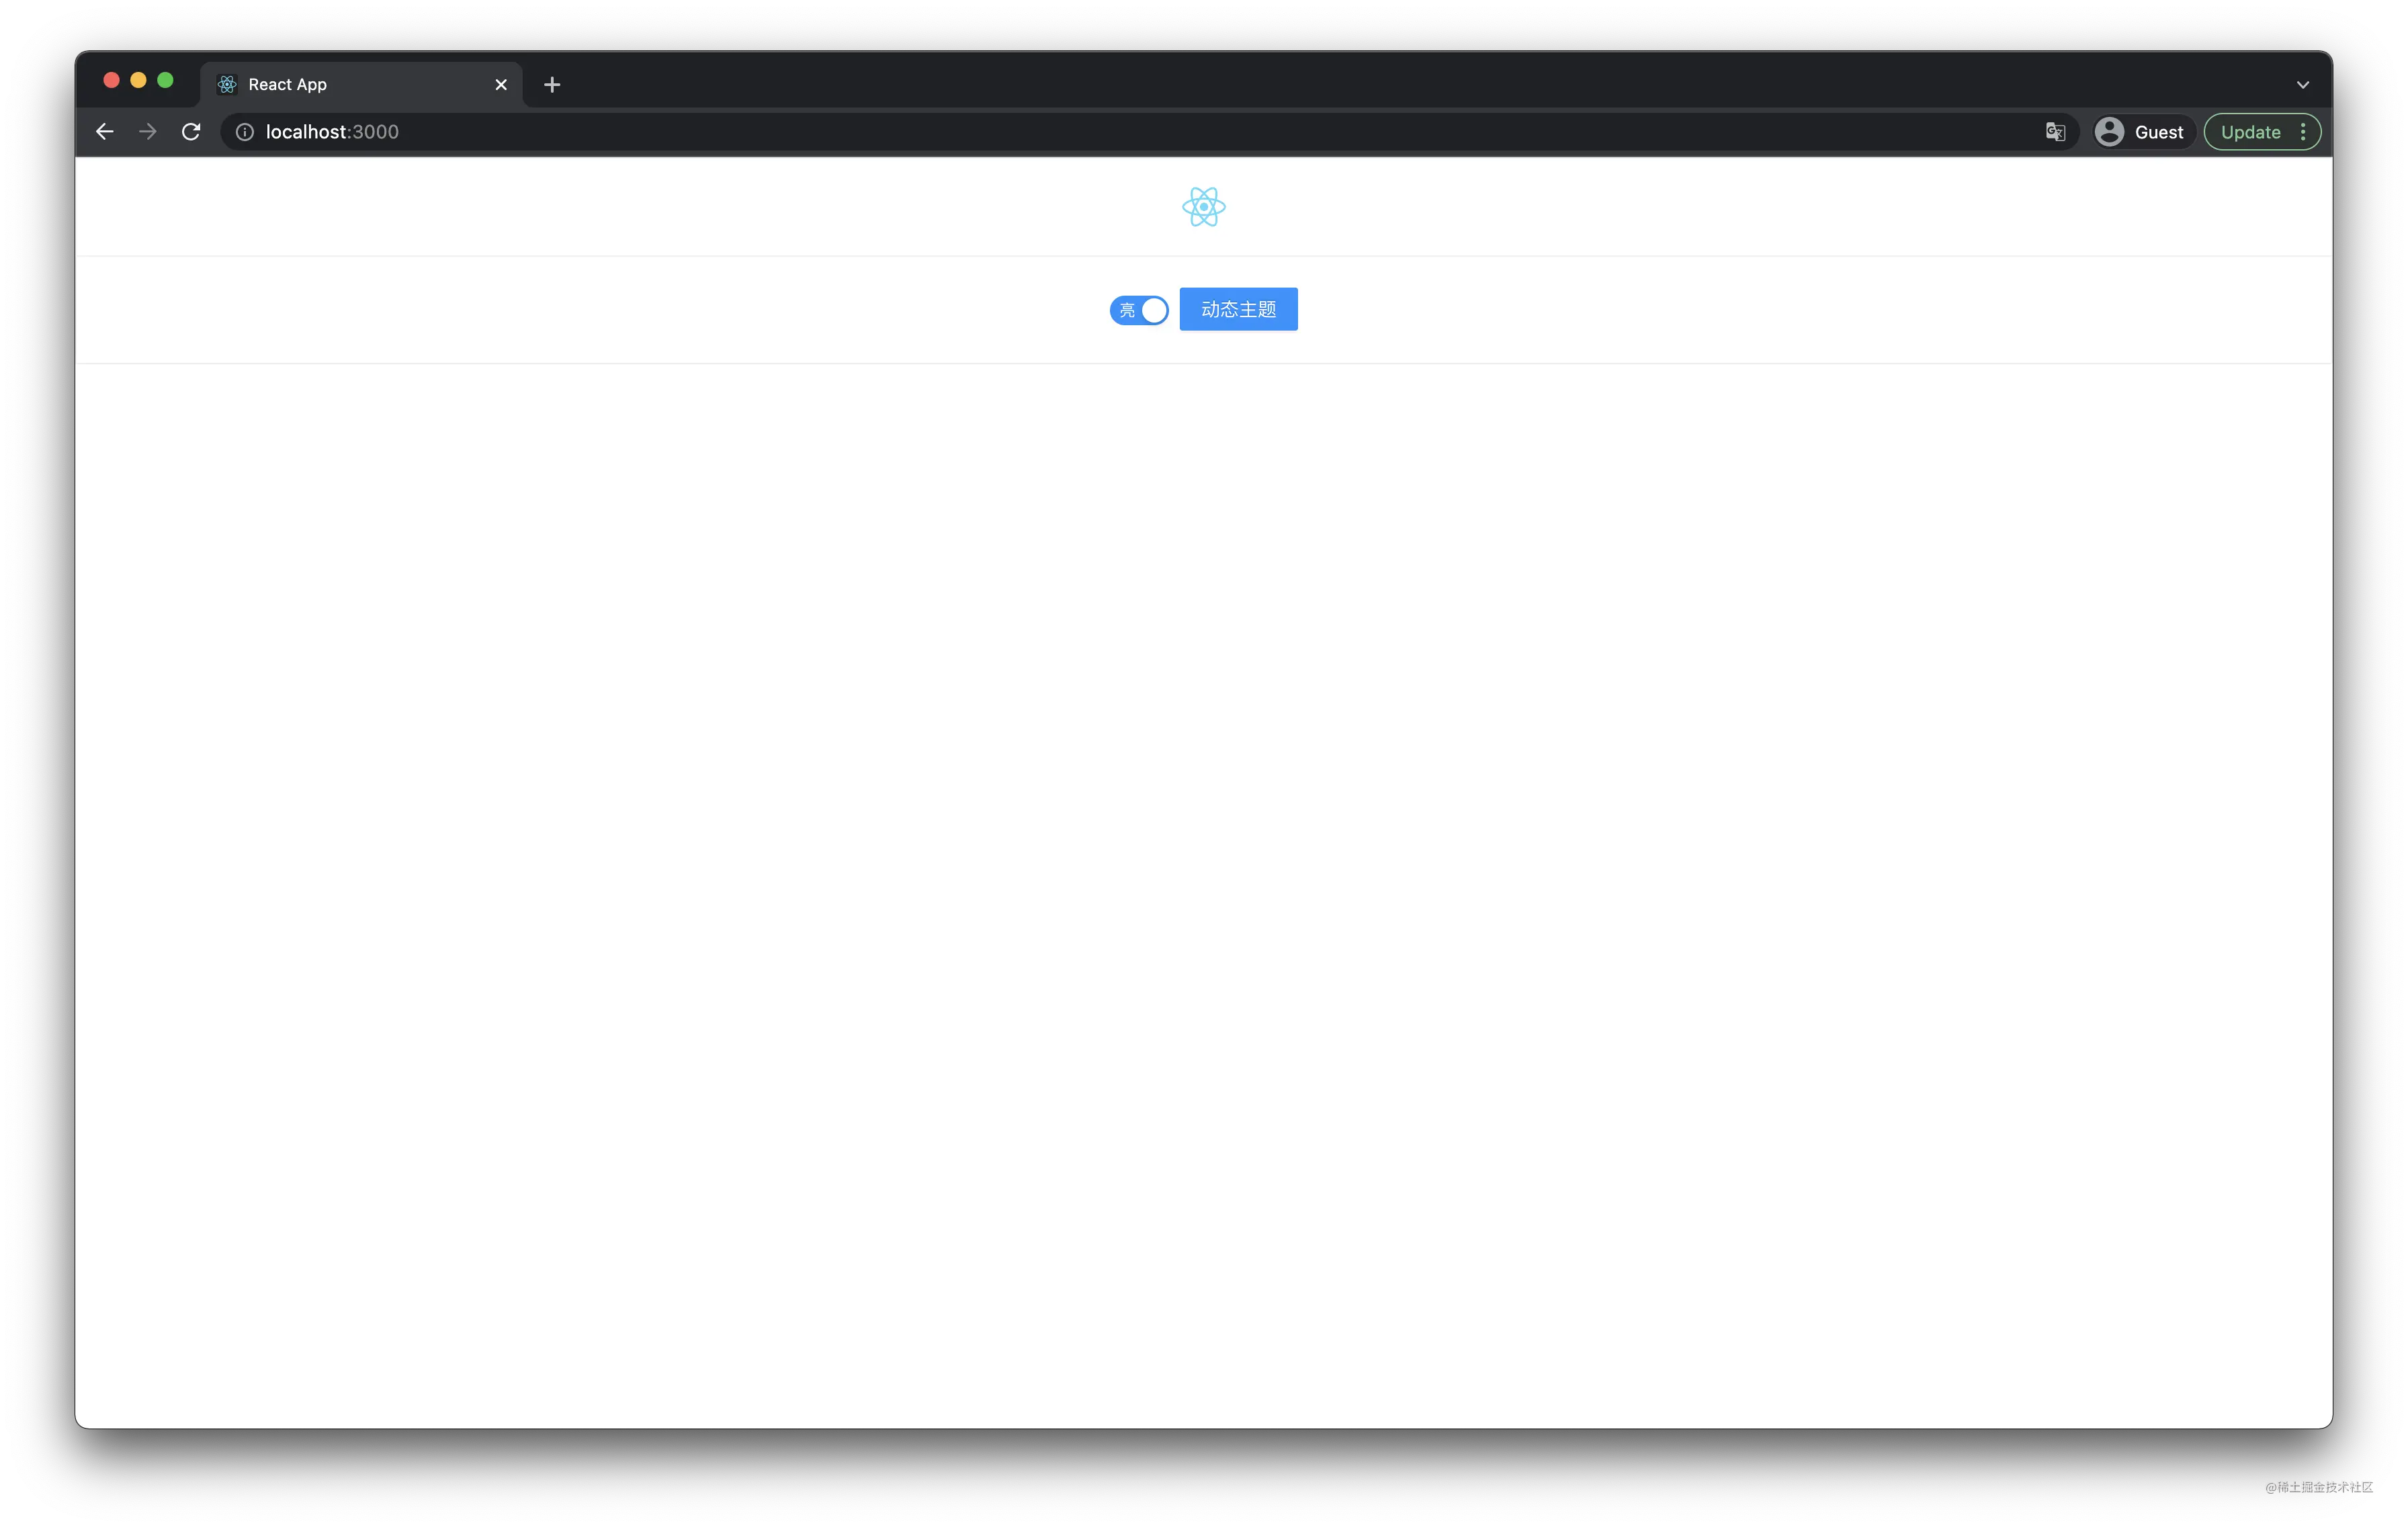
默认样式与 primary 一样,然后我们使用 ConfigProvider 修改主题色(还是以 primaryColor 为例):
// App.js
// 增加下面一行
ConfigProvider.config({ theme: { primaryColor: 'aquamarine' } });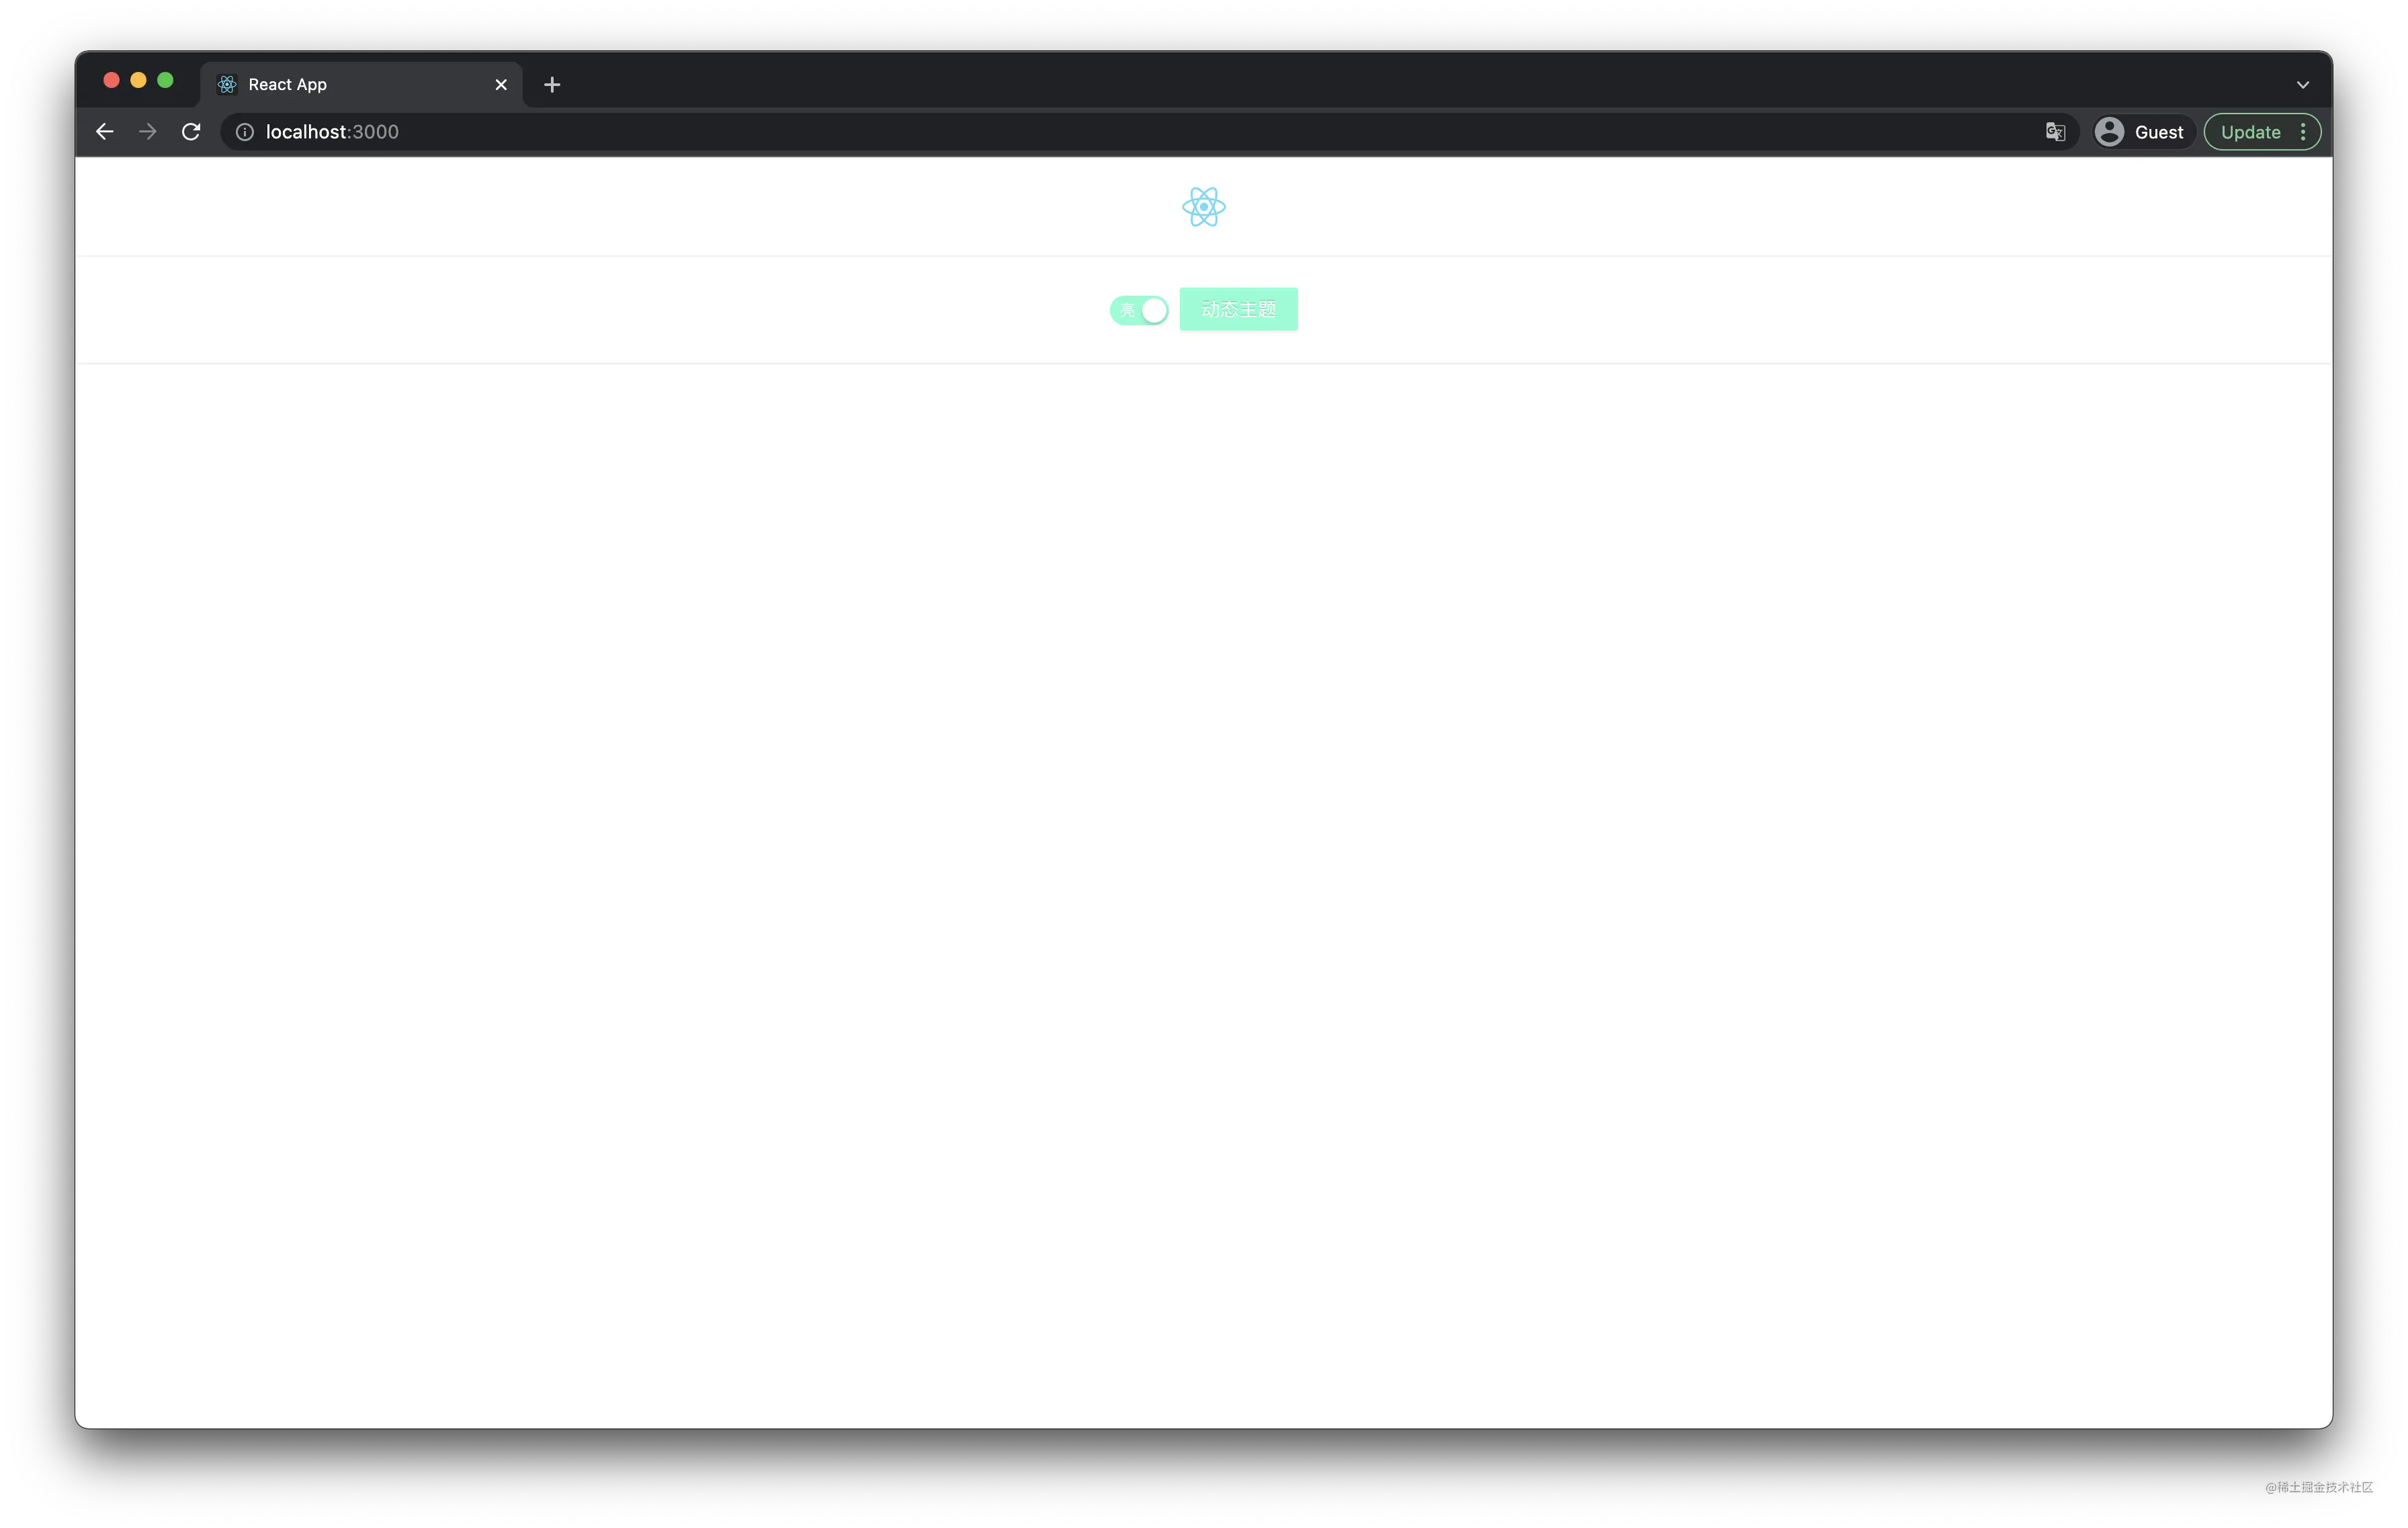
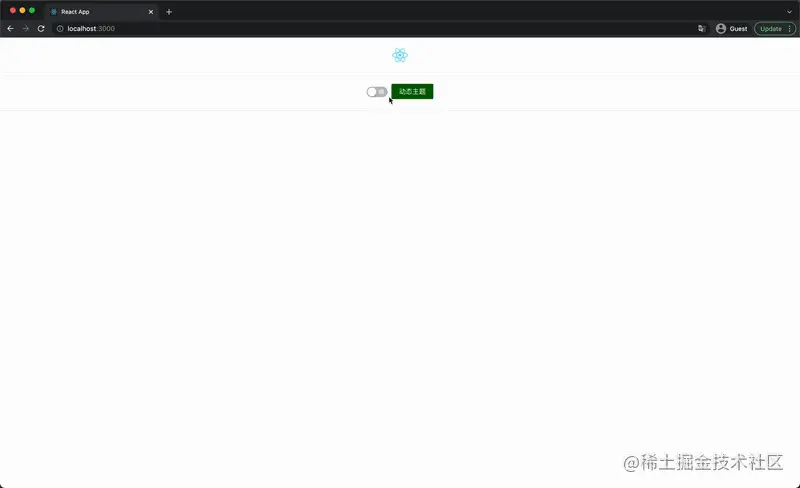
动态切换我们与上面使用方式一致:
// App.js
ConfigProvider.config({
  theme: {
    primaryColor: checked ? 'aquamarine' : 'darkgreen',
  },
});
这么方便,这么好用,他有什么不足之处么?有,但只要你不介意其实问题不大。通过 ConfigProvider 可以配置的颜色很有限:
// node_modules/antd/es/config-provider/context.d.ts
interface Theme {
    primaryColor?: string;
    infoColor?: string;
    successColor?: string;
    processingColor?: string;
    errorColor?: string;
    warningColor?: string;
}
可以看到,通过这种方式来配置的颜色仅有上面六种,但如果你想 extends Theme 来添加其他字段,那不好意思,行不通,再来看下它是如何处理这几种颜色的:
/**
 * @param {string} colorVal
 * @param {string} type
 */
var fillColor = function fillColor(colorVal, type) {
  var baseColor = new TinyColor(colorVal);
  var colorPalettes = generate(baseColor.toRgbString());
  variables["".concat(type, "-color")] = formatColor(baseColor);
  variables["".concat(type, "-color-disabled")] = colorPalettes[1];
  variables["".concat(type, "-color-hover")] = colorPalettes[4];
  variables["".concat(type, "-color-active")] = colorPalettes[7];
  variables["".concat(type, "-color-outline")] = baseColor.clone().setAlpha(0.2).toRgbString();
  variables["".concat(type, "-color-deprecated-bg")] = colorPalettes[1];
  variables["".concat(type, "-color-deprecated-border")] = colorPalettes[3];
};

// 使用如下
fillColor(theme.successColor, 'success');
所以他只是对这几种颜色进行了特定处理,而对于其它的颜色(比如组件背景色)等并未作处理,但即使某些颜色的命名方式也符合这种规范,也不会奏效,毕竟 Ant Design 使用了 if (theme.successColor) 这种方式来条件修改这些颜色。
III. CSS Variables
我打算在这一部分来介绍 II. ConfigProvider 中 antd.variable.less 的内容,因为这个方法与 Ant Design 提供的 ConfigProvider 本质上有些类似:通过 CSS Variables 来修改全局的颜色。我们打开对应文件来简单看下内容:
// node_modules/antd/lib/style/themes/variable.less

html {
  @base-primary: @blue-6;

  --@{ant-prefix}-primary-color: @base-primary;
  --@{ant-prefix}-primary-color-hover: color(~`colorPalette('@{base-primary}', 5) `);
  --@{ant-prefix}-primary-color-active: color(~`colorPalette('@{base-primary}', 7) `);
  --@{ant-prefix}-primary-color-outline: fade(@base-primary, @outline-fade);
	// ...
}
上面的代码中涉及了 less 中几个比较基本的语法:Variable Interpolation 和 Escaping。
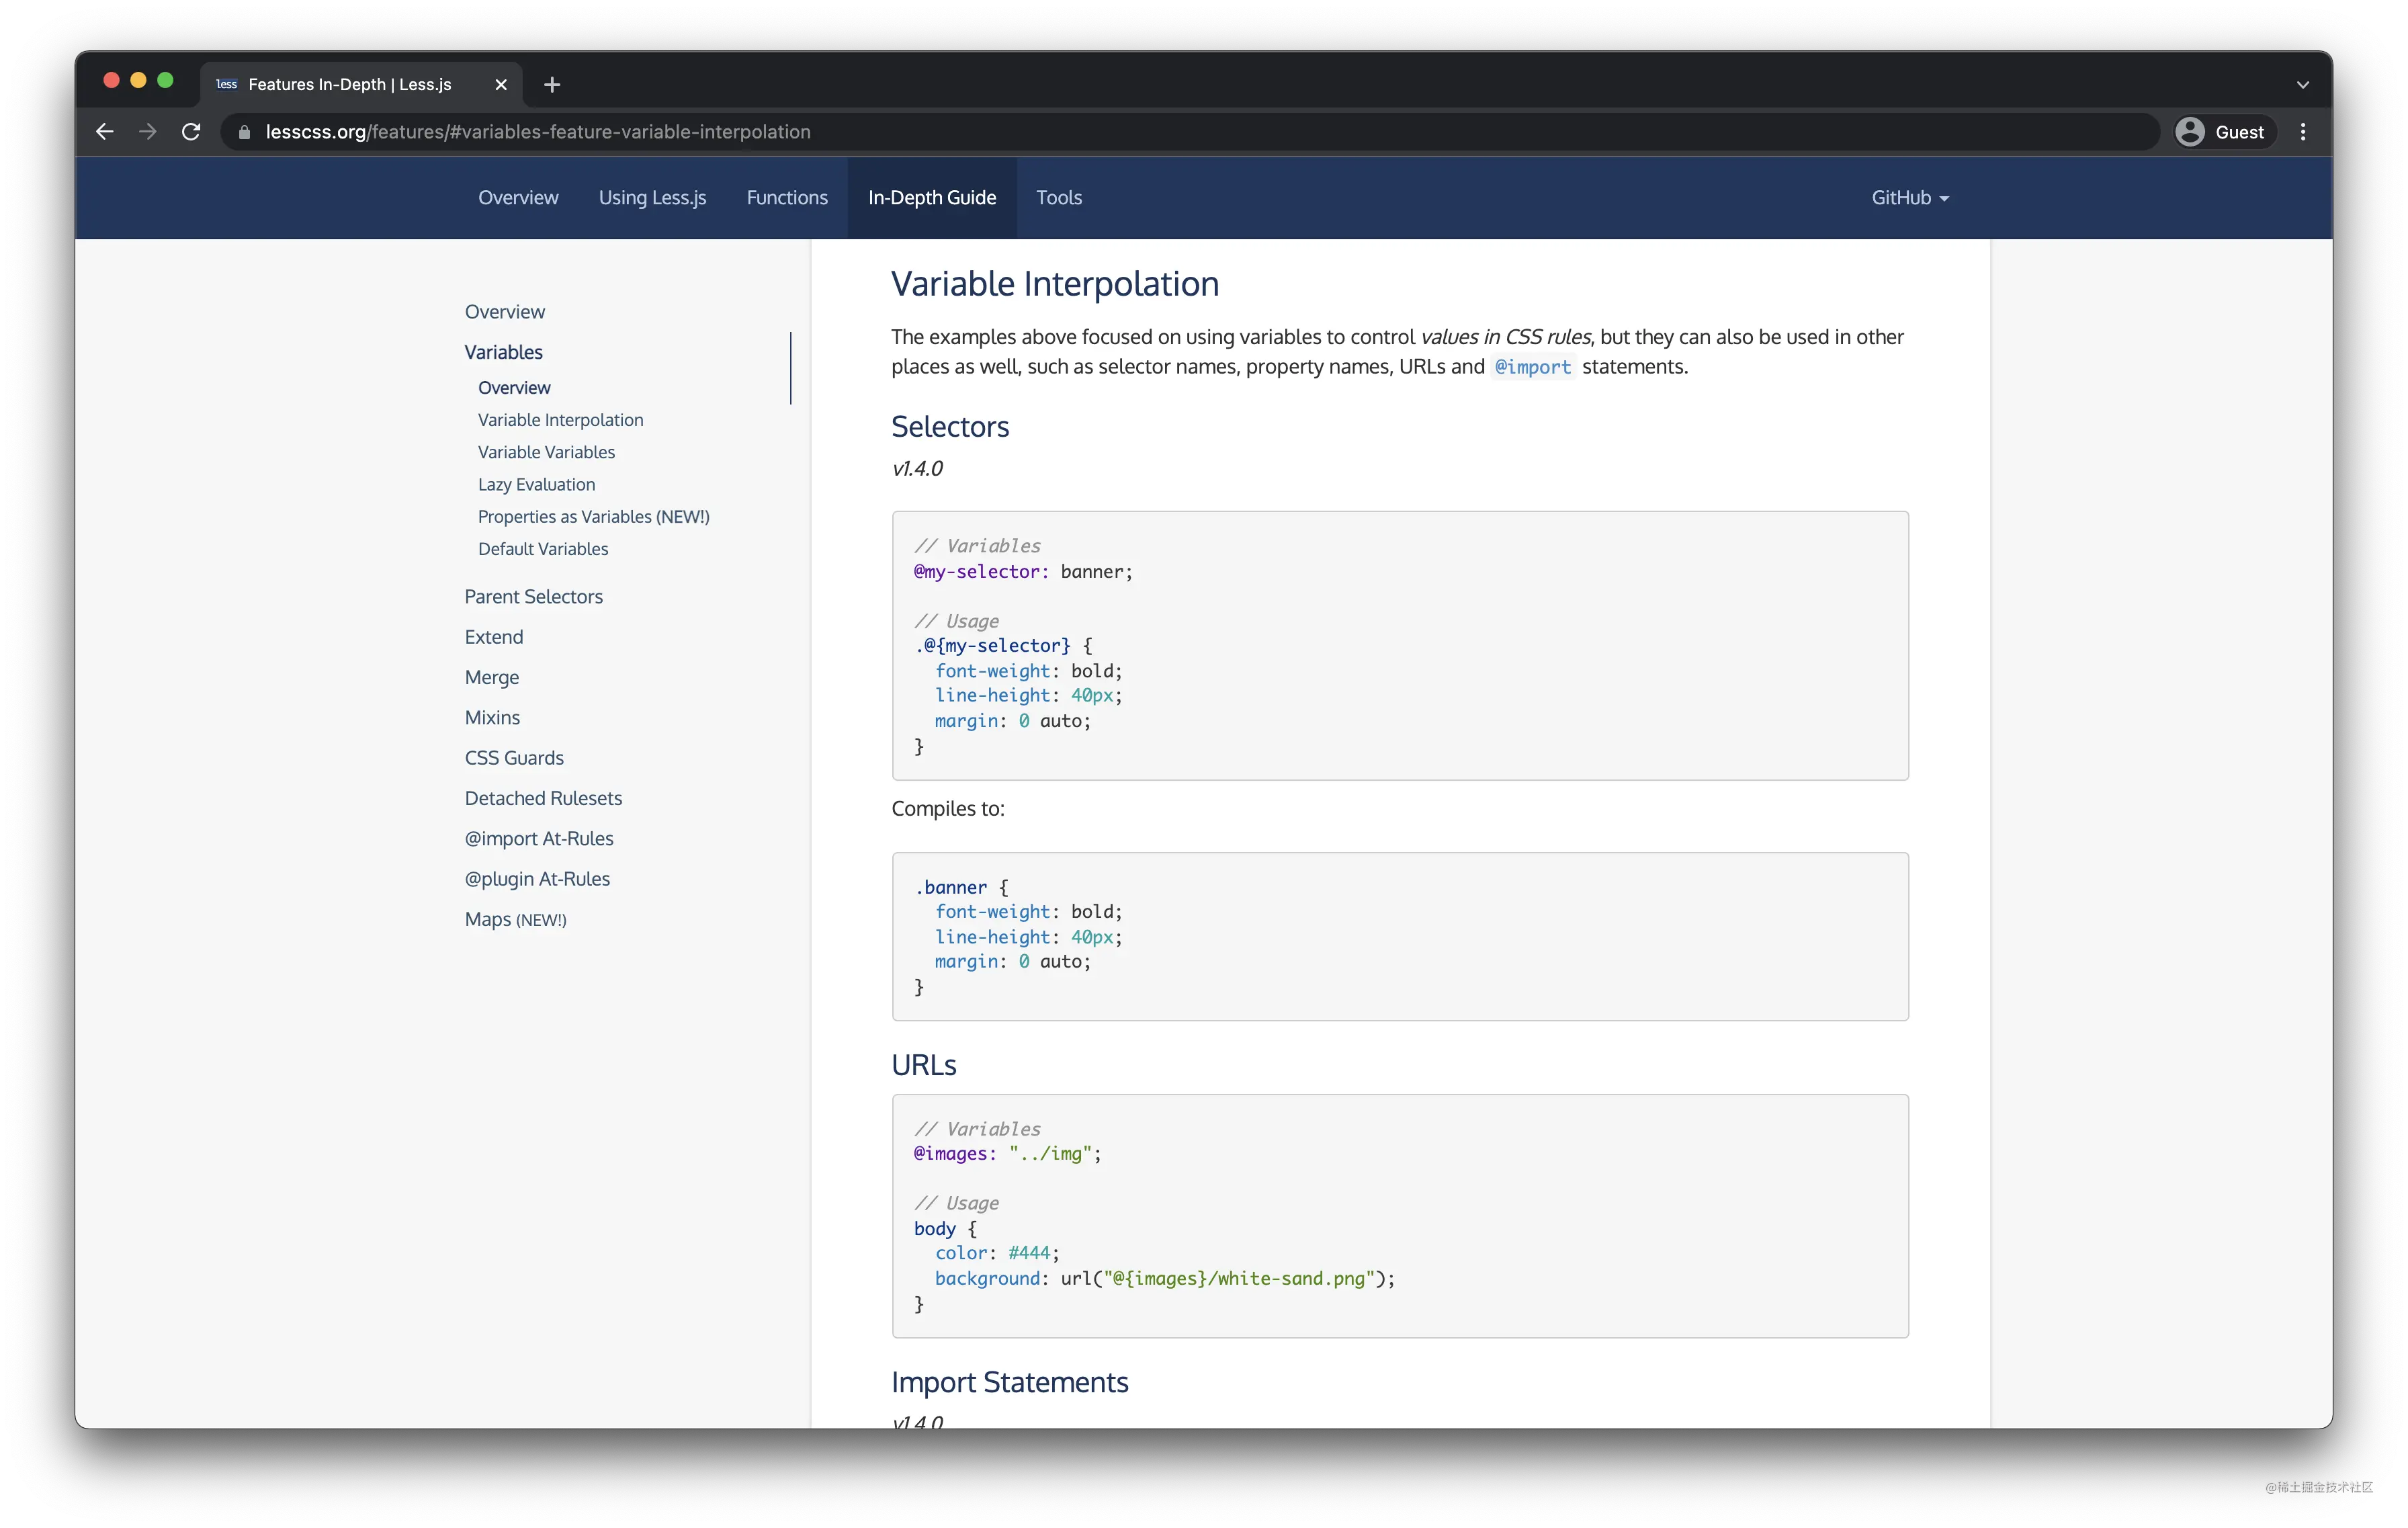
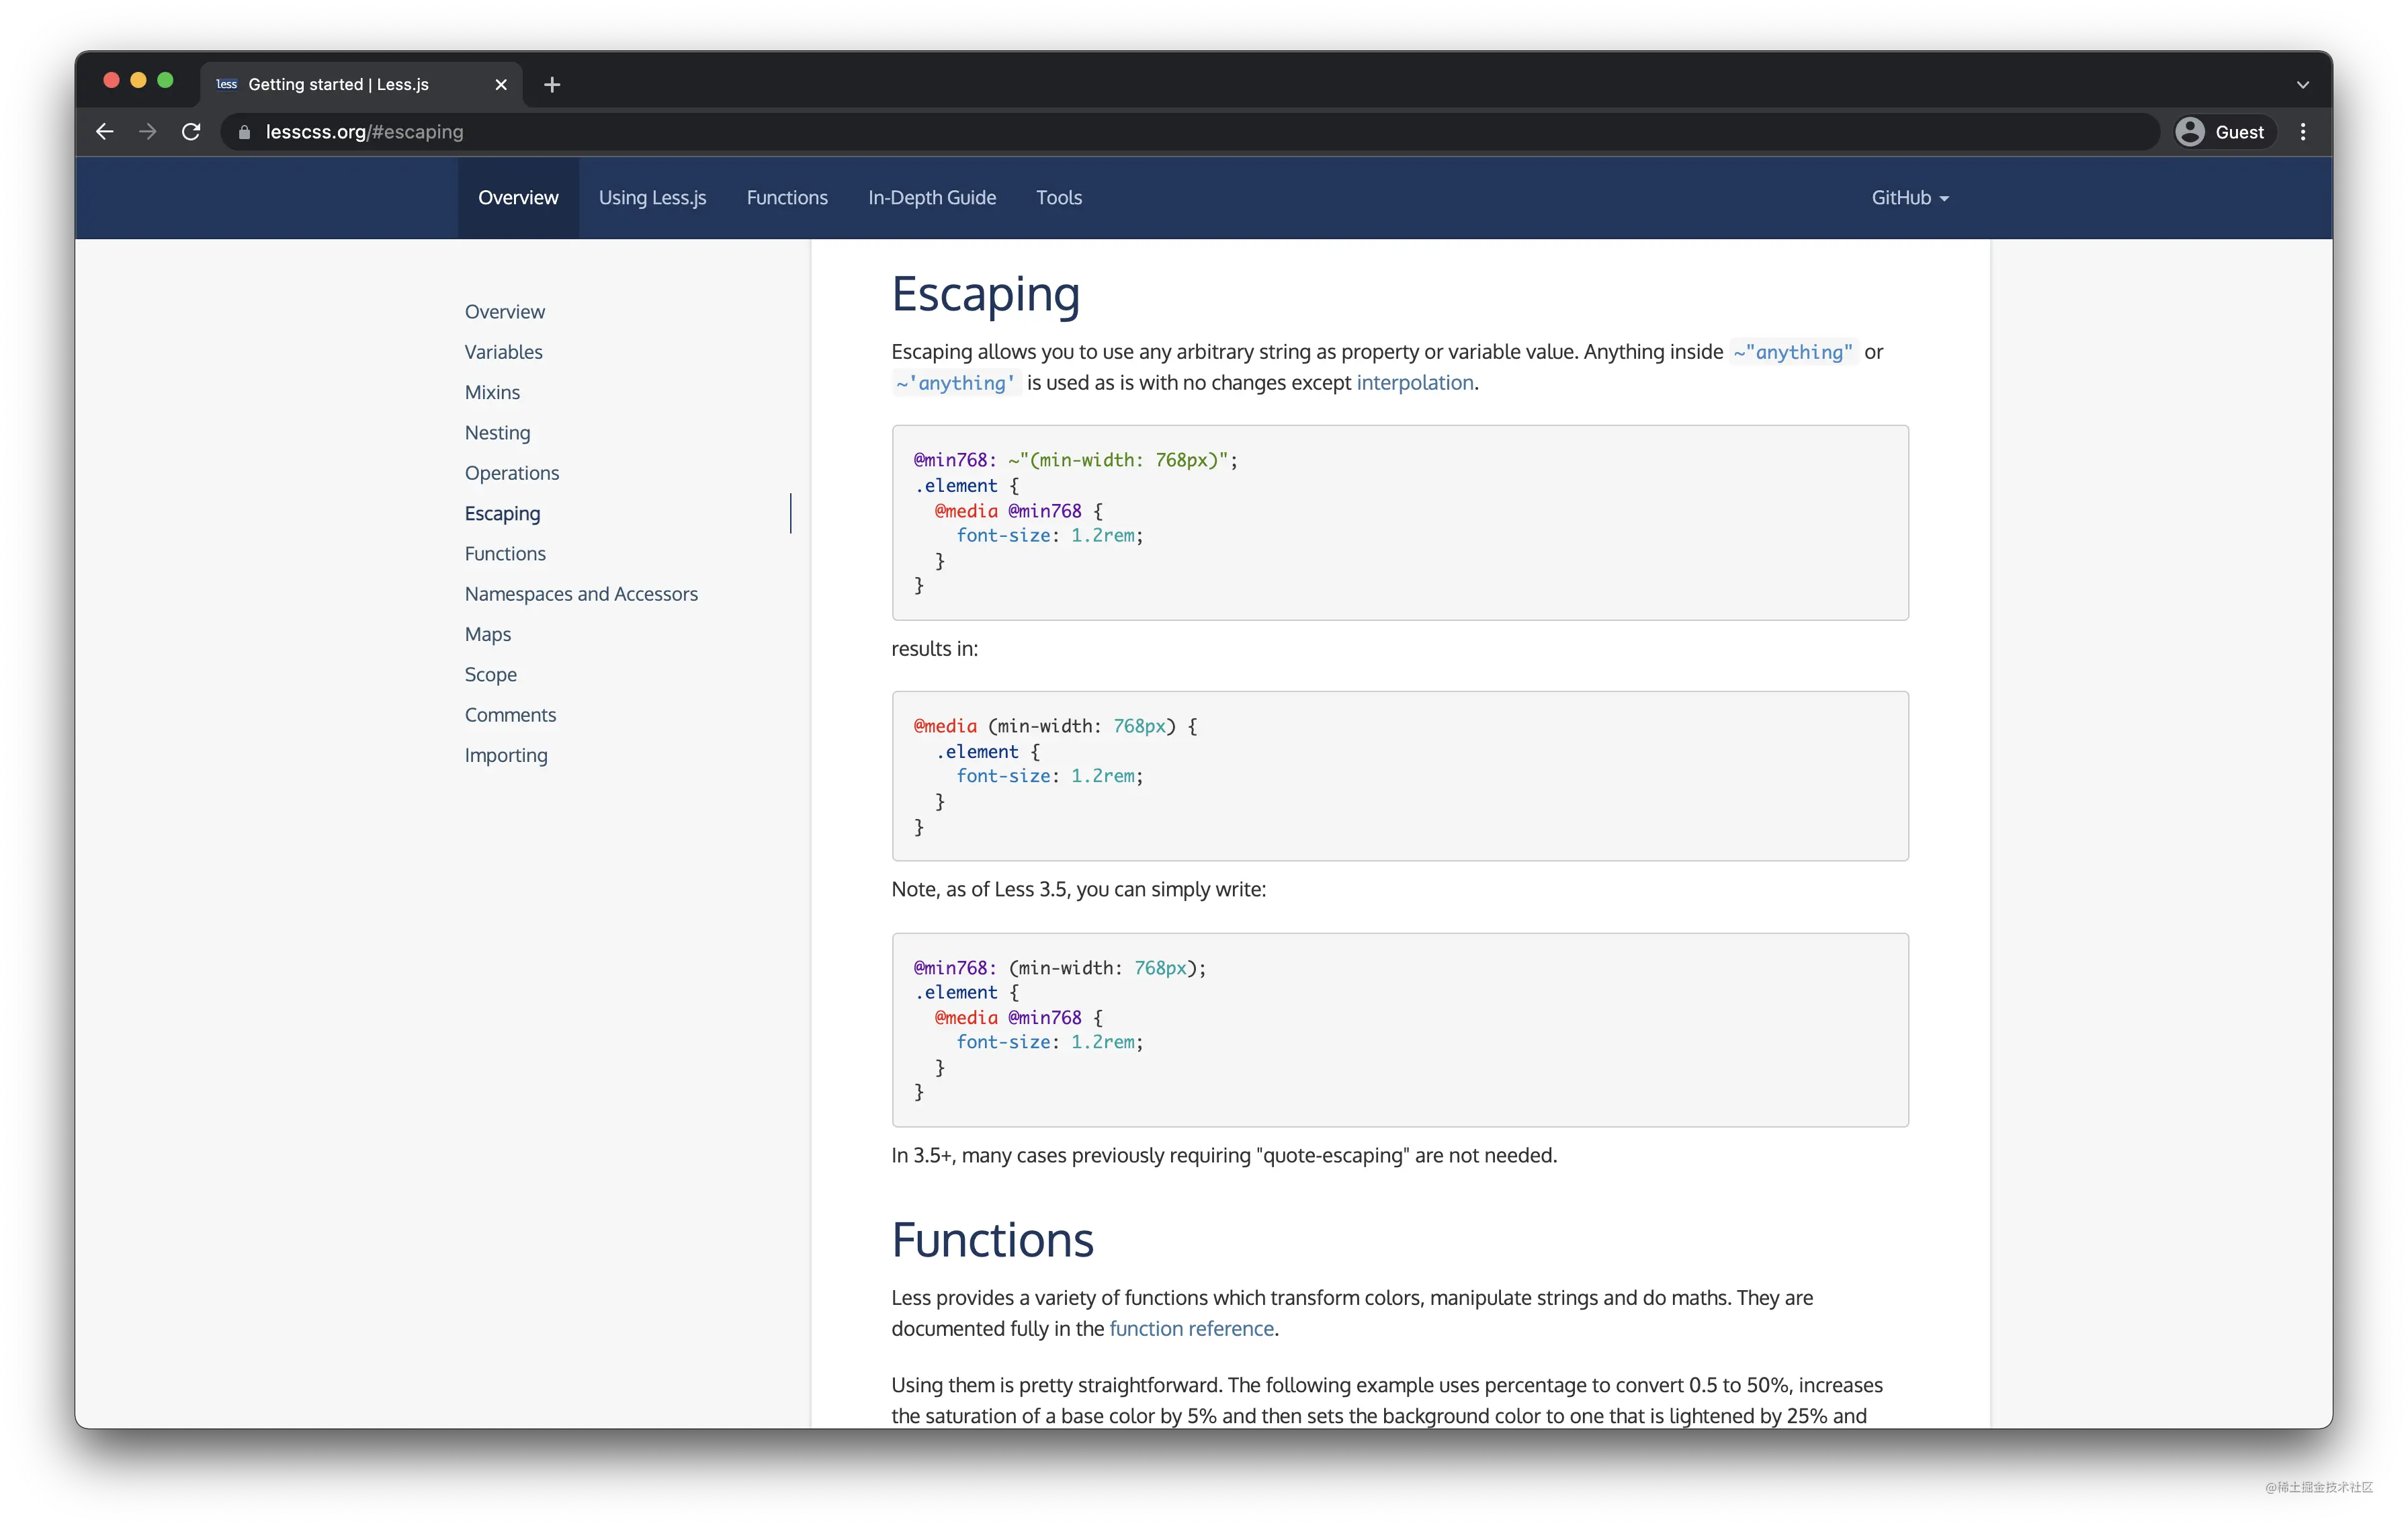
具体内容可以看上面截图,我就不再赘述,Ant Design 就通过这种方式实现了动态主题,将 color 值设置为可变的 CSS Variables。既然 ConfigProvider 可变的 color 有限,那我们就自己来定义这些颜色吧~这种方式实现起来比较复杂,但是可自定义性就无限可能了
// App.less
:root {
  --main-color: green;
}

.ant-btn {
  &.ant-btn-primary {
    border-color: ~'var(--main-color)';
    background: ~'var(--main-color)';
  }
}
看一下通过这种方式实现的效果:
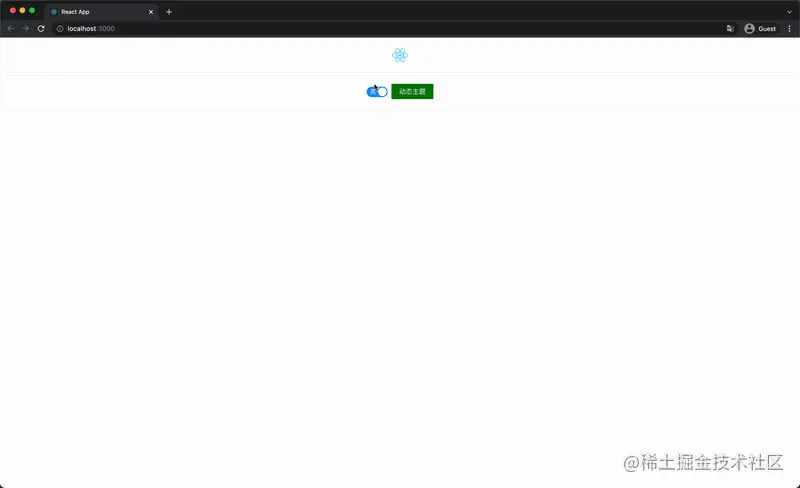
如何实现修改 :root 中的样式呢?具体 Ant Design 的实现各位可以看 node_modules/antd/es/config-provider/cssVariable.js 和 node_modules/rc-util/es/Dom/dynamicCSS.js 两个文件,内容十分简单。我先写了一个简易版:
const dark = {
  '--main-color': 'darkgray',
};

const light = {
  '--main-color': 'green',
};

const themes = { dark, light };

const changeTheme = (theme) => {
  const nextTheme = themes[theme];
  Object.keys(nextTheme).forEach((key) => {
    document.documentElement.style.setProperty(key, nextTheme[key]);
  });
};
changeTheme 方法就是修改 :root 中样式的方法。
但为什么不直接在 App.less 中采用 @primary-color: ~'var(--main-color)' 的形式,非要重写组件样式呢?
如果你去看 Ant Design 中样式文件的源码你会发现其中用到了很多 function,比如 less 中的 fade 函数:
Set the absolute opacity of a color. Can be applied to colors whether they already have an opacity value or not.
来自 Less 官网:https://lesscss.org/functions/#color-operations-fade
如果我们采用刚才说的那种形式来修改 @primary-color 等样式,less 就会抛出异常:Argument cannot be evaluated to a color:
// node_modules/less/lib/less/functions/color.js

// fade 方法
function fade (color, amount) {
  var hsl = toHSL(color);
  hsl.a = amount.value / 100;
  hsl.a = clamp(hsl.a);
  return hsla(color, hsl);
}

// toHSL 方法
function toHSL(color) {
    // 此处的 color.toHSL 函数是下面 color.js 中的 toHSL 函数
    if (color.toHSL) {
        return color.toHSL();
    }
    else {
        throw new Error('Argument cannot be evaluated to a color');
    }
}

// node_modules/less/lib/less/tree/color.js
function toHSL () {
  var r = this.rgb[0] / 255, g = this.rgb[1] / 255, b = this.rgb[2] / 255, a = this.alpha;
  // ...
},
这样就可以看出如果我们传给 fade 函数的不是一个准确的颜色值,在 color.js 中是获取不到 rgb[0] 等值的,所以在 less 编译过程中就会直接报错。
以上是“Ant Design中怎么定制动态主题”这篇文章的所有内容,感谢各位的阅读!相信大家都有了一定的了解,希望分享的内容对大家有所帮助,如果还想学习更多知识,欢迎关注亿速云行业资讯频道!
免责声明:本站发布的内容(图片、视频和文字)以原创、转载和分享为主,文章观点不代表本网站立场,如果涉及侵权请联系站长邮箱:is@yisu.com进行举报,并提供相关证据,一经查实,将立刻删除涉嫌侵权内容。