本篇内容介绍了“go语言context包功能及操作使用的方法”的有关知识,在实际案例的操作过程中,不少人都会遇到这样的困境,接下来就让小编带领大家学习一下如何处理这些情况吧!希望大家仔细阅读,能够学有所成!
我们会在用到很多东西的时候都看到context的影子,比如gin框架,比如grpc,这东西到底是做啥的?
大家都在用,没几个知道这是干嘛的,知其然而不知其所以然
原理说白了就是:
当前协程取消了,可以通知所有由它创建的子协程退出
当前协程取消了,不会影响到创建它的父级协程的状态
扩展了额外的功能:超时取消、定时取消、可以和子协程共享数据
这就是context包的核心原理,链式传递context,基于context构造新的context
每一个 RPC 调用都应该有超时退出的能力,这是比较合理的 API 设计
不仅仅 是超时,你还需要有能力去结束那些不再需要操作的行为
context.Context 是 Go 标准的解决方案
任何函数可能被阻塞,或者需要很长时间来完成的,都应该有个 context.Context
在 RPC 开始的时候,使用 context.Background()
有些人把在 main() 里记录一个 context.Background(),然后把这个放到服务器的某个变量里,然后请求来了后从这个变量里继承 context。这么做是不对的。直接每个请求,源自自己的 context.Background() 即可。
如果你没有 context,却需要调用一个 context 的函数的话,用 context.TODO()
如果某步操作需要自己的超时设置的话,给它一个独立的 sub-context(如前面的例子)
package main
import (
    "context"
    "fmt"
    "time"
)
func main() {
    ctx, cancel := context.WithCancel(context.Background())
    //缓冲通道预先放置10个消息
    messages := make(chan int, 10)
    defer close(messages)
    for i := 0; i < 10; i++ {
        messages <- i
    }
    //启动3个子协程消费messages消息
    for i := 1; i <= 3; i++ {
        go child(i, ctx, messages)
    }
    time.Sleep(3 * time.Second) //等待子协程接收一半的消息
    cancel() //结束前通知子协程
    time.Sleep(2 * time.Second) //等待所有的子协程输出
    fmt.Println("主协程结束")
}
//从messages通道获取信息,当收到结束信号的时候不再接收
func child(i int, ctx context.Context, messages <-chan int) {
    //基于父级的context建立context
    newCtx, _ := context.WithCancel(ctx)
    go childJob(i, "a", newCtx)
    go childJob(i, "b", newCtx)
Consume:
    for {
        time.Sleep(1 * time.Second)
        select {
        case <-ctx.Done():
            fmt.Printf("[%d]被主协程通知结束...\n", i)
            break Consume
        default:
            fmt.Printf("[%d]接收消息: %d\n", i, <-messages)
        }
    }
}
//任务
func childJob(parent int, name string, ctx context.Context) {
    for {
        time.Sleep(1 * time.Second)
        select {
        case <-ctx.Done():
            fmt.Printf("[%d-%v]被结束...\n", parent, name)
            return
        default:
            fmt.Printf("[%d-%v]执行\n", parent, name)
        }
    }
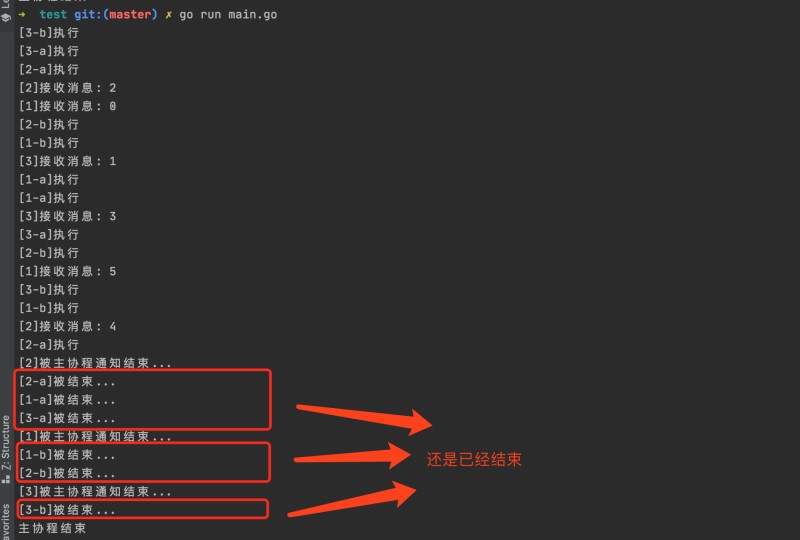
}运行结果如下

可以看到,改成context包还是顺利的通过子协程退出了
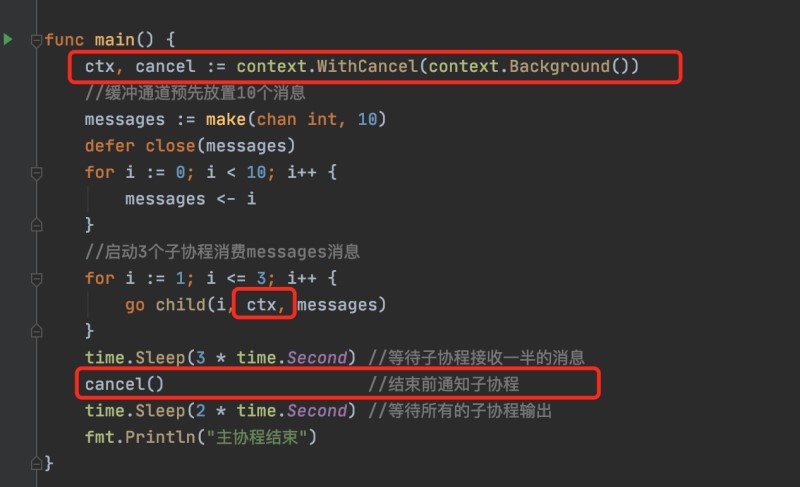
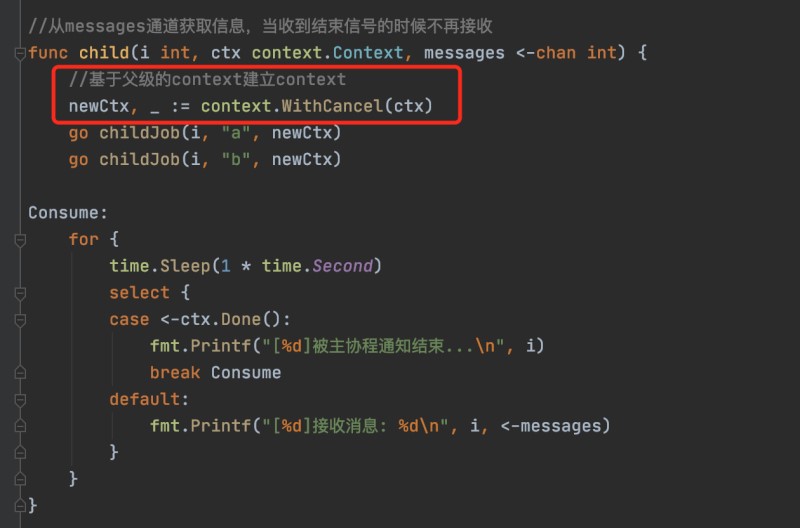
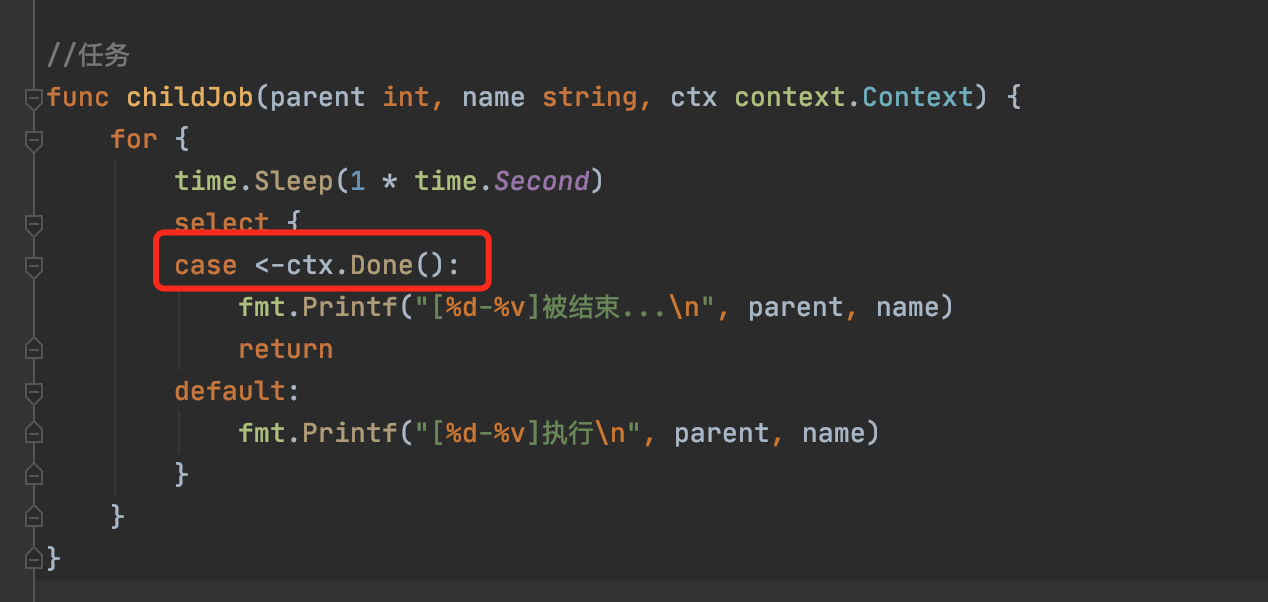
主要修改了几个地方,再ctx向下传递

基于上层context再构建当前层级的context

监听context的退出信号,

这就是context包的核心原理,链式传递context,基于context构造新的context
type Context interface {
    Deadline() (deadline time.Time, ok bool)
    Done() <-chan struct{}
    Err() error
    Value(key interface{}) interface{}
}Deadline返回绑定当前context的任务被取消的截止时间;如果没有设定期限,将返回ok == false。
Done 当绑定当前context的任务被取消时,将返回一个关闭的channel;如果当前context不会被取消,将返回nil。
Err 如果Done返回的channel没有关闭,将返回nil;如果Done返回的channel已经关闭,将返回非空的值表示任务结束的原因。如果是context被取消,Err将返回Canceled;如果是context超时,Err将返回DeadlineExceeded。
Value 返回context存储的键值对中当前key对应的值,如果没有对应的key,则返回nil。
实现了context接口,emptyCtx没有超时时间,不能取消,也不能存储额外信息,所以emptyCtx用来做根节点,一般用Background和TODO来初始化emptyCtx
通常用于主函数,初始化以及测试,作为顶层的context
context.Background()
不确定使用什么用context的时候才会使用
type valueCtx struct{ Context key, val interface{} }valueCtx利用Context的变量来表示父节点context,所以当前context继承了父context的所有信息
valueCtx还可以存储键值。
可以向context添加键值
func WithValue(parent Context, key, val interface{}) Context {
    if key == nil {
        panic("nil key")
    }
    if !reflect.TypeOf(key).Comparable() {
        panic("key is not comparable")
    }
    return &valueCtx{parent, key, val}
}添加键值会返回创建一个新的valueCtx子节点
func (c *valueCtx) Value(key interface{}) interface{} {
    if c.key == key {
        return c.val
    }
    return c.Context.Value(key)
}可以用来获取当前context和所有的父节点存储的key
如果当前的context不存在需要的key,会沿着context链向上寻找key对应的值,直到根节点
package main
import (
	"context"
	"fmt"
	"time"
)
func main() {
	ctx := context.WithValue(context.Background(), "name1", "root1")

	//第一层
	go func(parent context.Context) {
		ctx = context.WithValue(parent, "name2", "root2")
		//第二层
		go func(parent context.Context) {
			ctx = context.WithValue(parent, "name3", "root3")
			//第三层
			go func(parent context.Context) {
				//可以获取所有的父类的值
				fmt.Println(ctx.Value("name1"))
				fmt.Println(ctx.Value("name2"))
				fmt.Println(ctx.Value("name3"))
				//不存在
				fmt.Println(ctx.Value("name4"))
			}(ctx)
		}(ctx)
	}(ctx)
	time.Sleep(1 * time.Second)
	fmt.Println("end")
}运行结果

可以看到,子context是可以获取所有父级设置过的key
用来创建一个可取消的context,返回一个context和一个CancelFunc,调用CancelFunc可以触发cancel操作。
package main
import (
	"context"
	"fmt"
	"time"
)
func main() {
	ctx, cancel := context.WithCancel(context.Background())
	//第一层
	go func(parent context.Context) {
		ctx, _ := context.WithCancel(parent)
		//第二层
		go func(parent context.Context) {
			ctx, _ := context.WithCancel(parent)
			//第三层
			go func(parent context.Context) {
				waitCancel(ctx, 3)
			}(ctx)
			waitCancel(ctx, 2)
		}(ctx)
		waitCancel(ctx, 1)
	}(ctx)
	// 主线程给的结束时间
	time.Sleep(2 * time.Second)
	cancel() // 调用取消context
	time.Sleep(1 * time.Second)
}
func waitCancel(ctx context.Context, i int) {
	for {
		time.Sleep(time.Second)
		select {
		case <-ctx.Done():
			fmt.Printf("%d end\n", i)
			return
		default:
			fmt.Printf("%d do\n", i)
		}
	}
}结果:

type cancelCtx struct {
    Context
    mu sync.Mutex
    done chan struct{}
    children map[canceler]struct{}
    err error
}
type canceler interface {
    cancel(removeFromParent bool, err error)
    Done() <-chan struct{}
}返回一个基于parent的可取消的context,并且过期时间deadline不晚于所设置时间d
创建一个定时取消context,和WithDeadline差不多,WithTimeout是相对时间
timerCtx是基于cancelCtx的context精英,是一种可以定时取消的context,过期时间的deadline不晚于所设置的时间d
示例:
package main
import (
	"context"
	"fmt"
	"time"
)
func main() {
	// 设置超时时间
	ctx, _ := context.WithTimeout(context.Background(), 2*time.Second)
	//第一层
	go func(parent context.Context) {
		ctx, _ := context.WithCancel(parent)
		//第二层
		go func(parent context.Context) {
			ctx, _ := context.WithCancel(parent)
			//第三层
			go func(parent context.Context) {
				waitCancel(ctx, 3)
			}(ctx)
			waitCancel(ctx, 2)
		}(ctx)
		waitCancel(ctx, 1)
	}(ctx)

	<-ctx.Done()
	// 给时间调用end
	time.Sleep(time.Second)
}
func waitCancel(ctx context.Context, i int) {
	for {
		time.Sleep(time.Second)
		select {
		case <-ctx.Done():
			fmt.Printf("%d end\n", i)
			return
		default:
			fmt.Printf("%d do\n", i)
		}
	}
}运行结果:
1 do
3 do
2 do
1 end
3 end
2 end可以看到,虽然我们没有调用cancel方法,5秒后自动调用了,所有的子goroutine都已经收到停止信号
Done方法返回一个channel
外部通过调用<-channel监听cancel方法
cancel方法会调用close(channel)
当调用close方法的时候,所有的channel再次从通道获取内容,会返回零值和false
res,ok := <-done:过期自动取消,使用了time.AfterFunc方法,到时调用cancel方法
  c.timer = time.AfterFunc(dur, func() {
   c.cancel(true, DeadlineExceeded)
})“go语言context包功能及操作使用的方法”的内容就介绍到这里了,感谢大家的阅读。如果想了解更多行业相关的知识可以关注亿速云网站,小编将为大家输出更多高质量的实用文章!
亿速云「云服务器」,即开即用、新一代英特尔至强铂金CPU、三副本存储NVMe SSD云盘,价格低至29元/月。点击查看>>
免责声明:本站发布的内容(图片、视频和文字)以原创、转载和分享为主,文章观点不代表本网站立场,如果涉及侵权请联系站长邮箱:is@yisu.com进行举报,并提供相关证据,一经查实,将立刻删除涉嫌侵权内容。