本篇内容介绍了“Python人工智能实战之以图搜图怎么实现”的有关知识,在实际案例的操作过程中,不少人都会遇到这样的困境,接下来就让小编带领大家学习一下如何处理这些情况吧!希望大家仔细阅读,能够学有所成!
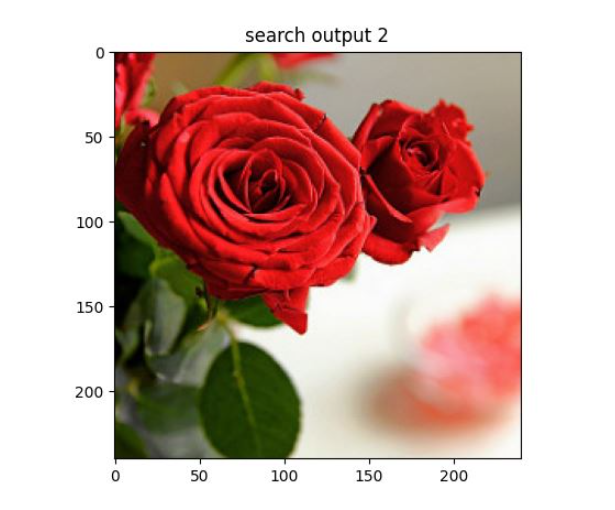
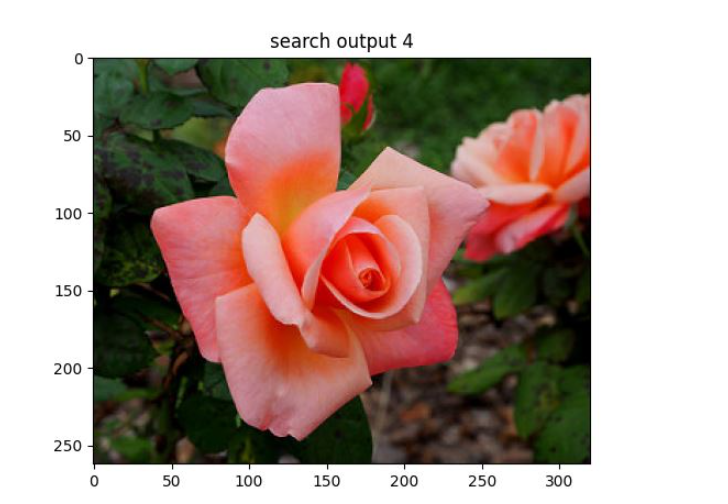
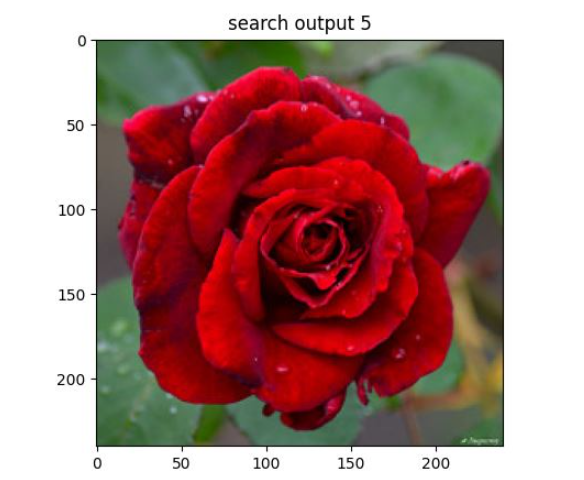
给出一张图像后,在整个数据集中(至少100个样本)找到与这张图像相似的图像(至少5张),并把图像有顺序的展示。
解释器:python3.10
编译器:Pycharm
必用配置包:
numpy、h6py、matplotlib、keras、pillow
# -*- coding: utf-8 -*-
import numpy as np
from numpy import linalg as LA

from keras.applications.vgg16 import VGG16
from keras.preprocessing import image
from keras.applications.vgg16 import preprocess_input as preprocess_input_vgg
class VGGNet:
    def __init__(self):
        self.input_shape = (224, 224, 3)
        self.weight = 'imagenet'
        self.pooling = 'max'
        self.model_vgg = VGG16(weights = self.weight, input_shape = (self.input_shape[0], self.input_shape[1], self.input_shape[2]), pooling = self.pooling, include_top = False)
        self.model_vgg.predict(np.zeros((1, 224, 224 , 3)))

    #提取vgg16最后一层卷积特征
    def vgg_extract_feat(self, img_path):
        img = image.load_img(img_path, target_size=(self.input_shape[0], self.input_shape[1]))
        img = image.img_to_array(img)
        img = np.expand_dims(img, axis=0)
        img = preprocess_input_vgg(img)
        feat = self.model_vgg.predict(img)
        # print(feat.shape)
        norm_feat = feat[0]/LA.norm(feat[0])
return norm_feat# -*- coding: utf-8 -*-
import os
import h6py
import numpy as np
import argparse
from vgg import VGGNet
def get_imlist(path):
return [os.path.join(path, f) for f in os.listdir(path) if f.endswith('.jpg')]
if __name__ == "__main__":
database = r'D:\pythonProject5\flower_roses'
index = 'vgg_featureCNN.h6'
img_list = get_imlist(database)
print(" feature extraction starts")
feats = []
names = []
model = VGGNet()
for i, img_path in enumerate(img_list):
norm_feat = model.vgg_extract_feat(img_path) # 修改此处改变提取特征的网络
img_name = os.path.split(img_path)[1]
feats.append(norm_feat)
names.append(img_name)
print("extracting feature from image No. %d , %d images in total" % ((i + 1), len(img_list)))
feats = np.array(feats)
output = index
print(" writing feature extraction results ...")
h6f = h6py.File(output, 'w')
h6f.create_dataset('dataset_1', data=feats)
# h6f.create_dataset('dataset_2', data = names)
h6f.create_dataset('dataset_2', data=np.string_(names))
h6f.close()# -*- coding: utf-8 -*-
from vgg import VGGNet
import numpy as np
import h6py
import matplotlib.pyplot as plt
import matplotlib.image as mpimg
import argparse
query = r'D:\pythonProject5\rose\red_rose.jpg'
index = 'vgg_featureCNN.h6'
result = r'D:\pythonProject5\flower_roses'
# read in indexed images' feature vectors and corresponding image names
h6f = h6py.File(index, 'r')
# feats = h6f['dataset_1'][:]
feats = h6f['dataset_1'][:]
print(feats)
imgNames = h6f['dataset_2'][:]
print(imgNames)
h6f.close()
print(" searching starts")
queryImg = mpimg.imread(query)
plt.title("Query Image")
plt.imshow(queryImg)
plt.show()
# init VGGNet16 model
model = VGGNet()
# extract query image's feature, compute simlarity score and sort
queryVec = model.vgg_extract_feat(query) # 修改此处改变提取特征的网络
print(queryVec.shape)
print(feats.shape)
scores = np.dot(queryVec, feats.T)
rank_ID = np.argsort(scores)[::-1]
rank_score = scores[rank_ID]
# print (rank_ID)
print(rank_score)
# number of top retrieved images to show
maxres = 6 # 检索出6张相似度最高的图片
imlist = []
for i, index in enumerate(rank_ID[0:maxres]):
imlist.append(imgNames[index])
print(type(imgNames[index]))
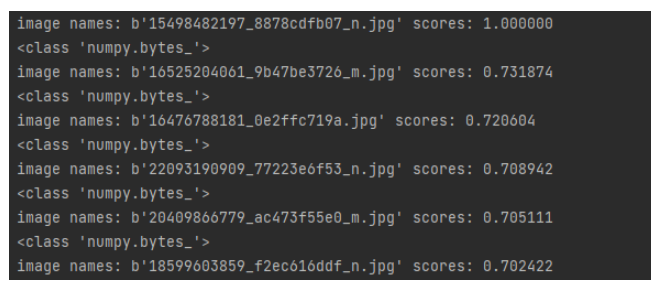
print("image names: " + str(imgNames[index]) + " scores: %f" % rank_score[i])
print("top %d images in order are: " % maxres, imlist)
# show top #maxres retrieved result one by one
for i, im in enumerate(imlist):
image = mpimg.imread(result + "/" + str(im, 'utf-8'))
plt.title("search output %d" % (i + 1))
plt.imshow(np.uint8(image))
f = plt.gcf() # 获取当前图像
f.savefig(r'D:\pythonProject5\result\{}.jpg'.format(i),dpi=100)
#f.clear() # 释放内存
plt.show()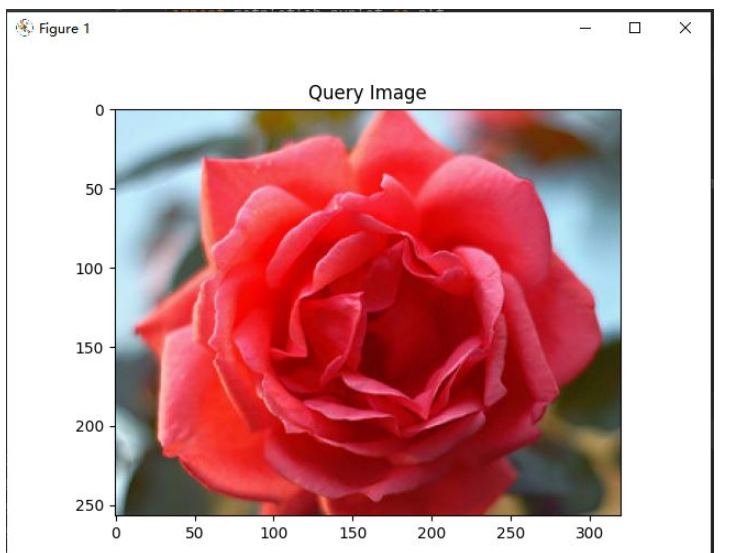
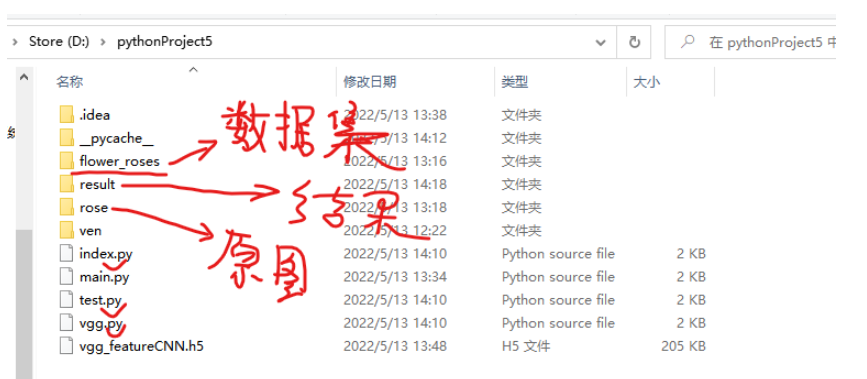
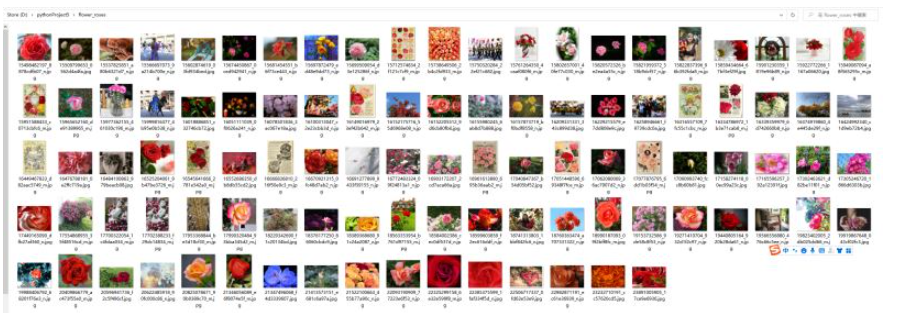
数据集
结果(运行前)
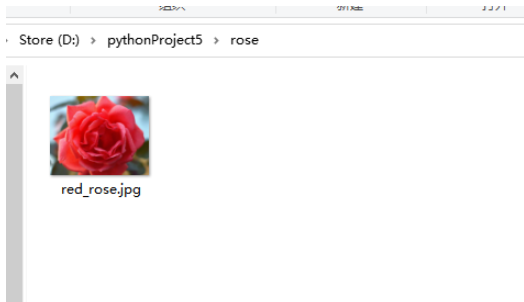
原图

分享一个实用又简单的爬虫代码,搜图顶呱呱!
import os
import time
import requests
import re
def imgdata_set(save_path,word,epoch):
    q=0     #停止爬取图片条件
    a=0     #图片名称
    while(True):
        time.sleep(1)
        url="https://image.baidu.com/search/flip?tn=baiduimage&ie=utf-8&word={}&pn={}&ct=&ic=0&lm=-1&width=0&height=0".format(word,q)
        #word=需要搜索的名字
        headers={
            'User-Agent': 'Mozilla/5.0 (Windows NT 10.0; Win64; x64) AppleWebKit/537.36 (KHTML, like Gecko) Chrome/88.0.4324.96 Safari/537.36 Edg/88.0.705.56'
        }
        response=requests.get(url,headers=headers)
        # print(response.request.headers)
        html=response.text
        # print(html)
        urls=re.findall('"objURL":"(.*?)"',html)
        # print(urls)
        for url in urls:
            print(a)    #图片的名字
            response = requests.get(url, headers=headers)
            image=response.content
            with open(os.path.join(save_path,"{}.jpg".format(a)),'wb') as f:
                f.write(image)
            a=a+1
        q=q+20
        if (q/20)>=int(epoch):
            break
if __name__=="__main__":
    save_path = input('你想保存的路径:')
    word = input('你想要下载什么图片?请输入:')
    epoch = input('你想要下载几轮图片?请输入(一轮为60张左右图片):')  # 需要迭代几次图片
imgdata_set(save_path, word, epoch)“Python人工智能实战之以图搜图怎么实现”的内容就介绍到这里了,感谢大家的阅读。如果想了解更多行业相关的知识可以关注亿速云网站,小编将为大家输出更多高质量的实用文章!
亿速云「云服务器」,即开即用、新一代英特尔至强铂金CPU、三副本存储NVMe SSD云盘,价格低至29元/月。点击查看>>
免责声明:本站发布的内容(图片、视频和文字)以原创、转载和分享为主,文章观点不代表本网站立场,如果涉及侵权请联系站长邮箱:is@yisu.com进行举报,并提供相关证据,一经查实,将立刻删除涉嫌侵权内容。