今天小编给大家分享一下Docker Compose如何部署微服务项目上线功能的相关知识点,内容详细,逻辑清晰,相信大部分人都还太了解这方面的知识,所以分享这篇文章给大家参考一下,希望大家阅读完这篇文章后有所收获,下面我们一起来了解一下吧。
编写一个SpringBoot + Redis 的微服务项目,并提供 hello接口,每访问一次接口,计数器+1
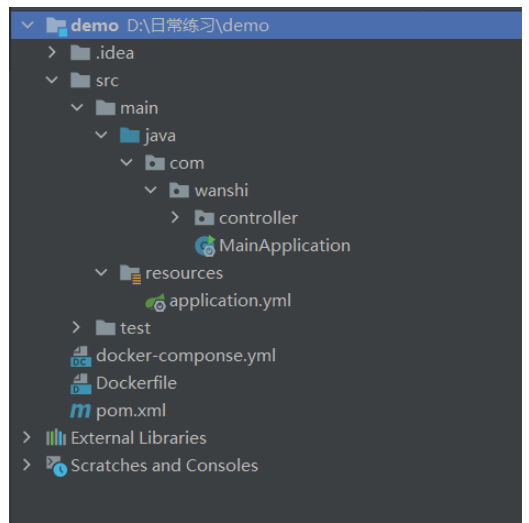
目录说明
docker-compose.yml :项目的启动文件,配置编排等
Dockerfile:项目上线所需要的依赖,以及启动方式
依赖文件
pom.xml
<?xml version="1.0" encoding="UTF-8"?>
<project xmlns="http://maven.apache.org/POM/4.0.0"
         xmlns:xsi="http://www.w3.org/2001/XMLSchema-instance"
         xsi:schemaLocation="http://maven.apache.org/POM/4.0.0 http://maven.apache.org/xsd/maven-4.0.0.xsd">
    <modelVersion>4.0.0</modelVersion>
    <parent>
        <groupId>org.springframework.boot</groupId>
        <artifactId>spring-boot-starter-parent</artifactId>
        <version>2.5.5</version>
        <relativePath/> <!-- lookup parent from repository -->
    </parent>
    <groupId>org.example</groupId>
    <artifactId>demo</artifactId>
    <version>1.0-SNAPSHOT</version>

    <dependencies>
        <dependency>
            <groupId>org.springframework.boot</groupId>
            <artifactId>spring-boot-starter-web</artifactId>
        </dependency>

        <dependency>
            <groupId>org.springframework.boot</groupId>
            <artifactId>spring-boot-starter-data-redis</artifactId>
            <exclusions>
                <exclusion>
                    <groupId>io.lettuce</groupId>
                    <artifactId>lettuce-core</artifactId>
                </exclusion>
            </exclusions>
        </dependency>
        <dependency>
            <groupId>redis.clients</groupId>
            <artifactId>jedis</artifactId>
        </dependency>

    </dependencies>

    <build>
        <plugins>
            <plugin>
                <groupId>org.springframework.boot</groupId>
                <artifactId>spring-boot-maven-plugin</artifactId>
            </plugin>
        </plugins>

        <resources>
            <resource>
                <directory>src/main/java</directory>
                <includes>
                    <include>**/*.xml</include>
                </includes>
                <filtering>false</filtering>
            </resource>
            <resource>
                <directory>src/main/resources</directory>
            </resource>
            <resource>
                <directory>libs/</directory>
                <targetPath>libs</targetPath>
                <includes>
                    <include>**/*.jar</include>
                </includes>
            </resource>
        </resources>
    </build>

</project>接口
HelloController
package com.wanshi.controller;
import org.springframework.beans.factory.annotation.Autowired;
import org.springframework.data.redis.core.StringRedisTemplate;
import org.springframework.web.bind.annotation.GetMapping;
import org.springframework.web.bind.annotation.RestController;
/**
 * @author whc
 * @date 2022/6/9 10:06
 */
@RestController
public class HelloController {
    @Autowired
    private StringRedisTemplate redisTemplate;
    @GetMapping("/hello")
    public String hello() {
        Long views = redisTemplate.opsForValue().increment("views");
        return "hello, xiaowang, views:" + views;
    }
}配置文件
application.yml
server:
  port: 8080
spring:
  redis:
host: redisDockerfile
FROM java:8
COPY *.jar /app.jar
CMD ["--server.port=8080"]
EXPOSE 8080
ENTRYPOINT ["java", "-jar", "/app.jar"]docker-compose.yml
version: '3.8'
services:
  xiwoangapp:
    build: .
    image: xiaowangapp
    depends_on:
      - redis
    ports:
      - "8080:8080"
  redis:
image: "redis:3.0.7"打包后端项目通过命令
mvn clean packagejar包与配置文件上传至Linux服务器,新建指定文件夹(通过Filezilla上传文件)
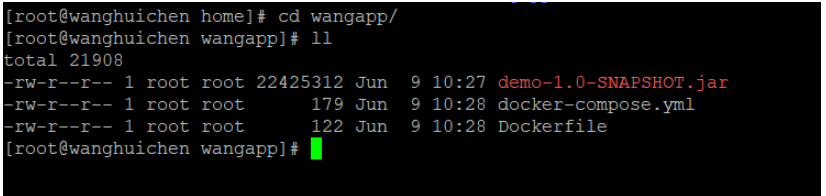
执行命令启动
docker-compose up
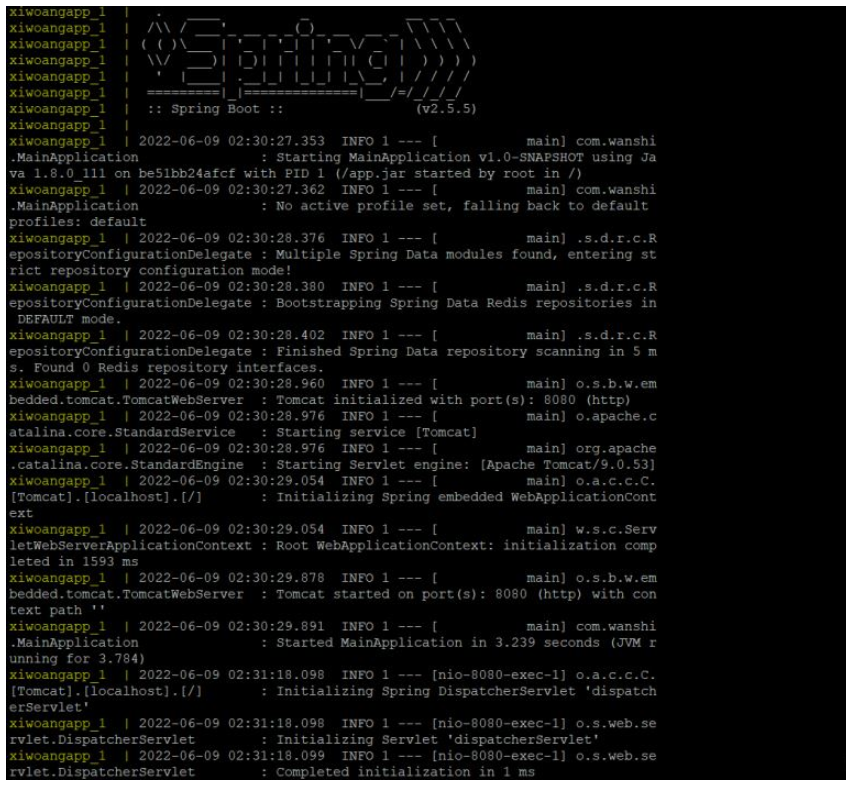
部署成功后我们查看服务是否启动
docker ps

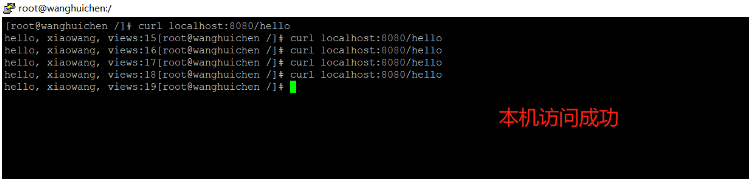
本机进行访问
curl localhost:8080/hello
以上就是“Docker Compose如何部署微服务项目上线功能”这篇文章的所有内容,感谢各位的阅读!相信大家阅读完这篇文章都有很大的收获,小编每天都会为大家更新不同的知识,如果还想学习更多的知识,请关注亿速云行业资讯频道。
亿速云「云服务器」,即开即用、新一代英特尔至强铂金CPU、三副本存储NVMe SSD云盘,价格低至29元/月。点击查看>>
免责声明:本站发布的内容(图片、视频和文字)以原创、转载和分享为主,文章观点不代表本网站立场,如果涉及侵权请联系站长邮箱:is@yisu.com进行举报,并提供相关证据,一经查实,将立刻删除涉嫌侵权内容。


 计算
计算 安全
安全 数据库
数据库 网络和加速
网络和加速 企业服务
企业服务


