本篇内容介绍了“C#中怎么使用AutoResetEvent控制线程”的有关知识,在实际案例的操作过程中,不少人都会遇到这样的困境,接下来就让小编带领大家学习一下如何处理这些情况吧!希望大家仔细阅读,能够学有所成!
AutoResetEvent(bool initialState):构造函数,用一个指示是否将初始状态设置为终止的布尔值初始化该类的新实例。 false:无信号,子线程的WaitOne方法不会被自动调用 true:有信号,子线程的WaitOne方法会被自动调用
Reset ():将事件状态设置为非终止状态,导致线程阻止;如果该操作成功,则返回true;否则,返回false。
Set ():将事件状态设置为终止状态,允许一个或多个等待线程继续;如果该操作成功,则返回true;否则,返回false。
WaitOne(): 阻止当前线程,直到收到信号。
WaitOne(TimeSpan, Boolean) :阻止当前线程,直到当前实例收到信号,使用 TimeSpan 度量时间间隔并指定是否在等待之前退出同步域。
有了上面的解释,开始展示代码(经过多次优化)
 //若要将初始状态设置为终止,则为 true;若要将初始状态设置为非终止,则为 false
        static AutoResetEvent oddResetEvent = new AutoResetEvent(false);
        static AutoResetEvent evenResetEvent = new AutoResetEvent(false);
        static int i = 0;
        static void Main(string[] args)
        {
            //ThreadStart是个委托
            Thread thread1 = new Thread(new ThreadStart(show));
            thread1.Name = "偶数线程";
            Thread thread2 = new Thread(new ThreadStart(show));
            thread2.Name = "奇数线程";
            thread1.Start();
           Thread.Sleep(2); //保证偶数线程先运行。
            thread2.Start();
            Console.Read();

        }
        public static void show()
        {
             while (i <= 100)
            {
                int num = i % 2;
                if (num == 0)
                {
                    Console.WriteLine("{0}:{1} {2}  ", Thread.CurrentThread.Name, i++, "evenResetEvent");
                    if(i!=1) evenResetEvent.Set();
                    oddResetEvent.WaitOne(); //当前线程阻塞

                }
               else
                {
                    Console.WriteLine("{0}:{1} {2} ", Thread.CurrentThread.Name, i++, "oddResetEvent");
                    //如果此时AutoResetEvent 为非终止状态,则线程会被阻止,并等待当前控制资源的线程通过调用 Set 来通知资源可用。否则不会被阻止
                     oddResetEvent.Set();
                    evenResetEvent.WaitOne();
                }
            }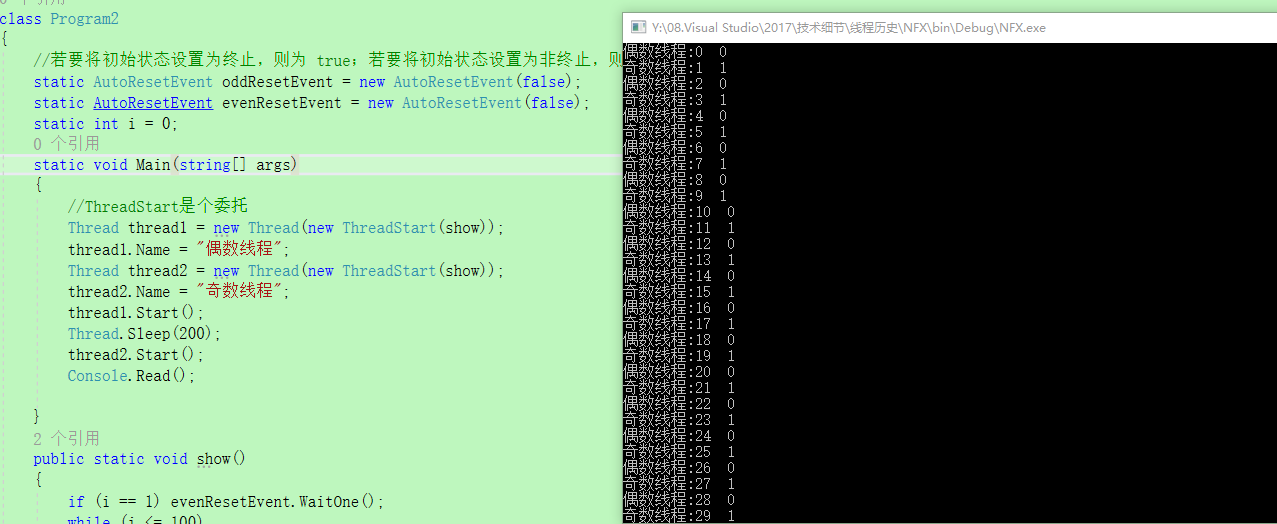
}结果如下图所示:
注意点:
不要有一点点点点多余的evenResetEvent.Set(),他会让后续的 evenResetEvent.WaitOne();失效.
此外,我们利用信号量也可以实现,信号量是一种内核模式锁,对性能要求比较高,特殊情况下才考虑使用,而且要避免在内核模式和用户模式下频繁相互切换线程。代码如下:
 private static readonly int MaxSize = 1;
        private static int i = 0;
        static Semaphore oddSemaphore = new Semaphore(0, MaxSize);
        static Semaphore evenSemaphore = new Semaphore(0, MaxSize);

        static void Main(string[] args)
        {
            System.Diagnostics.Stopwatch stopwatch = new System.Diagnostics.Stopwatch();
            stopwatch.Start();
            //ThreadStart是个委托
            Thread thread1 = new Thread(new ThreadStart(show));
            thread1.Name = "偶数线程";
            Thread thread2 = new Thread(new ThreadStart(show));
            thread2.Name = "奇数线程";
            thread1.Start();
            thread2.Start();
            thread1.Join();
            stopwatch.Stop();
            Console.WriteLine(stopwatch.Elapsed.TotalMilliseconds);
            Console.Read();
        }

        private static void show()
        {
            if(i==1) evenSemaphore.WaitOne();
            while (i <= 100)
            {
                int num = i % 2;
                if (num == 0)
                {
                    Console.WriteLine("{0}:{1}  {2}    ", Thread.CurrentThread.Name, i++, Thread.CurrentThread.ManagedThreadId);
                    evenSemaphore.Release();
                    oddSemaphore.WaitOne(); //当前线程阻塞
                }
                else
                {
                    Console.WriteLine("{0}:{1}  {2}    ", Thread.CurrentThread.Name, i++, Thread.CurrentThread.ManagedThreadId);
                    //释放一个偶数信号空位出来;
                    oddSemaphore.Release();
                    evenSemaphore.WaitOne(); //当前线程阻塞
                    //此时已经消耗了一个奇数信号空位
                }
            }
}这种方法利用线程池本身就是队列的方式,即先进先出。测试之后发现性能有下降,但是还是贴出来供参考。
      static int threadCount = 2;
        static int count = 0;
        static object cursorLock = new object();
        static void Main(string[] args)
        {
            System.Diagnostics.Stopwatch stopwatch = new System.Diagnostics.Stopwatch();
            stopwatch.Start();
            Task[] arr = new Task[2];
            for (int threadIndex = 0; threadIndex < threadCount; threadIndex++)
            {
                //这两种方法都可以
                arr[threadIndex] = Task.Factory.StartNew(PrintNum, threadIndex);
            }
            Task.WaitAll(arr);
            stopwatch.Stop();
            Console.WriteLine(stopwatch.Elapsed.TotalMilliseconds);
            Console.Read();
        }


        private static void PrintNum(object num)
        {
            bool isOk = false;
            while (!isOk)
            {
                lock (cursorLock)
                {
                    int index = count % 2;
                    if (count>100)
                    {
                        isOk = true;
                    }
                    else if (index == (int)num)
                    {
                        if (index == 0) Console.WriteLine("{0}:{1} {2} ", "偶数线程", Thread.CurrentThread.ManagedThreadId, count++);
                        else Console.WriteLine("{0}:{1} {2} ", "奇数线程", Thread.CurrentThread.ManagedThreadId, count++);
                    }
                }
            }
}结果如下:

        private static int i = 0;
        static Mutex mutex = new Mutex();

        static void Main(string[] args)
        {
            System.Diagnostics.Stopwatch stopwatch = new System.Diagnostics.Stopwatch();
            stopwatch.Start();
            //ThreadStart是个委托
            Thread thread1 = new Thread(new ParameterizedThreadStart(show));
            thread1.Name = "偶数线程";
            Thread thread2 = new Thread(new ParameterizedThreadStart(show));
            thread2.Name = "奇数线程";
            thread1.Start(0);
            thread2.Start(1);
            thread2.Join();
            stopwatch.Stop();
            Console.WriteLine(stopwatch.Elapsed.TotalMilliseconds);
            Console.Read();
        }
        /// <summary>
        /// Mutex的释放与锁定 都只能在同一个线程中执行
        /// </summary>
        private static void show(object index)
        {
            while (i <= 100)
            {
                mutex.WaitOne();
                int num = i % 2;
                if (num == (int)index&&i<=100)
                {
                    Console.WriteLine("{0}:{1}  {2}  ", Thread.CurrentThread.Name, i++, Thread.CurrentThread.ManagedThreadId);
                }
                mutex.ReleaseMutex();
            }

}“C#中怎么使用AutoResetEvent控制线程”的内容就介绍到这里了,感谢大家的阅读。如果想了解更多行业相关的知识可以关注亿速云网站,小编将为大家输出更多高质量的实用文章!
亿速云「云服务器」,即开即用、新一代英特尔至强铂金CPU、三副本存储NVMe SSD云盘,价格低至29元/月。点击查看>>
免责声明:本站发布的内容(图片、视频和文字)以原创、转载和分享为主,文章观点不代表本网站立场,如果涉及侵权请联系站长邮箱:is@yisu.com进行举报,并提供相关证据,一经查实,将立刻删除涉嫌侵权内容。


 计算
计算 安全
安全 数据库
数据库 网络和加速
网络和加速 企业服务
企业服务


