公司已经搭建号nagios,通过nagiosql界面管理,下面通过微信企业公众号实现微信告警!
首先注册个微信公共平台账号
申请企业公众号地址:https://qy.weixin.qq.com/
帐号类型选择企业号,注册步骤略过,申请好后登陆公众号后台创建应用。
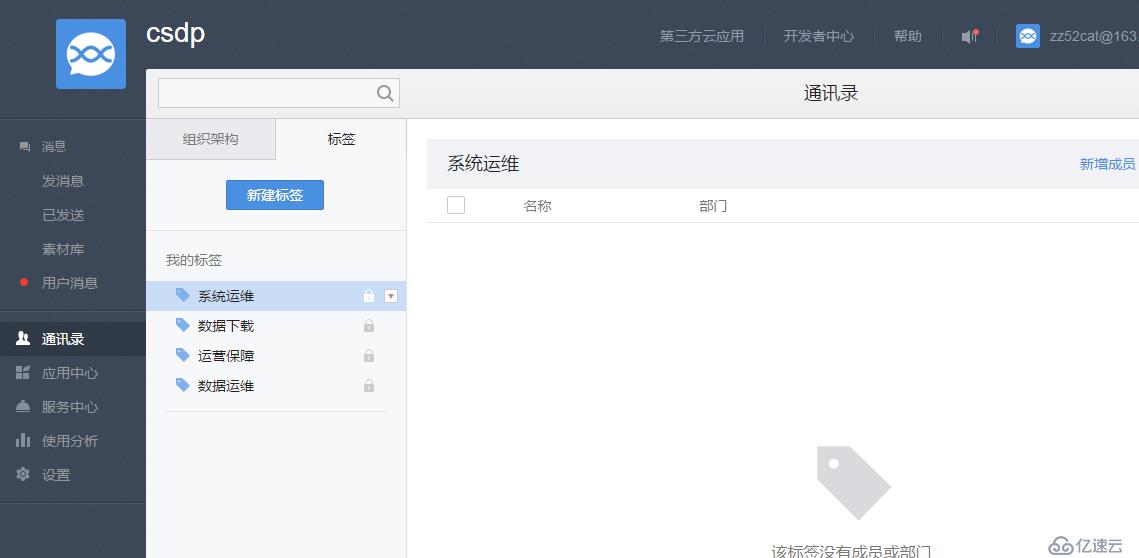
通讯录-创建组织架构、标签
添加通讯录人员信息,可以手动一个个添加,也可以批量导入。
我们要提前把成员信息添加进组织部门,必填项+手机号或者微信号,这样别人扫描二维码的时候才能成功关注企业号。
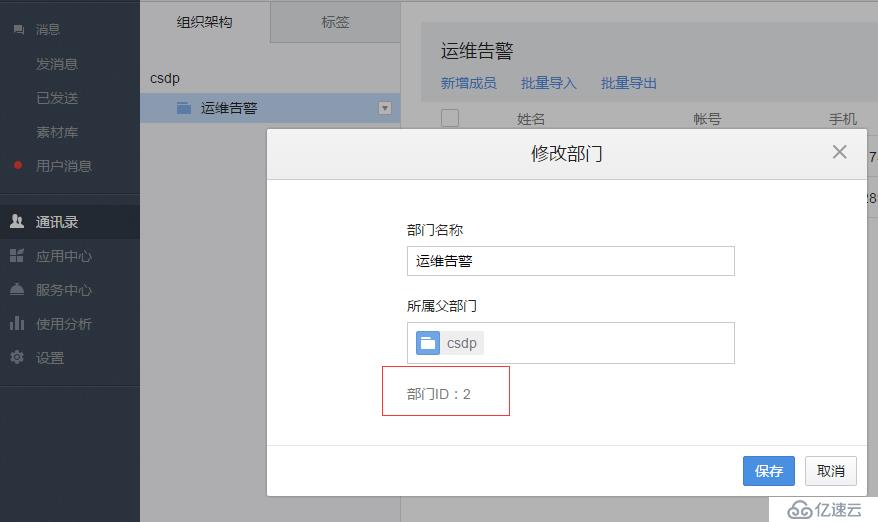
注意:这里有两个我们要用到信息,一个组织部门的ID,一个部门成员的账号(账号是自己手动指定的,不同于微信号,最好是字母加数字)

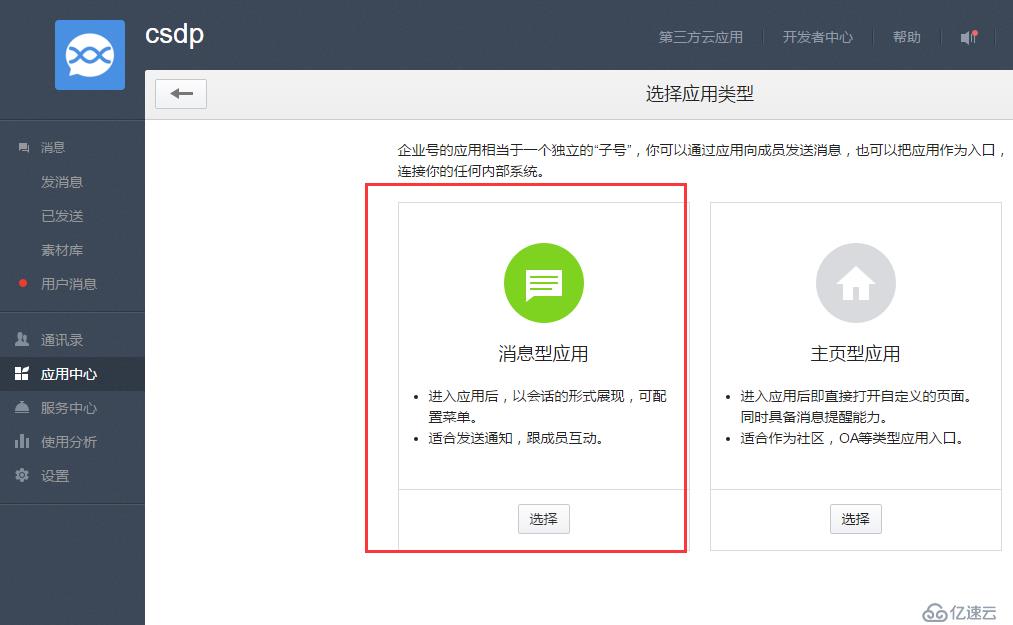
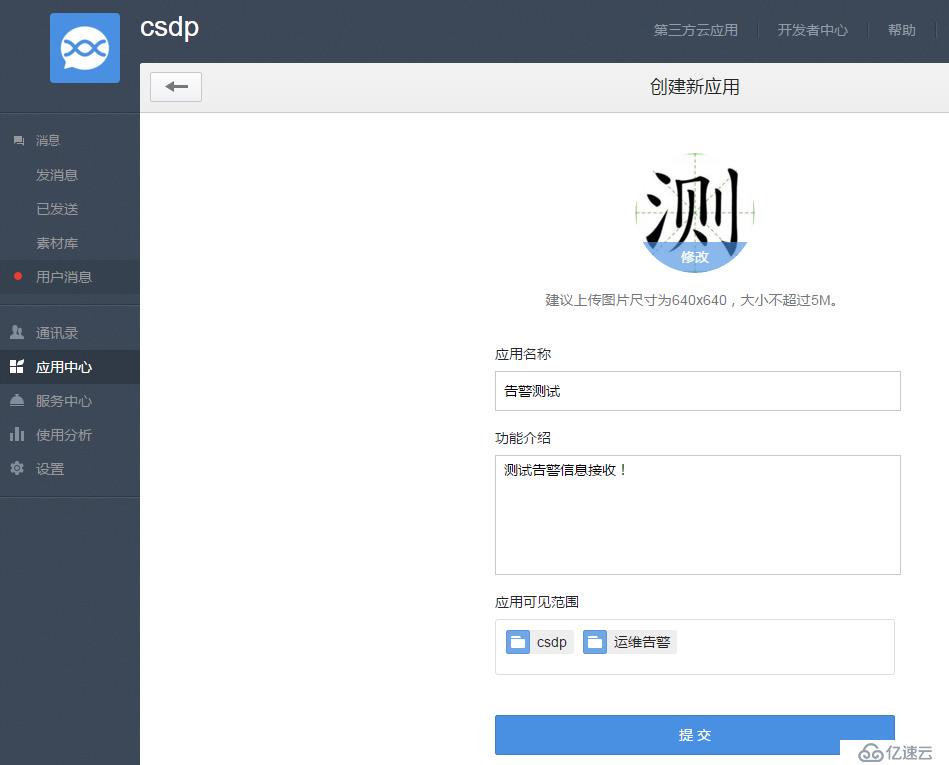
应用中心-新建应用-消息型应用-设置头像、名称、应用范围等

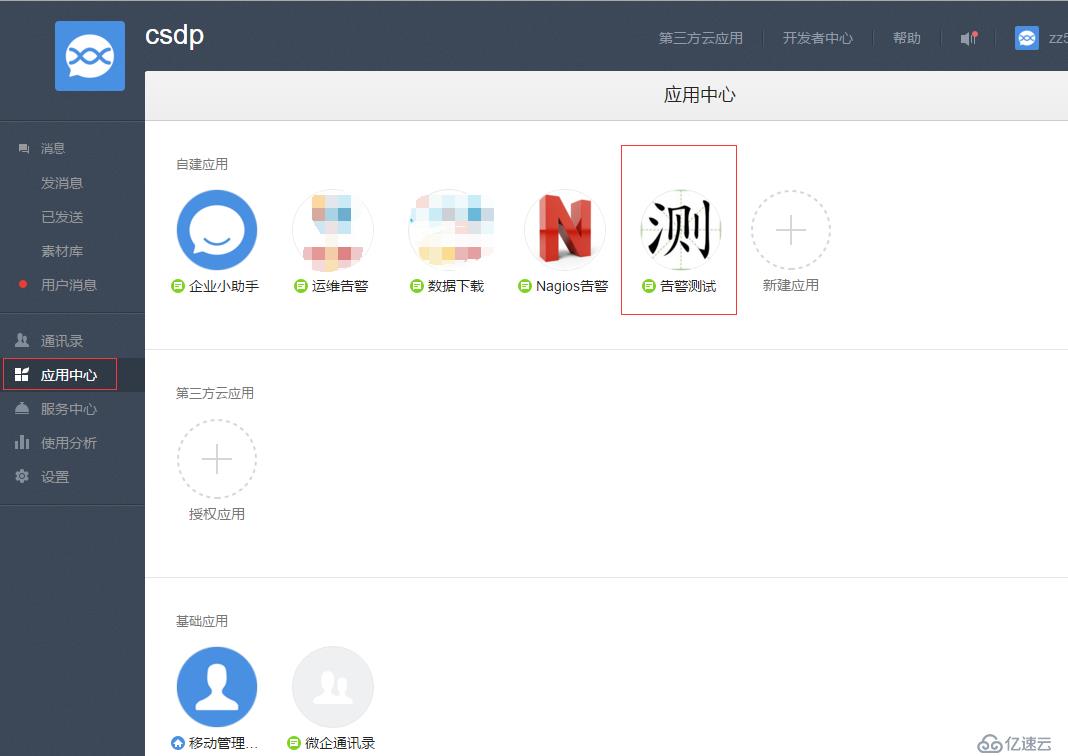
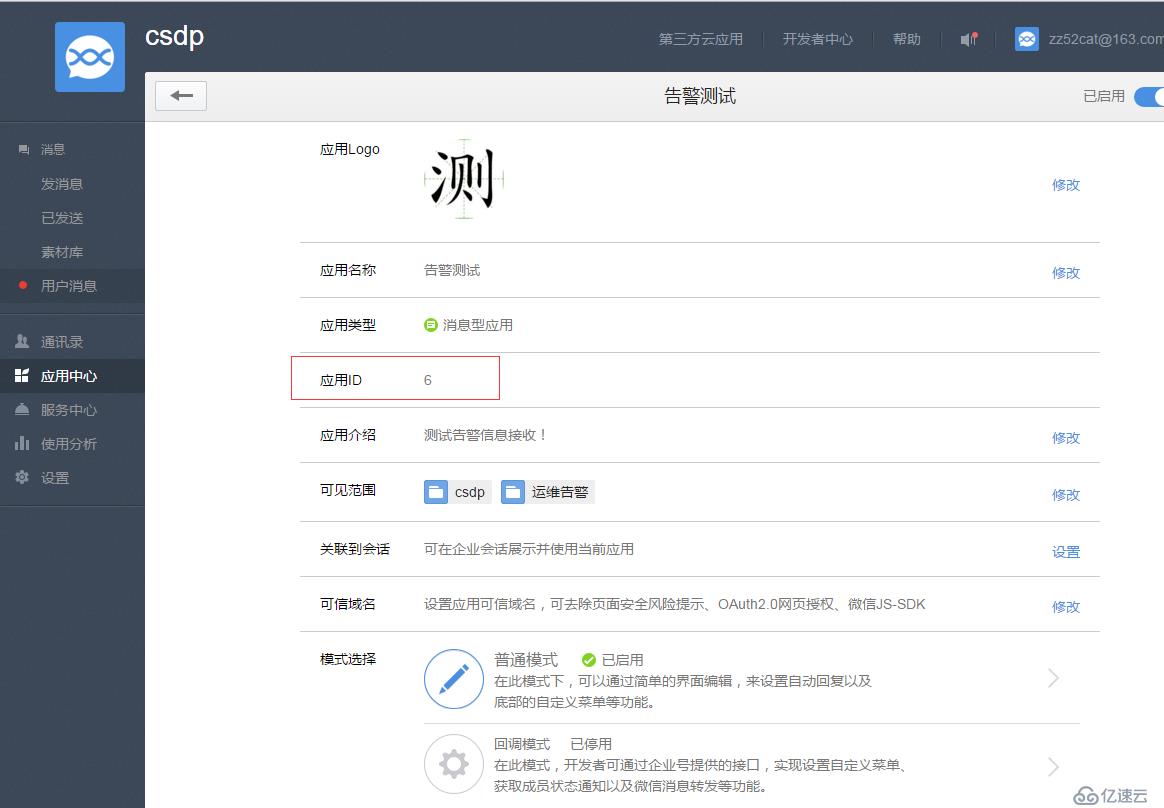
点击应用中心-告警测试应用
可以查看该应用的应用ID(这个ID后面会用到)
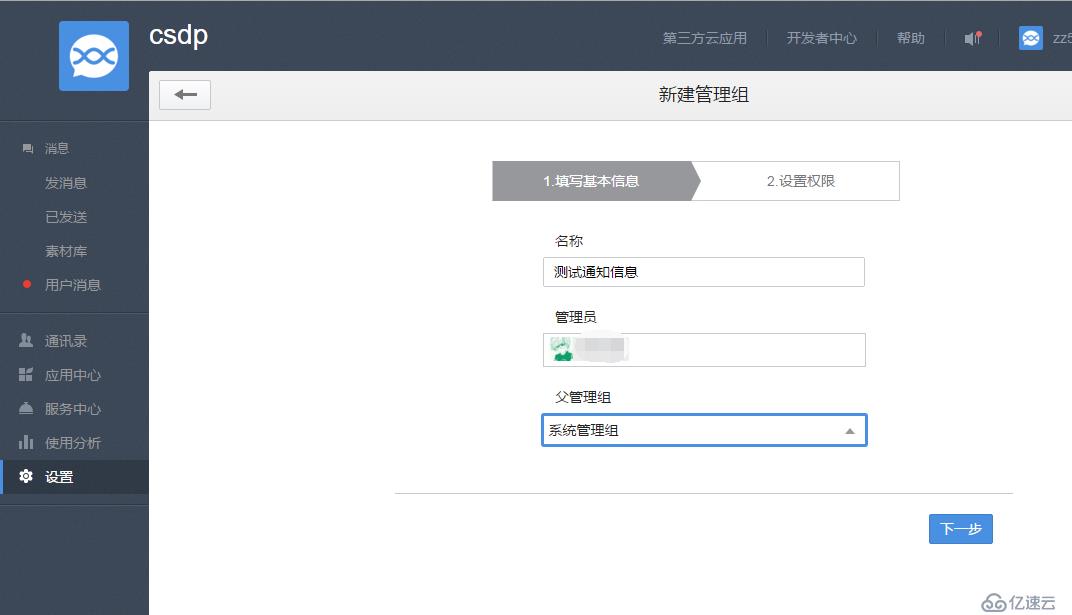
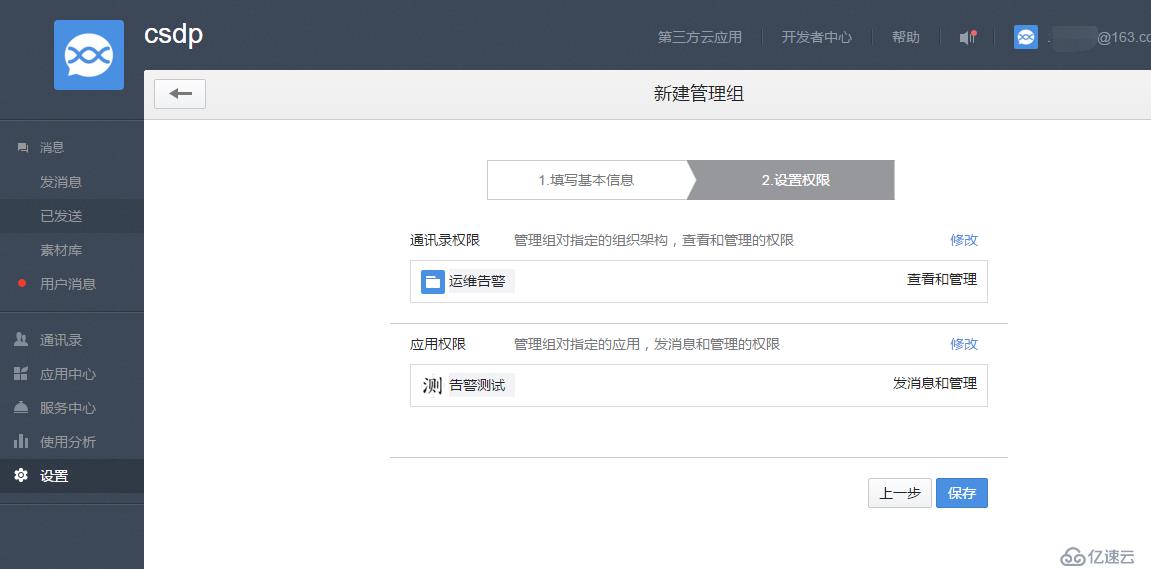
设置-权限管理-新建-配置管理组

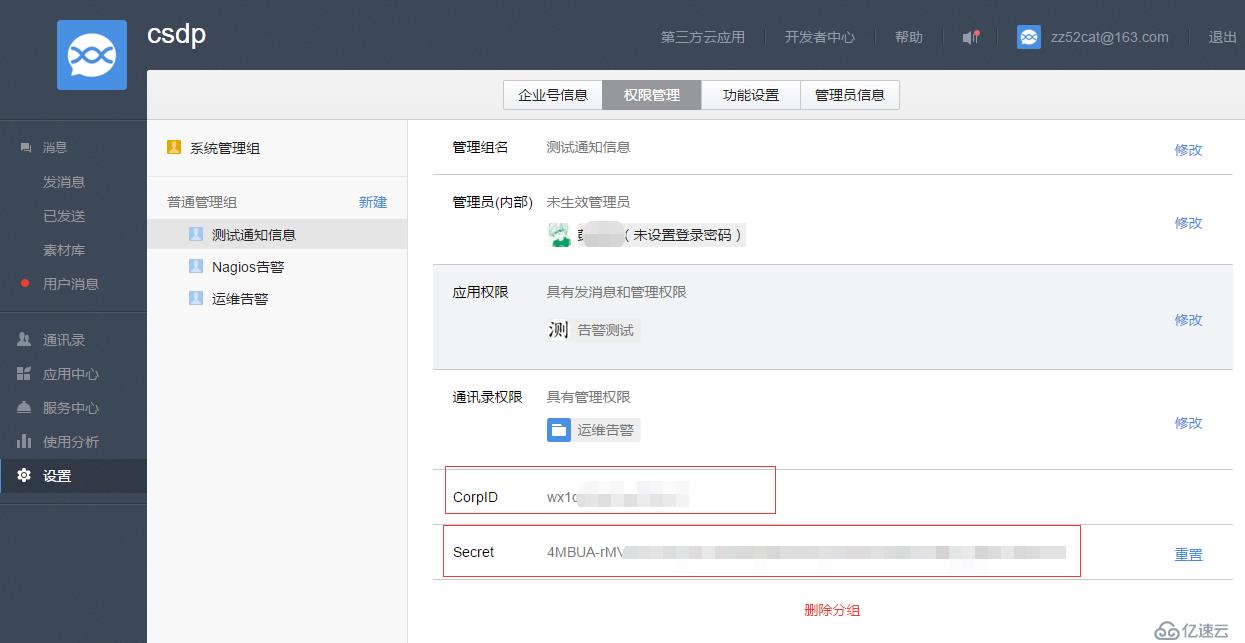
这里的CorpID、Secret后面会用到。接受告警信息的用户关注该企业号,完成身份认证。
通过脚本发送微信告警信息
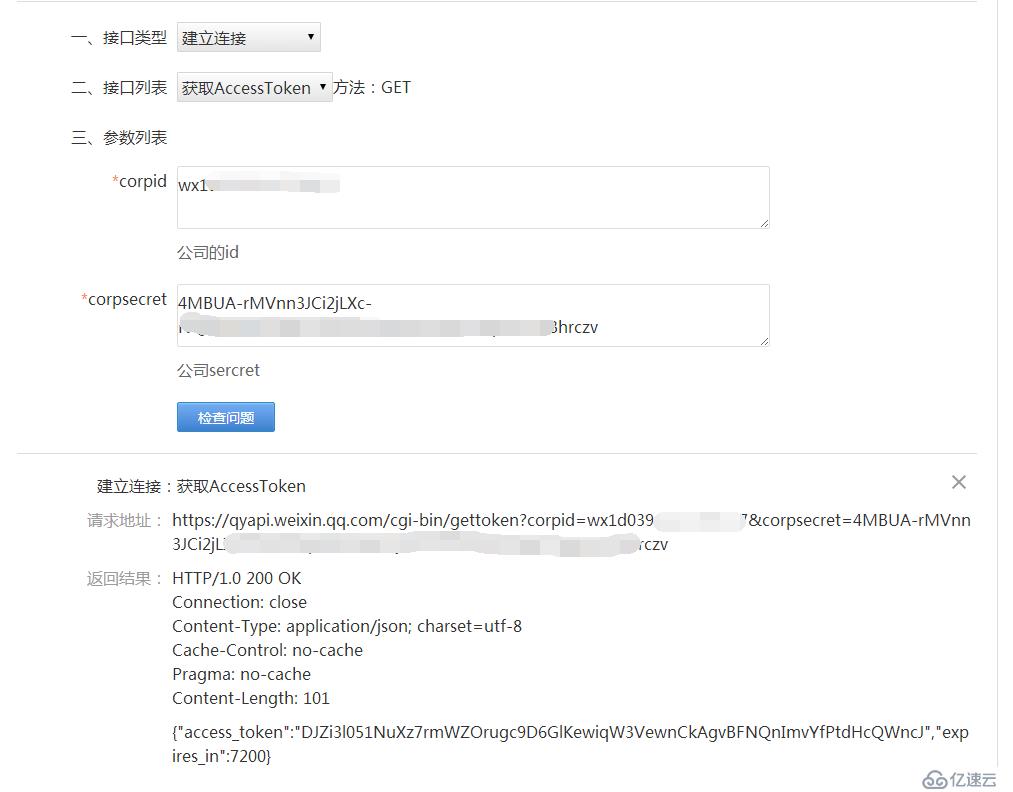
第一步 获取access_token
正常情况下AccessToken有效期为7200秒,之后需要重新获取,参考文档http://qydev.weixin.qq.com/wiki/index.php?title=%E4%B8%BB%E5%8A%A8%E8%B0%83%E7%94%A8
Https请求方式:
https://qyapi.weixin.qq.com/cgi-bin/gettoken?corpid=id&corpsecret=secrect
id、Secret对应上面应用中的信息。替换上续信息后直接浏览器里打开或者linux cur http://...就可以获取access_token信息,

微信企业号接口调试工具方式:
地址:http://qydev.weixin.qq.com/debug
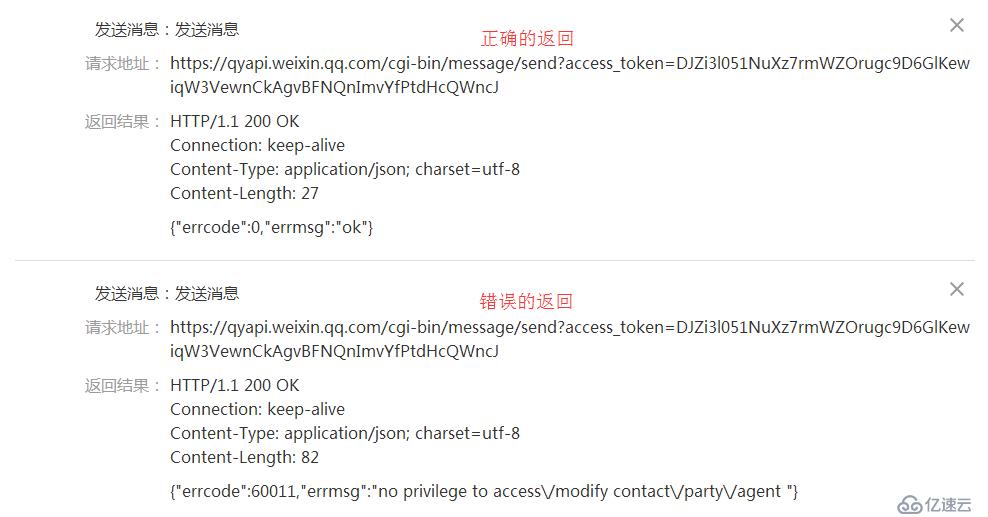
第二步 发送消息
通过微信企业号接口调试工具来发送消息

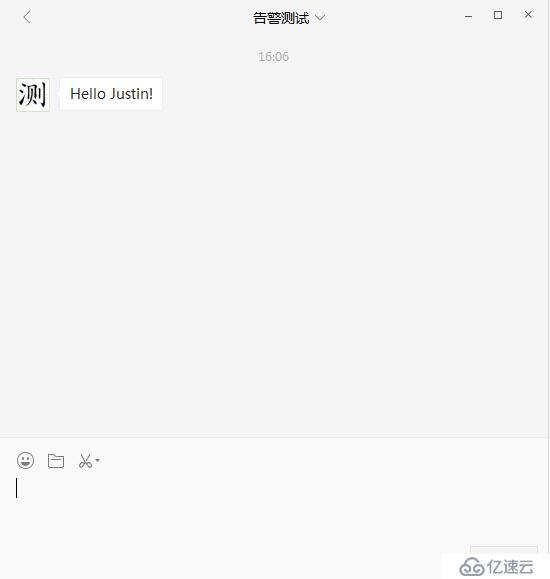
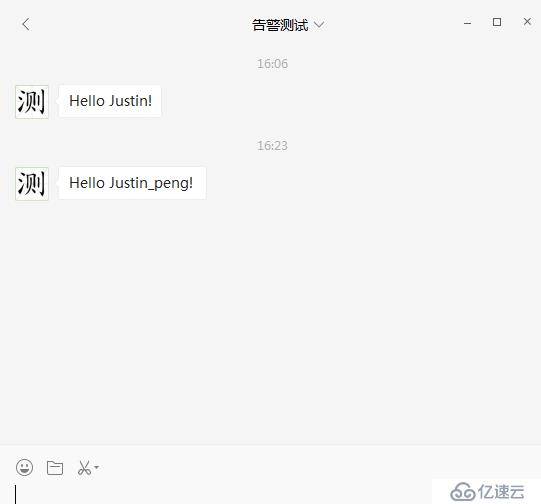
查看公众号里信息:
其中的body部分可以这样定义
{
"toparty": "2", //2 通讯录中对应的部门ID,
"msgtype": "text", //text 消息类型
"agentid": "6", //6 企业应用的id,这里对应的是上面创建的测试应用ID
"text": {
"content": "Hello Justin!" //消息内容
},
"safe":"0" //表示是否是保密消息,0表示否,1表示是,默认0
}
具体参数可以参考官方文档:
http://qydev.weixin.qq.com/wiki/index.php?title=消息类型及数据格式#text.E6.B6.88.E6.81.AF
通过curl方式
[root@localhost sh]# curl https://qyapi.weixin.qq.com/cgi-bin/message/send?access_token=DJZi3l051NuXz7rmWZOrugc9D6GlKewiqW3VewnCkAgvBFNQngImvYfPtdfHcQWncJ -d  "{ \
>    \"toparty\": \"2\", \
>    \"msgtype\": \"text\", \
>    \"agentid\": 6, \
>    \"text\": { \
>        \"content\": \"Hello Justin_peng! \" \
>    }, \
>    \"safe\":\"0\" \
> }"
{"errcode":0,"errmsg":"ok"}[root@localhost sh]#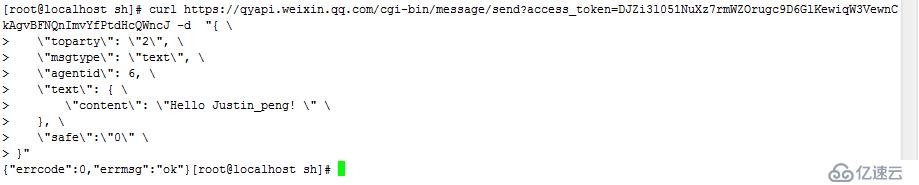
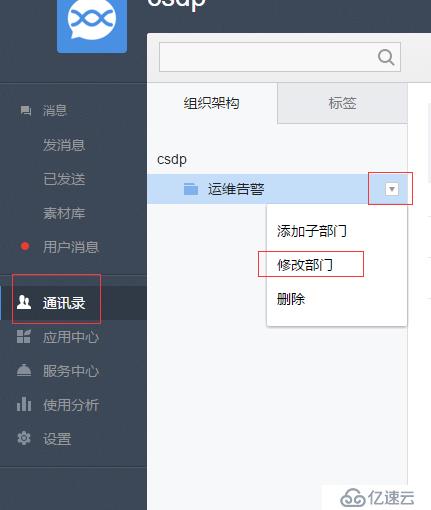
部门ID可以在通讯录中选择修改部门查看对应ID
至此微信端配置完成,下面在nagios上配置
安装Python-3.4
安装openssl与openssl-devel包,否则使用python发送微信连接时会报urllib2.URLError: <urlopen error unknown url type: https>这个错误,是因为python没有SSL模块,需重新编译安装python
[root@localhost libexec]# yum -y install openssl openssl-devel
[root@localhost libexec]# wget
[root@localhost libexec]# tar zxvf Python-3.4.3.tgz
[root@localhost libexec]# cd Python-3.4.3/Modules/
[root@localhost Modules]# vim Setup.dist
# Socket module helper for SSL support; you must comment out the other
# socket line above, and possibly edit the SSL variable:
SSL=/usr/local/ssl
_ssl _ssl.c \
        -DUSE_SSL -I$(SSL)/include -I$(SSL)/include/openssl \
        -L$(SSL)/lib -lssl -lcrypto

# The crypt module is now disabled by default because it breaks builds
[root@localhost Modules]#修改Setup.dist,去掉以上几行的注释,使其支持发送https请求。
[root@localhost Modules]# cd ..
[root@localhost Python-3.4.3]# ./configure --prefix=/usr/local/python-3.4
[root@localhost Python-3.4.3]# make && make install
[root@localhost Python-3.4.3]# vim /etc/profile
export PATH="/usr/local/python-3.4/bin:$PATH" #文末添加
[root@localhost Python-3.4.3]# source /etc/profile
[root@localhost Python-3.4.3]# cd /usr/local/nagios/python/
[root@localhost python]# vim Notify-host-by-weixin-party.py
import urllib.request
import json
import sys
#以上是导入模块
#创建获取AccessToken的方法
def gettoken(corp_id,corp_secret):
gettoken_url = 'https://qyapi.weixin.qq.com/cgi-bin/gettoken?corpid=' + corp_id + '&corpsecret=' + corp_secret
try:
token_file = urllib.request.urlopen(gettoken_url)
except urllib.error.HTTPError as e:
print(e.code)
print(e.read().decode("utf8"))
token_data = token_file.read().decode('utf-8')
token_json = json.loads(token_data)
token_json.keys()
token = token_json['access_token']
return token
#这里是发送消息的方法
def senddata(access_token,notify_str):
send_url = 'https://qyapi.weixin.qq.com/cgi-bin/message/send?access_token=' + access_token
#我传入的参数是一段字符串每个信息用separator连起来,只要再用字符串的split("separator")方法分开信息就可以了。
notifydata = notify_str.split("separator")
party = notifydata[0]
cationtype = notifydata[1]
name = notifydata[2]
state = notifydata[3]
address = notifydata[4]
output = notifydata[5]
datatime = notifydata[6]
# content = '[擦汗]Host Notification[擦汗]\n\n类型: ' + cationtype + '\n主机名: ' + name + '\n状态: ' + state + '\nIP地址: ' + address + '\n摘要: ' + output + '\n时间: ' + datatime + '\n'
if cationtype == "RECOVERY":
content = '[嘘]' + address + ' is ' + state + '[嘘]\n\nIP地址: ' + address + '\n主要用途: ' + name + '\n当前状态: ' + state + '\n\n日志摘要: ' + output + '\n检测时间: ' + datatime + '\n'
else:
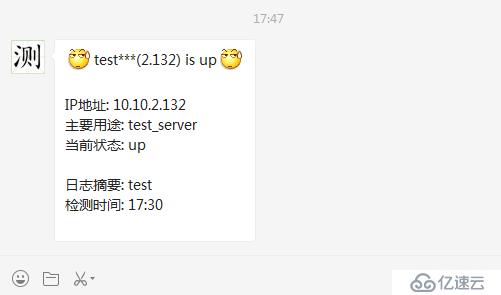
content = '[擦汗]' + address + ' is ' + state + '[擦汗]\n\nIP地址: ' + address + '\n主要用途: ' + name + '\n当前状态: ' + state + '\n\n日志摘要: ' + output + '\n检测时间: ' + datatime + '\n'
send_values = {
"toparty":party,
"totag":"2",
"msgtype":"text",
"agentid":"15",
"text":{
"content":content
},
"safe":"0"
}
send_data = json.dumps(send_values, ensure_ascii=False).encode(encoding='UTF8')
#设置为非ascii解析,使其支持中文
send_request = urllib.request.Request(send_url, send_data)
response = urllib.request.urlopen(send_request)
#这个是返回微信公共平台的信息,调试时比较有用
msg = response.read()
return msg
default_encoding = 'utf-8'
if sys.getdefaultencoding() != default_encoding:
reload(sys)
sys.setdefaultencoding(default_encoding)
#我编辑的脚本是要获取nagios传入的一段参数的(字符串),下面这条代码是获取执行脚本后获取的第一个参数(经测试nagios只能传入一个参进python,所以把所有包括用户名跟报警主机报警信息放进一个字符串里)
notifystr = str(sys.argv[1])
corpid = 'wxb6162862801114c9da602'
corpsecret = '2nCsNcHxepBCV4U9Lcf-23By1RGzU1Zs422tdJpKTQzqjQ1b26IFxP76ydG2rKkchGN6E'
accesstoken = gettoken(corpid,corpsecret)
msg = senddata(accesstoken,notifystr)
print(msg)
[root@localhost python]# vim Notify-service-by-weixin-party.py
import urllib.request
import json
import sys
def gettoken(corp_id,corp_secret):
gettoken_url = 'https://qyapi.weixin.qq.com/cgi-bin/gettoken?corpid=' + corp_id + '&corpsecret=' + corp_secret
try:
token_file = urllib.request.urlopen(gettoken_url)
except urllib.error.HTTPError as e:
print(e.code)
print(e.read().decode("utf8"))
token_data = token_file.read().decode('utf-8')
token_json = json.loads(token_data)
token_json.keys()
token = token_json['access_token']
return token
def senddata(access_token,notify_str):
send_url = 'https://qyapi.weixin.qq.com/cgi-bin/message/send?access_token=' + access_token
notifydata = notify_str.split("separator")
party = notifydata[0]
cationtype = notifydata[1]
desc = notifydata[2]
alias = notifydata[3]
address = notifydata[4]
state = notifydata[5]
datatime = notifydata[6]
output = notifydata[7]
# content ='[擦汗]Service Notification [擦汗]\n\n类型: ' + cationtype + '\n\n服务名: ' + desc + '\n主机名: ' + alias + '\nIP址: ' + address + '\n状态: ' + state + '\n时间: ' + datatime + '\n摘要:\n' + output + '\n'
if cationtype == "RECOVERY":
content ='[鼓掌]' + desc + ' is ' + state + '[鼓掌]\n\nIP地址: ' + address + '\n主要用途: ' + alias + '\n服务状态: ' + desc + ' is ' + state + '\n检测时间: ' + datatime + '\n日志摘要: \n' + output + '\n'
else:
content ='[擦汗]' + desc + ' is ' + state + '[擦汗]\n\nIP地址: ' + address + '\n主要用途: ' + alias + '\n服务状态: ' + desc + ' is ' + state + '\n检测时间: ' + datatime + '\n日志摘要: \n' + output + '\n'
send_values = {
"toparty":party,
"totag":"2",
"msgtype":"text",
"agentid":"15",
"text":{
"content":content
},
"safe":"0"
}
send_data = json.dumps(send_values, ensure_ascii=False).encode(encoding='UTF8')
send_request = urllib.request.Request(send_url, send_data)
response = urllib.request.urlopen(send_request)
msg = response.read()
return msg
default_encoding = 'utf-8'
if sys.getdefaultencoding() != default_encoding:
reload(sys)
sys.setdefaultencoding(default_encoding)
notifystr = str(sys.argv[1])
corpid = 'wxb616286d28ds01114c9da602'
corpsecret = '2nCsNcHxepBCdtgV4U9Lcf-23By1RGzUgh2Zs422tdJpKTQzqjQ1b26IFxP76ydG2rKkchGN6E'
accesstoken = gettoken(corpid,corpsecret)
msg = senddata(accesstoken,notifystr)
print(msg)
[root@localhost python]# chmod +x Notify-host-by-weixin-party.py
[root@localhost python]# chmod +x Notify-service-by-weixin-party.py
[root@localhost python]# ll Notify-host-by-weixin-party.py Notify-service-by-weixin-party.py
-rwxr-xr-x. 1 root root 3040 Aug 22 14:32 Notify-host-by-weixin-party.py
-rwxr-xr-x. 1 root root 2498 Aug 19 14:55 Notify-service-by-weixin-party.py
[root@localhost python]#上面脚本需要修改以下几处成自己的信息:
send_values = {
"toparty":party,
"totag":"2",
"msgtype":"text",
"agentid":"15",
"text":{
"content":content
},
"safe":"0"
}
corpid = 'wxb6162862sf80113e14c9da602'
corpsecret = '2nCsNcHxepBCV4U9Lcf-23By1RGzU1Zs422tdJdpKTQzqjQ1gjyb26IFxP76ydG2rKkchGN6E'
通过命令行测试脚本
[root@localhost python]# /usr/local/python-3.4/bin/python3.4 /usr/local/nagios/python/Notify-host-by-weixin-party.py "微信通讯录组id号separator时间标题separator主机名separator主机状态separator主机地址separator主机输出信息separator时间"
成功后会有 b'{"errcode":0,"errmsg":"ok"}' 的提示。
[root@localhost python]# /usr/local/python-3.4/bin/python3.4 /usr/local/nagios/python/notify-host-by-weixin-test.py "2separator20160923separatortest_serverseparatorupseparator10.10.2.132separatortestseparator17:30"
b'{"errcode":0,"errmsg":"ok"}'
[root@localhost python]#
上面第一条命令报错,提示权限问题,检测脚本里CorpID、Secret对应的管理组是否给了权限:设置-权限管理-对应的管理组-应用权限。我这里是没把告警测试应用加到脚本里CorpID、Secret对应的管理组的应用权限里。
接下来需要对接nagios报警了
定义发送微信的命令,修改commands.cfg文件,定义主机报警命令notify-host-by-weixin,及服务报警命令notify-service-by-weixin。然后修改templates.cfg文件,添加微信报警。我这里通过nagiosql管理nagios的。
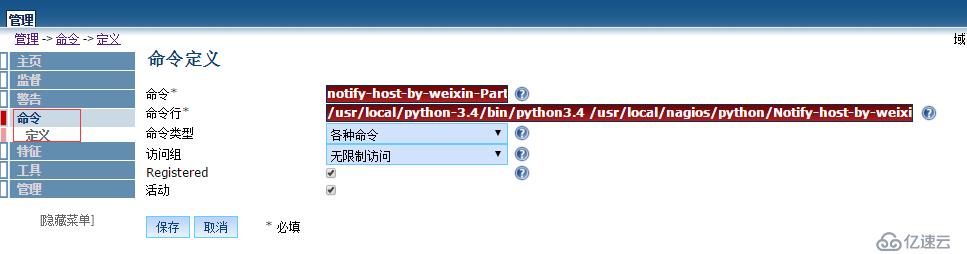
在命令栏里定义报警命令:
notify-host-by-weixin-Party-Address4
/usr/local/python-3.4/bin/python3.4 /usr/local/nagios/python/Notify-host-by-weixin-party.py "$CONTACTADDRESS4$separator$NOTIFICATIONTYPE$separator$HOSTALIAS$separator$HOSTSTATE$separator$HOSTADDRESS$separator$HOSTOUTPUT$separator$LONGDATETIME$"
notify-service-by-weixin-Party-Address4
/usr/local/python-3.4/bin/python3.4 /usr/local/nagios/python/Notify-service-by-weixin-party.py "$CONTACTADDRESS4$separator$NOTIFICATIONTYPE$separator$SERVICEDESC$separator$HOSTALIAS$separator$HOSTADDRESS$separator$SERVICESTATE$separator$LONGDATETIME$separator$SERVICEOUTPUT$"
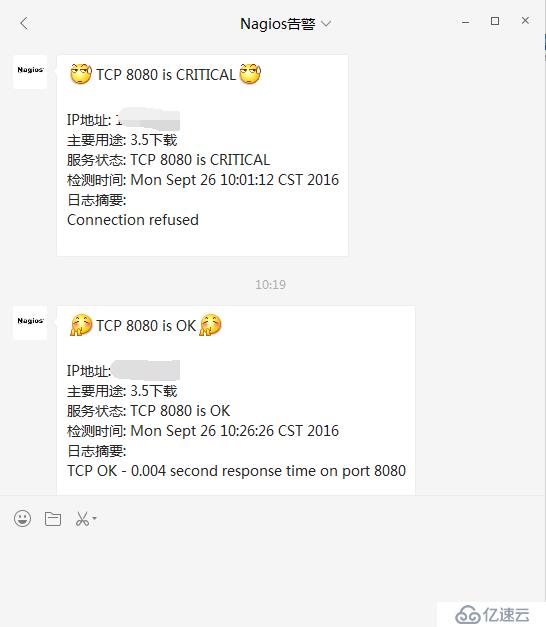
我这里是发送消息到组,
告警栏里添加微信告警人信息,上面命令中$CONTACTADDRESS4$调取的是附加地址4,我们把组ID写到该栏,然后选择主机命令、服务命令
 至此,nagios通过微信告警完成!
亿速云「云服务器」,即开即用、新一代英特尔至强铂金CPU、三副本存储NVMe SSD云盘,价格低至29元/月。点击查看>>
免责声明:本站发布的内容(图片、视频和文字)以原创、转载和分享为主,文章观点不代表本网站立场,如果涉及侵权请联系站长邮箱:is@yisu.com进行举报,并提供相关证据,一经查实,将立刻删除涉嫌侵权内容。


 计算
计算 安全
安全 数据库
数据库 网络和加速
网络和加速 企业服务
企业服务


