代码环境接使用三。
先在django中定义模板:
第一步:在项目所在的当前目录创建templates模板目录
mkdir templates
第二步:在templates目录下,创建与应用同名的目录即应用的模板目录:
mkdir templates/bookshop
第三步:在应用的模板目录下创建index.html文件
vim templates/bookshop/index.html
<!DOCTYPE html>
<html>
<head>
<meta charset="UTF-8">
<title>index</title>
</head>
<body>
<h2>this is django templates index.html</he>
</body>
</html>
注意:此html模板文件里可以使用模板语言{% keyworld %}、{{ object }}。
定义模板完成后再使用模板:
第四步:在views.py视图中使用模板
编辑bookshop/views.py文件:
修改为:
#from django.shortcuts import render
from django.http import *
from django.template import RequestContext,loader
def index(request):
temp = loader.get_template('bookshop/index.html')
return HttpResponse(temp.render())
#return HttpResponse('<b>hello world</b>')
或把loader加载过程和宣传过程,由render完成简化了代码,另一种写法为:
from django.shortcuts import render
from django.http import *
def index(request):
return render(request, 'bookshop/index.html')
第五步:在settings.py设置中,添加模板查找路径
编辑test1/settings.py文件:
修改:
TEMPLATES = [
{
...
'DIRS': [os.path.join(BASE_DIR,'templates')],
...}]
此时,访问浏览器:http://192.168.255.70:8080/

获取数据并传递数据:
在视图views.py中,render中第一个参数是请求,第二个参数是使用的htim模板文件,第三个参数要传递的数据必须使用字典格式:
第一步:向模板中传递数据
编辑bookshoop/views.py文件
修改:
from django.shortcuts import render
from django.http import *
from .models import *
def index(request):
booklist = BookInfo.objects.all()
context = {'list':booklist}
return render(request, 'bookshop/index.html', context)
第二步:在模板中获取数据
编辑templates/bookshop/index.html
修改如下:
<!DOCTYPE html>
<html>
<head>
<meta charset="UTF-8">
<title>index</title>
</head>
<body>
{%for book in list %}
<li>{{book.btitle}}</li>
{%endfor%}
<h2>this is django templates index.html</h2>
</body>
</html>
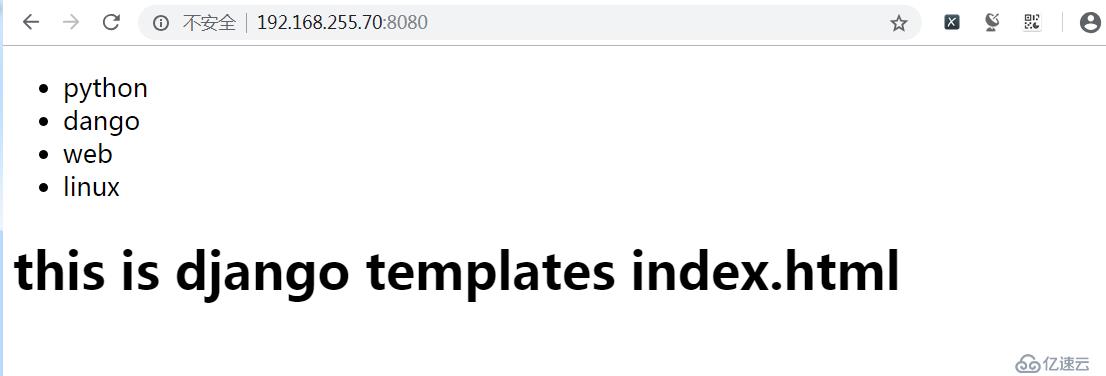
第三步:刷新浏览器
访问浏览器:http://192.168.255.70:8080/
使用更多模板语言:
第一步:编辑templates/bootshop/index.html模板文件
<!DOCTYPE html>
<html>
<head>
<meta charset="UTF-8">
<title>index</title>
</head>
<body>
<ul>
{%for book in list%}
<li><a href="{{book.id}}">{{book.btitle}}</a></li>
{%endfor%}
</ul>
<h2>this is django templates index.html</h2>
</body>
</html>
第二步:修改url路由配置
编辑bookshop/urls.py文件:
from django.conf.urls import url
from . import views
urlpatterns = [
url(r'^$',views.index),
url(r'^(\d+)$',views.show),#正则匹配到的结果是当做一个show的参数
]
第三步:添加视图函数
编辑bookshop/views.py文件:
添加:
def show(request,id):#该函数一共要2个参数,其中id为正则式传递的参数
book = BookInfo.objects.get(pk=id)
herolist = book.heroinfo_set.all()
context = {'list':herolist`}
return render(request,'bookshop/show.html',context)
第四步:添加show.html模板文件
编辑templates/bookshop/show.html文件:
<!DOCTYPE html>
<html lange="en">
<head>
<meta charset="UTF-8">
<title>Title</title>
</head>
<body>
<ul>
{%for hero in list%}
<li>{{hero.hname}}</li>
{%endfor%}
</ul>
</body>
</html>
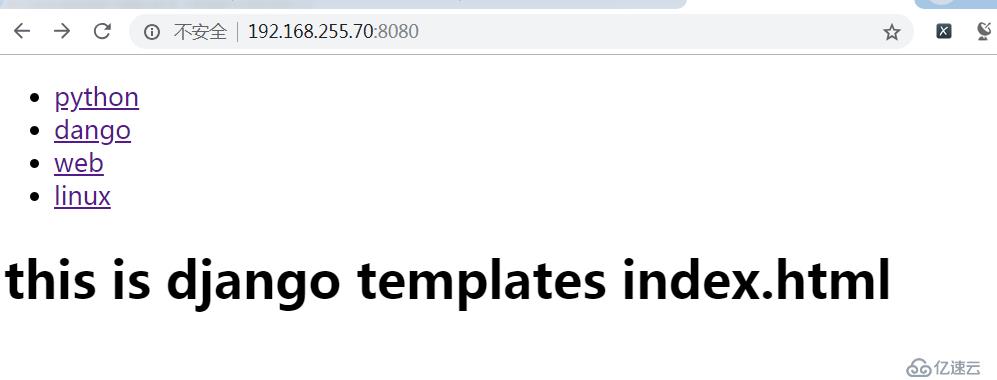
第五步:测试
浏览器访问:http://192.168.255.70:8080/
为测试添加数据:
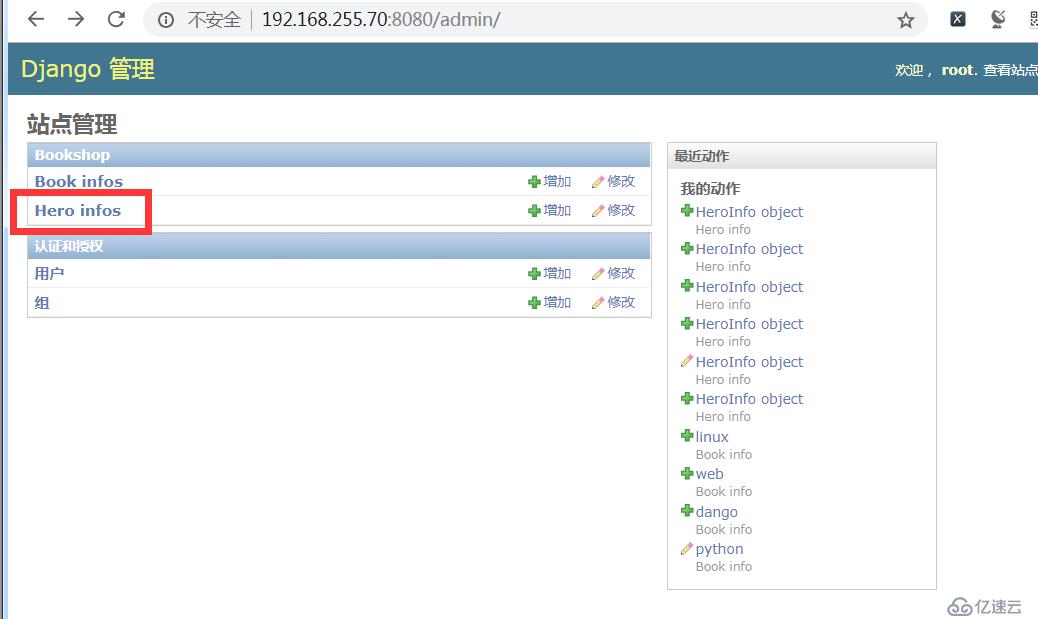
浏览器访问:http://192.168.255.70:8080/admin/
添加Hero infos信息,点击Hero infos:
然后,点击:增加hero info
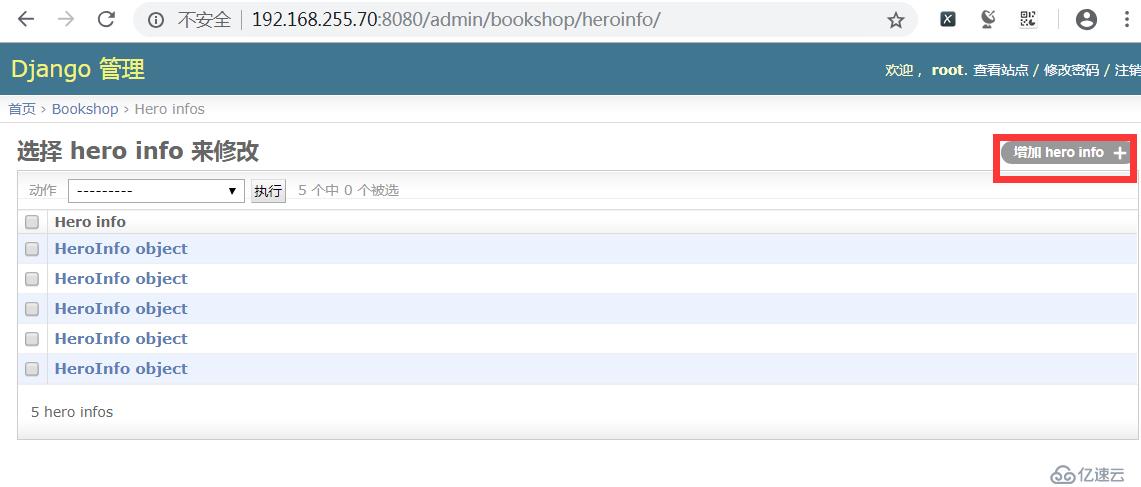
填写hero info相关信息即可:
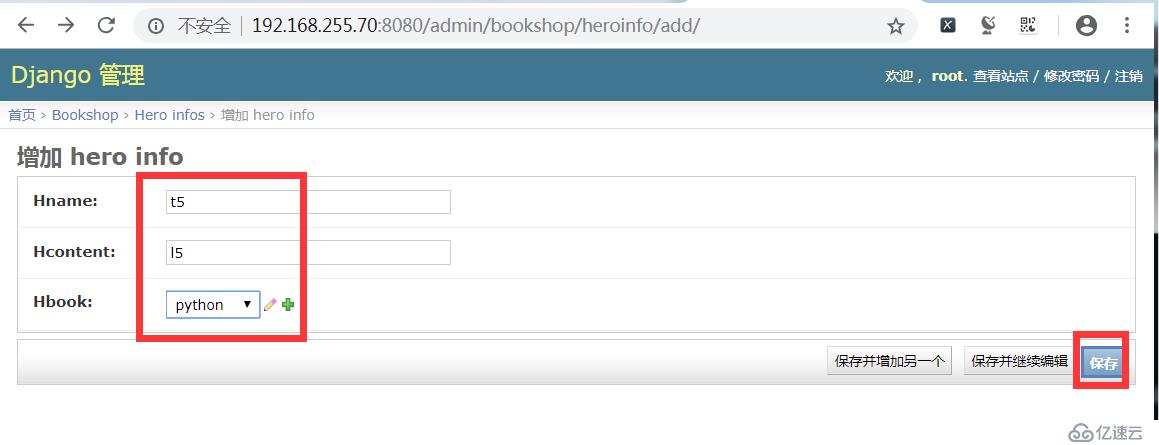
填写完成后,保存即可。
浏览器访问测试:http://192.168.255.70:8080/
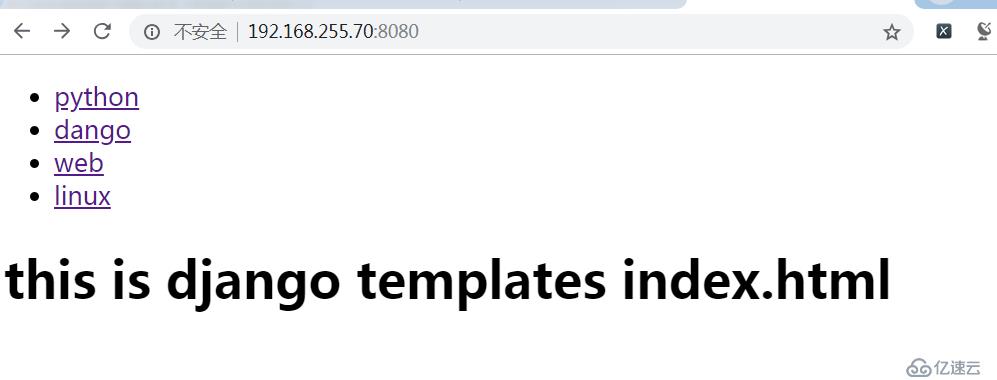
单击链接标签,如python,注意浏览器地址的变化为:http://192.168.255.70:8080/2

测试成功。
免责声明:本站发布的内容(图片、视频和文字)以原创、转载和分享为主,文章观点不代表本网站立场,如果涉及侵权请联系站长邮箱:is@yisu.com进行举报,并提供相关证据,一经查实,将立刻删除涉嫌侵权内容。