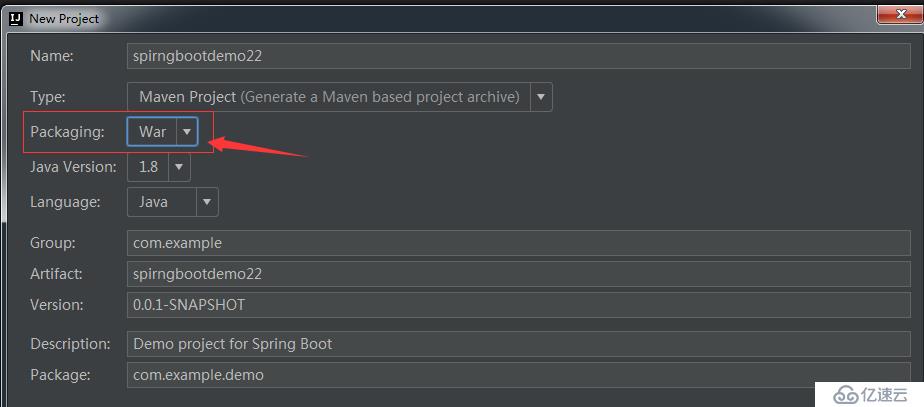
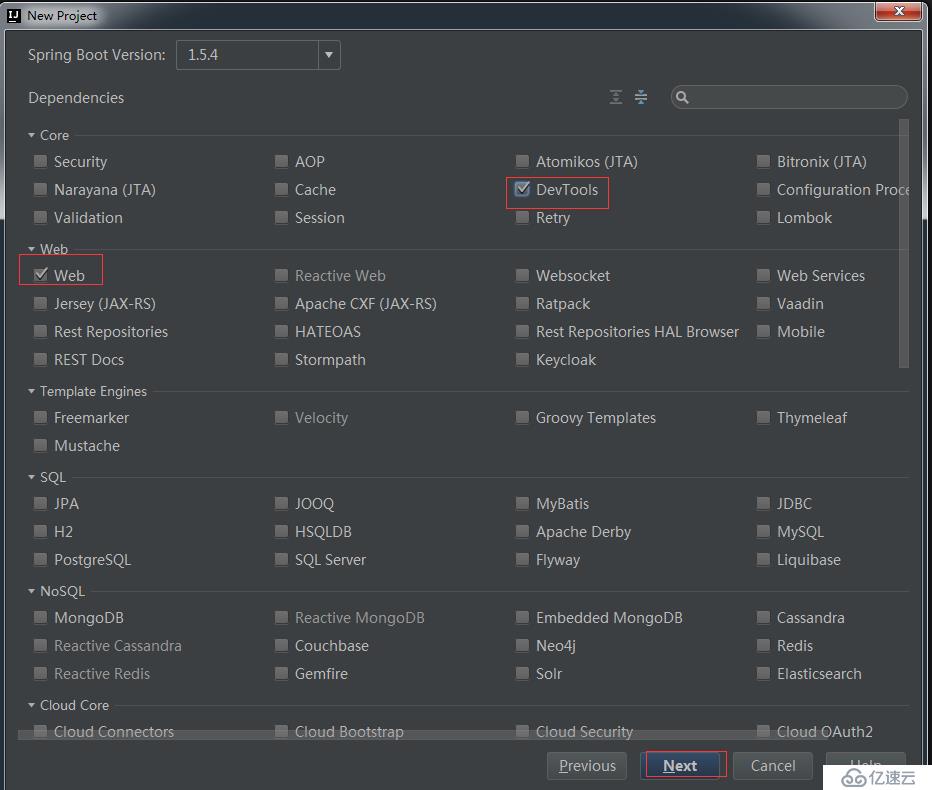
一、新建工程
注意新建的工程下没有webapp目录eclipse下会自动创建webapp目录这里我们需要自动创建一个webapp目录并创建WEB-INF。
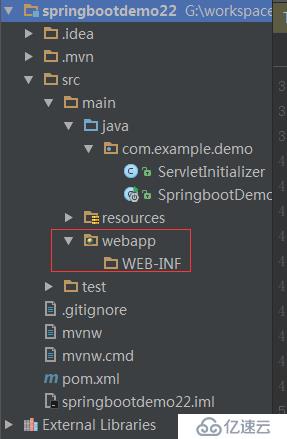
对ServletInitializer.java进行说明
1、这个类相当于我们以前的web.xml
2、只有3.0以上才可以否则需要添加web.xml
二、配置
2.1、pom.xml配置
<dependency>
   <groupId>org.apache.tomcat.embed</groupId>
   <artifactId>tomcat-embed-jasper</artifactId>
   <scope>provided</scope>
</dependency>
<dependency>
   <groupId>javax.servlet</groupId>
   <artifactId>jstl</artifactId>
</dependency>
2.2、配置前缀与后缀类似于sspringmvc
spring.profiles.active=dev
#配置前缀与后缀
spring.mvc.view.prefix=/WEB-INF/templates/
spring.mvc.view.suffix=.jsp
四、代码
package com.example.demo.controller;
import org.springframework.stereotype.Controller;
import org.springframework.ui.Model;
import org.springframework.web.bind.annotation.RequestMapping;
/**
* Created by ly on 2017/6/16.
*/
@Controller
@RequestMapping("/demo1")
public class Index {
@RequestMapping("/index")
public String index(Model model) throws Exception {
model.addAttribute("title" ,"ceshi");
return "index";
}
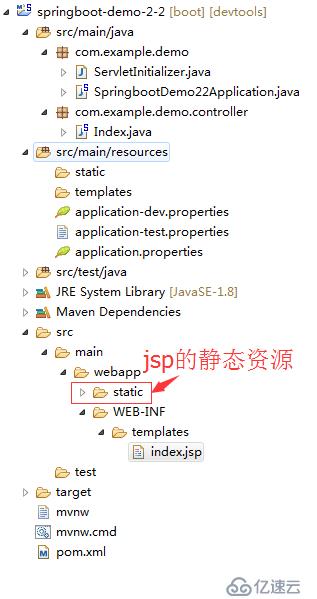
}idea这里有点问题下面改用eclipse结构如下
index.jsp
<%@ taglib prefix="spring" uri="http://www.springframework.org/tags"%>
<%@ taglib prefix="c" uri="http://java.sun.com/jsp/jstl/core"%>
<!DOCTYPE html>
<html>
<head lang="en">
<title>Spring Boot Demo - FreeMarker</title>
<link href="/static/css/index.css" rel="stylesheet" />
</head>
<body>
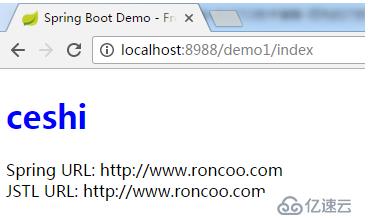
<h2 id="title">${title}</h2>
<c:url value="http://www.roncoo.com" var="url"/>
<spring:url value="http://www.roncoo.com" htmlEscape="true" var="springUrl" />
Spring URL: ${springUrl}
<br>
JSTL URL: ${url}
<!-- <script type="text/javascript" src="/static/webjars/jquery/2.1.4/jquery.min.js"></script>
<script>
$(function(){
$('#title').click(function(){
alert('1o');
});
})
</script> -->
</body>
</html>
访问http://localhost:8988/demo1/index
免责声明:本站发布的内容(图片、视频和文字)以原创、转载和分享为主,文章观点不代表本网站立场,如果涉及侵权请联系站长邮箱:is@yisu.com进行举报,并提供相关证据,一经查实,将立刻删除涉嫌侵权内容。


