一 准备工作
首先,ionic3+Angular4的开发环境你得有,这里就不赘述。环境准备好,创建一个空白项目,模板自选。
二 实现过程
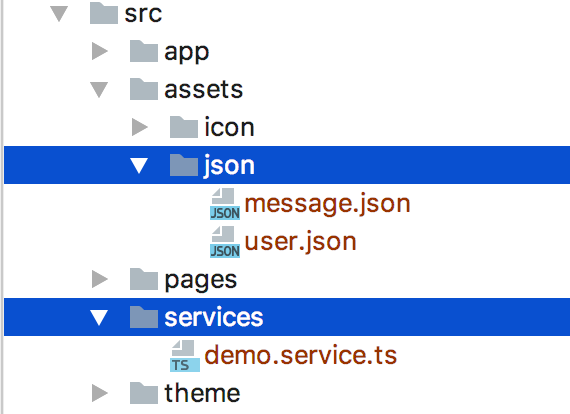
1 新建json文件和service
service记得在app.module.ts中引用

json和service
2 json文件格式
格式类似这样,根据实际需求决定。
[
 {
  "id":"1",
  "name":"xiehan",
  "age":"24",
  "message":"测试json文件读取"
 },
 {
  "id":"2",
  "name":"xiehan",
  "age":"24",
  "message":"测试json文件读取"
 },
 {
  "id":"3",
  "name":"xiehan",
  "age":"24",
  "message":"测试json文件读取"
 },
 {
  "id":"4",
  "name":"xiehan",
  "age":"24",
  "message":"测试json文件读取"
 }
]
3 service
import {Injectable} from '@angular/core';
import {Observable} from 'rxjs/Observable';
import {Http, Response} from '@angular/http';
import "rxjs/add/operator/map";


@Injectable()
export class DemoService {

 constructor(private httpService: Http){
 }
 // 网络接口请求
 getHomeInfo(): Observable<Response> {
  return this.httpService.request('http://jsonplaceholder.typicode.com/users')
 }

 // 本地json文件请求
 getRequestContact(){
  return this.httpService.get("assets/json/message.json")
 }
}
4 数据显示
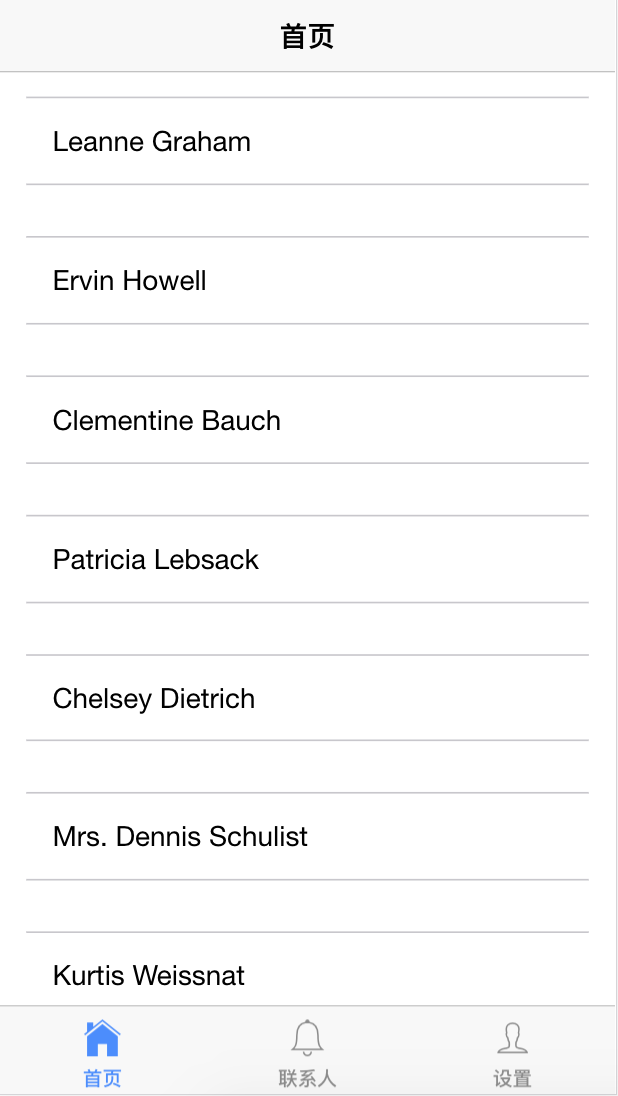
1 网络接口请求
//home.ts
import {ChangeDetectorRef, Component} from '@angular/core';
import { NavController } from 'ionic-angular';
import {DemoService} from "../../services/demo.service";

@Component({
 selector: 'page-home',
 templateUrl: 'home.html'
})
export class HomePage {
 // 接收数据用
 listData: Object;
 // 依赖注入
 constructor(public navCtrl: NavController,
       private ref: ChangeDetectorRef,
       private demoService: DemoService,) {
 }

 ionViewDidLoad() {
  // 网络请求
  this.getHomeInfo();
 }

 getHomeInfo(){
  this.demoService.getHomeInfo()
   .subscribe(res => {
    this.listData = res.json();
    // 数据格式请看log
    console.log("listData------->",this.listData);
    this.ref.detectChanges();
   }, error => {
    console.log(error);
   });
 }
}


//home.html
<ion-header>
 <ion-navbar>
  <ion-title>首页</ion-title>
 </ion-navbar>
</ion-header>

<ion-content padding>
 <ion-list *ngFor="let item of listData">
  <ion-item>
  <!--?是Angular特定语法,相当于判断数据是否存在,有则显示无则不显示-->
   {{item?.name}}
  </ion-item>
 </ion-list>
</ion-content>
效果图

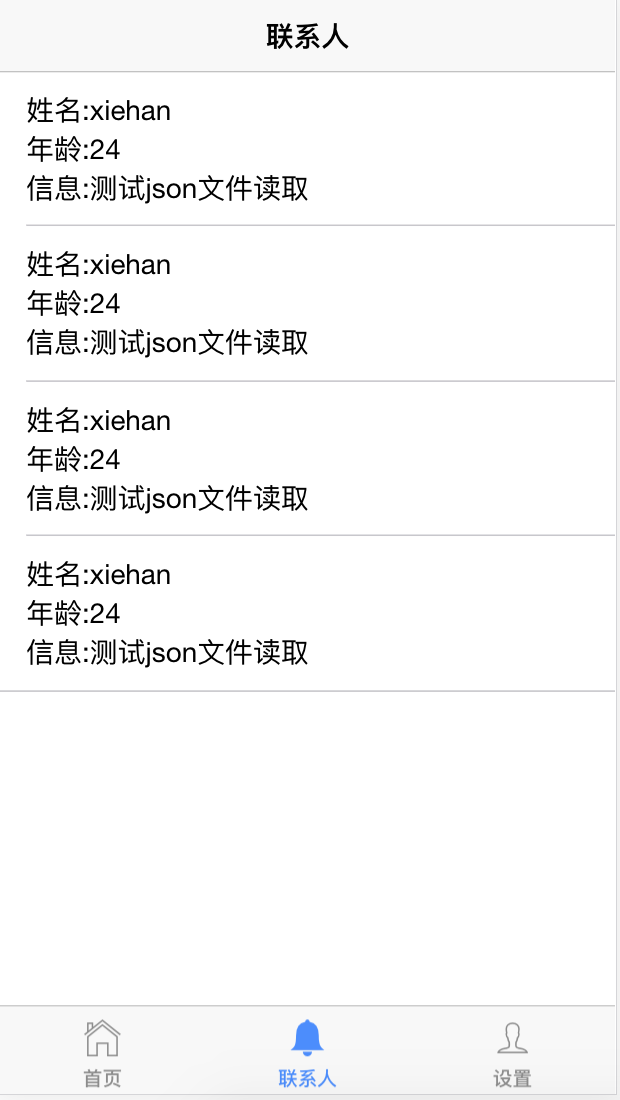
2 本地json文件请求
service中已经写了getRequestContact()方法对本地json文件读取。
//contact.ts
import {ChangeDetectorRef, Component} from '@angular/core';
import { NavController } from 'ionic-angular';
import {DemoService} from "../../services/demo.service";

@Component({
 selector: 'page-contact',
 templateUrl: 'contact.html'
})
export class ContactPage {

 contactInfo=[];

 constructor(public navCtrl: NavController,
       private demoService: DemoService,
       private ref: ChangeDetectorRef,) {

 }

 ionViewDidLoad() {
  // 网络请求
  this.getRequestContact();
 }

 getRequestContact(){
  this.demoService.getRequestContact()
   .subscribe(res => {
    this.contactInfo = res.json();
    console.log("contactInfo------->",this.contactInfo);
    this.ref.detectChanges();
   }, error => {
    console.log(error);
   });
 }
}

// contact.html
<ion-header>
 <ion-navbar>
  <ion-title>
   联系人
  </ion-title>
 </ion-navbar>
</ion-header>

<ion-content>
 <ion-list>
  <ion-item *ngFor="let item of contactInfo">
   <div >
    <span>姓名:{{item?.name}}</span>
    <span>年龄:{{item?.age}}</span>
    <span>信息:{{item?.message}}</span>
   </div>
  </ion-item>
 </ion-list>
</ion-content>
效果图

三 总结
1.所有创建的page要在app.module.ts中引用;
2.service要在app.module.ts中引用;
以上就是本文的全部内容,希望对大家的学习有所帮助,也希望大家多多支持亿速云。
免责声明:本站发布的内容(图片、视频和文字)以原创、转载和分享为主,文章观点不代表本网站立场,如果涉及侵权请联系站长邮箱:is@yisu.com进行举报,并提供相关证据,一经查实,将立刻删除涉嫌侵权内容。