这篇文章将为大家详细讲解有关iOS如何实现毛玻璃效果,小编觉得挺实用的,因此分享给大家做个参考,希望大家阅读完这篇文章后可以有所收获。
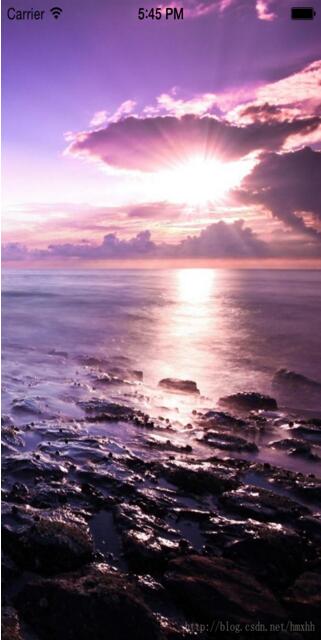
原图:
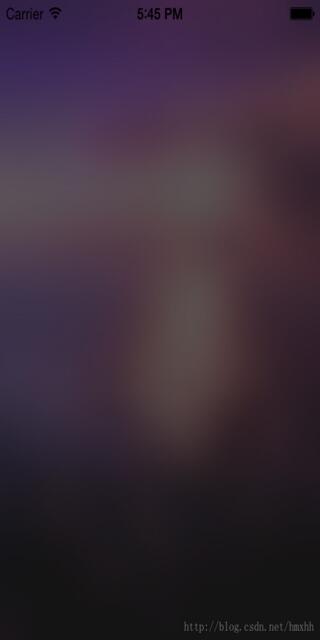
方法一(iOS8系统方法):
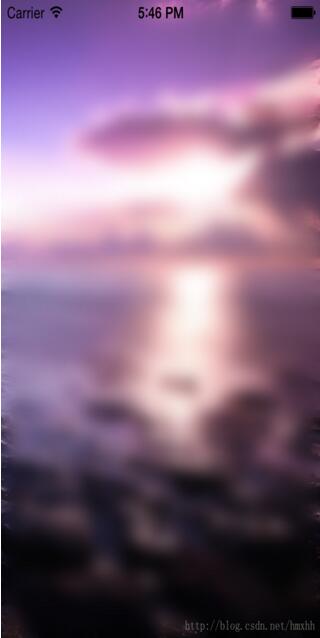
方法二:
下面是示例代码:
#import "ViewController.h"

@interface ViewController ()
{
 UIImageView *_imageView;
}
@end

@implementation ViewController

- (void)viewDidLoad {
 [super viewDidLoad];
 _imageView = [[UIImageView alloc]initWithFrame:self.view.bounds];
 _imageView.image = [UIImage imageNamed:@"1.jpg"];
 [self.view addSubview:_imageView];

 //方法一:系统方法,iOS8及以上可用
 if (!UIAccessibilityIsReduceTransparencyEnabled()) {
 UIBlurEffect *blurEffect = [UIBlurEffect effectWithStyle:UIBlurEffectStyleDark];
 UIVisualEffectView *blurEffectView = [[UIVisualEffectView alloc]initWithEffect:blurEffect];
 blurEffectView.frame = _imageView.bounds;
 [_imageView addSubview:blurEffectView];
 }


 //方法二:Core Image
 UIImageView *blurImageView = [[UIImageView alloc]initWithFrame:_imageView.bounds];
 blurImageView.image = [self blur:[UIImage imageNamed:@"1.jpg"]];
 [_imageView addSubview:blurImageView];
}

//生成一张毛玻璃图片
- (UIImage*)blur:(UIImage*)theImage
{
 CIContext *context = [CIContext contextWithOptions:nil];
 CIImage *inputImage = [CIImage imageWithCGImage:theImage.CGImage];

 CIFilter *filter = [CIFilter filterWithName:@"CIGaussianBlur"];
 [filter setValue:inputImage forKey:kCIInputImageKey];
 [filter setValue:[NSNumber numberWithFloat:15.0f] forKey:@"inputRadius"];
 CIImage *result = [filter valueForKey:kCIOutputImageKey];

 CGImageRef cgImage = [context createCGImage:result fromRect:[inputImage extent]];

 UIImage *returnImage = [UIImage imageWithCGImage:cgImage];
 CGImageRelease(cgImage);
 return returnImage;
}

- (void)didReceiveMemoryWarning {
 [super didReceiveMemoryWarning];
 // Dispose of any resources that can be recreated.
}

@end关于“iOS如何实现毛玻璃效果”这篇文章就分享到这里了,希望以上内容可以对大家有一定的帮助,使各位可以学到更多知识,如果觉得文章不错,请把它分享出去让更多的人看到。
亿速云「云服务器」,即开即用、新一代英特尔至强铂金CPU、三副本存储NVMe SSD云盘,价格低至29元/月。点击查看>>
免责声明:本站发布的内容(图片、视频和文字)以原创、转载和分享为主,文章观点不代表本网站立场,如果涉及侵权请联系站长邮箱:is@yisu.com进行举报,并提供相关证据,一经查实,将立刻删除涉嫌侵权内容。


 计算
计算 安全
安全 数据库
数据库 网络和加速
网络和加速 企业服务
企业服务


