今天就跟大家聊聊有关spring boot利用swagger实现配置yml文件,可能很多人都不太了解,为了让大家更加了解,小编给大家总结了以下内容,希望大家根据这篇文章可以有所收获。
java代码
package com.oauth.util;

import org.springframework.boot.autoconfigure.condition.ConditionalOnProperty;
import org.springframework.context.annotation.Bean;
import org.springframework.context.annotation.Configuration;

import springfox.documentation.builders.ApiInfoBuilder;
import springfox.documentation.builders.PathSelectors;
import springfox.documentation.builders.RequestHandlerSelectors;
import springfox.documentation.service.ApiInfo;
import springfox.documentation.service.Contact;
import springfox.documentation.spi.DocumentationType;
import springfox.documentation.spring.web.plugins.Docket;
import springfox.documentation.swagger2.annotations.EnableSwagger2;

@Configuration
@EnableSwagger2
//是否开启swagger
@ConditionalOnProperty(name = "swagger.enable", havingValue = "true")
public class Swagger2 {

	// swagger2的配置文件,这里可以配置swagger2的一些基本的内容,比如扫描的包等等
	@Bean
	public Docket createRestApi() {
		return new Docket(DocumentationType.SWAGGER_2).apiInfo(apiInfo()).select()
				// 为当前包路径
				.apis(RequestHandlerSelectors.basePackage("com.oauth.controller")).paths(PathSelectors.any()).build();
	}

	private ApiInfo apiInfo() {
		return new ApiInfoBuilder()
				// 页面标题
				.title("Swagger2")
				// 创建人信息
				.contact(new Contact("scy", "666", "888"))
				// 版本号
				.version("1.0")
				// 描述
				.description("API 描述").build();
	}
}yml文件
server:
 port: 8587

spring:
 application:
  name: auth

eureka:
 instance:
  prefer-ip-address: true
 client:
  service-url:
   defaultZone: http://localhost:8090/eureka/

swagger: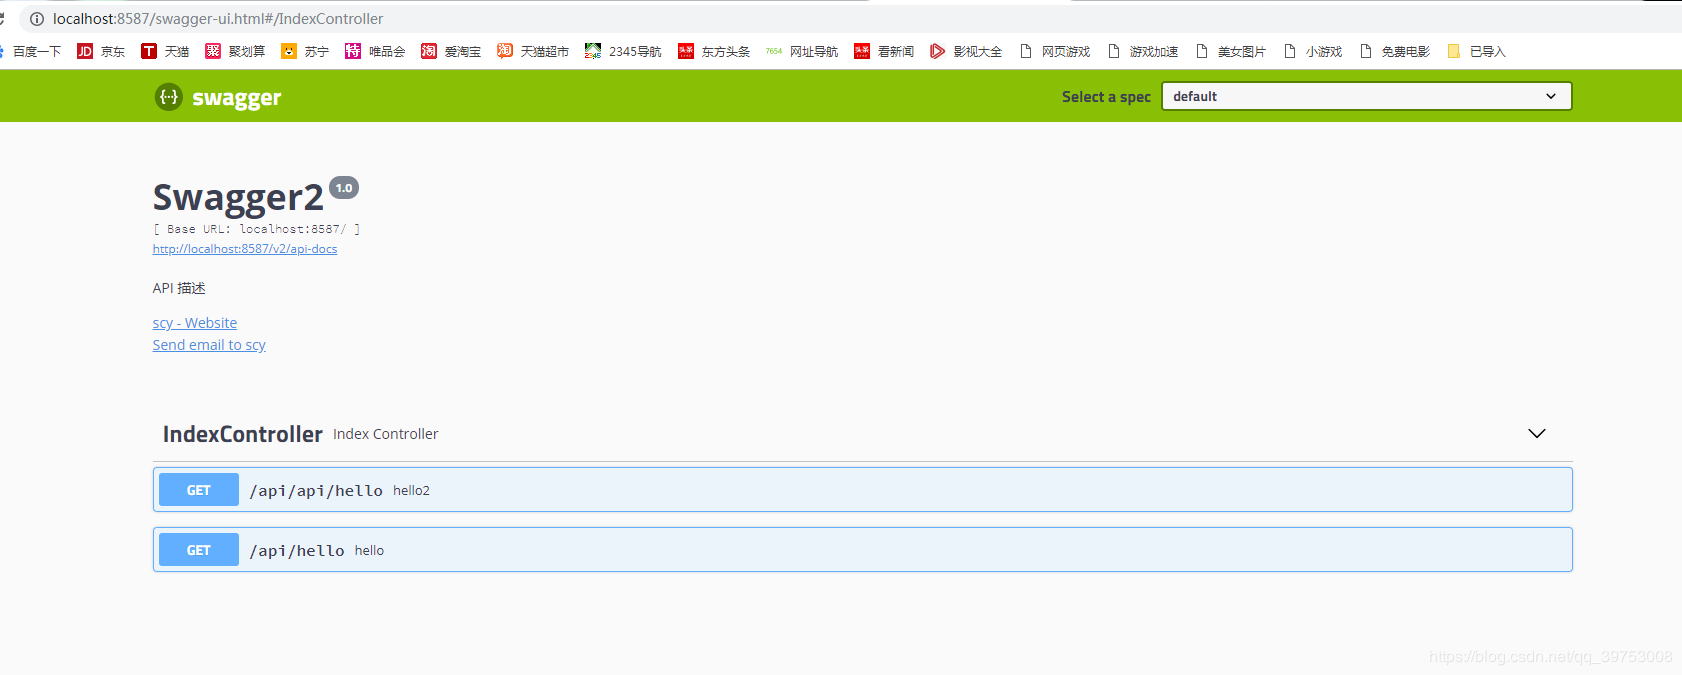
enable: trueswagger:
enable: true 这里是设置是否启动 本地和测试环境为true 正式环境为false
controller
package com.oauth.controller;

import org.springframework.web.bind.annotation.GetMapping;
import org.springframework.web.bind.annotation.RequestMapping;
import org.springframework.web.bind.annotation.RestController;

import io.swagger.annotations.Api;
import io.swagger.annotations.ApiOperation;

@RestController
@RequestMapping("api")
@Api(value = "测试接口", tags = "IndexController")
public class IndexController {

	@ApiOperation(value = "hello")
	@GetMapping("hello")
	public String hello() {
		return "Hello World";
	}

	@ApiOperation(value = "hello2")
	@GetMapping("api/hello")
	public String apiHello() {
		return "Hello World";
	}

}打开swagger页面 localhost:端口号/swagger-ui.html
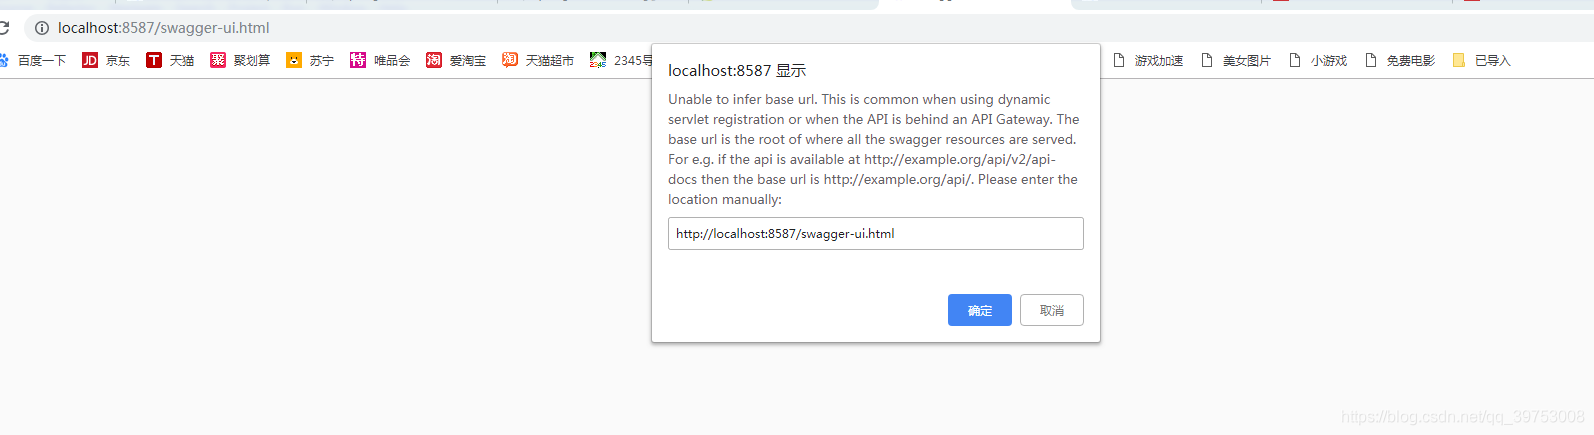
如果swagger:
enable: false 这里设置为false
看完上述内容,你们对spring boot利用swagger实现配置yml文件有进一步的了解吗?如果还想了解更多知识或者相关内容,请关注亿速云行业资讯频道,感谢大家的支持。
亿速云「云服务器」,即开即用、新一代英特尔至强铂金CPU、三副本存储NVMe SSD云盘,价格低至29元/月。点击查看>>
免责声明:本站发布的内容(图片、视频和文字)以原创、转载和分享为主,文章观点不代表本网站立场,如果涉及侵权请联系站长邮箱:is@yisu.com进行举报,并提供相关证据,一经查实,将立刻删除涉嫌侵权内容。


 计算
计算 安全
安全 数据库
数据库 网络和加速
网络和加速 企业服务
企业服务


