这期内容当中小编将会给大家带来有关在nuxt中如何设置页面的head标签,文章内容丰富且以专业的角度为大家分析和叙述,阅读完这篇文章希望大家可以有所收获。
打开index.vue,编辑如下:
head(){
 return {
  title: 'jokes home page',
  meta: [{
  hid: "description",
  name: "description",
  content: "this is funny jokes home page"
  },{
  hid: 'viewport',
  name: 'viewport',
  content: 'width=device-width, initial-scale=1.0'
  }]
 }
},我们再次打开jokes.vue,编辑如下:
head(){
 return {
  title: 'jokes page',
  meta: [{
  hid: "description",
  name: "description",
  content: "funny jokes page"
  }]
 }
},打开about.vue,编辑如下:
head(){
 return {
  title: 'about page',
  meta: [{
  hid: "page description",
  name: "description",
  content: "funny jokes about page"
  }]
 }
},每次设置修改之后,我们都需要打开当前页面的源代码查看一下,服务端渲染新head标签内容是否生效。
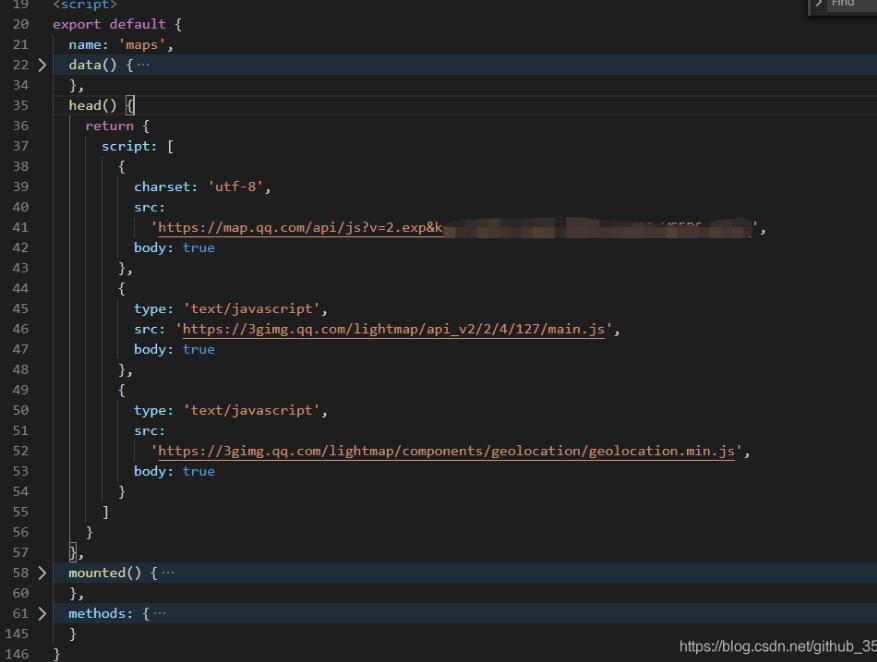
补充知识:nuxt 为单独的页面或组件 注入js
代码如下
 head() {
 return {
  script: [
  {
   charset: 'utf-8',
   src:'https://map.qq.com/api/js?v=2.exp&key=3',
   body: true
  },
  {
   type: 'text/javascript',
   src: 'https://3gimg.qq.com/lightmap/api_v2/2/4/127/main.js',
   body: true
  },
  {
   type: 'text/javascript',
   src:'https://3gimg.qq.com/lightmap/components/geolocation/geolocation.min.js',
   body: true
  }
  ]
 }
},由于地图 只有在一个页面使用, 没必要全局引入,于是就在单个页面使用

上述就是小编为大家分享的在nuxt中如何设置页面的head标签了,如果刚好有类似的疑惑,不妨参照上述分析进行理解。如果想知道更多相关知识,欢迎关注亿速云行业资讯频道。
亿速云「云服务器」,即开即用、新一代英特尔至强铂金CPU、三副本存储NVMe SSD云盘,价格低至29元/月。点击查看>>
免责声明:本站发布的内容(图片、视频和文字)以原创、转载和分享为主,文章观点不代表本网站立场,如果涉及侵权请联系站长邮箱:is@yisu.com进行举报,并提供相关证据,一经查实,将立刻删除涉嫌侵权内容。