这篇文章将为大家详细讲解有关yii2中404报错处理方法,小编觉得挺实用的,因此分享给大家做个参考,希望大家阅读完这篇文章后可以有所收获。
yii2 404报错处理
frontend和backend配置方法一样,这里演示的是frontend的
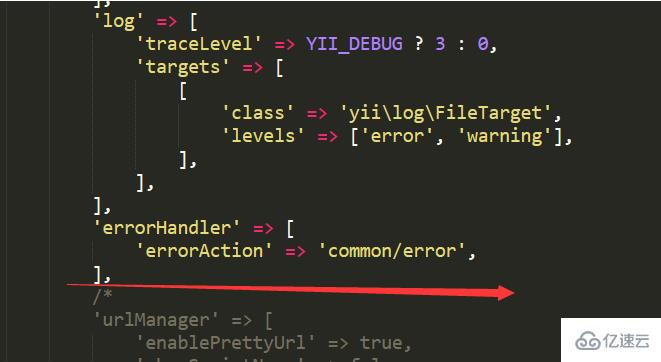
1.首先进到yii框架的frontend\config文件夹下,里面有一个main.php文件,打开编辑,修改其中的控制器名和方法名:
'errorHandler' => [
'errorAction' => 'common/error',
],如图:

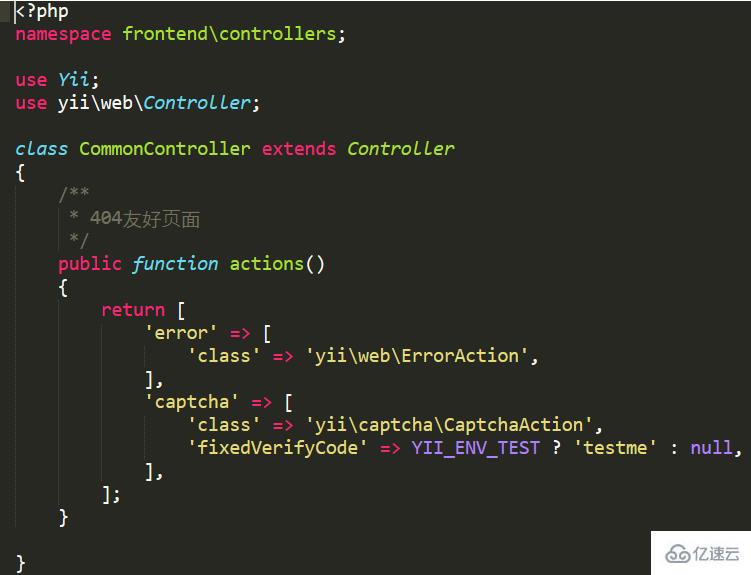
2.然后进到controllers中创建你的控制器,写入下面代码:
/**
 * 404友好页面
 */
public function actions(){
return [
'error' => [
        'class' => 'yii\web\ErrorAction',
        ],
        'captcha' => [
        'class' => 'yii\captcha\CaptchaAction',
            'fixedVerifyCode' => YII_ENV_TEST ? 'testme' : null,
        ,
];
}如图:

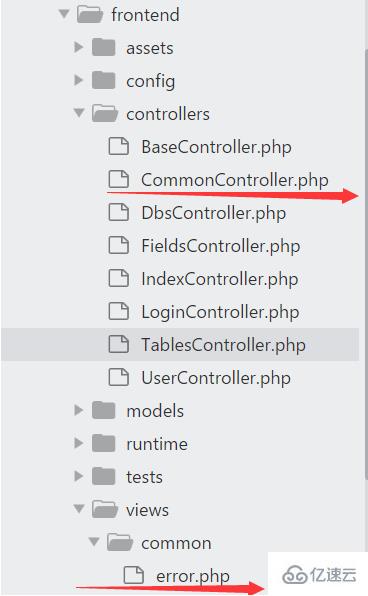
3.最后在V层创建你的视图(这里是error.php):
<?php
    $this->context->layout = false; //不加载公共样式
?>
<!DOCTYPE html>
<html>
<head>
<title>404错误,您所访问的页面不存在!</title>
<meta charset="utf-8">
<link rel="stylesheet" href="css/style.css"/>
<link rel="stylesheet" href="css/base.css"/>
</head>
<body>
<div id="errorpage">
    <div class="tfans_error">
        <div class="logo"></div>
        <div class="errortans clearfix">
            <div class="e404"></div>
            <p><b>出错啦!</b></p>
            <p>您访问的页面不存在</p>
            <div class="bt" ><a href="?r=index/index">返回首页</a></div>
        </div>
    </div>
</div>
</body>
</html>如图:

关于“yii2中404报错处理方法”这篇文章就分享到这里了,希望以上内容可以对大家有一定的帮助,使各位可以学到更多知识,如果觉得文章不错,请把它分享出去让更多的人看到。
亿速云「云服务器」,即开即用、新一代英特尔至强铂金CPU、三副本存储NVMe SSD云盘,价格低至29元/月。点击查看>>
免责声明:本站发布的内容(图片、视频和文字)以原创、转载和分享为主,文章观点不代表本网站立场,如果涉及侵权请联系站长邮箱:is@yisu.com进行举报,并提供相关证据,一经查实,将立刻删除涉嫌侵权内容。