1、安装PHP及扩展包
rpm -Uvh http://mirror.webtatic.com/yum/el6/latest.rpm
yum -y install php56w php56w-gd php56w-mysql php56w-bcmath php56w-mbstring php56w-xml php56w-ldap
2、安装mysql及配置
rpm -ivh http://dev.mysql.com/get/mysql-community-release-el6-5.noarch.rpm
yum install -y mysql-server mysql-devel
/etc/init.d/mysqld start
mysql_secure_installationEnter current password for root (enter for none): <–初次运行直接回车
Set root password? [Y/n] <– 是否设置root用户密码,输入y并回车或直接回车
Remove anonymous users? [Y/n] <– 是否删除匿名用户,生产环境建议删除,所以直接回车
Disallow root login remotely? [Y/n] <–是否禁止root远程登录,根据自己的需求选择Y/n并回车,建议禁止
Remove test database and access to it? [Y/n] <– 是否删除test数据库,直接回车
Reload privilege tables now? [Y/n] <– 是否重新加载权限表,直接回车mysql -uroot -pzabbix
mysql> CREATE DATABASE zabbix CHARACTER SET utf8 COLLATE utf8_bin;
mysql> GRANT ALL PRIVILEGES ON zabbix.* TO zabbix@localhost IDENTIFIED BY 'zabbix';
mysql> flush privileges;
mysql> show databases;修改配置文件
#vim /etc/my.cnf
[mysqld]
datadir=/var/lib/mysql
socket=/var/lib/mysql/mysql.sock
innodb_file_per_table = 1
character-set-server = utf8
#独立表空间模式
innodb_file_per_table = 1
symbolic-links=0
sql_mode=NO_ENGINE_SUBSTITUTION,STRICT_TRANS_TABLES重启mysql服务
 /etc/init.d/mysqld restart
Stopping mysqld:                                           [  OK  ]
Starting mysqld:                                           [  OK  ]
chkconfig mysqld on3、安装依赖包
 yum -y install libcurl-devel libxml2-devel net-snmp net-snmp-devel
 yum -y install httpd  OpenIPMI-libs  fping   iksemel
4、更新libcurl,如果不更新,发送邮件告警会失败,下面的链接中有详细的信息
http://www.iyunv.com/thread-261219-1-1.html
rpm -ivh city-fan.org-release-1-13.rhel6.noarch.rpmcurl -V
curl 7.19.7 (x86_64-redhat-linux-gnu) libcurl/7.19.7 NSS/3.21 Basic ECC zlib/1.2.3 libidn/1.18 libssh3/1.4.2
Protocols: tftp ftp telnet dict ldap ldaps http file https ftps scp sftp
Features: GSS-Negotiate IDN IPv6 Largefile NTLM SSL libz
curl -V
curl 7.53.1 (x86_64-redhat-linux-gnu) libcurl/7.53.1 OpenSSL/1.0.1e zlib/1.2.3 c-ares/1.12.0 libssh3/1.8.0 nghttp2/1.6.0
Protocols: dict file ftp ftps gopher http https imap imaps ldap ldaps pop3 pop3s rtsp scp sftp smb smbs smtp smtps telnet tftp
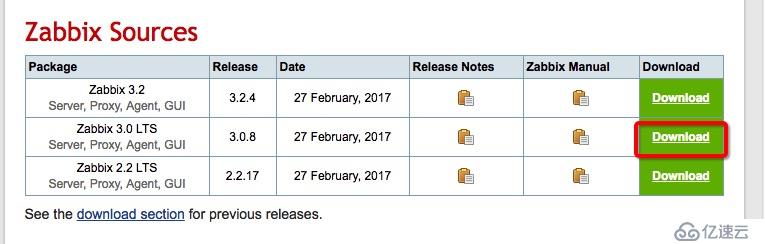
Features: AsynchDNS IPv6 Largefile GSS-API Kerberos SPNEGO NTLM NTLM_WB SSL libz HTTP2 UnixSockets HTTPS-proxy Metalink5、下载源码包
下载地址:http://www.zabbix.com/download
6、安装
tar -zxf zabbix-3.0.8.tar.gz
cd zabbix-3.0.8
./configure --prefix=/usr/local/zabbix --enable-server --enable-agent --with-mysql --with-net-snmp --with-libcurl --with-libxml2
make && make install
7、拷贝服务启动脚本到/etc/init.d/目录
 cp misc/init.d/fedora/core/zabbix_server  /etc/init.d/
cp misc/init.d/fedora/core/zabbix_agentd /etc/init.d/修改/etc/init.d/zabbix_server和/etc/init.d/zabbix_agent启动脚本,将
BASEDIR=/usr/local改成
BASEDIR=/usr/local/zabbix8、导入数据库文件
 mysql -uzabbix -pzabbix -hlocalhost zabbix < database/mysql/schema.sql
 mysql -uzabbix -pzabbix -hlocalhost zabbix < database/mysql/p_w_picpaths.sql
 mysql -uzabbix -pzabbix -hlocalhost zabbix < database/mysql/data.sql
9、创建软连接
ln -s /usr/local/zabbix/etc /etc/zabbix10、修改php配置,我这里是将修改后的配置用单独的文件保存
cd /etc/httpd/conf.d
vim zabbix.confphp_value max_execution_time 300
php_value memory_limit 128M
php_value post_max_size 32M
php_value upload_max_filesize 2M
php_value max_input_time 300
php_value always_populate_raw_post_data -1
php_value date.timezone Asia/Shanghai11、创建zabbix目录
mkdir /var/www/html/zabbix
cp -R /usr/local/src/zabbix-3.0.8/frontends/php/*   /var/www/html/zabbix/
chown -R apache:apache /var/www/html/zabbix12、创建log目录
mkdir /var/log/zabbix配置日志切割
cat /etc/logrotate.d/zabbix-agent/var/log/zabbix/zabbix_agentd.log {
weekly
rotate 12
compress
delaycompress
missingok
notifempty
create 0664 zabbix zabbix
}cat /etc/logrotate.d/zabbix-server/var/log/zabbix/zabbix_server.log {
weekly
rotate 12
compress
delaycompress
missingok
notifempty
create 0664 zabbix zabbix
}13、修改zabbix_server.conf配置文件,修改后的配置如下,这是生产用的配置,内存都调高了.使用root用户启动zabbix server
LogFile=/var/log/zabbix/zabbix_server.log
LogFileSize=0
PidFile=/var/run/zabbix/zabbix_server.pid
DBHost=localhost
DBName=zabbix
DBUser=zabbix
DBPassword=zabbix
StartPollers=40
StartPollersUnreachable=20
StartTrappers=8
StartPingers=8
StartDiscoverers=8
StartHTTPPollers=8
SNMPTrapperFile=/var/log/snmptrap/snmptrap.log
HousekeepingFrequency=1
CacheSize=128M
StartDBSyncers=8
HistoryCacheSize=32M
HistoryIndexCacheSize=32M
TrendCacheSize=8M
ValueCacheSize=128M
Timeout=30
TrapperTimeout=120
AlertScriptsPath=/usr/lib/zabbix/alertscripts
ExternalScripts=/usr/lib/zabbix/externalscripts
LogSlowQueries=3000
AllowRoot=114、修改zabbix_agent.conf配置文件,修改后的配置如下(使用root用户启动zabbix agent)
LogFile=/var/log/zabbix/zabbix.agent.log
Server=127.0.0.1
ServerActive=127.0.0.1
Hostname=Zabbix server
AllowRoot=1
Include=/usr/local/zabbix/etc/zabbix_agentd.conf.d/15、设置zabbix agent和zabbix server服务开机启动
chkconfig --add zabbix_server
chkconfig --add zabbix_agentd
chkconfig zabbix_server on
chkconfig zabbix_agentd on
/etc/init.d/zabbix_server start
/etc/init.d/zabbix_agentd start16、启动apache服务
/etc/init.d/httpd start
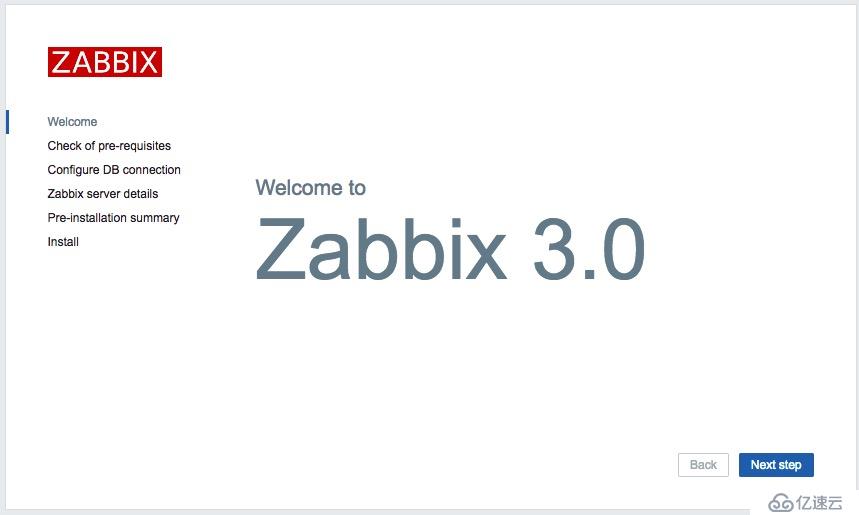
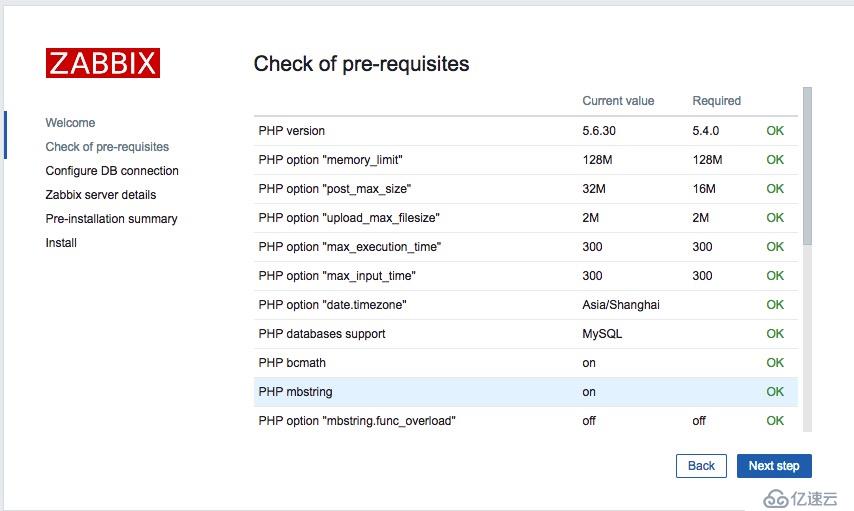
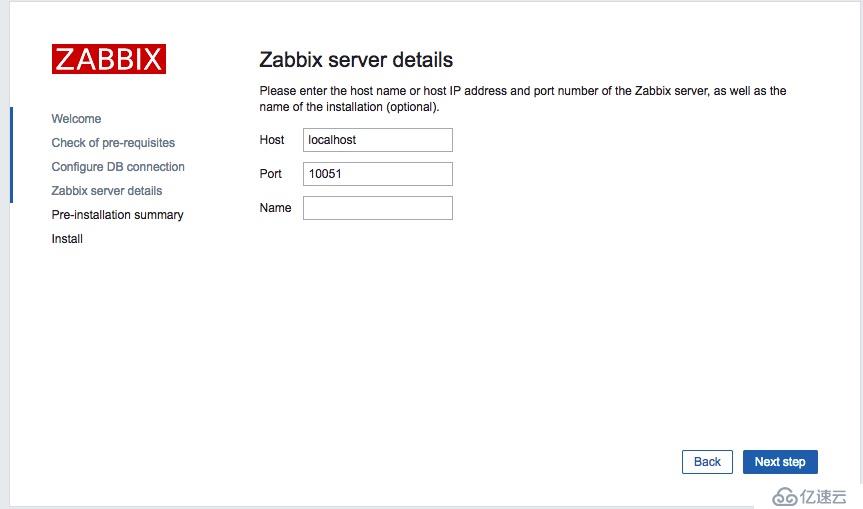
chkconfig httpd on17、登录zabbix web进行配置
配置zabbix数据库的密码

不用配置,直接下一步
不用配置,下一步
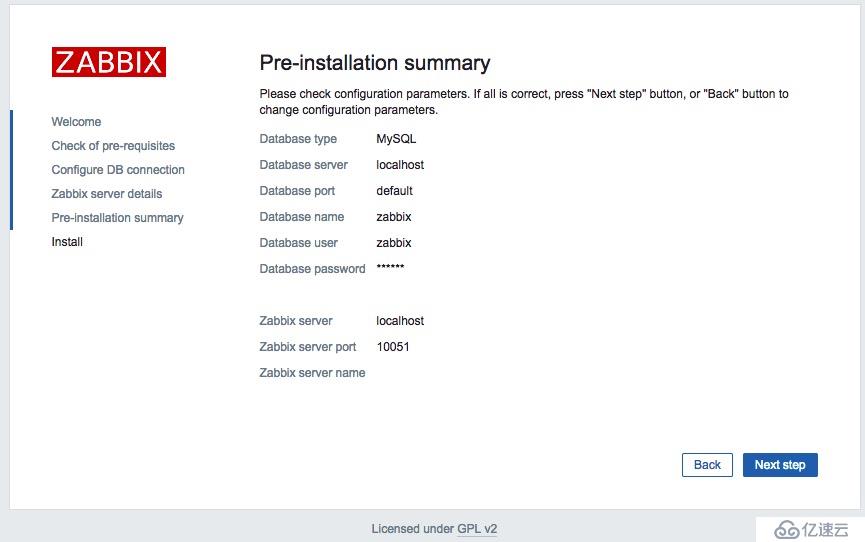
配置完成
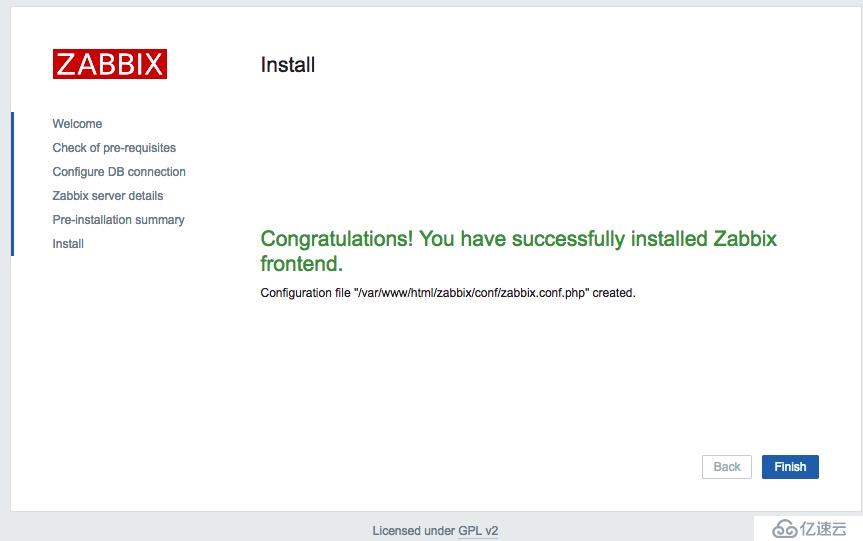
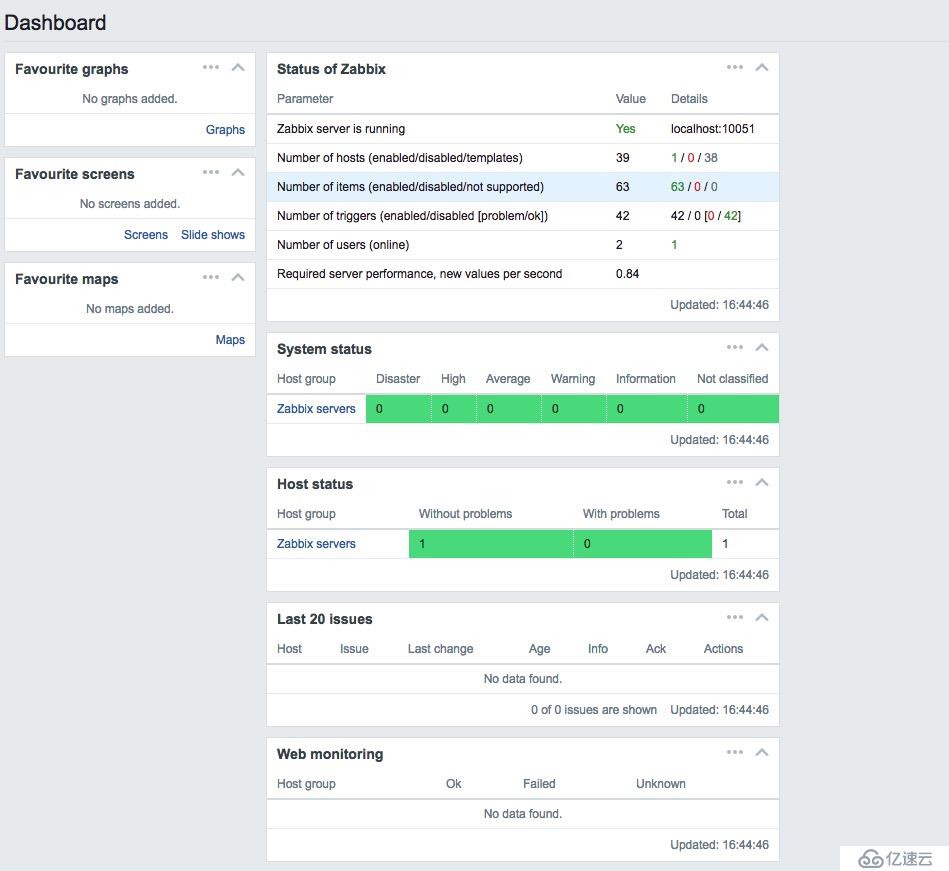
登录zabbix,账号默认为Admin,密码为zabbix,登录后最好是改掉

亿速云「云服务器」,即开即用、新一代英特尔至强铂金CPU、三副本存储NVMe SSD云盘,价格低至29元/月。点击查看>>
免责声明:本站发布的内容(图片、视频和文字)以原创、转载和分享为主,文章观点不代表本网站立场,如果涉及侵权请联系站长邮箱:is@yisu.com进行举报,并提供相关证据,一经查实,将立刻删除涉嫌侵权内容。


 计算
计算 安全
安全 数据库
数据库 网络和加速
网络和加速 企业服务
企业服务


