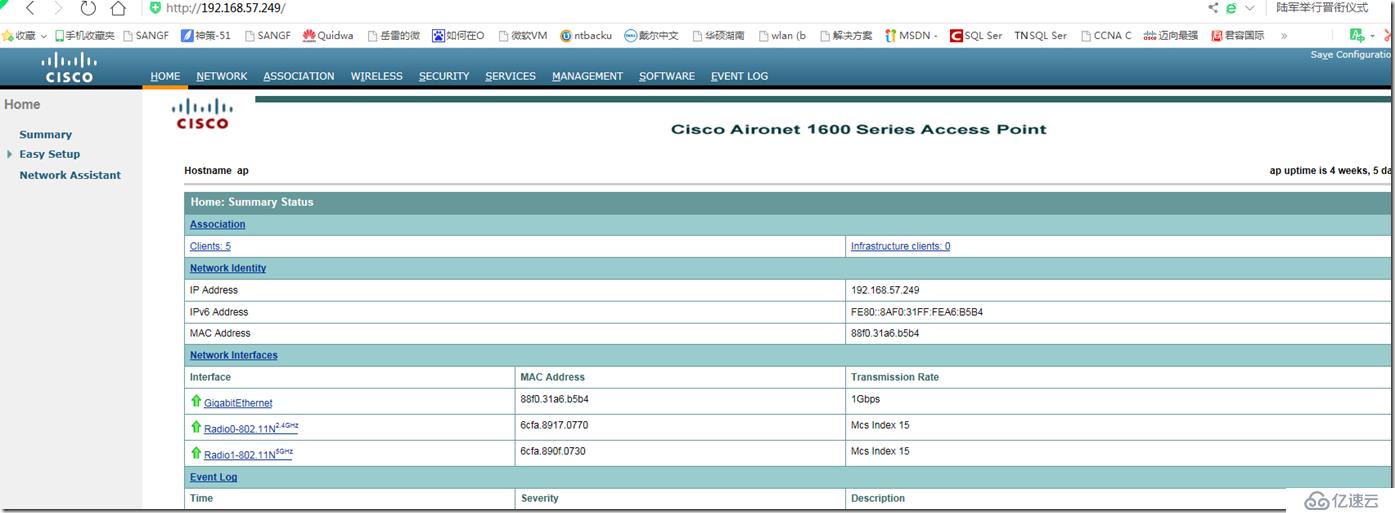
一、本次准备升级的设备型号 AIR-CAP16021-C-K9
二、 设置好电脑的IP地址以及准备好TFTP:将电脑IP设置成10.0.0.2/8,TFTP服务器使用的是solarwinds 10.9.1.33。
三、连接Console线,查看Console线的端口

四、使用设置串口参数如下

五、下载1602I的胖AP的IOS文件,网址:http://down.51cto.com/data/1897579
我的AP使用的IOS是在51CTO下载,其他型号的AP请下载对应的IOS文件
六、修改镜像文件的后缀为Default,并放到TFTP根目录下(关键步骤)
镜像文件的名称一定是这个:ap1g2-k9w7-tar.default ,如果不是这个文件名,会报错如下:
%Error opening tftp://255.255.255.255/ap1g2-k9w7-tar.default (no such file or directory)ap:
IP地址一定需要设置在10.0.0.0/8的这个网段,因为默认AP升级时使用的IP地址是10.0.0.1
七、在断电情况下按住Reset键,插入电源,按住Reset约20秒后,出现如下提示后,可以松开了,接着,AP会自动进行升级
IOS Bootloader - Starting system.
FLASH CHIP: Micron N25Q256
Xmodem file system is available.
flashfs[0]: 33 files, 9 directories
flashfs[0]: 0 orphaned files, 0 orphaned directories
flashfs[0]: Total bytes: 31936000
flashfs[0]: Bytes used: 16559616
flashfs[0]: Bytes available: 15376384
flashfs[0]: flashfs fsck took 15 seconds.
Reading cookie from SEEPROM
Base Ethernet MAC address: 18:e7:28:1a:2a:c7
************* loopback_mode = 0
button is pressed, wait for button to be released...
button pressed for 21 seconds
process_config_recovery: set IP address and config to default 10.0.0.1
process_config_recovery: image recovery
image_recovery: Download default IOS tar image tftp://255.255.255.255/ap1g2-k9w7-tar.default
examining image...
extracting info (288 bytes)
Image info:
Version Suffix: k9w7-.153-3.JAB
Image Name: ap1g2-k9w7-mx.153-3.JAB
Version Directory: ap1g2-k9w7-mx.153-3.JAB
Ios Image Size: 1290752
Total Image Size: 11387392
Image Feature: WIRELESS LAN|LWAPP
Image Family: AP1G2
Wireless Switch Management Version: 8.0.72.236
八、 经过大约五分钟的刷机过程后,可以进入系统了
*Mar 1 00:00:38.027: %SYS-5-RESTART: System restarted --
Cisco IOS Software, C1600 Software (AP1G2-K9W7-M), Version 15.3(3)JAB, RELEASE SOFTWARE (fc1)
Technical Support: http://www.cisco.com/techsupport
Copyright (c) 1986-2014 by Cisco Systems, Inc.
Compiled Tue 02-Sep-14 20:36 by prod_rel_team
*Mar 1 00:00:38.027: %SNMP-5-COLDSTART: SNMP agent on host ap is undergoing a cold start
*Mar 1 00:00:38.955: %LINEPROTO-5-UPDOWN: Line protocol on Interface BVI1, changed state to up
*Mar 1 00:00:38.959: %LINEPROTO-5-UPDOWN: Line protocol on Interface Dot11Radio0, changed state to down
*Mar 1 00:00:38.959: %LINEPROTO-5-UPDOWN: Line protocol on Interface Dot11Radio1, changed state to down
ap>
九、进入系统
ap> en
输入密码Cisco
十、接下来就可以进行配置了,我们可以在CLI下面配置好AP的管理地址,然后开启HTTP管理。

十一、 配置过程 (略)
十二、备份配置文件 copy flash:/config.txt tftp://192.168.58.158 备份完成,妥妥的。
免责声明:本站发布的内容(图片、视频和文字)以原创、转载和分享为主,文章观点不代表本网站立场,如果涉及侵权请联系站长邮箱:is@yisu.com进行举报,并提供相关证据,一经查实,将立刻删除涉嫌侵权内容。