本篇内容主要讲解“GitHub Actions博文发布工作流程是什么”,感兴趣的朋友不妨来看看。本文介绍的方法操作简单快捷,实用性强。下面就让小编来带大家学习“GitHub Actions博文发布工作流程是什么”吧!
版本库
首先,我们在Github上面创建一个仓库,用于存储博客的数据。静态博客推荐使用Hugo,非常简单。使用Markdown语法,官方提供了很多不错的主题模板。
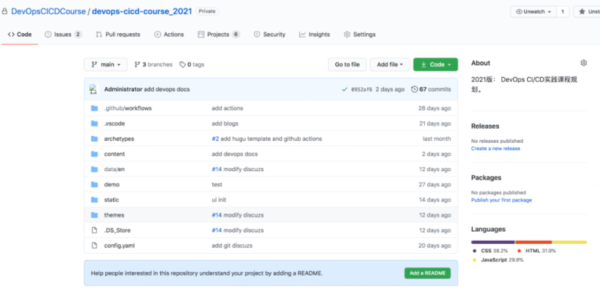
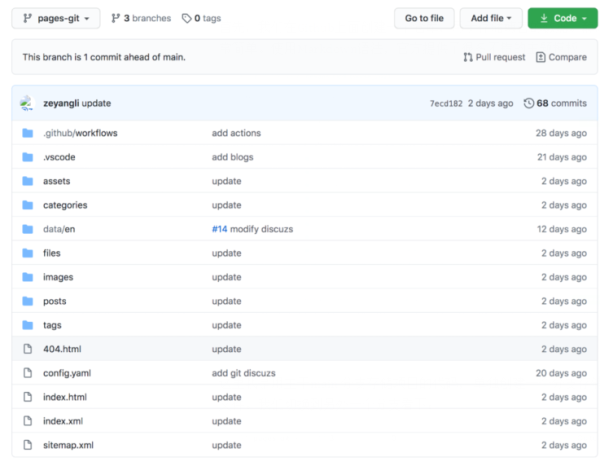
这里我是用主干main 分支存储项目的代码, 单独创建一个分支存储编译后的静态HTML资源文件。我们切换到另外一个分支看下:
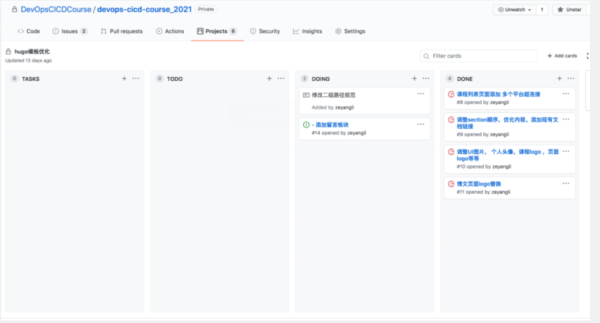
工作面板
新建一个工作板可以自定义状态,简单的将每次的博客优化需求记录在这里。这里的每一项任务都可以转换为issue,提交代码可以对应的issue关联。
CI/CD集成与发布
使用Github actions 作为构建。设置在main分支提交代码即构建。
name: github pages on: push: branches: [ main ]
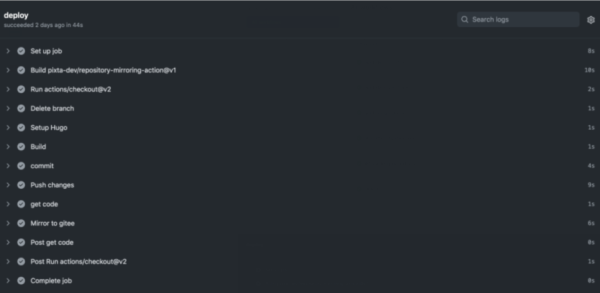
签出主干分支代码,删除pages-git 分支(该分支存放静态文件,需要频繁更新)。
jobs: deploy: runs-on: ubuntu-18.04 steps: - uses: actions/checkout@v2 with: submodules: true # Fetch Hugo themes (true OR recursive) fetch-depth: 0 # Fetch all history for .GitInfo and .Lastmod - name: Delete branch uses: dawidd6/action-delete-branch@v3 with: github_token: ${{ secrets.GIT_TOKEN }} branches: "pages-git"hugo --minify 生成静态文件public 目录。
- name: Setup Hugo uses: peaceiris/actions-hugo@v2 with: hugo-version: '0.74.2' # extended: true - name: Build run: | hugo --minify ls public tar zcf ${version}-public.tar.gz public ls删除当前目录除public目录外的所有文件, 然后将public目录文件移动到当前目录。
- name: commit run: | rm -fr archetypes rm -fr content rm -fr demo rm -fr static rm -fr themes rm -fr .DS_Store rm -fr 1.1.0-public.tar.gz rm -fr README.md rm -fr config.toml mv public/* ./ sleep 3 ls -l rm -fr public git config --global user.email xxx@qq.com git config --global user.name cccc git add . git commit -m "update" -a
提交当前的工作目录到pages-git 分支。(到此pages-git分支已经存储了更新后的静态文件)
- name: Push changes uses: ad-m/github-push-action@master with: github_token: ${{ secrets.GIT_TOKEN }} branch: "pages-git"github pages访问太慢了, 准备使用国内的gitee pages服务。在gitee创建一个仓库。最后一部分代码是将当前pages-git 分支代码镜像到gitee 项目的pages-git分支。
- name: 'get code ' uses: actions/checkout@v2 with: submodules: true # Fetch Hugo themes (true OR recursive) fetch-depth: 0 # Fetch all history for .GitInfo and .Lastmod ref: "pages-git" - name: 'Mirror to gitee' uses: pixta-dev/repository-mirroring-action@v1 with: target_repo_url: git@gitee.com:devopsgo/devopsgo.git ssh_private_key: ${{ secrets.GIT_PRIVATE_KEY }}到此,代码已经同步到了Gitee Pages。接下来触发Gitee Pages 服务更新。(指定静态目录分支部署)
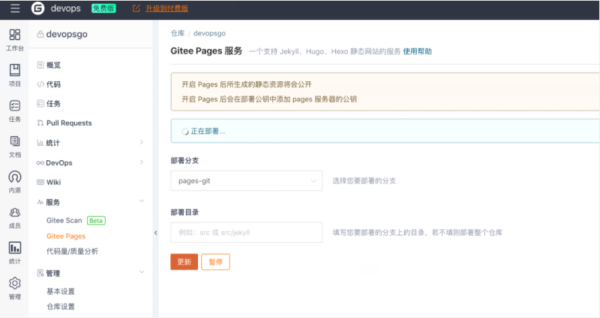
浏览器访问devopsgo.gitee.io 就可以访问了。到此发布完成了。

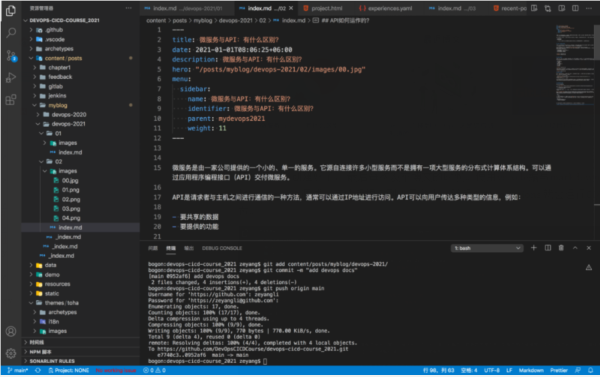
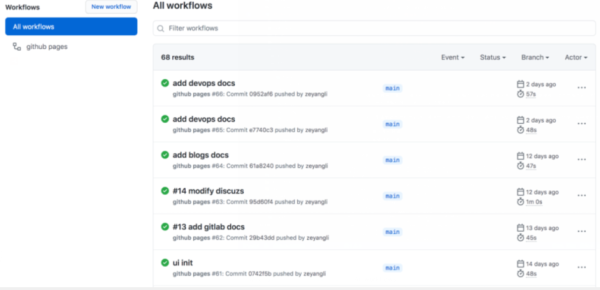
工作流已经创建好了, 最后每次发布博文的时候。使用vscode编写markdown文档,然后本地hugo serve 调试。完成后提交到主干分支,随后GitHub Actions 就会运行CI/CD,自动发布。
# - name: copy file via ssh password # uses: appleboy/scp-action@master # with: # host: ${{ secrets.SSH_HOST }} # username: ${{ secrets.SSH_USER }} # password: ${{ secrets.SSH_PASSWD }} # port: 22 # source: "./${{env.version}}-public.tar.gz" # target: "/opt/" # - name: executing remote ssh commands using password # uses: appleboy/ssh-action@master # with: # host: ${{ secrets.SSH_HOST }} # username: ${{ secrets.SSH_USER }} # password: ${{ secrets.SSH_PASSWD }} # port: 22 # script: | # rm -fr /var/www/newdevops/* # mv /opt/${{ env.version }}-public.tar.gz /var/www/newdevops/ # cd /var/www/newdevops/ && tar zxf ${{ env.version }}-public.tar.gz # mv public/* ./ && rm -fr public # chown nginx:nginx /var/www/ -R # systemctl reload nginx到此,相信大家对“GitHub Actions博文发布工作流程是什么”有了更深的了解,不妨来实际操作一番吧!这里是亿速云网站,更多相关内容可以进入相关频道进行查询,关注我们,继续学习!
免责声明:本站发布的内容(图片、视频和文字)以原创、转载和分享为主,文章观点不代表本网站立场,如果涉及侵权请联系站长邮箱:is@yisu.com进行举报,并提供相关证据,一经查实,将立刻删除涉嫌侵权内容。