这篇文章将为大家详细讲解有关如何进行R语言ggplot2包画曼哈顿图的简单分析,文章内容质量较高,因此小编分享给大家做个参考,希望大家阅读完这篇文章后对相关知识有一定的了解。
曼哈顿图是GWAS数据分析中经常会用到的一个图,R语言里有专门的包和函数直接生成曼哈顿图。但是如果有数据的话我们自己也可以用ggplot2来做。
做曼哈顿图的数据通常是以下这种格式

曼哈顿图可以理解成一个x对应多个y的散点图,ggplot2里做这种图的函数是geom_jitter()
今天用到的数据集是来自于
rMVP这个包中的pig60K数据集
library(rMVP)
data('pig60K')
library(ggplot2)
ggplot(pig60K,aes(x=Chromosome,y=trait1))+
  geom_jitter()
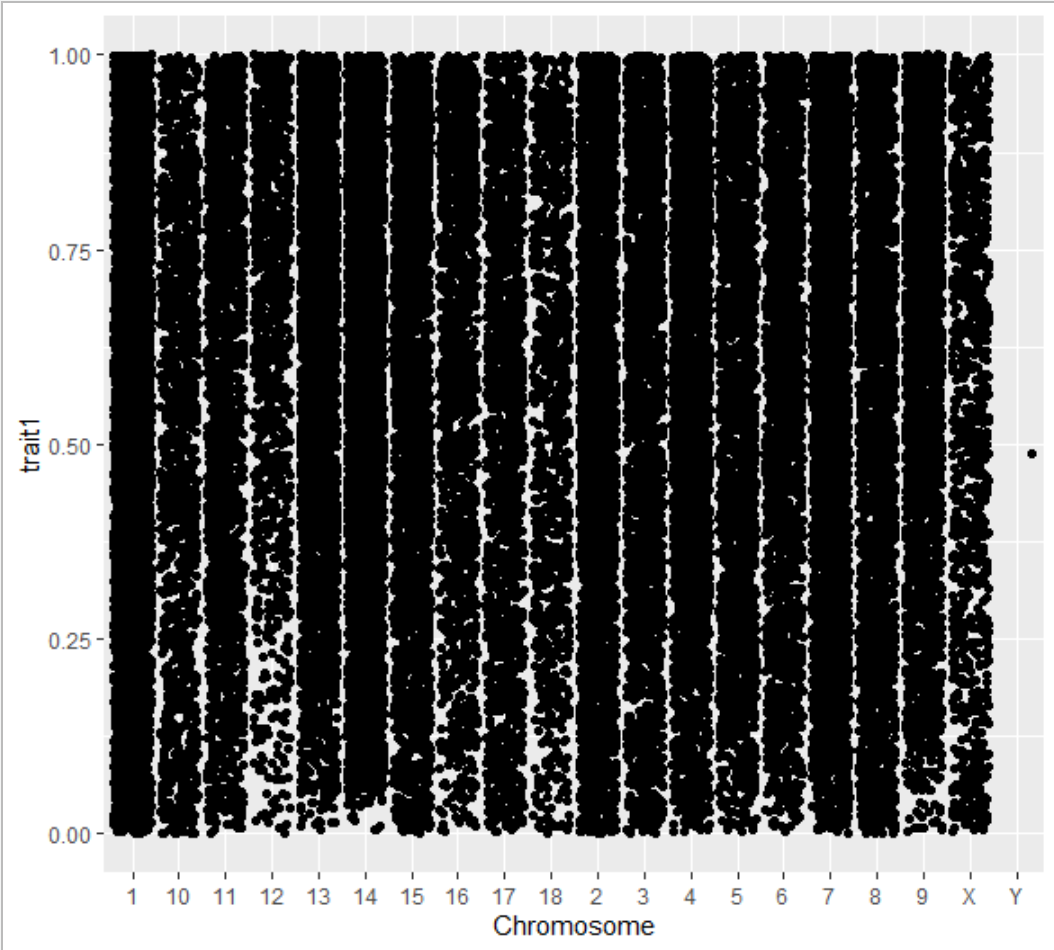
ggplot(pig60K,aes(x=Chromosome,y=trait1))+
  geom_jitter(aes(color=Chromosome))
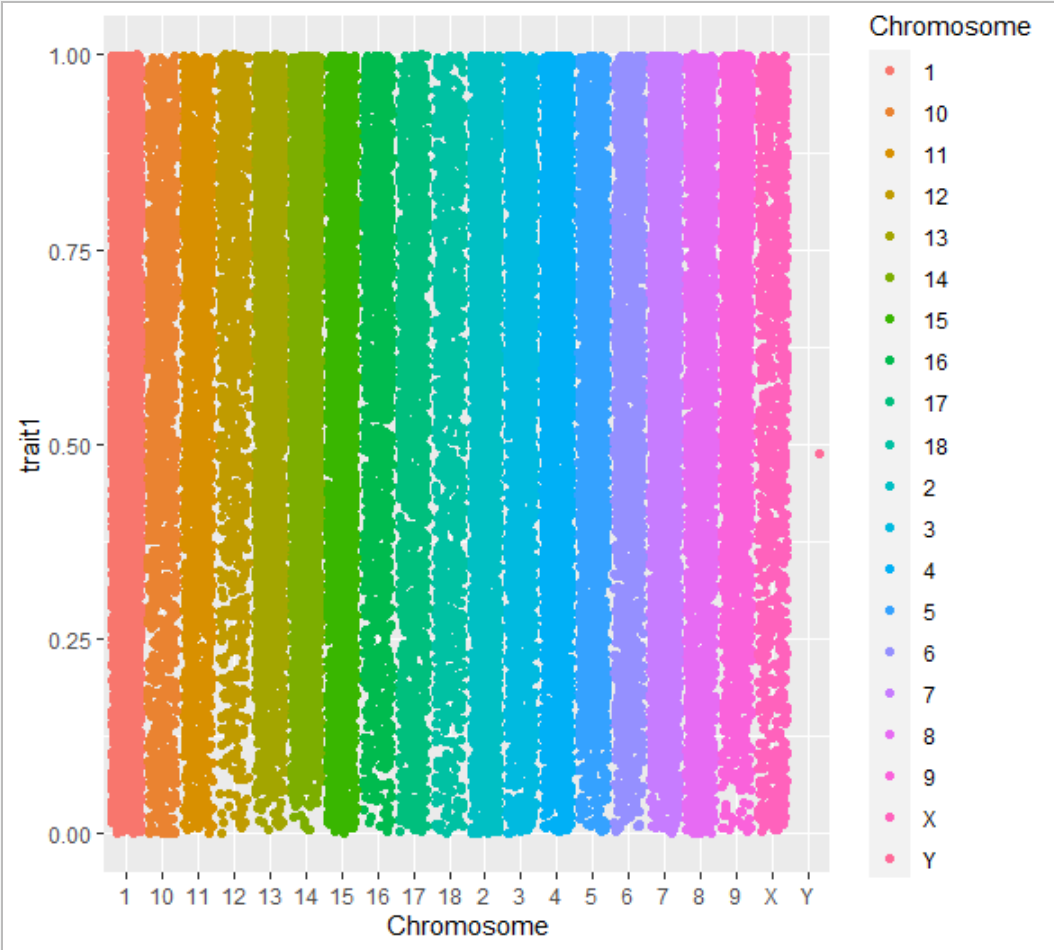
ggplot(pig60K,aes(x=Chromosome,y=trait1))+
  geom_jitter(aes(color=Chromosome))+
  theme(legend.position = "none")
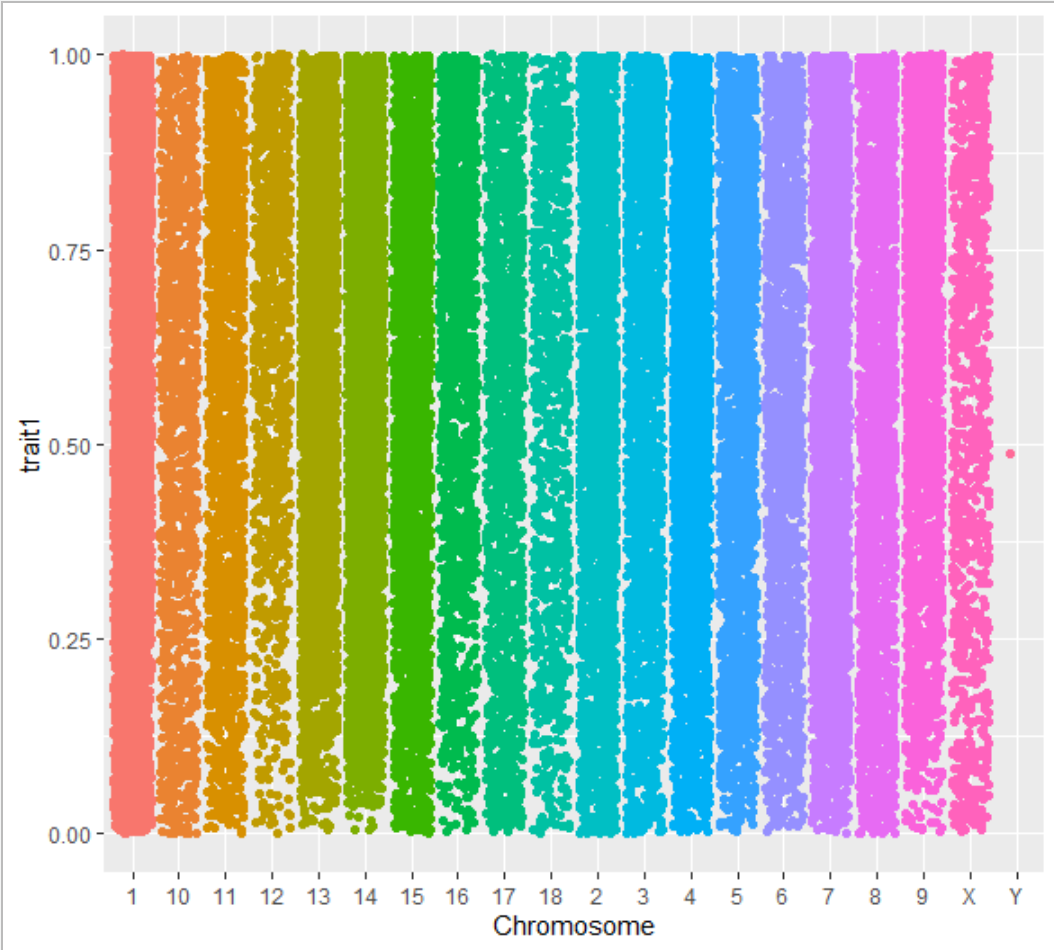
dplyr这个包中的filter()函数library(dplyr)
df<-filter(pig60K,Chromosome!="Y")
ggplot(df,aes(x=Chromosome,y=trait1))+
geom_jitter(aes(color=Chromosome))+
theme(legend.position = "none")
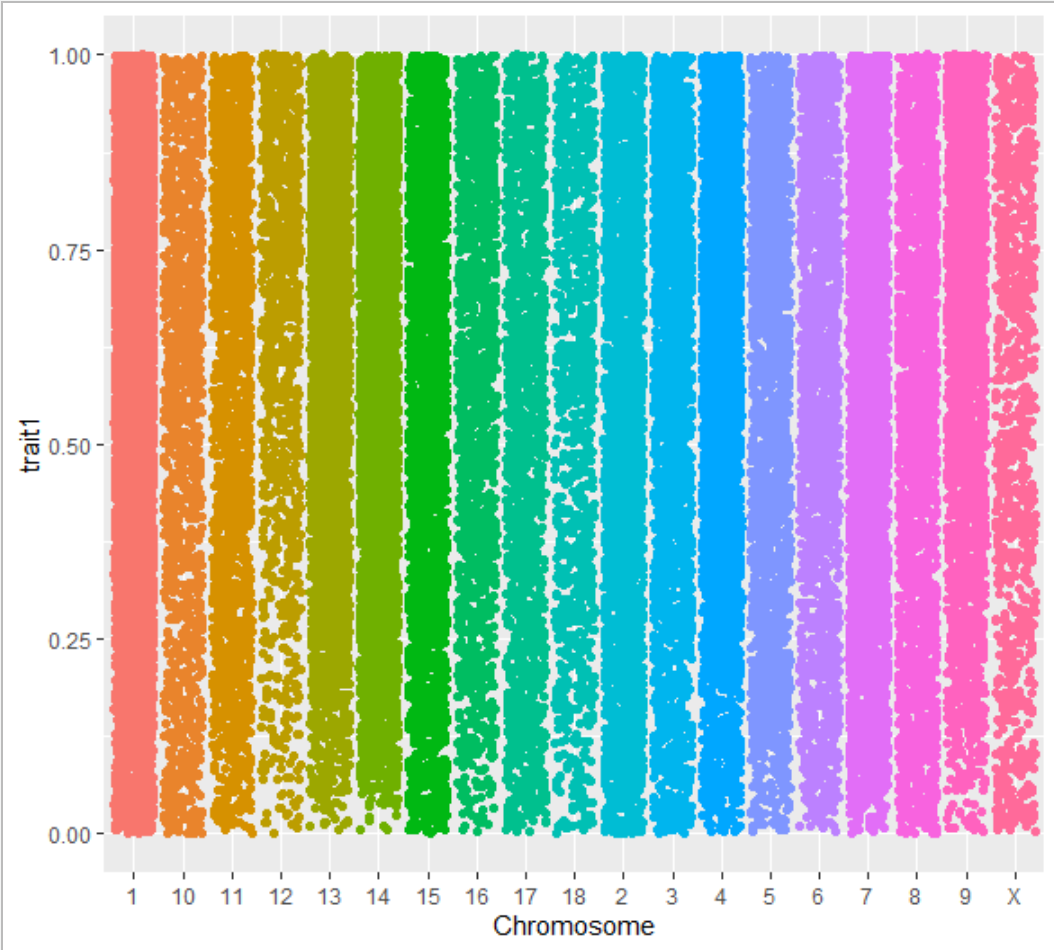
df$Chromosome<-factor(df$Chromosome,
                      levels = c(1:18,"X"))
ggplot(df,aes(x=Chromosome,y=trait1))+
  geom_jitter(aes(color=Chromosome))+
  theme(legend.position = "none")
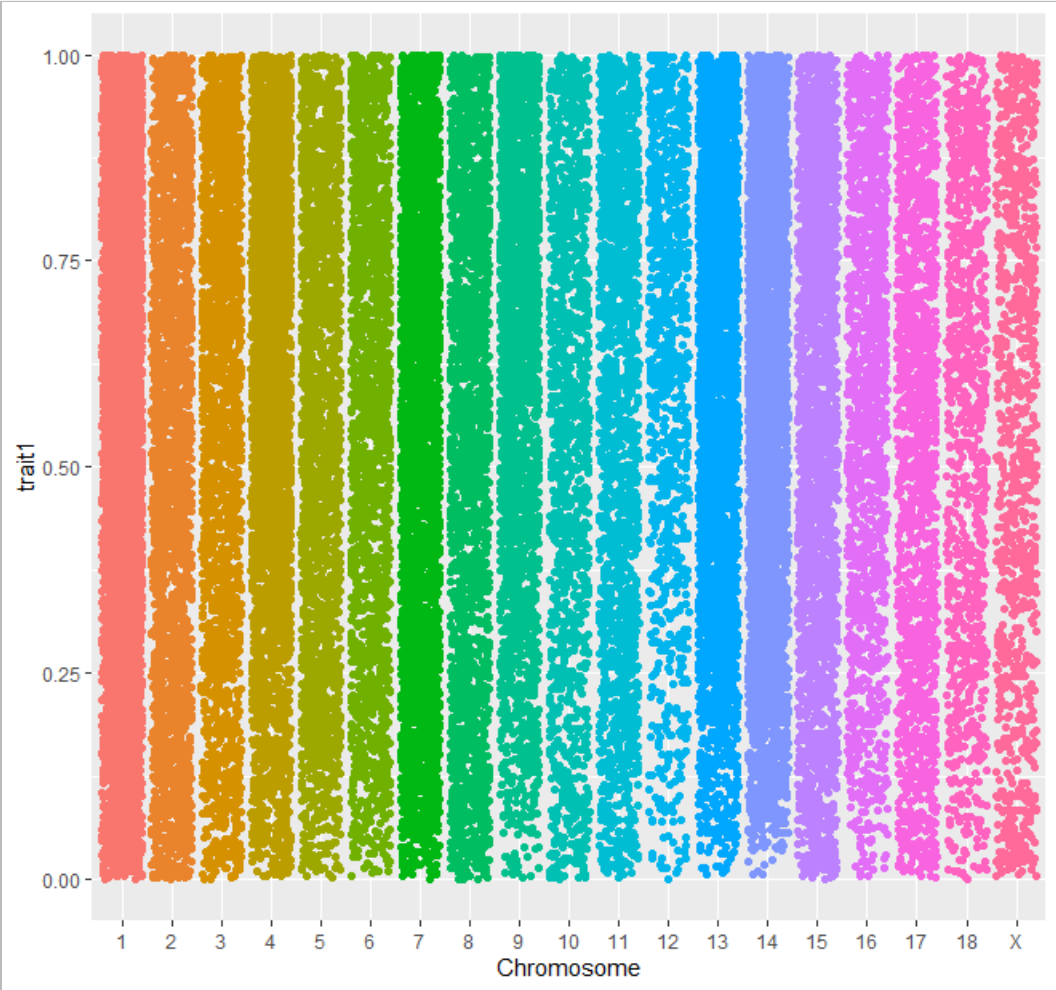
ggplot(df,aes(x=Chromosome,y=-log10(trait1)))+
  geom_jitter(aes(color=Chromosome))+
  theme(legend.position = "none")
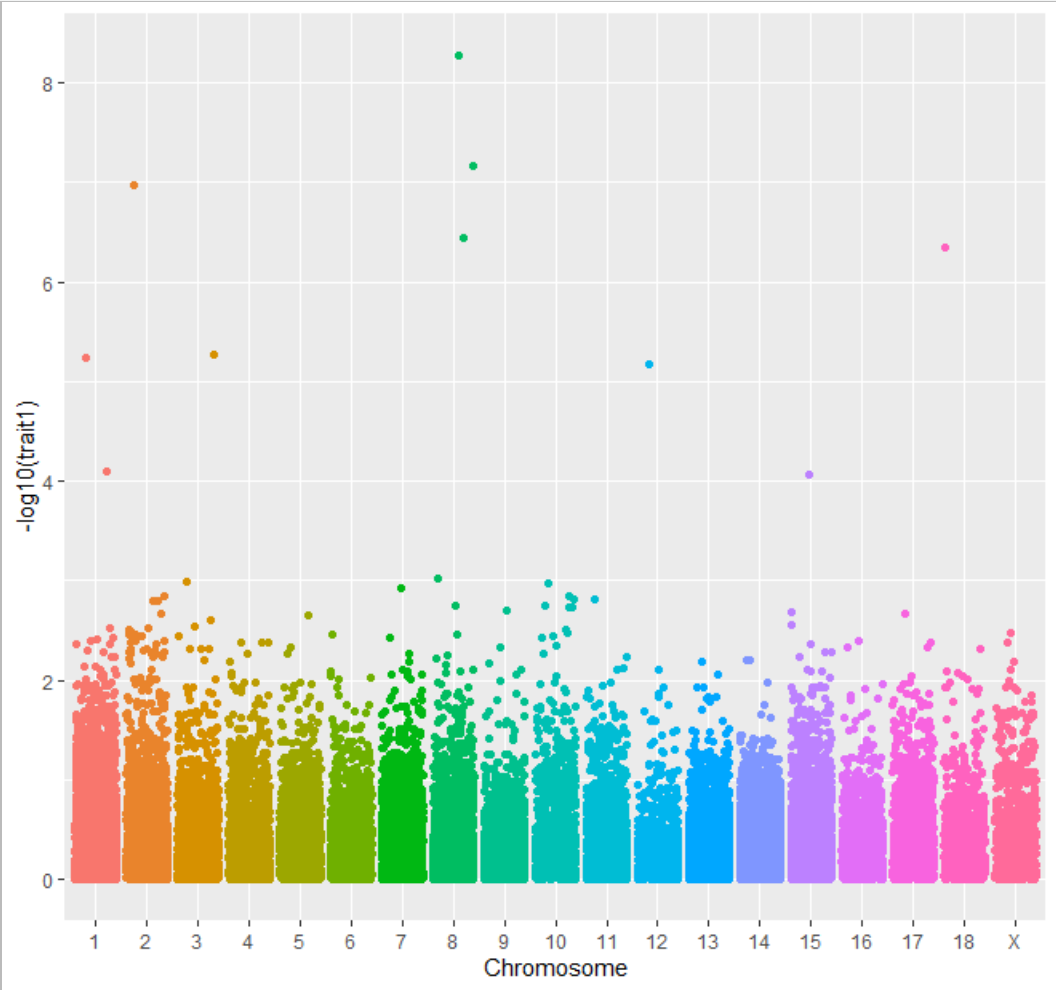
ggplot(df,aes(x=Chromosome,y=-log10(trait1)))+
  geom_jitter(aes(color=Chromosome))+
  theme_minimal()+
  theme(legend.position = "none",
        axis.text.x = element_text(angle=60,hjust=1))+
  scale_y_continuous(expand = c(0,0),
                     limits = c(0,10))+
  scale_x_discrete(labels=paste0("Chr",c(1:18,"X")))+
  labs(x=NULL,y="-log10(Pvalue)")+
  geom_hline(yintercept = 6.25,lty="dashed")
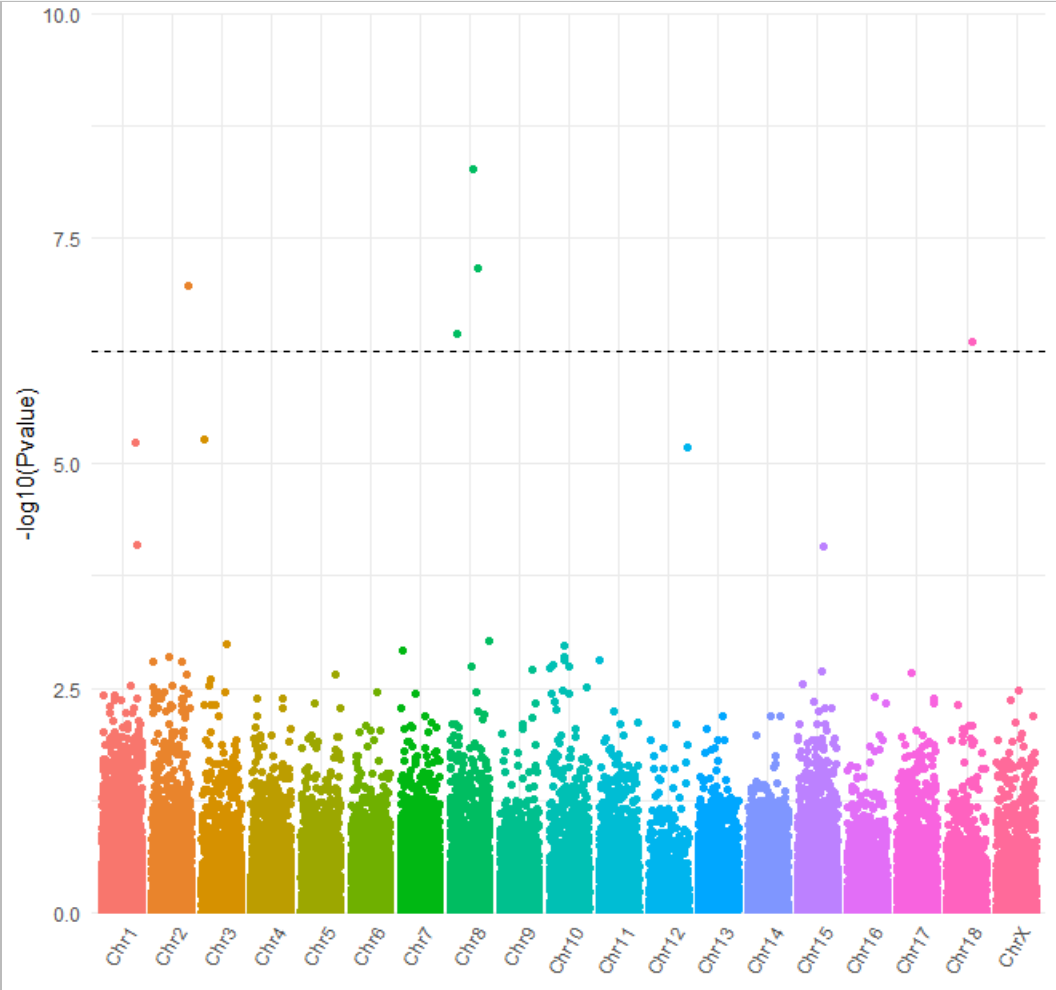
关于如何进行R语言ggplot2包画曼哈顿图的简单分析就分享到这里了,希望以上内容可以对大家有一定的帮助,可以学到更多知识。如果觉得文章不错,可以把它分享出去让更多的人看到。
免责声明:本站发布的内容(图片、视频和文字)以原创、转载和分享为主,文章观点不代表本网站立场,如果涉及侵权请联系站长邮箱:is@yisu.com进行举报,并提供相关证据,一经查实,将立刻删除涉嫌侵权内容。