这篇文章将为大家详细讲解有关Eclipse Che如何随时随地Coding,小编觉得挺实用的,因此分享给大家做个参考,希望大家阅读完这篇文章后可以有所收获。
Eclipse Che是一个现代的、开放源代码的软件开发环境。它是一个通过提供结构化的工作区、项目输入、模块化扩展插件来支持Codenvy的引擎。Che可以用作桌面IDE,RESTful工作空间服务器,或作为一个创建新的工具SDK。我们现在支持一个有标签的Docker images启动一个默认Eclipse Che
1.CentOS 7 64位操作系统(虚拟机)
2.JDK1.8.0
3.Eclipse Che6.0
4.Docker服务
1.CentOS 7系统安装
2.安装Docker服务
3.安装JDK
1.验证docker启动正常
systemctl status docker.service

2.启动Eclipse Che服务
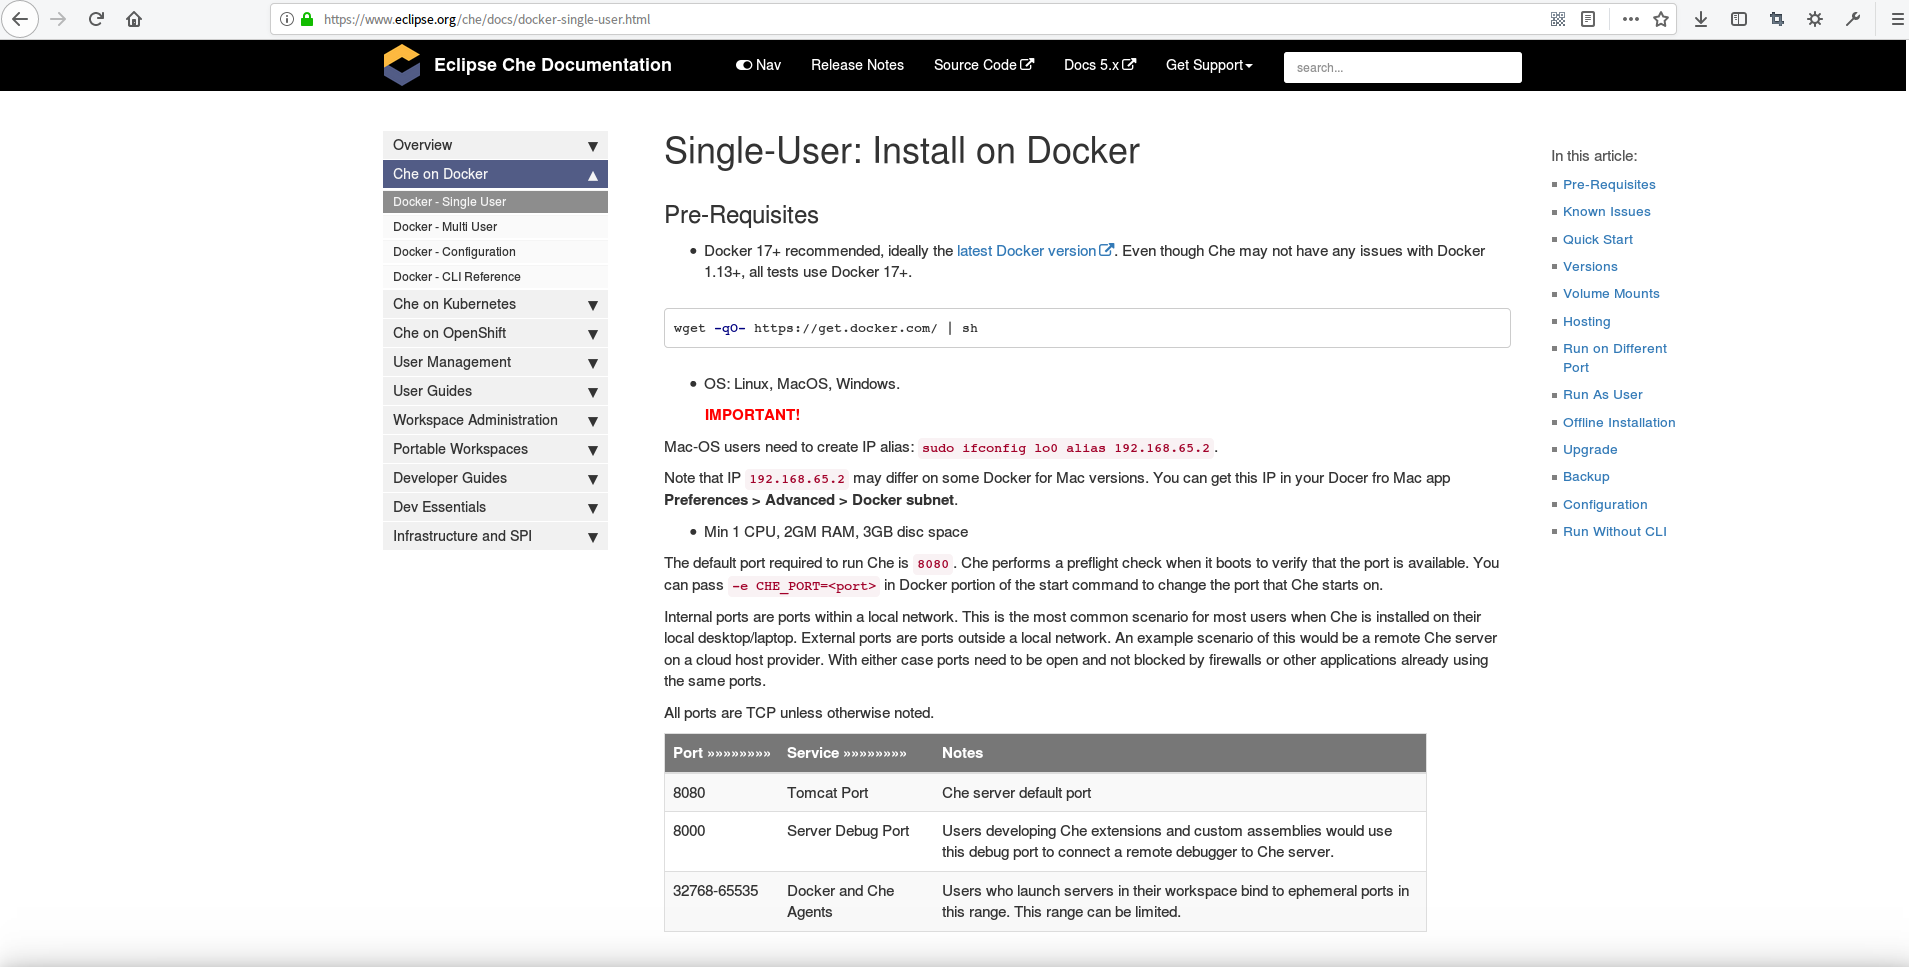
注:以下操作参考官网的讲解,我们选择单用户:
https://www.eclipse.org/che/docs/docker-single-user.html


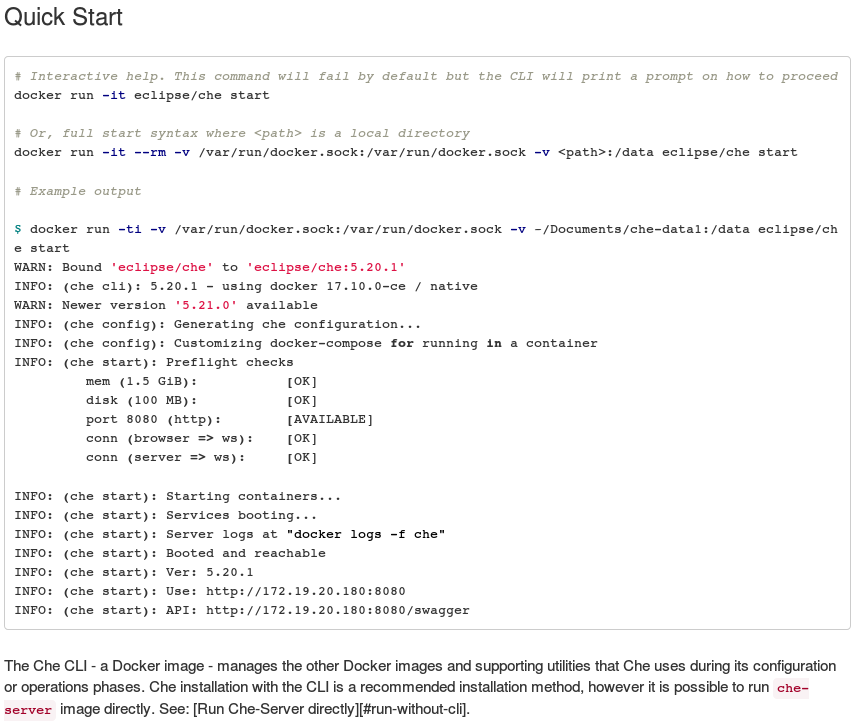
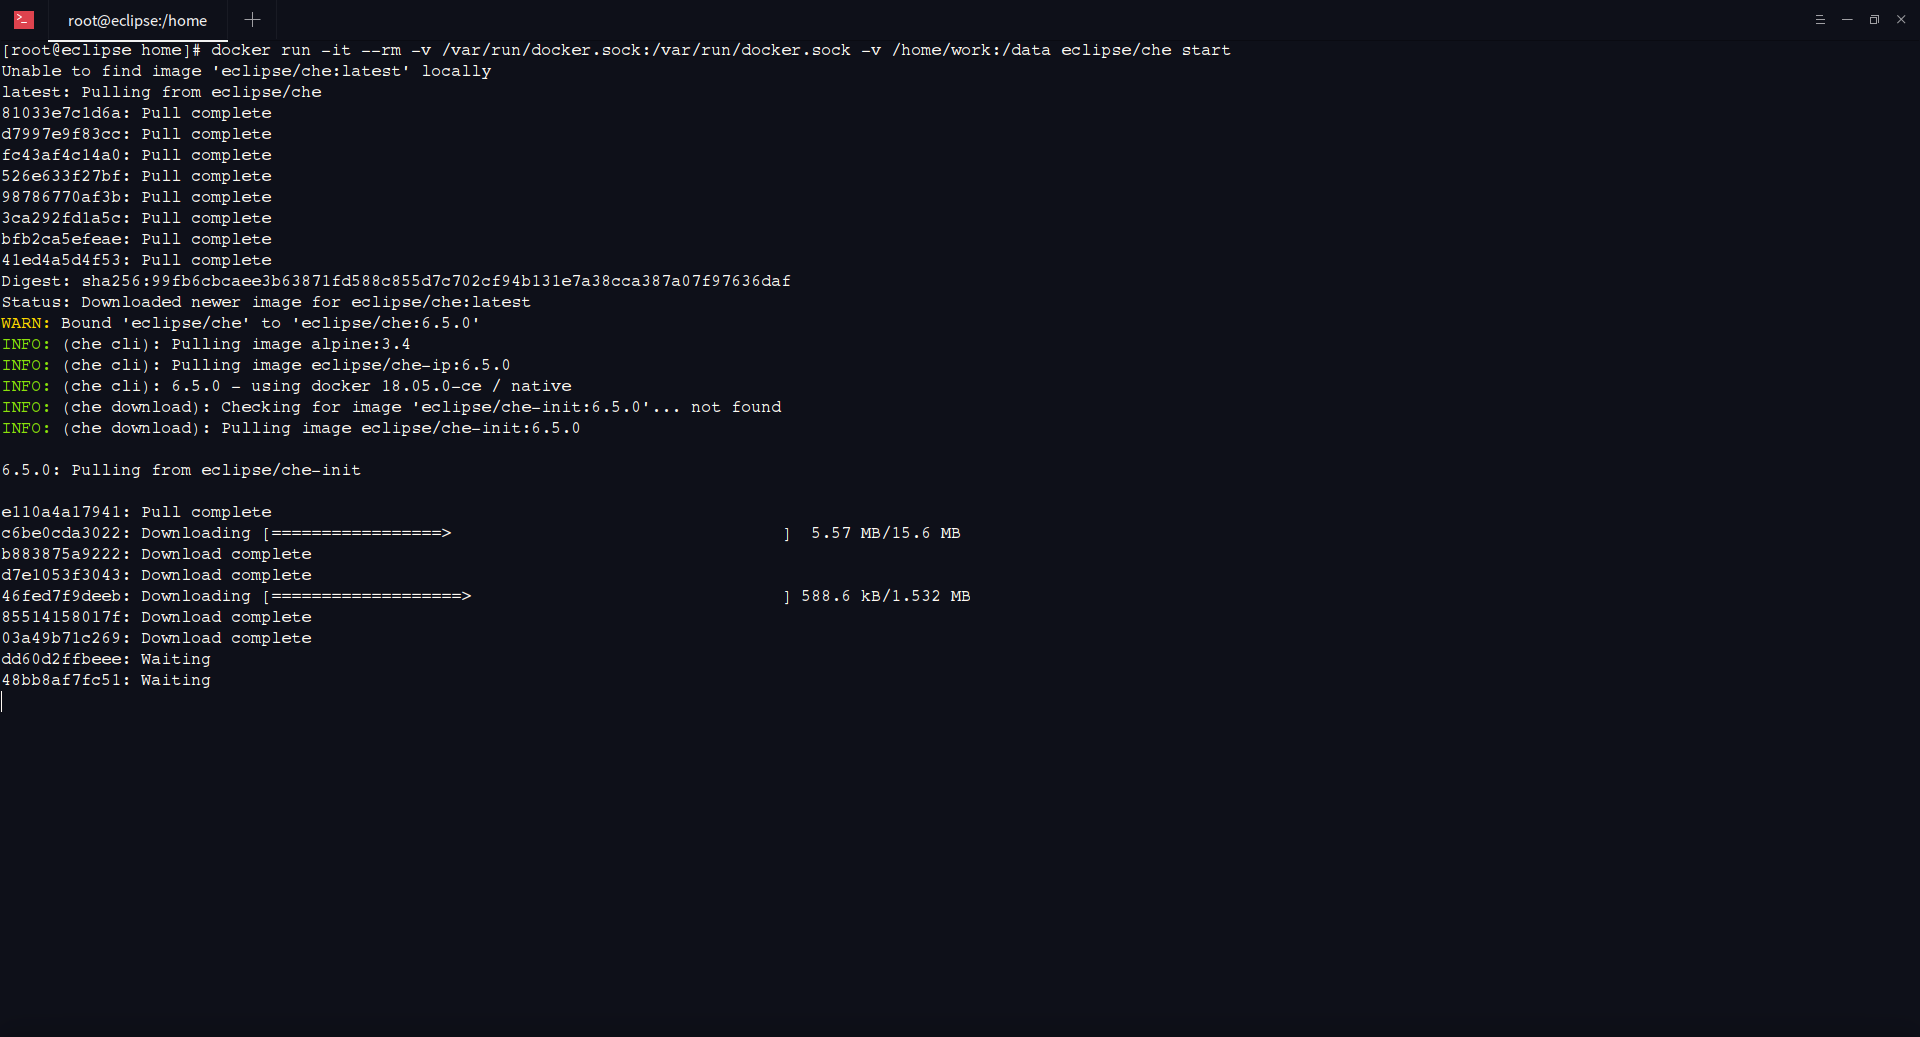
通过docker run -it eclipse/che start或者docker run -it --rm -v /var/run/docker.sock:/var/run/docker.sock -v <path>:/data eclipse/che start启动Eclipse Che服务,我们这里使用第二条命令,看官方的备注第二个命令可以指定外部空间路径docker run -it --rm -v /var/run/docker.sock:/var/run/docker.sock -v /home/work:/data eclipse/che start

经过一段时间的pull镜像,最后完成启动成功

看到控制台输入一下日志:
INFO: (che init): Installing configuration and bootstrap variables:
INFO: (che init): CHE_HOST=192.168.78.98
INFO: (che init): CHE_VERSION=6.5.0
INFO: (che init): CHE_CONFIG=/home/work
INFO: (che init): CHE_INSTANCE=/home/work/instance
INFO: (che config): Generating che configuration...
INFO: (che config): Customizing docker-compose for running in a container
INFO: (che start): Preflight checks
mem (1.5 GiB): [OK]
disk (100 MB): [OK]
port 8080 (http): [AVAILABLE]
conn (browser => ws): [OK]
conn (server => ws): [OK]
INFO: (che start): Starting containers...
INFO: (che start): Services booting...
INFO: (che start): Server logs at "docker logs -f che"
INFO: (che start): Booted and reachable
INFO: (che start): Ver: 6.5.0
INFO: (che start): Use: http://192.168.78.98:8080
INFO: (che start): API: http://192.168.78.98:8080/swagger
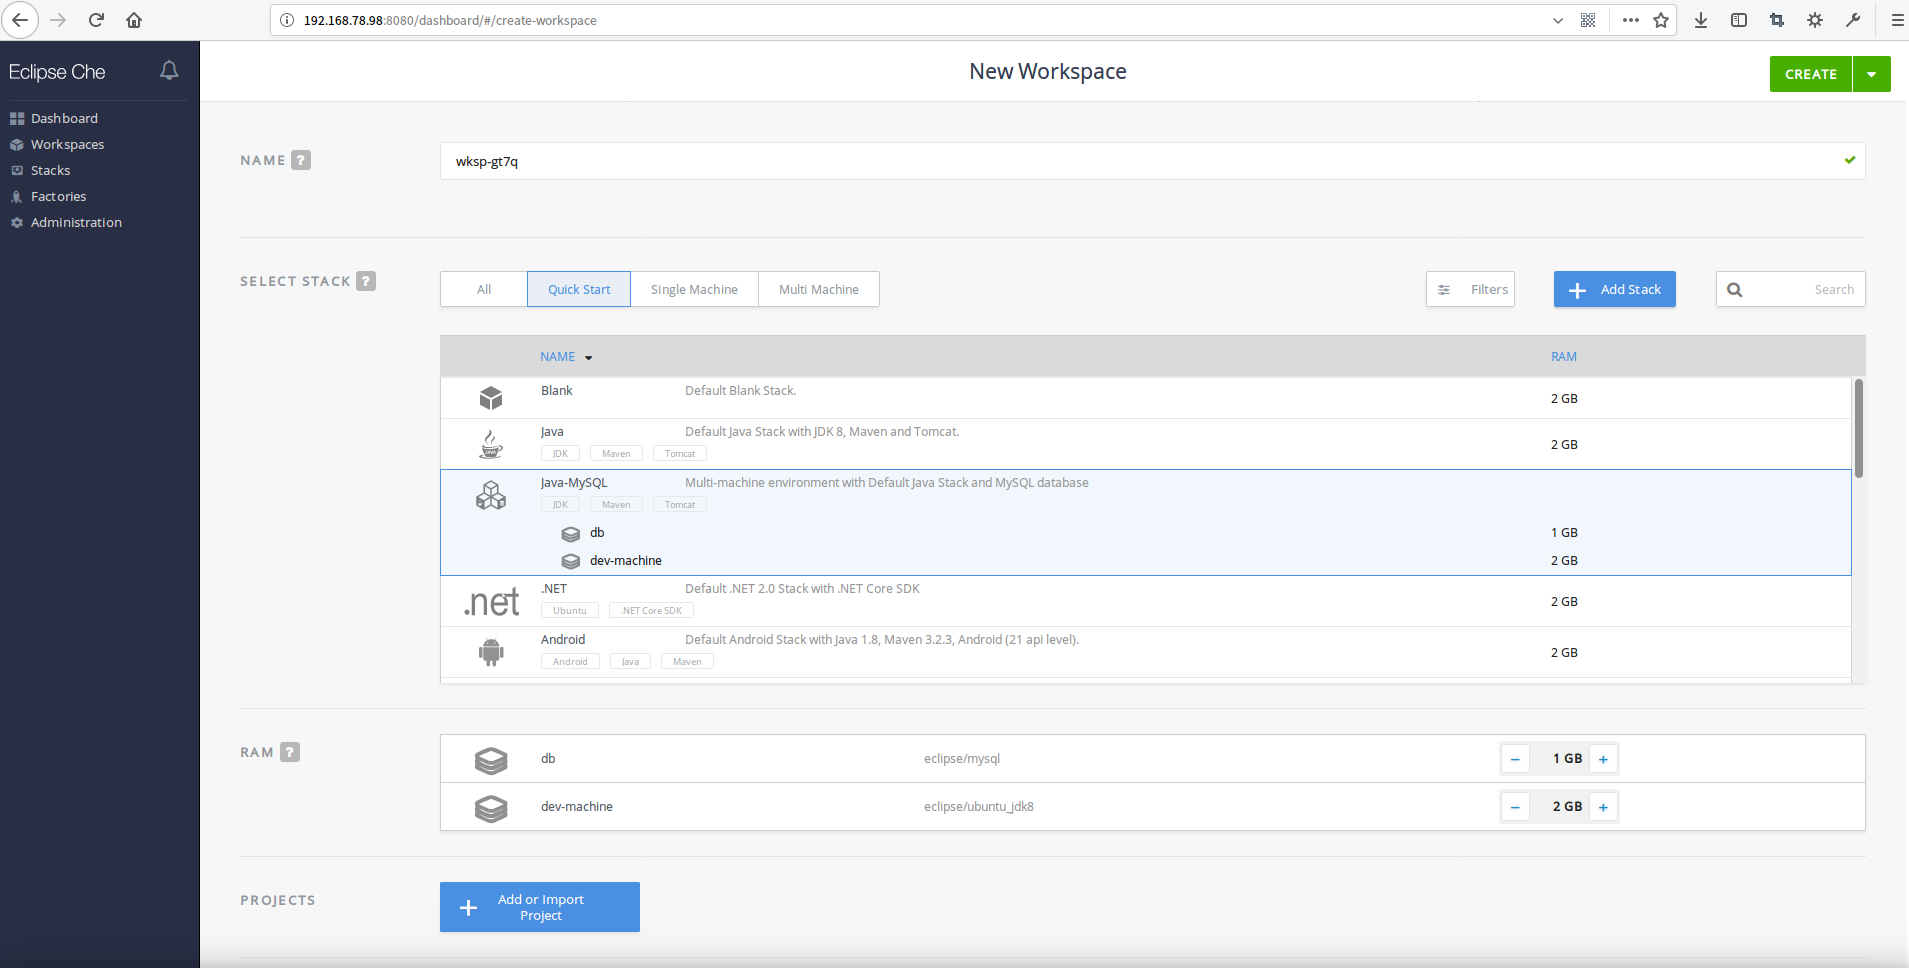
然后我们在浏览器中访问 http://192.168.78.98:8080,可以看到默认创建项目的页面

关于“Eclipse Che如何随时随地Coding”这篇文章就分享到这里了,希望以上内容可以对大家有一定的帮助,使各位可以学到更多知识,如果觉得文章不错,请把它分享出去让更多的人看到。
免责声明:本站发布的内容(图片、视频和文字)以原创、转载和分享为主,文章观点不代表本网站立场,如果涉及侵权请联系站长邮箱:is@yisu.com进行举报,并提供相关证据,一经查实,将立刻删除涉嫌侵权内容。