这篇文章给大家介绍怎么进行Selenium IDE的安装使用,内容非常详细,感兴趣的小伙伴们可以参考借鉴,希望对大家能有所帮助。
今天将学习使用一个非常有用的浏览器插件Selenium IDE,用于网站的测试和自动化,这里以谷歌浏览器作为测试。

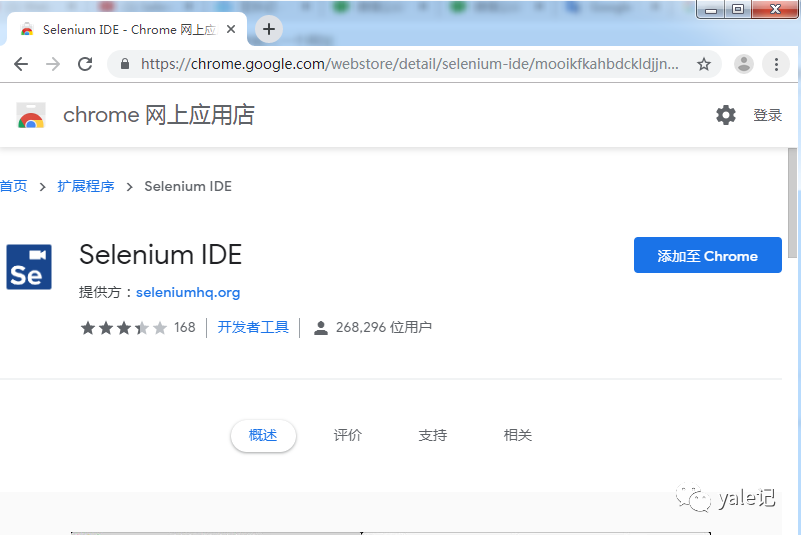
插件下载地址为:
https://chrome.google.com/webstore/detail/selenium-ide/mooikfkahbdckldjjndioackbalphokd
我们点击添加至chrome完成插件的安装:
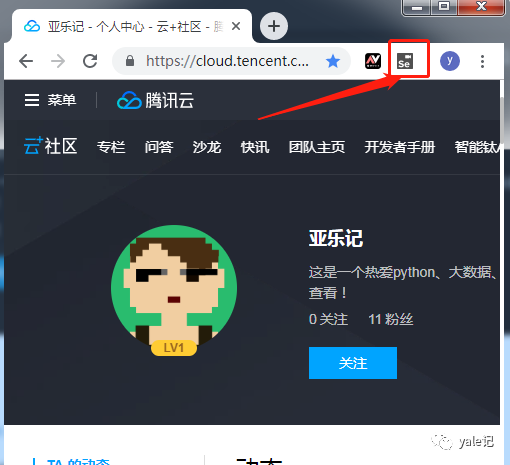
插件安装完成后会在导航栏出现一个se的图标:
我们点击图标会弹出一个对话框,让我们选择如何创建项目:
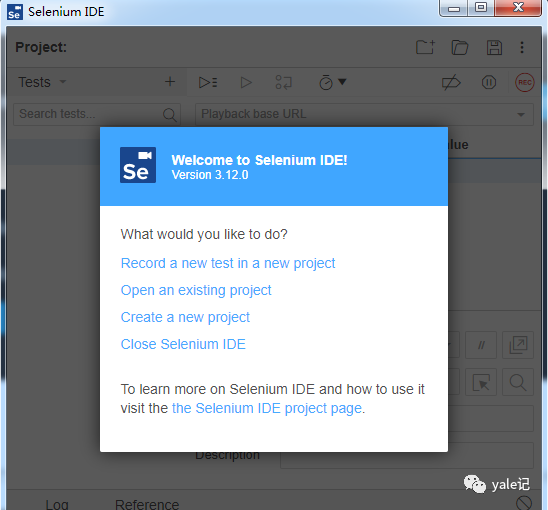
这里我们选择第一项Record a new test in a new project(新建项目并记录一个新的测试),输入项目名称taobao-serach(用淘宝作为测试网址):
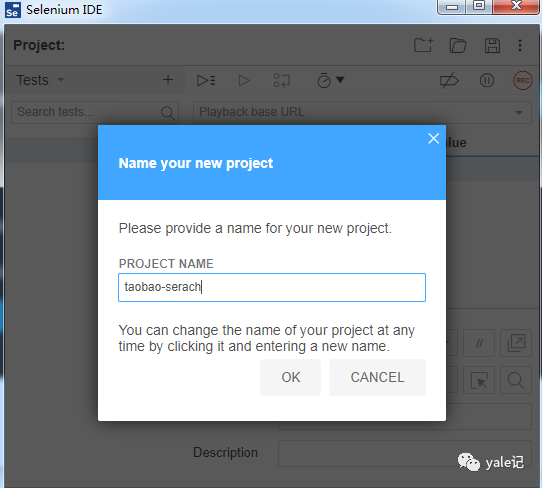
点击ok后,输入要监控的网址:
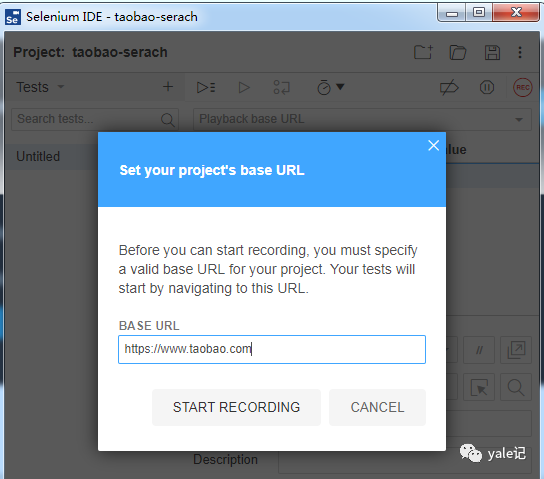
点击START RECORDING开始记录,会自动打开淘宝网页 并出现记录标记:

在弹出的IDE中点击右上方的红色停止记录按钮后中间会出现所有动作的记录过程:
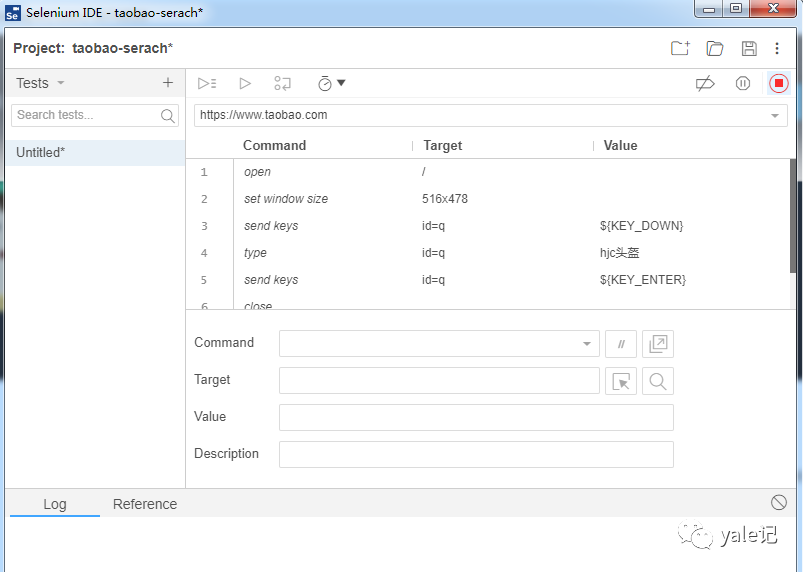
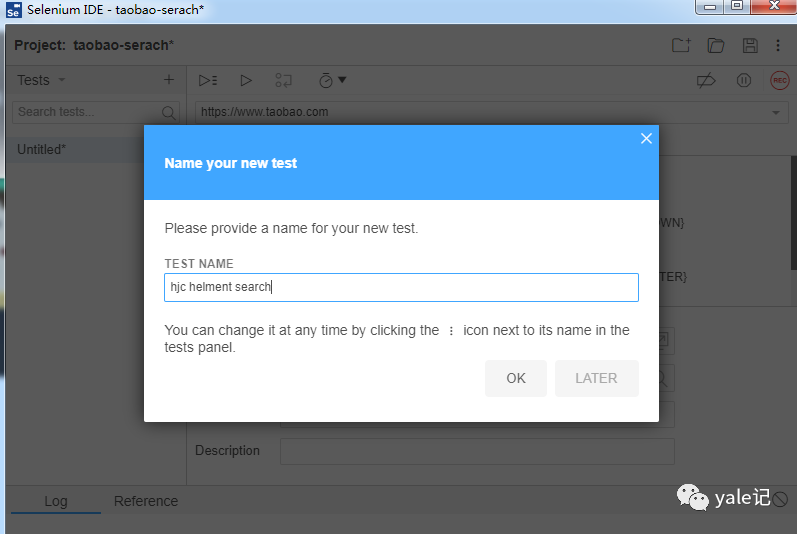
点击上图中左侧区域中的Untitled为这个测试案例命名为hjc element search:
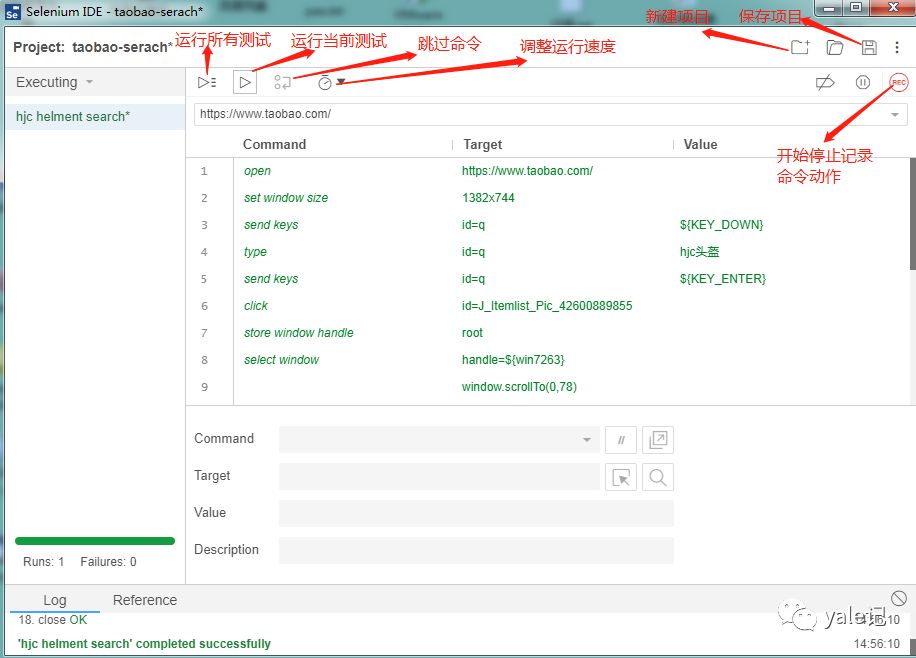
接下来看IDE中基本的操作按钮释义:
点击左侧测试案例可将用例导出:
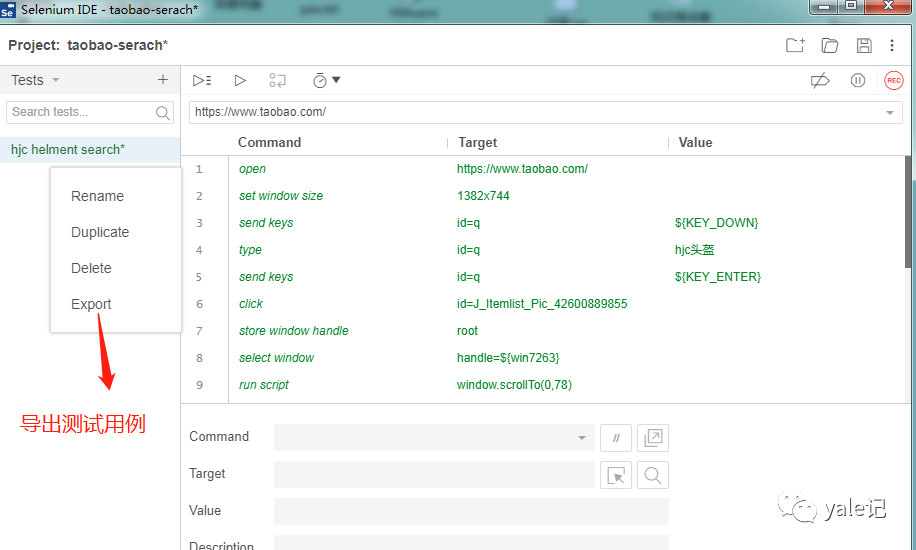
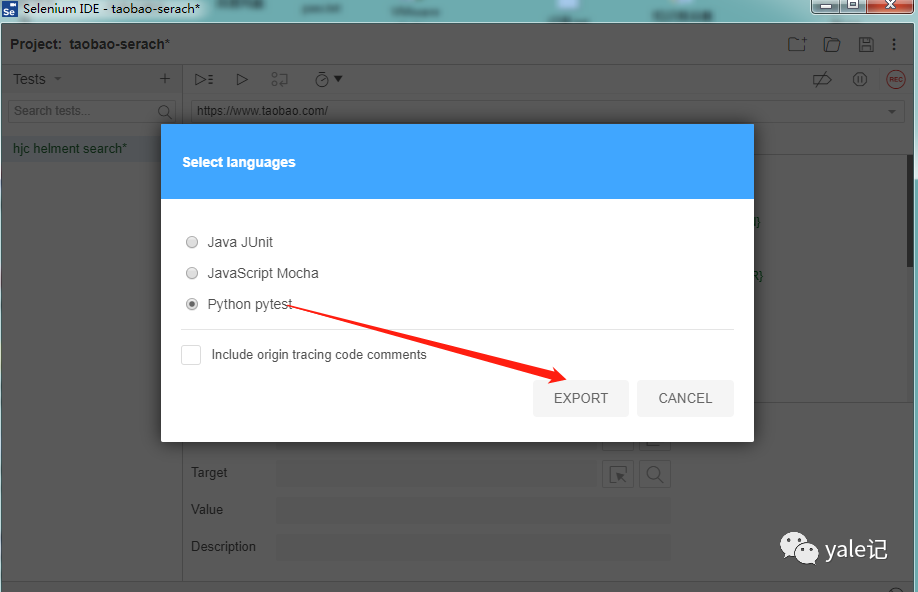
这里我们导出为python的pytest用例:
会生成一个python文件名字为test_hjchelmentsearch.py:
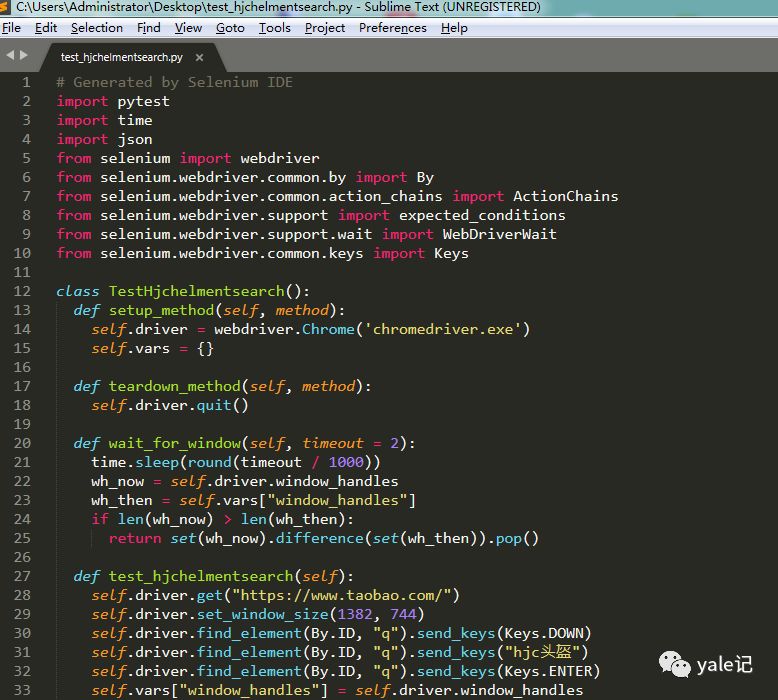
具体代码如下:
# Generated by Selenium IDEimport pytestimport timeimport jsonfrom selenium import webdriverfrom selenium.webdriver.common.by import Byfrom selenium.webdriver.common.action_chains import ActionChainsfrom selenium.webdriver.support import expected_conditionsfrom selenium.webdriver.support.wait import WebDriverWaitfrom selenium.webdriver.common.keys import Keysclass TestHjchelmentsearch(): def setup_method(self, method): self.driver = webdriver.Chrome('chromedriver.exe') self.vars = {} def teardown_method(self, method): self.driver.quit() def wait_for_window(self, timeout = 2): time.sleep(round(timeout / 1000)) wh_now = self.driver.window_handles wh_then = self.vars["window_handles"] if len(wh_now) > len(wh_then): return set(wh_now).difference(set(wh_then)).pop() def test_hjchelmentsearch(self): self.driver.get("https://www.taobao.com/") self.driver.set_window_size(1382, 744) self.driver.find_element(By.ID, "q").send_keys(Keys.DOWN) self.driver.find_element(By.ID, "q").send_keys("hjc头盔") self.driver.find_element(By.ID, "q").send_keys(Keys.ENTER) self.vars["window_handles"] = self.driver.window_handles self.driver.find_element(By.ID, "J_Itemlist_Pic_42600889855").click() self.vars["win7263"] = self.wait_for_window(2000) self.vars["root"] = self.driver.current_window_handle self.driver.switch_to.window(self.vars["win7263"]) self.driver.execute_script("window.scrollTo(0,78)") self.driver.find_element(By.CSS_SELECTOR, "li:nth-child(8) > a > span").click() element = self.driver.find_element(By.CSS_SELECTOR, ".tb-img > li:nth-child(6) span") actions = ActionChains(driver) actions.move_to_element(element).perform() element = self.driver.find_element(By.CSS_SELECTOR, "body") actions = ActionChains(driver) actions.move_to_element(element, 0, 0).perform() element = self.driver.find_element(By.CSS_SELECTOR, ".tb-prop:nth-child(1) li:nth-child(6) span") actions = ActionChains(driver) actions.move_to_element(element).perform() self.driver.find_element(By.CSS_SELECTOR, ".tb-prop:nth-child(1) li:nth-child(6) span").click() element = self.driver.find_element(By.CSS_SELECTOR, "body") actions = ActionChains(driver) actions.move_to_element(element, 0, 0).perform() self.driver.close() self.driver.switch_to.window(self.vars["root"]) self.driver.close()#以下是我自己加入的初始化运行代码hjc = TestHjchelmentsearch()hjc.setup_method(None)hjc.test_hjchelmentsearch()hjc.teardown_method()如下代码可运行作为测试用例。
关于怎么进行Selenium IDE的安装使用就分享到这里了,希望以上内容可以对大家有一定的帮助,可以学到更多知识。如果觉得文章不错,可以把它分享出去让更多的人看到。
亿速云「云服务器」,即开即用、新一代英特尔至强铂金CPU、三副本存储NVMe SSD云盘,价格低至29元/月。点击查看>>
免责声明:本站发布的内容(图片、视频和文字)以原创、转载和分享为主,文章观点不代表本网站立场,如果涉及侵权请联系站长邮箱:is@yisu.com进行举报,并提供相关证据,一经查实,将立刻删除涉嫌侵权内容。
原文链接:https://my.oschina.net/u/4592685/blog/4440218


 计算
计算 安全
安全 数据库
数据库 网络和加速
网络和加速 企业服务
企业服务


