本文小编为大家详细介绍“Vue3父子组件间通信、组件间双向绑定的方法”,内容详细,步骤清晰,细节处理妥当,希望这篇“Vue3父子组件间通信、组件间双向绑定的方法”文章能帮助大家解决疑惑,下面跟着小编的思路慢慢深入,一起来学习新知识吧。
父子组件可通过事件 进行通信
携带参数的事件 发送和监听回调
使用 组件的
emits板块 整理组件事件使用 组件
emits板块的Object形式 校验外传的参数值结合
$emit、v-bind与v-model实现 父子组件通信(数据双向绑定)结合
$emit、v-bind与v-model实现 父子组件通信(多个字段的应用案例)自己设置修饰符
试验
this.modelModifiers的作用下面在子组件的点击回调
handleClick()中,通过this.modelModifiers.[自己设置修饰符名]实现自己设置修饰符逻辑插槽【slot】【传组件示例】
注意,slot标签上是无法直接增加事件(修饰符)的,如有需要,可以在<slot>外层包裹一层<span>标签,再加上事件
插槽【传 字符串示例】
插槽【传 自己设置子组件 示例】
插槽作用域问题
插槽 UI默认值
插槽的灵活拆分与应用【具名插槽】
v-slot指令的简写普通的
v-for例子 进行 列表渲染
v-for结合v-bind、v-slot、<slot>做列表渲染使用
解构概念进行简写动态组件
常规的利用
双向绑定特性,通过点击事件切换UI的写法动态组件写法
异步组件
前面的笔记 —— 《Vue3 | 组件的定义及复用性、局部组件、全局组件、组件间传值及其校验、单项数据流、Non-props属性》,单向数据流的概念,
即子组件无法修改来自父组件的数据字段,
假如确要修改,可以使用下面说的方式进行通信:
首先,在子组件的UI点击回调方法中,调用this.$emit('【自己设置事件名】'),
向外发送一个事件;
接着各级父组件会收到这个事件,
则在父组件中 调用 子组件标签处,
以 @【事件名】= "回调方法名"的形式,监听该事件以及配置回调方法;回调方法中就可 对 子组件用意修改 的 父组件数据字段 进行修改;
注意,
触发事件的命名,用驼峰命名法(如下heHeDa);
监听事件的命名,用横杆间隔法(如下he-he-da)。
代码:
<!DOCTYPE html><html><head> <meta charset="UTF-8"> <meta name="viewport" content="width=device-width, initial-scale=1.0"> <title>Hello World! heheheheheheda</title> <script src="https://unpkg.com/vue@next"></script></head><body> <div id="heheApp"></div></body><script> const app = Vue.createApp({ data() { return {count: 1} }, methods: { handleItemEvent() { this.count += 1; } }, template: ` <div> <counter :count="count" @he-he-da="handleItemEvent"/> </div>` }); app.component('counter', { props: ['count'], methods: { handleItemClick() { this.$emit('heHeDa'); } }, template:` <div @click="handleItemClick">{{count}}</div> ` }); const vm = app.mount('#heheApp');</script></html>运行,点击组件: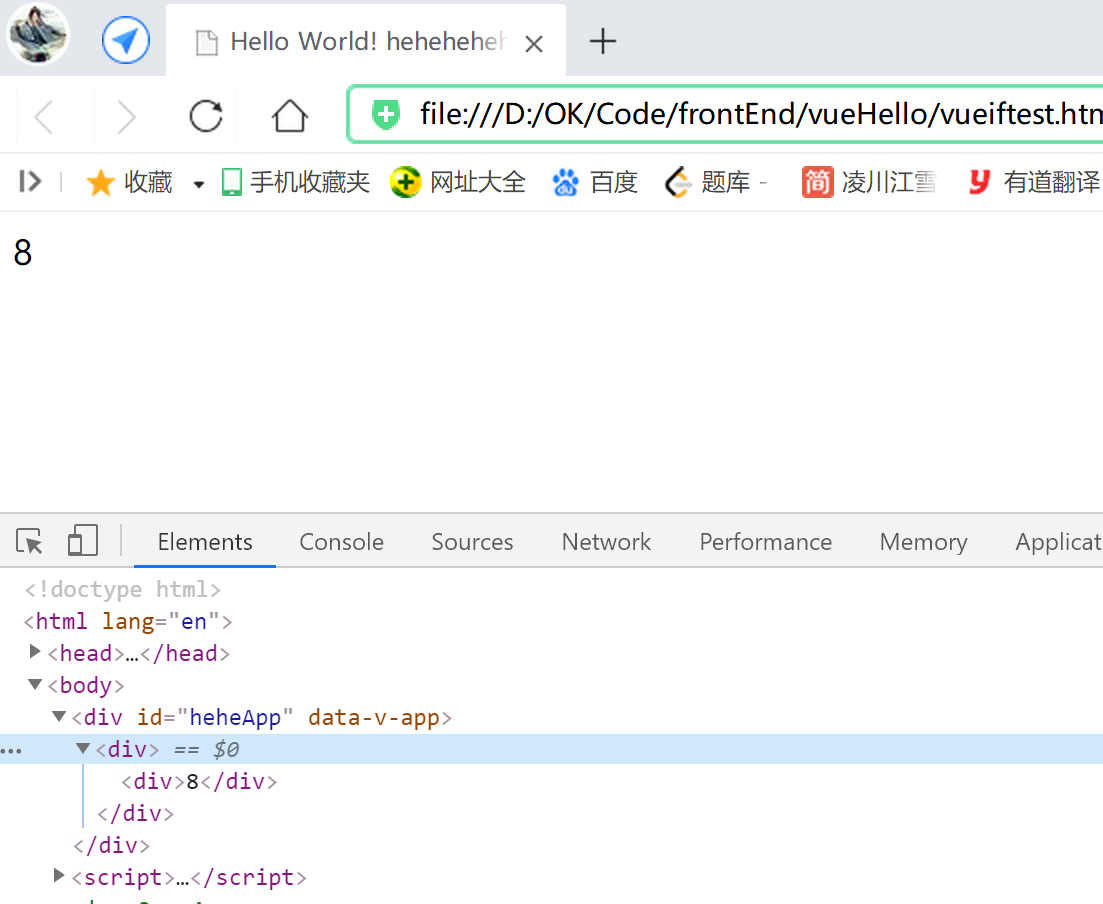
this.$emit()可以增加参数位,
父组件的监听回调中,
则可加形参位 用于接收参数(如handleItemEvent(param)中的 param);
代码:
<script> const app = Vue.createApp({ data() { return {count: 1} }, methods: { handleItemEvent(param) { this.count += param; } }, template: ` <div> <counter :count="count" @add-count="handleItemEvent"/> </div>` }); app.component('counter', { props: ['count'], methods: { handleItemClick() { this.$emit('addCount', 8); } }, template:` <div @click="handleItemClick">{{count}}</div> ` }); const vm = app.mount('#heheApp');</script>运行,点击效果:
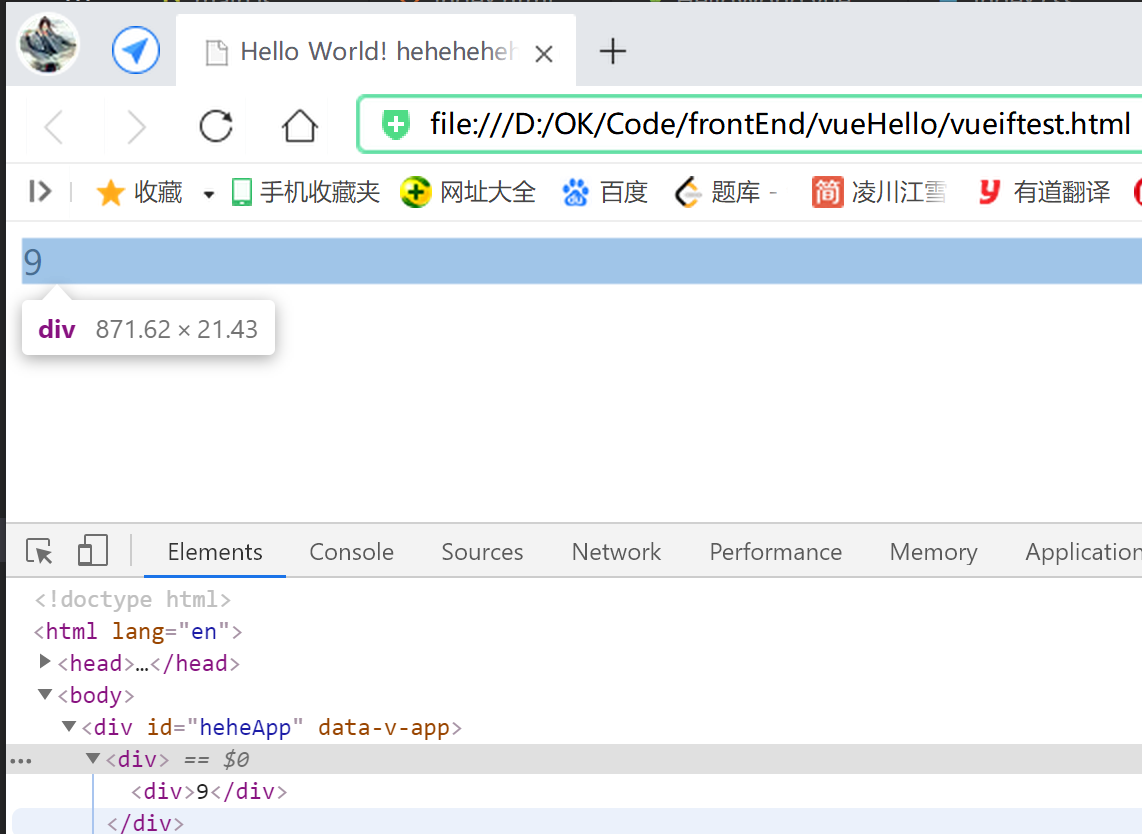
子组件需 发送多个参数 亦可,只需在this.$emit()按需增加参数位,
父组件的监听回调中,增加对应的形参 去接收就可:
<script> const app = Vue.createApp({ data() { return {count: 1} }, methods: { handleItemEvent(param1, param2, param3) { this.count = this.count + param1 + param2 + param3; console.log(this.count); } }, template: ` <div> <counter :count="count" @add-count="handleItemEvent"/> </div>` }); app.component('counter', { props: ['count'], methods: { handleItemClick() { this.$emit('addCount', 8, 2, 6); } }, template:` <div @click="handleItemClick">{{count}}</div> ` }); const vm = app.mount('#heheApp');</script>效果: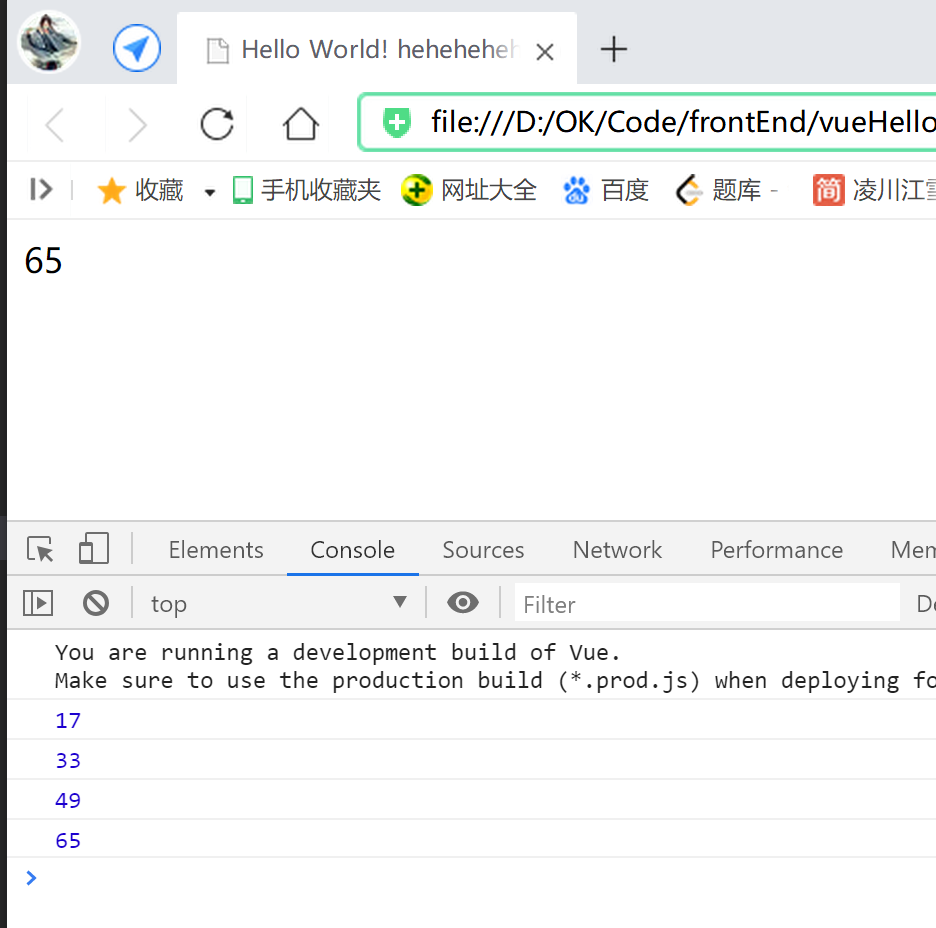
当然 父组件 接收 子组件参数 后的 计算逻辑,
可以在 子组件传参 的时候 计算完成 再传给this.$emit()!
父组件接收时,直接 受值就可(handleItemEvent(count));
<script> const app = Vue.createApp({ data() { return {count: 1} }, methods: { handleItemEvent(count) { this.count = count; console.log(this.count); } }, template: ` <div> <counter :count="count" @add-count="handleItemEvent"/> </div>` }); app.component('counter', { props: ['count'], methods: { handleItemClick() { this.$emit('addCount', this.count + 16); } }, template:` <div @click="handleItemClick">{{count}}</div> ` }); const vm = app.mount('#heheApp');</script>效果同上一个例子;
emits板块 整理组件事件实际开发场景中,我们一个组件自己设置的触发事件可能会很多,
我们不可能一个一个去梳理核实,
这个时候即可以使用 组件的emits板块 来整理组件的事件;
可以把组件中 自己设置到的事件都写在这里,方便梳理,提高可读性,
或者者把 想要定义的事件 写在这里,
如此一来,假如不记得编写对应的自己设置事件,
Vue系统会在运行时 给予警告:
<script> const app = Vue.createApp({ data() { return {count: 1} }, methods: { handleItemEvent(count) { this.count = count; console.log(this.count); } }, template: ` <div> <counter :count="count" @add-count="handleItemEvent"/> </div>` }); app.component('counter', { props: ['count'], emits: ['hehehe'], methods: { handleItemClick() { this.$emit('addCount', this.count + 16); } }, template:` <div @click="handleItemClick">{{count}}</div> ` }); const vm = app.mount('#heheApp');</script>假如不记得编写对应的自己设置事件,Vue系统会在运行时 给予警告:
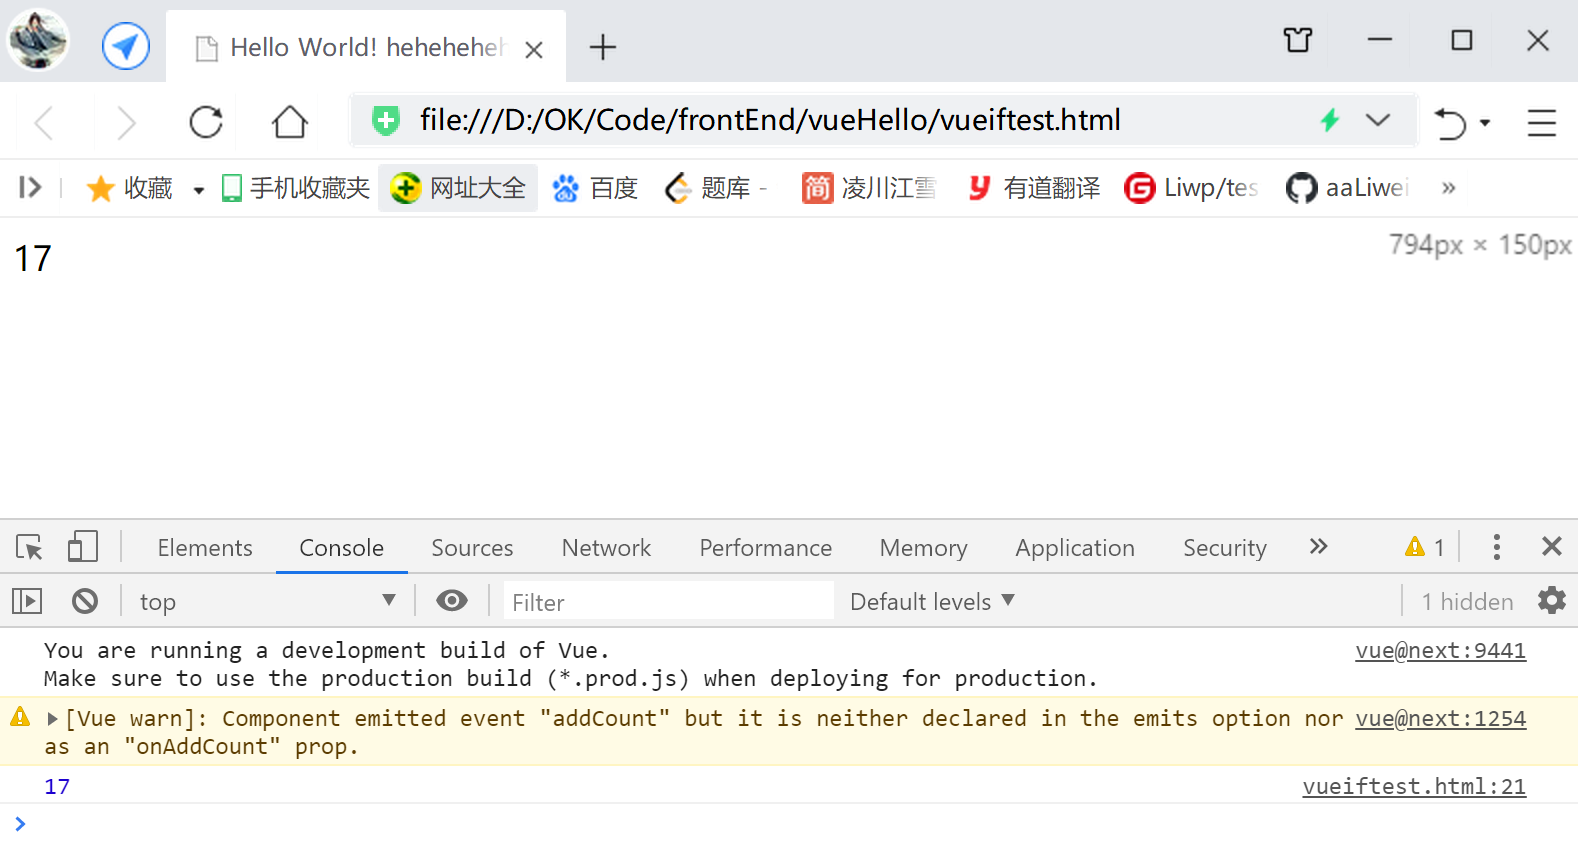
emits板块的 Object形式 校验外传的参数值可以根据需要,使用 组件emits板块的 Object形式 校验外传的参数值,
如下,子组件的emits板块,
‘key’值定义对应的事件名,‘value’值定义一个校验函数,
返回true表示同意数值外传,
返回false表示不同意,会给出警告;
<script> const app = Vue.createApp({ data() { return {count: 1} }, methods: { handleItemEvent(count) { this.count = count; console.log(this.count); } }, template: ` <div> <counter :count="count" @add-count="handleItemEvent"/> </div>` }); app.component('counter', { props: ['count'], emits: { addCount: (count) => { if (count < 0) { return true; } return false; } }, methods: { handleItemClick() { this.$emit('addCount', this.count + 16); } }, template:` <div @click="handleItemClick">{{count}}</div> ` }); const vm = app.mount('#heheApp');</script>运行,点击效果: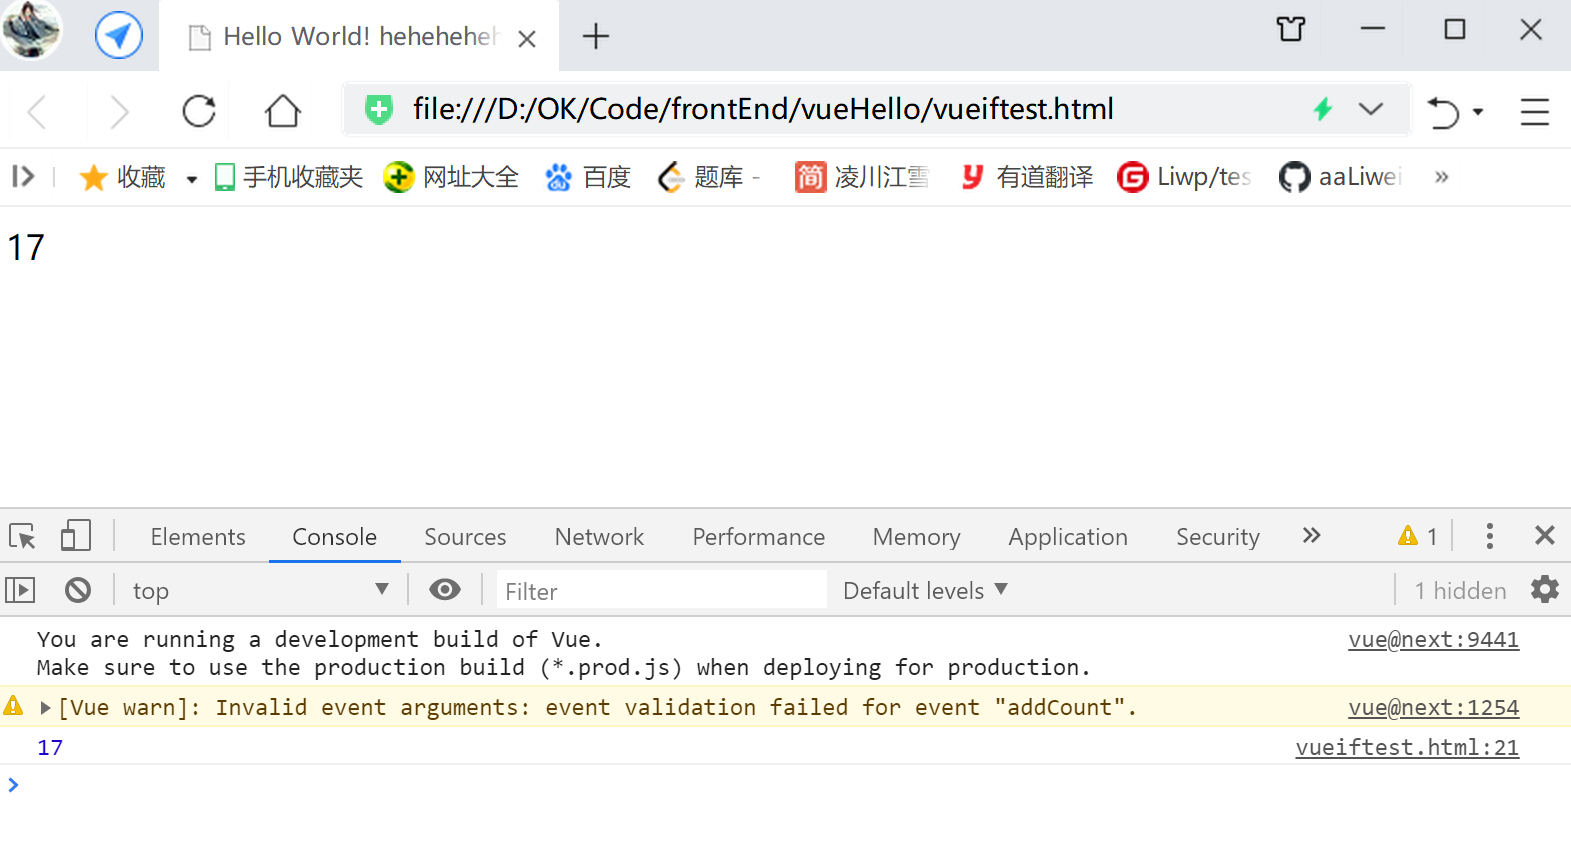
$emit、v-bind与v-model 实现 父子组件通信(数据双向绑定)v-model可以实现数据字段与DOM节点内容的双向绑定,
也可以实现数据字段与数据字段之间的双向绑定;
而v-bind只能是实现单向数据流;
若不自己设置承接的字段名,则需要用modelValue作为默认的承接字段名;
同时,$emit()的一参默认为update:modelValue,二参为绑定的数据;
如下代码,
子组件 的承接变量modelValue 同父组件的count字段 双向绑定,
(实际上就是v-model的特性 —— 将 子组件的内容即modelValue 同 父组件的数据字段双向绑定)
而后显示在子组件的DOM中({{modelValue}}):
<script> const app = Vue.createApp({ data() { return {count: 1} }, template: ` <counter v-model="count"/>` }); app.component('counter', { props: ['modelValue'], methods: { handleItemClick() { this.$emit('update:modelValue', this.modelValue + 16); console.log(vm.$data.count); } }, template:` <div @click="handleItemClick">{{modelValue}}</div> ` }); const vm = app.mount('#heheApp');</script>效果: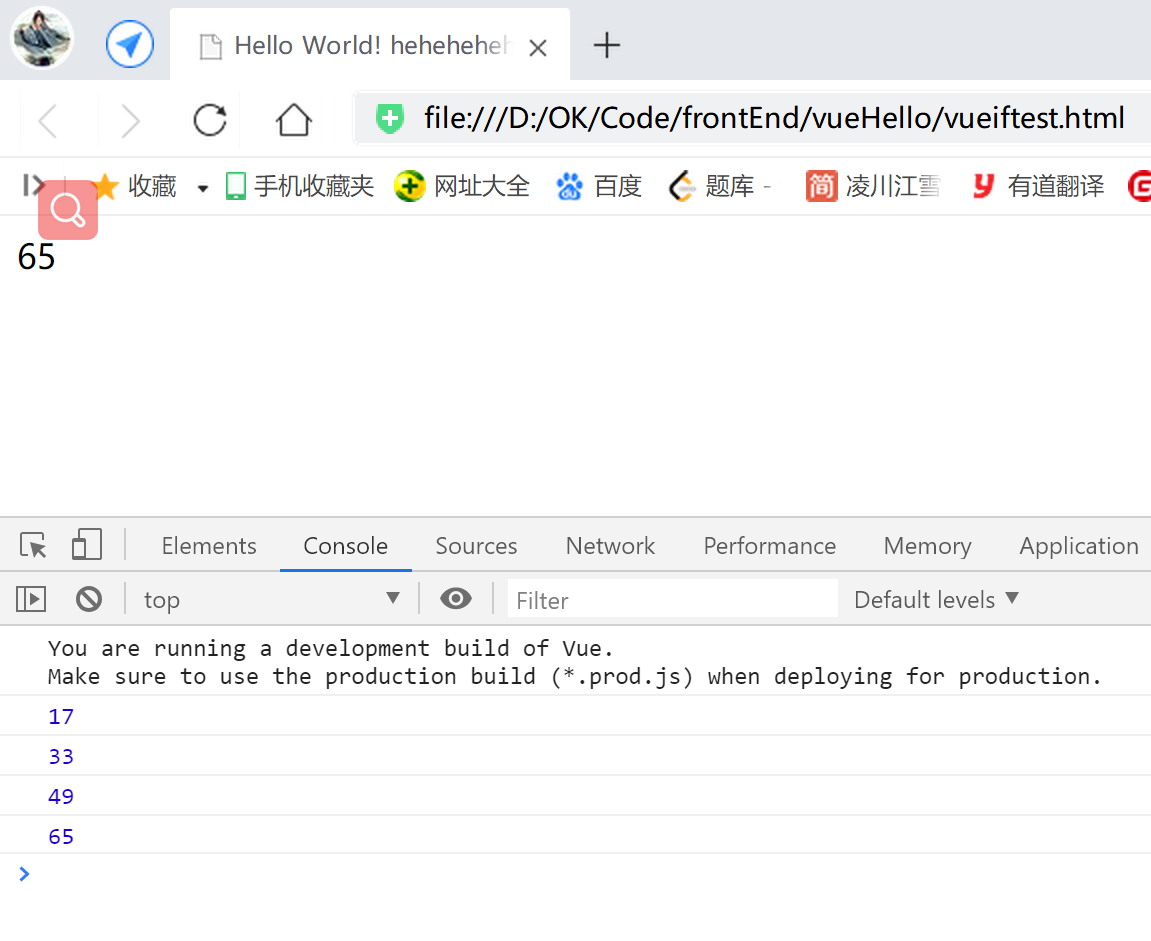
当然也可以自己设置字段名,
这种方式需要给v-model字段接一个字段名,
同时将这个字段名替代子组件中所有modelValue的位置:
<script> const app = Vue.createApp({ data() { return {count: 1} }, template: ` <counter v-model:testField="count"/>` }); app.component('counter', { props: ['testField'], methods: { handleItemClick() { this.$emit('update:testField', this.testField + 16); console.log(vm.$data.count); } }, template:` <div @click="handleItemClick">{{testField}}</div> ` }); const vm = app.mount('#heheApp');</script>实现效果与上例相同;
$emit、v-bind与v-model 实现 父子组件通信(多个字段的应用案例)如下代码,
父组件的count与子组件承接的testField字段,
父组件的count1与子组件承接的testField1字段,
分别实现了双向绑定:
<script> const app = Vue.createApp({ data() { return { count: 1, count1: 1 } }, template: ` <counter v-model:testField="count" v-model:testField1="count1"/>` }); app.component('counter', { props: ['testField','testField1'], methods: { handleItemClick() { this.$emit('update:testField', this.testField + 16); console.log("vm.$data.count", vm.$data.count); }, handleItemClick1() { this.$emit('update:testField1', this.testField1 + 8); console.log("vm.$data.count1", vm.$data.count1); } }, template:` <div @click="handleItemClick">{{testField}}</div> <div @click="handleItemClick1">{{testField1}}</div> ` }); const vm = app.mount('#heheApp');</script>效果: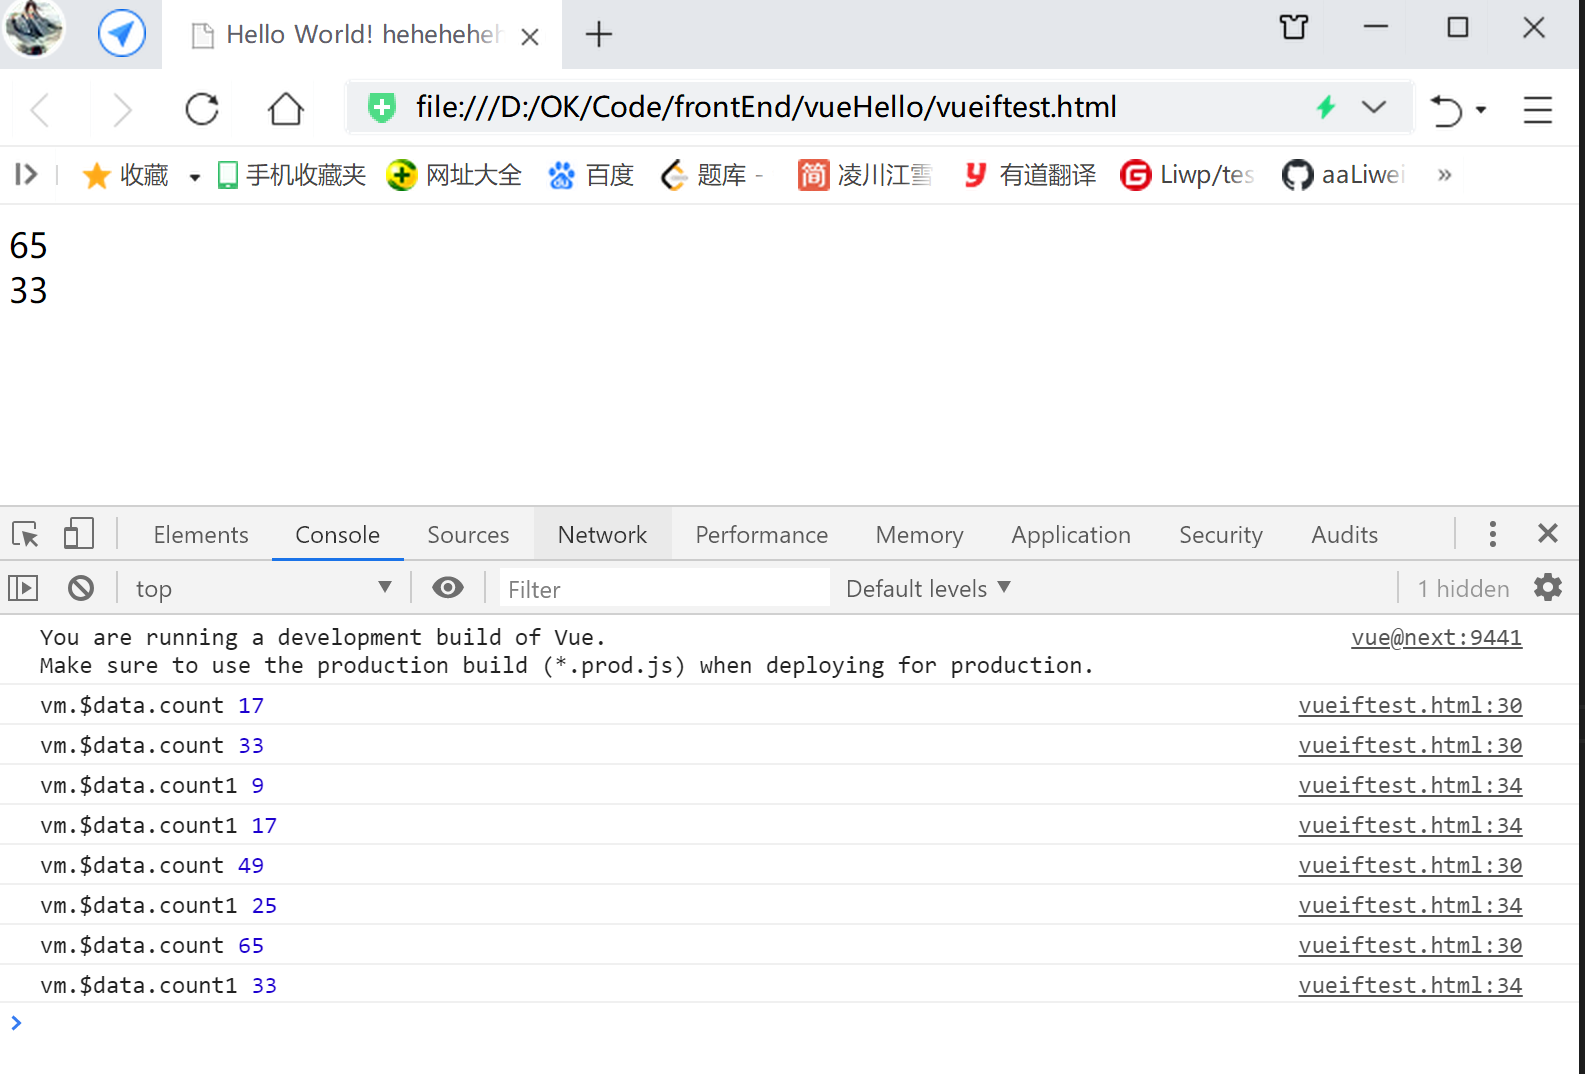
机制:在父组件调用处,在
v-model后 使用自己设置修饰符,
在实现修饰符逻辑的地方,如点击事件中,
通过this.modelModifiers.[自己设置修饰符名]返回的布尔值,
判断客户能否使用了修饰符,
进而分别对使用与否做相应的解决;
另外'modelModifiers'板块中可以指定默认值(下代码指定为一个空对象{});
this.modelModifiers的作用首先下面是一个空的解决,'modelModifiers'板块中指定默认值(下代码指定为一个空对象{}),mounted函数中打印 子组件modelModifiers属性的内容,
代码如下,
运行后,可以见打印了一个对象{captalize: true},
正是我们传入的自己设置修饰符.captalize(这里未做解决)
【假如这里v-model不接修饰符,console.log(this.modelModifiers);将打印一个空对象{}】:
<script> const app = Vue.createApp({ data() { return { char: 'a' } }, template: ` <counter v-model.captalize="char"/>` }); app.component('counter', { props: { 'modelValue': String, 'modelModifiers': { default: () => ({}) } }, mounted() { console.log(this.modelModifiers); }, methods: { handleClick() { this.$emit('update:modelValue', this.modelValue + 'h'); console.log("vm.$data.count", vm.$data.char); } }, template:` <div @click="handleClick">{{modelValue}}</div> ` }); const vm = app.mount('#heheApp');</script>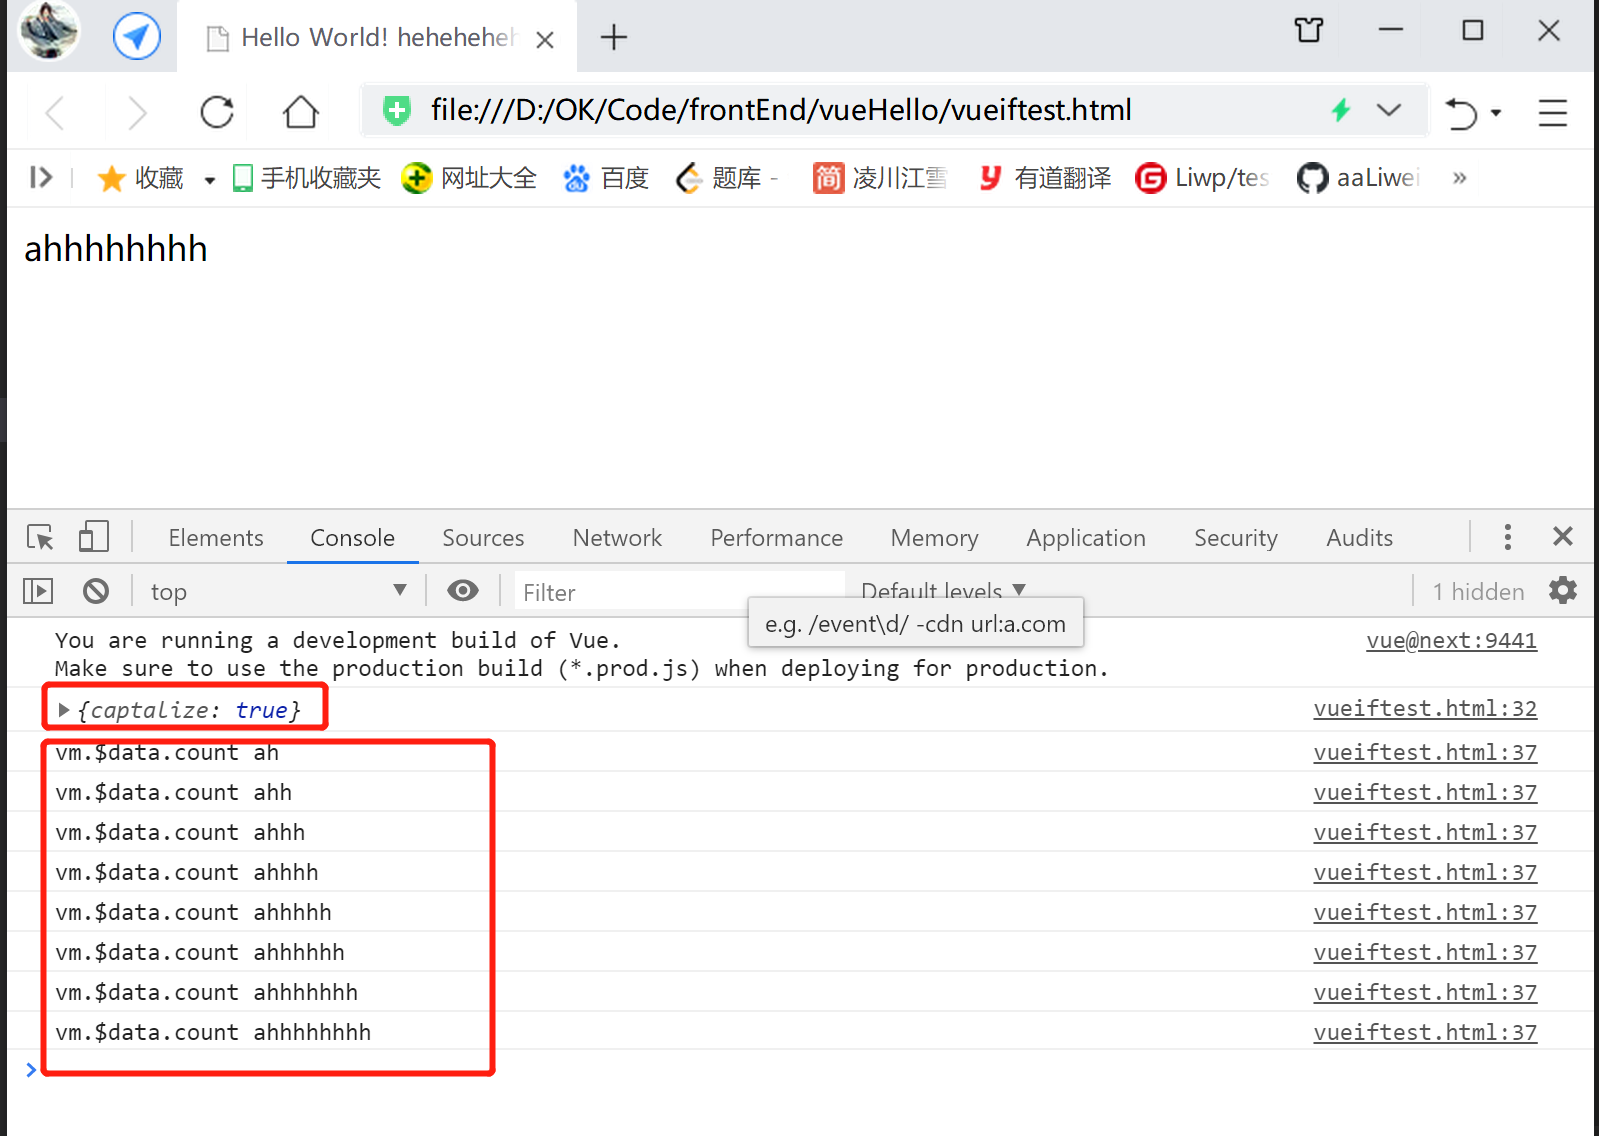
handleClick()中,通过this.modelModifiers.[自己设置修饰符名]实现自己设置修饰符逻辑实现效果即 点击之后使得对应的字符串 全变大写;
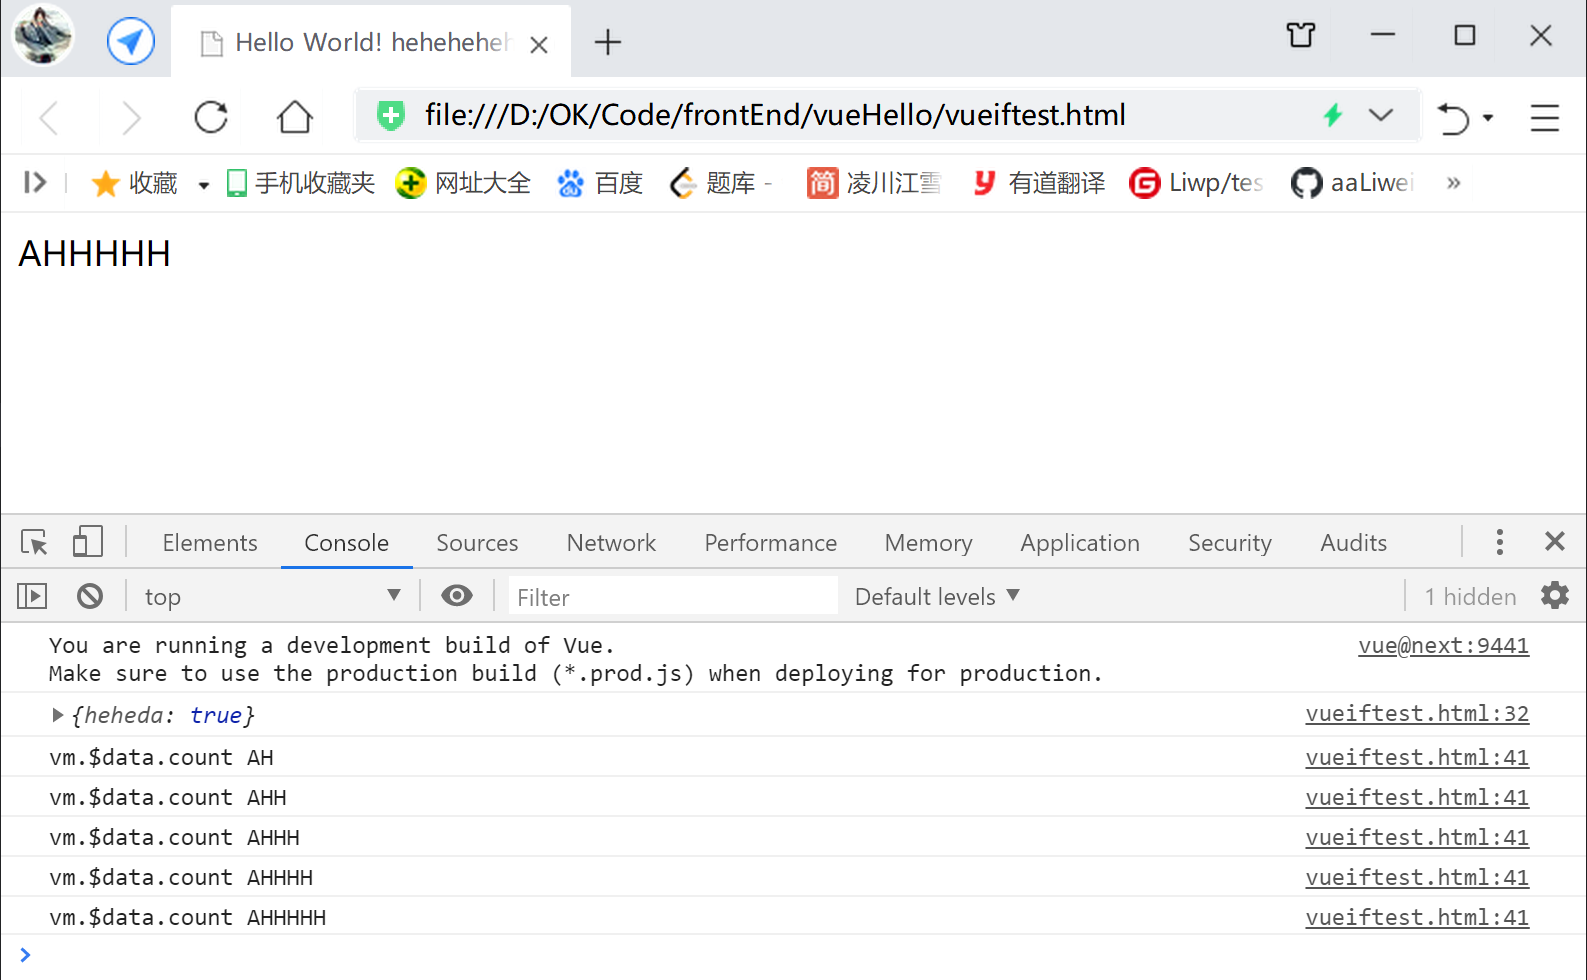
<script> const app = Vue.createApp({ data() { return { testString: 'a' } }, template: ` <counter v-model.heheda="testString"/>` }); app.component('counter', { props: { 'modelValue': String, 'modelModifiers': { default: () => ({}) } }, mounted() { console.log(this.modelModifiers); }, methods: { handleClick() { let newValue = this.modelValue + 'h'; if(this.modelModifiers.heheda) { newValue = newValue.toUpperCase(); } this.$emit('update:modelValue', newValue); console.log("vm.$data.count", vm.$data.testString); } }, template:` <div @click="handleClick">{{modelValue}}</div> ` }); const vm = app.mount('#heheApp');</script>效果:
使用关键 主要分两个部分:
自己设置子组件:
在需要 被父组件插入组件的位置,
使用<slot></slot>标签对临时占位;
父组件:
在调用子组件标签对时,
往子组件标签对间
写上 要替换子组件标签对中<slot></slot>位置的组件
【slot】的出现,
方便父子组件之间数据的传递,
方便DOM的传递;
<!DOCTYPE html><html><head> <meta charset="UTF-8"> <meta name="viewport" content="width=device-width, initial-scale=1.0"> <title>Hello World! heheheheheheda</title> <script src="https://unpkg.com/vue@next"></script></head><body> <div id="heheApp"></div></body><script> const app = Vue.createApp({ template: ` <myform> <div>提交</div> </myform> <myform> <button>提交</button> </myform>` }); app.component('myform', { template:` <div> <input /> <slot></slot> <br><br> </div> ` }); const vm = app.mount('#heheApp');</script></html>运行效果: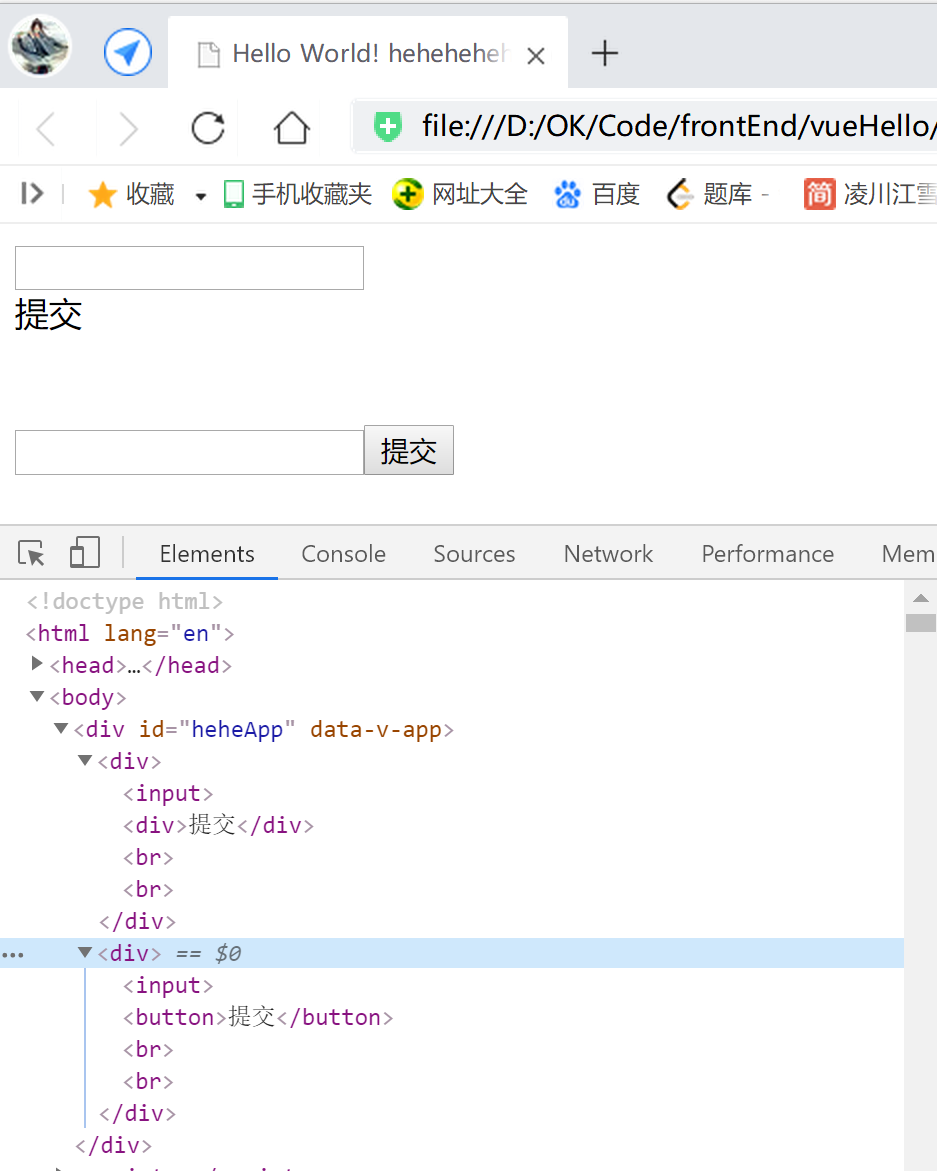
<script> const app = Vue.createApp({ template: ` <myform> <div>提交</div> </myform> <myform> <button>提交</button> </myform>` }); app.component('myform', { methods: { handleClick() { console.log("heheda!!==="); } }, template:` <div> <input /> <span @click="handleClick"> <slot></slot> </span> <br><br> </div> ` }); const vm = app.mount('#heheApp');</script>运行,点击提交文本或者按钮: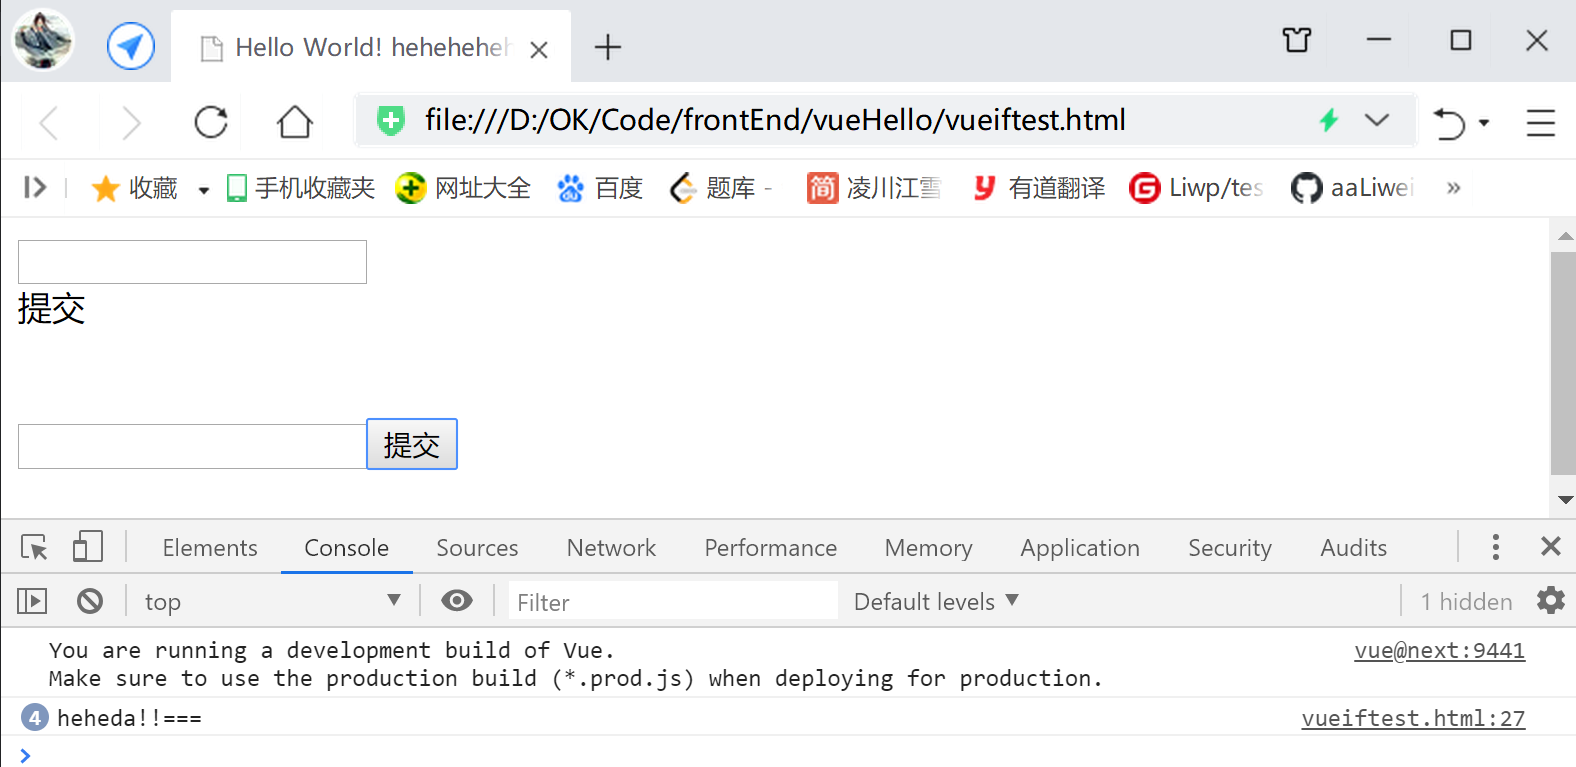
<script> const app = Vue.createApp({ template: ` <myform> 66666 </myform> <myform> 88888 </myform>` }); app.component('myform', { methods: { handleClick() { console.log("heheda!!==="); } }, template:` <div> <input /> <span @click="handleClick"> <slot></slot> </span> <br><br> </div> ` }); const vm = app.mount('#heheApp');</script>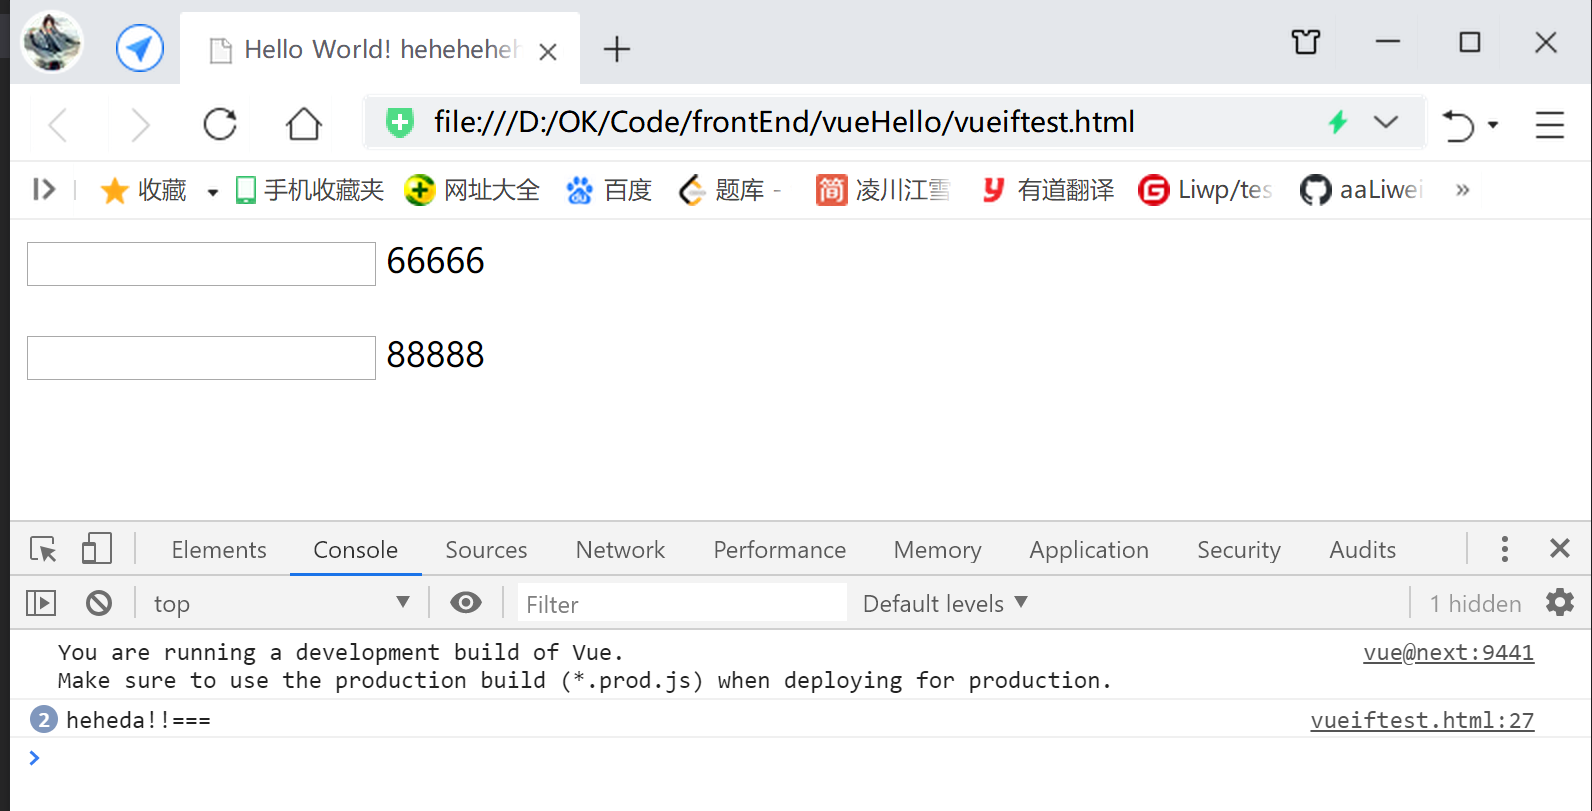
<script> const app = Vue.createApp({ template: ` <myform> <test /> </myform> <myform> 88888 </myform>` }); app.component('test', { template: `<div>test component</div>` }) app.component('myform', { methods: { handleClick() { console.log("heheda!!==="); } }, template:` <div> <input /> <span @click="handleClick"> <slot></slot> </span> <br><br> </div> ` }); const vm = app.mount('#heheApp');</script>运行: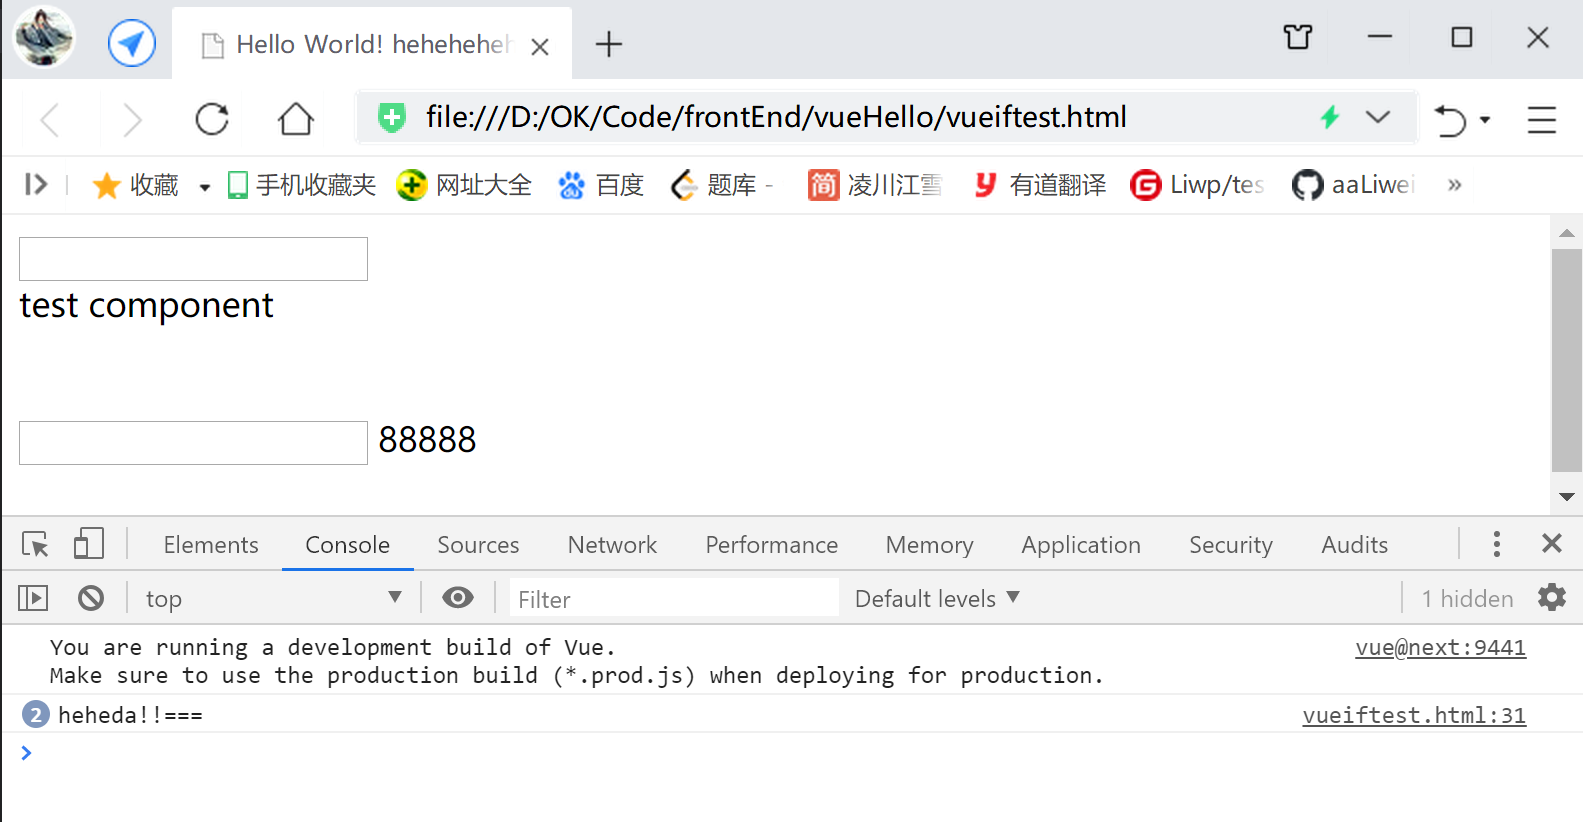
尽管,
父组件中 往子组件标签间 插入的组件 会替换子组件的插槽位,
但是父组件中 往子组件标签间 插入的组件,
其所使用的数据字段,依然是父组件的,而非子组件;
父组件的template中 调用的数据是 父组件中的 data;
子组件的template中 调用的数据是 子组件中的 data;
<script> const app = Vue.createApp({ data() { return { text: '提交' } }, template: ` <myform> <div>{{text}}</div> </myform> <myform> <button>{{text}}</button> </myform>` }); app.component('myform', { methods: { handleClick() { console.log("heheda!!==="); } }, template:` <div> <input /> <span @click="handleClick"> <slot></slot> </span> <br><br> </div> ` }); const vm = app.mount('#heheApp');</script>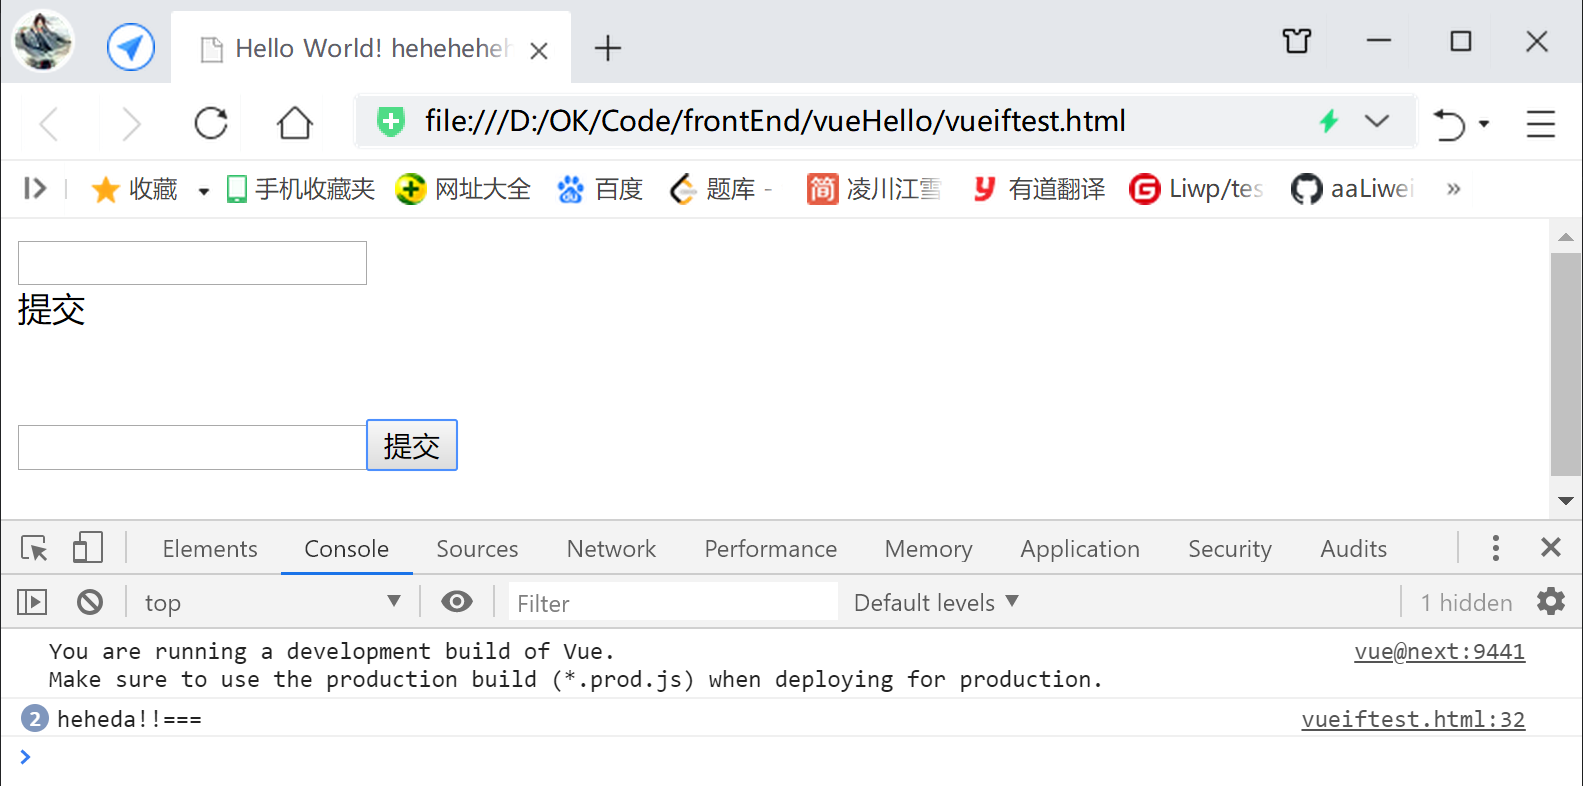
可以在子组件的
插槽<slot>标签间 编写默认值,
假如父组件没有使用 组件 注入插槽,
则对应位置 会显示默认值:
<script> const app = Vue.createApp({ data() { return { text: '提交' } }, template: ` <myform> <div>{{text}}</div> </myform> <myform> <button>{{text}}</button> </myform> <myform> </myform>` }); app.component('myform', { methods: { handleClick() { console.log("heheda!!==="); } }, template:` <div> <input /> <span @click="handleClick"> <slot>default value</slot> </span> <br><br> </div> ` }); const vm = app.mount('#heheApp');</script>效果: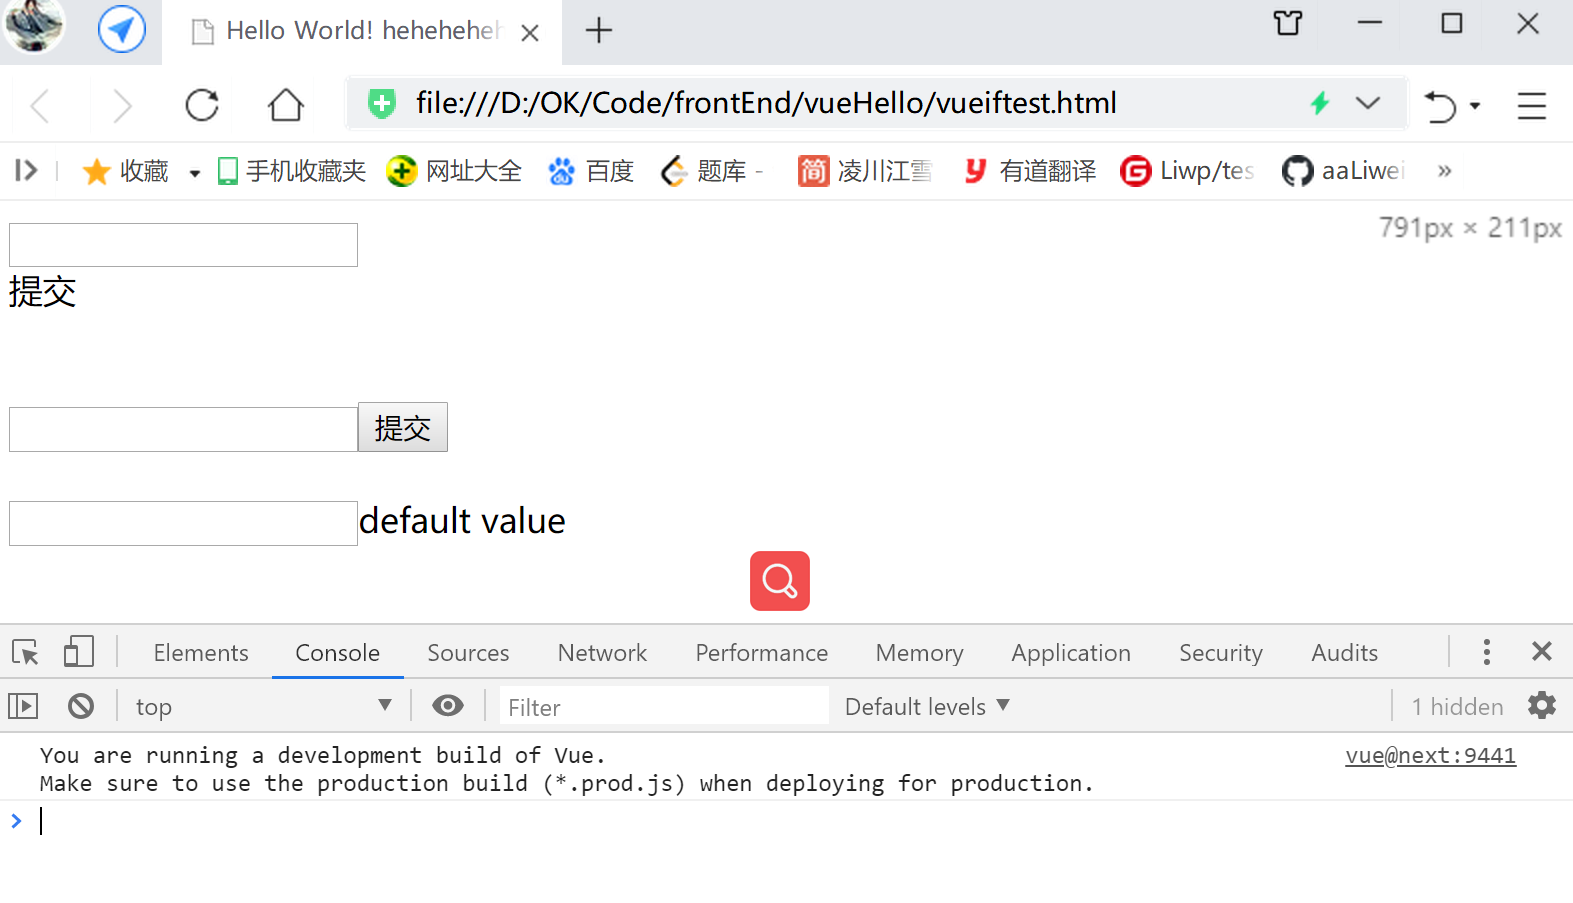
使得插槽的 父组件注入部分 和 子组件占位部分,能够更加灵活的布局,
可以通过v-slot:[插槽名]来对一组插槽命名,
父组件定义之后 插槽名及其对应的组件之后,
子组件只要要在要占位的地方,
配合name属性 使用对应命名的<slot>标签,
就可将对应的父组件插槽组件占用过来;
父组件 的插槽注入部分的组件,
需要用<template>标签组包裹起来,
使用v-slot:[插槽名]命名一组插槽;
子组件使用<slot name="[插槽名]"></slot>的形式,进行插槽组件块的临时占用;
<script> const app = Vue.createApp({ template: ` <layout> <template v-slot:header> <div>头部</div> </template> <template v-slot:footer> <div>尾部</div> </template> </layout>` }); app.component('layout', { template:` <div> <slot name="header"></slot> <div>content</div> <slot name="footer"></slot> </div> ` }); const vm = app.mount('#heheApp');</script>效果: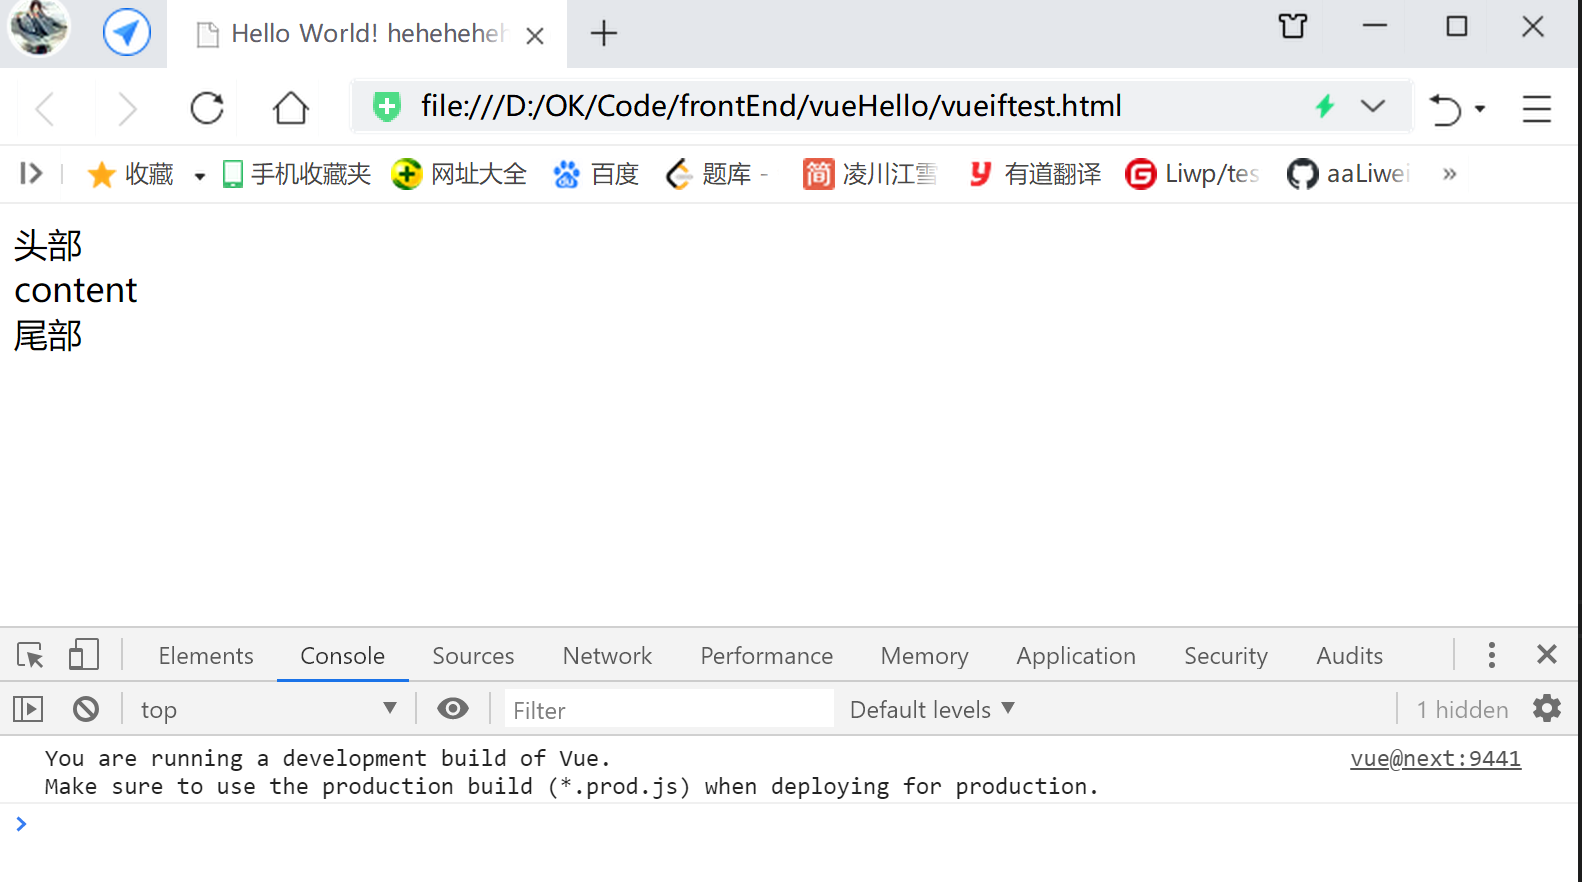
v-slot指令的简写v-slot:[插槽名] 可以简写成 #[插槽名]
<script> const app = Vue.createApp({ template: ` <layout> <template #header> <div>头部</div> </template> <template #footer> <div>尾部</div> </template> </layout>` }); app.component('layout', { template:` <div> <slot name="header"></slot> <div>content</div> <slot name="footer"></slot> </div> ` }); const vm = app.mount('#heheApp');</script>实现的效果同上例;
v-for例子 进行 列表渲染下面在子组件中,
使用v-for指令 循环 子组件的数据,创立DOM组件:
<script> const app = Vue.createApp({ template: ` <test-list />` }); app.component('test-list', { data(){ return { list: ["heheda", "xixi" , "lueluelue"] } }, template:` <div> <div v-for="item in list">{{item}}</div> </div> ` }); const vm = app.mount('#heheApp');</script>运行效果: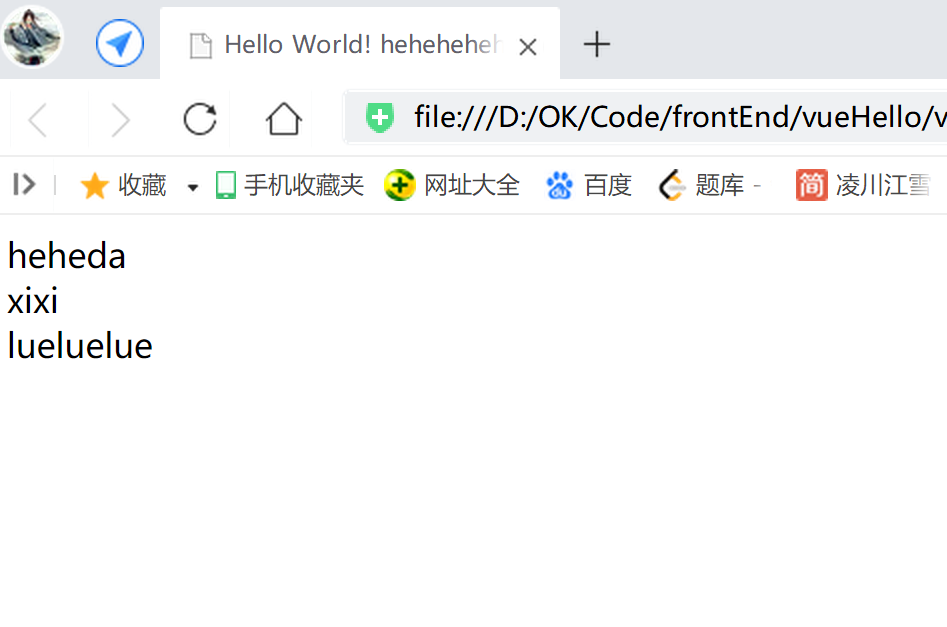
v-for结合v-bind、v-slot、<slot>做列表渲染作用:给
数据由子组件提供,
但列表UI实现由父组件调用处提供,
相似于回调接口的设计逻辑!!!
子组件使用v-for循环获取数据,
每一轮迭代 取得的子项数据,
通过v-bind设置到占位的<slot>标签中,
父组件中,在引用的 子组件标签上,
使用v-slot承接 子组件通过v-bind传来的所有数据字段,
同时将这些字段打包成一个相似JSONObject的结构 字段,
并为这个字段 指定一个形参名(如下代码中的mySlotProps);
【注意!
前面是,
使用v-slot命名父组件中 拟填充插槽的组件,
子组件在<slot>标签上,通过name=使用 父组件的命名,灵活填充插槽;
而这里是,
的slot反而是起到了相似props的作用,而非之前的命名组件作用!】
在 拟填充插槽的DOM组件中,
使用方才 v-slot指定的形参,用于开箱取数据:
<script> const app = Vue.createApp({ template: ` <test-list v-slot="mySlotProps"> <div>{{mySlotProps.item}}</div> </test-list>` }); app.component('test-list', { data(){ return { list: ["heheda", "xixi" , "lueluelue"] } }, template:` <div> <slot v-for="item in list" :item="item" /> </div> ` }); const vm = app.mount('#heheApp');</script>运行效果同上例;
解构概念进行简写使用v-slot="{item}"替代前面的props的结构逻辑形式;
意义是,把mySlotProps这个承接属性的字段,
里面的item属性直接解构 剥取出来,直接拿来用;
<script> const app = Vue.createApp({ template: ` <test-list v-slot="{item}"> <div>{{item}}</div> </test-list>` }); app.component('test-list', { data(){ return { list: ["heheda", "xixi" , "lueluelue"] } }, template:` <div> <slot v-for="item in list" :item="item" /> </div> ` }); const vm = app.mount('#heheApp');</script>运行效果同上例;
双向绑定特性,通过点击事件切换UI的写法:<script> const app = Vue.createApp({ data() { return { currentItem: 'input-item' } }, methods: { handlerClick() { this.currentItem === 'input-item'? this.currentItem = 'div-item': this.currentItem = 'input-item' } }, template: ` <input-item v-show="currentItem === 'input-item'" /> <div-item v-show="currentItem === 'div-item'" /> <button @click="handlerClick">切换DOM组件</button>` }); app.component('input-item', { template:` <input />` }); app.component('div-item', { template:`<div>heheda</div>` }); const vm = app.mount('#heheApp');</script>运行效果:
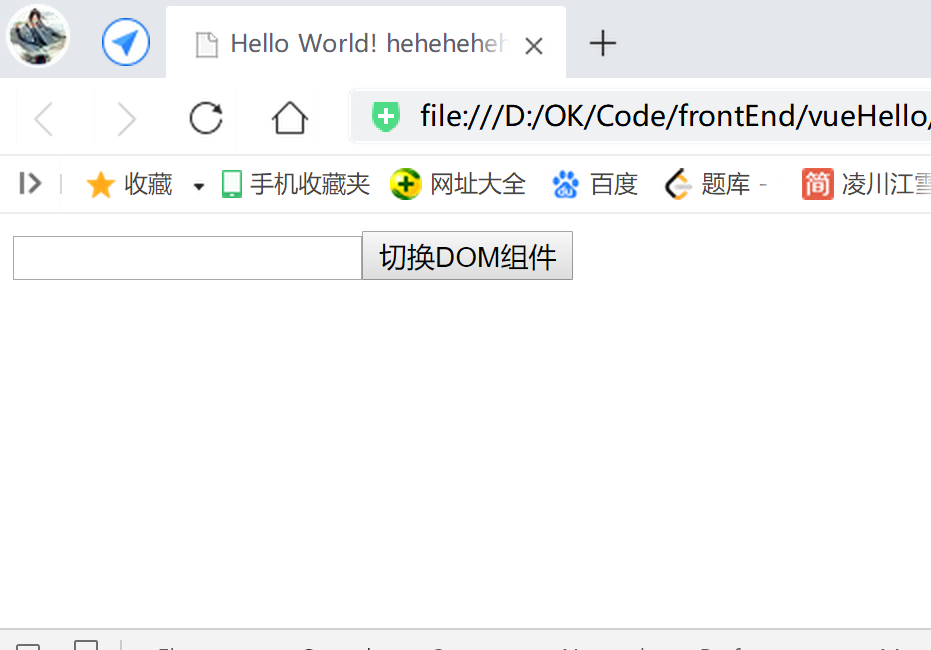

语法:
一般在父组件中,
使用占位标签<component :is="[需显示的 子组件名]" />,
效果即 占位位置,会显示 is属性 指定组件名的子组件;
另外,
使用<keep-alive>标签,包裹<component :is="[需显示的 子组件名]" />,
可以是切换组件的时候,能够缓存组件的数据,
如一个有输入数据的<input> 切换成一个其余组件 再切换 回来的时候,
可以保留一开始的输入数据:
<script> const app = Vue.createApp({ data() { return { currentItem: 'input-item' } }, methods: { handlerClick() { console.log("handlerClick ----- "); this.currentItem === 'input-item'? this.currentItem = 'div-item': this.currentItem = 'input-item' } }, template: ` <keep-alive> <component :is="currentItem" /> </keep-alive> <button @click="handlerClick">切换DOM组件</button>` }); app.component('input-item', { template:` <input />` }); app.component('div-item', { template:`<div>heheda</div>` }); const vm = app.mount('#heheApp');</script>运行效果:
初始为有输入数据的输入框:
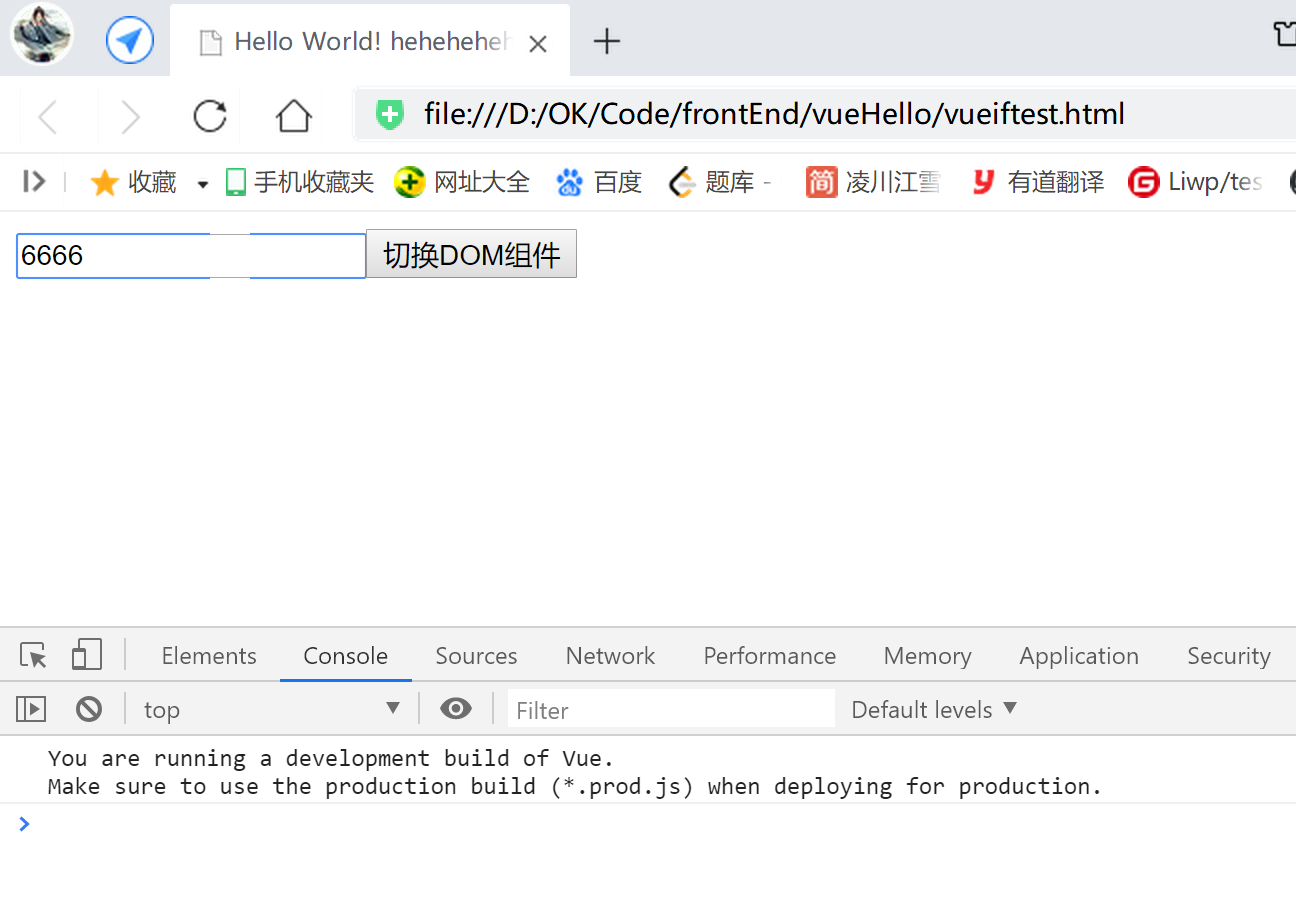 点击切换为文本组件:
 再次点击,切换为
有输入数据的输入框,
因为<keep-alive>的作用,数据缓存下来,没有丢失,
假如没加<keep-alive>,这里会是空的输入框: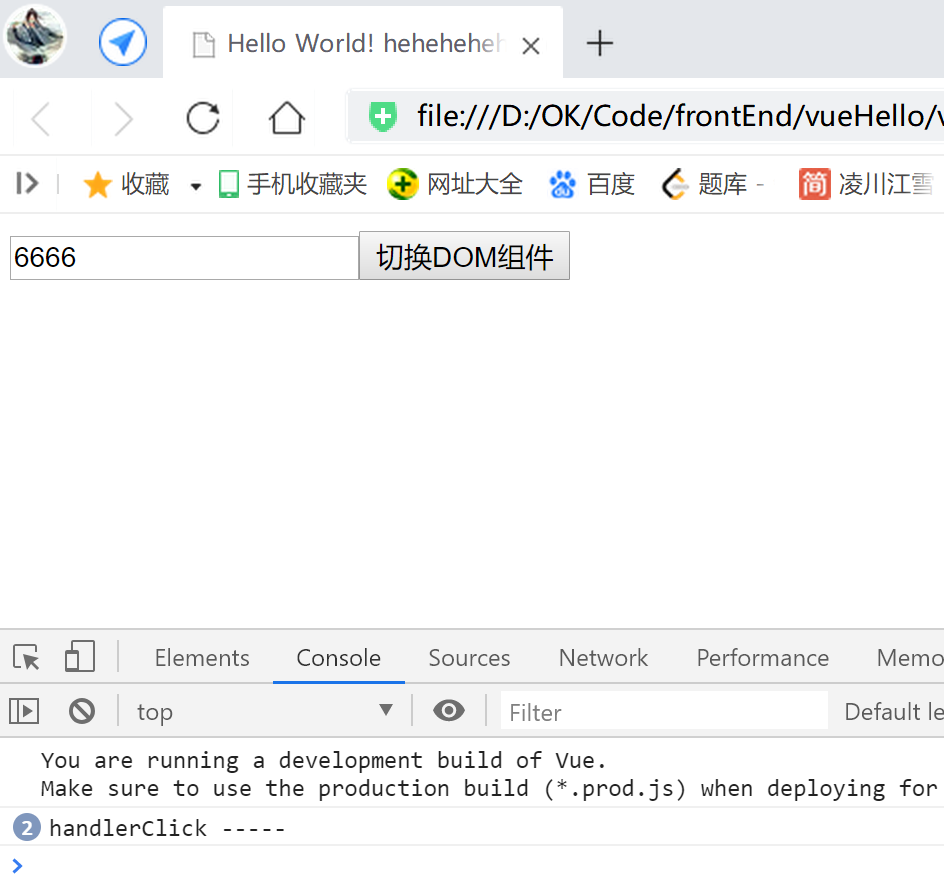
首先,
本文在此案例之前的所有案例,都是同步组件,
即随即渲染,一个线程运行;
下面是异步(自己设置子)组件,
可以设定在某个时刻开始,推迟一个时延后,再执行渲染:
<script> const app = Vue.createApp({ template: ` <div> <div-item /> <my-async-item /> </div>` }); app.component('div-item', { template:`<div>heheda heheda</div>` }); app.component('my-async-item', Vue.defineAsyncComponent(() => { return new Promise((resolve, reject) => { setTimeout(() => { resolve({ template: `<div>this is my async component</div>` }) }, 4000) }) })) const vm = app.mount('#heheApp');</script>关键代码【异步(自己设置子)组件】:
app.component('my-async-item', Vue.defineAsyncComponent(() => { return new Promise((resolve, reject) => { setTimeout(() => { resolve({ template: `<div>this is my async component</div>` }) }, 4000) }) }))运行效果: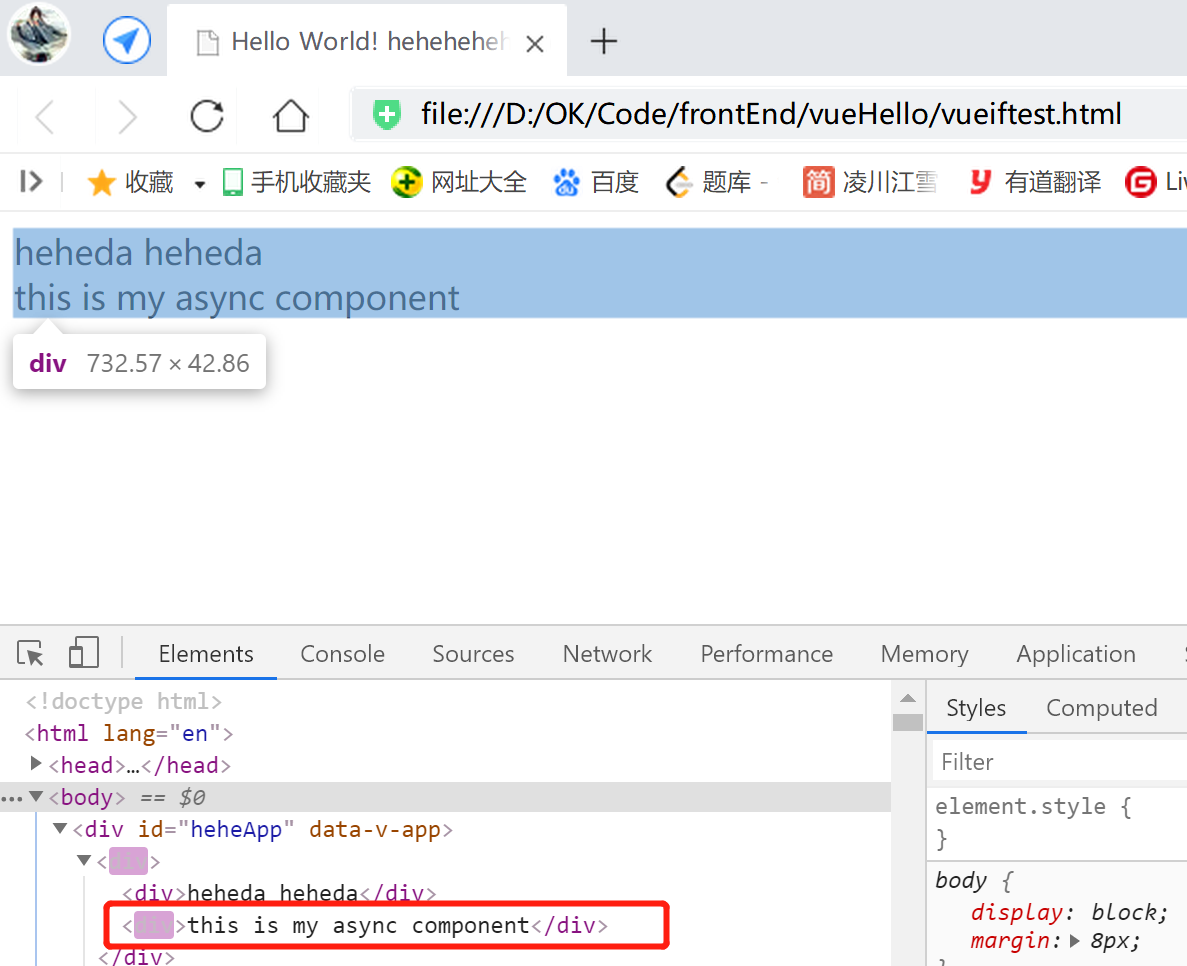
读到这里,这篇“Vue3父子组件间通信、组件间双向绑定的方法”文章已经介绍完毕,想要掌握这篇文章的知识点还需要大家自己动手实践使用过才能领会,如果想了解更多相关内容的文章,欢迎关注亿速云行业资讯频道。
免责声明:本站发布的内容(图片、视频和文字)以原创、转载和分享为主,文章观点不代表本网站立场,如果涉及侵权请联系站长邮箱:is@yisu.com进行举报,并提供相关证据,一经查实,将立刻删除涉嫌侵权内容。