这篇文章主要介绍Python中Barbershop如何实现照片换发型功能,文中介绍的非常详细,具有一定的参考价值,感兴趣的小伙伴们一定要看完!
下面进入最坑的部分,首先我们看一下项目给出的安装说明。

其实只有两条,conda导入environment/environment.yaml环境,下载II2S图片。就这两句话让我装了一晚上,天知道我经历了啥。坑踩了一边,可以按照我的流程装,应该问题不大。
先创建conda虚拟环境,使用一下命令:
conda env create -f environment/environment.yaml
这里有不会的话,可以看我另一篇文章,有详细的搭建方法:机器学习基础环境部署
我就不提我踩了多少坑了,下面我把需要的项目没提供的依赖,总结发在下面。
dlib
Ninja
gdown
scikit-image
IPython
opencv-python
版本可以选择最新的,因为我用最新的跑起来了。
需要安装一下Microsoft Visual Studio,我选择的版本是2019版本。
提供一下下载地址:下载 Visual Studio Tools
这里需要注意安装的时候需要把C++选上。

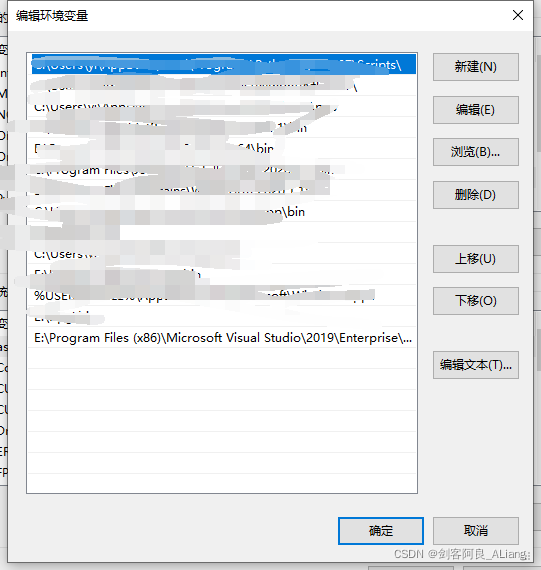
按照自己的机器位数,选择路径添加到环境变量路径里。下面是我的路径。

添加环境变量
项目在运行的时候其实是会自己下载模型的,但是从google云盘经常失败,而且该项目要的模型特别多,我放在百度云盘上分享出来,大家可以下我的。
模型文件链接 提取码:tuan

首先人脸68特征数据放到项目的cache目录内。其次另外的6个pt文件放到项目的pretrained_models目录内。
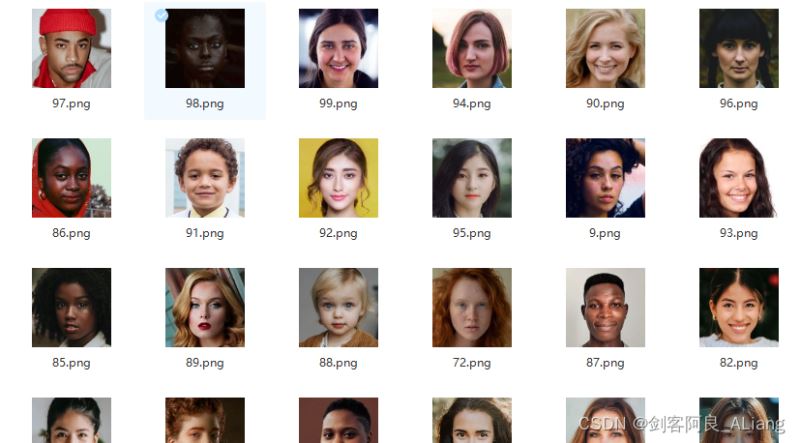
按照项目给出的地址从云盘下载到input/face目录内。这边我还是提供百度云盘的分享链接,下不下来可以用我的。
链接 提取码:TUAN
项目align_face.py文件中,不会检查模型是否存在,还是会下载,需要调整一下。如下图:

OK,环境如果你按照我上面说的部署成功了,恭喜。下面我来验证一下效果。
先看看我准备的照片。

把照片放到unprocessed目录下,注意编号需要和input/face内的文件编号不同。
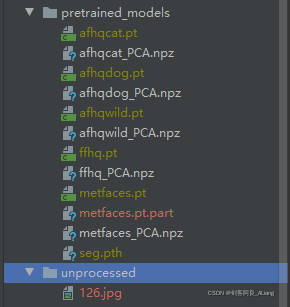
首先我们执行命令预处理unprocessed目录内的照片。命令如下:
python align_face.py
(Barbershop) C:\Users\yi\PycharmProjects\Barbershop>python align_face.py
Downloading Shape Predictor
126.jpg: Number of faces detected: 1
可以看到input/face目录多了一个文件,预处理把原照片的人脸处理出来了。

下面看一下我准备换的发型是哪张。

换个短发。执行命令如下:
python main.py --im_path2 126.png --im_path3 94.png --im_path4 94.png --sign realistic --smooth 5
看下执行结果
(Barbershop) C:\Users\yi\PycharmProjects\Barbershop>python main.py --im_path2 126.png --im_path3 94.png --im_path4 94.png --sign realistic --smooth 5
Loading StyleGAN2 from checkpoint: pretrained_models/ffhq.pt
Setting up Perceptual loss...
Loading model from: C:\Users\yi\PycharmProjects\Barbershop\losses\lpips\weights\v0.1\vgg.pth
...[net-lin [vgg]] initialized
...Done
Number of images: 2
Images: 100%|████████████████████████████████████████████████████████████████████████████████████████████████████████████████████████████| 2/2 [10:39<00:00, 319.74s/it]
Number of images: 2
Images: 100%|█████████████████████████████████████████████████████████████████████████████████████████████████████████████████████████████| 2/2 [02:08<00:00, 64.04s/it]
Loading StyleGAN2 from checkpoint: pretrained_models/ffhq.pt
C:\Users\yi\PycharmProjects\Barbershop\models\Alignment.py:97: UserWarning: where received a uint8 condition tensor. This behavior is deprecated and will be removed in a
 future version of PyTorch. Use a boolean condition instead. (Triggered internally at  ..\aten\src\ATen\native\TensorCompare.cpp:328.)
  new_target_final = torch.where(OB_region, torch.from_numpy(new_target_inpainted), new_target)
Align Step 2:   0%|                                                                                                                             | 0/100 [00:00<?, ?it/s]E
:\ProgramData\Anaconda3\envs\Barbershop\lib\site-packages\torch\nn\functional.py:3680: UserWarning: The default behavior for interpolate/upsample with float scale_factor
 changed in 1.6.0 to align with other frameworks/libraries, and now uses scale_factor directly, instead of relying on the computed output size. If you wish to restore th
e old behavior, please set recompute_scale_factor=True. See the documentation of nn.Upsample for details.
  "The default behavior for interpolate/upsample with float scale_factor changed "
E:\ProgramData\Anaconda3\envs\Barbershop\lib\site-packages\torch\nn\functional.py:3635: UserWarning: Default upsampling behavior when mode=bicubic is changed to align_co
rners=False since 0.4.0. Please specify align_corners=True if the old behavior is desired. See the documentation of nn.Upsample for details.
  "See the documentation of nn.Upsample for details.".format(mode)
Loading StyleGAN2 from checkpoint: pretrained_models/ffhq.pt
Setting up Perceptual loss...
Loading model from: C:\Users\yi\PycharmProjects\Barbershop\losses\masked_lpips\weights\v0.1\vgg.pth
...[net-lin [vgg]] initialized
...Done
Setting up Perceptual loss...
Loading model from: C:\Users\yi\PycharmProjects\Barbershop\losses\masked_lpips\weights\v0.1\vgg.pth
...[net-lin [vgg]] initialized
...Done
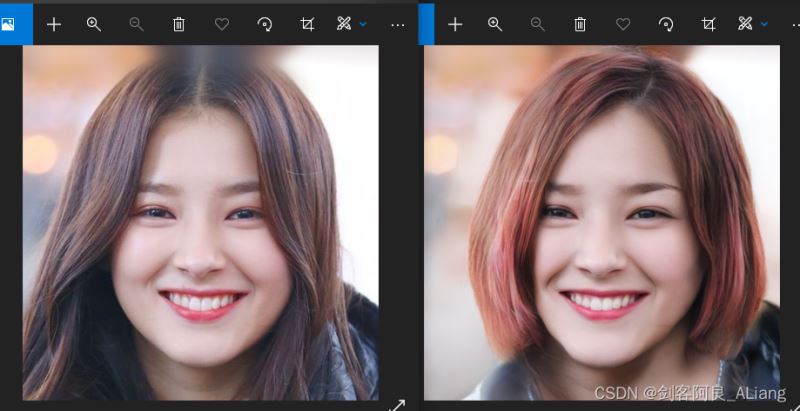
等了很长时间,结果出来了。最后的效果图如下
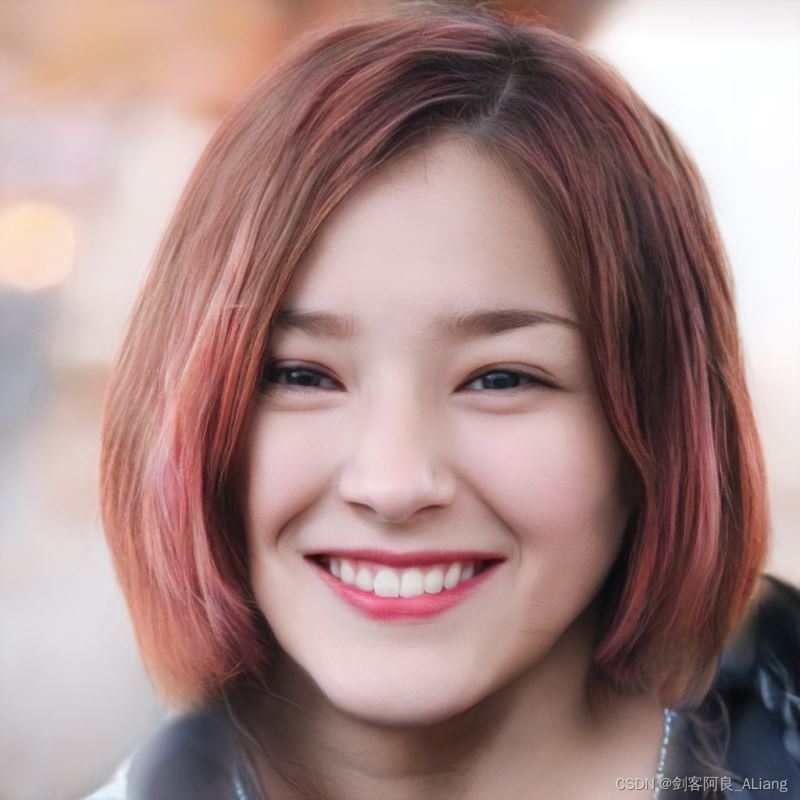
对比一下看看,还是很不错的吧,我这么长的安装时间没有白费。
以上是“Python中Barbershop如何实现照片换发型功能”这篇文章的所有内容,感谢各位的阅读!希望分享的内容对大家有帮助,更多相关知识,欢迎关注亿速云行业资讯频道!
免责声明:本站发布的内容(图片、视频和文字)以原创、转载和分享为主,文章观点不代表本网站立场,如果涉及侵权请联系站长邮箱:is@yisu.com进行举报,并提供相关证据,一经查实,将立刻删除涉嫌侵权内容。