这篇文章将为大家详细讲解有关vue如何实现简单的分页功能,小编觉得挺实用的,因此分享给大家做个参考,希望大家阅读完这篇文章后可以有所收获。
具体内容如下
我们都知道在spring boot项目中安装pagehelper可以实现分页功能,但是在vue中也能在前端实现分页。
1、首先,在data中定义以下变量:
data() {
    return {
      list: null,
      listLoading: true,
      totalPage: 1, // 统共页数,默认为1
            currentPage: 1, //当前页数 ,默认为1
            pageSize: 5, // 每页显示数量
      currentPageData: [], //当前页显示内容
      headPage: 1
    }
},2、发送请求,获取后端数据(list集合)
axios.get('http://192.168.56.1:8081/sel/'+id).then((res) =>{
        console.log(res.data.data )
        that.list = res.data.data
that.listLoading = false3、根据返回数据list的length来计算data中变量的值:
this.totalPage=Math.ceil(this.list.length / this.pageSize);
        this.totalPage = this.totalPage == 0 ? 1 : this.totalPage;
this.getCurrentPageData();4、调用getCurrentPageData()方法设置当前页面的数据
getCurrentPageData() {
                        let begin = (this.currentPage - 1) * this.pageSize;
                        let end = this.currentPage * this.pageSize;
                        this.currentPageData = this.list.slice(
                            begin,
                            end
                        );
},5、添加按钮并实现首页、尾页、上一页、下一页功能:
<input type="button" value="首页" @click="firstPage">
<input type="button" value="上一页" @click="prevPage">
<input type="button" value="下一页" @click="nextPage">
<input type="button" value="尾页" @click="lastPage"> //上一页
prevPage() {
if (this.currentPage == 1) {
return false;
} else {
this.currentPage--;
this.getCurrentPageData();
}
},
// 下一页
nextPage() {
if (this.currentPage == this.totalPage) {
return false;
} else {
this.currentPage++;
this.getCurrentPageData();
}
},
//尾页
lastPage() {
if (this.currentPage == this.totalPage) {
return false;
} else {
this.currentPage=this.totalPage;
this.getCurrentPageData();
}
} ,
//首页
firstPage(){
this.currentPage= this.headPage;
this.getCurrentPageData();
}注意!
最后需要修改组件中的data

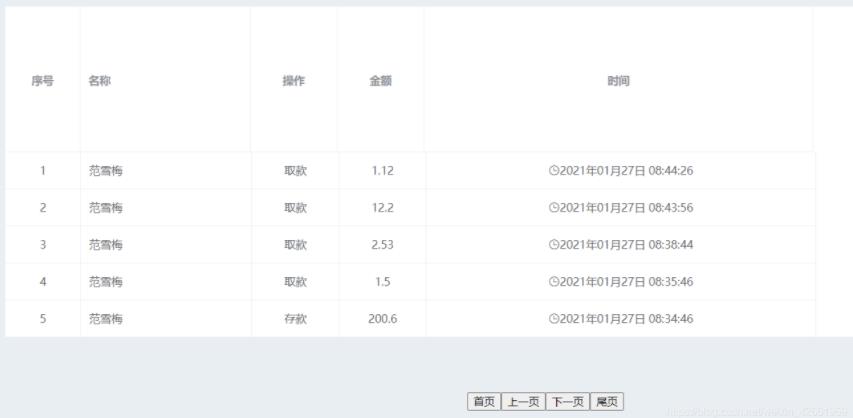
前端展示:
关于“vue如何实现简单的分页功能”这篇文章就分享到这里了,希望以上内容可以对大家有一定的帮助,使各位可以学到更多知识,如果觉得文章不错,请把它分享出去让更多的人看到。
亿速云「云服务器」,即开即用、新一代英特尔至强铂金CPU、三副本存储NVMe SSD云盘,价格低至29元/月。点击查看>>
免责声明:本站发布的内容(图片、视频和文字)以原创、转载和分享为主,文章观点不代表本网站立场,如果涉及侵权请联系站长邮箱:is@yisu.com进行举报,并提供相关证据,一经查实,将立刻删除涉嫌侵权内容。


 计算
计算 安全
安全 数据库
数据库 网络和加速
网络和加速 企业服务
企业服务


