下载windows端的agent
http://www.zabbix.com/download
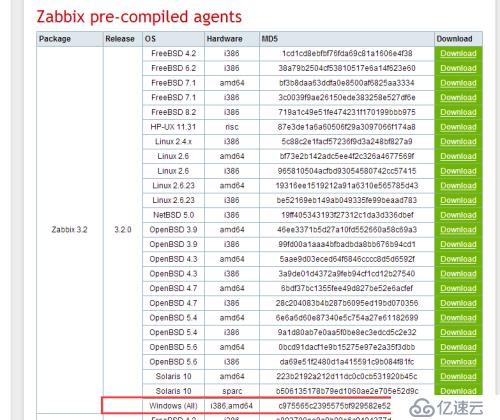
解压到相应的目录下,修改conf目录存放是agent配置文件
找到conf下的配置文件 zabbix_agentd.win.conf ,修改LogFile、Server、、ServerActive、Hostname这四个参数。具体配置如下:
LogFile=c:\zabbix_agentd.log #其中logfile是zabbix日志存放地址
Server=192.168.1.143 #是zabbix服务端ip地址
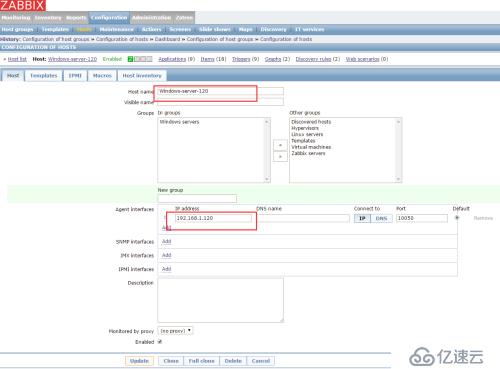
Hostname=windows-server-120 #与zabbix server 中host主机名对应
ServerActive=192.168.1.143 #zabbix server地址
3. 配置好后,开始安装zabbix-agent,其实就是将zabbix-agent添加到windows服务中
执行命令 :c:\bin\win64\zabbix_agentd.exe -c c:\conf\zabbix_agentd.win.conf -i

4.启动、停止agent ,并可以查看日志
-x :停止 -s: 启动
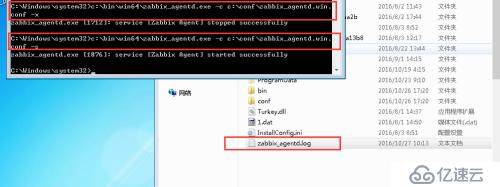
5.查看windows 主机上的agent 日志

6.查看windows 主机上的agent 开放的端口
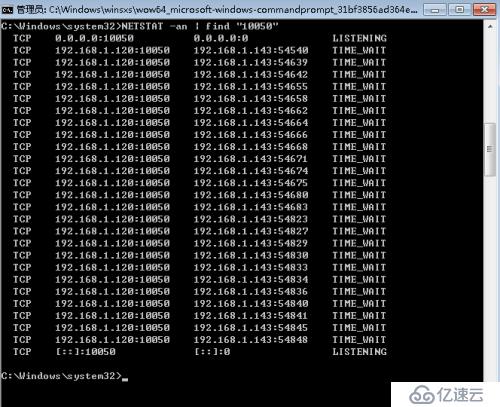
7.查看windows 主机上的agent 的服务
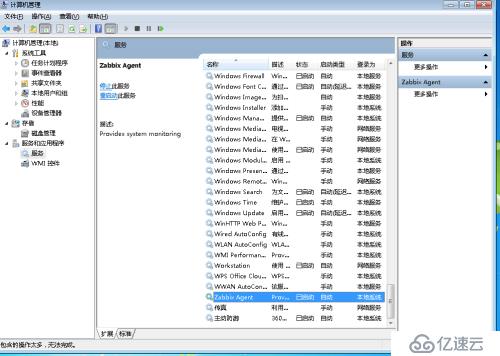
8.在zabbix server上添加windows 主机
9.已成功监控

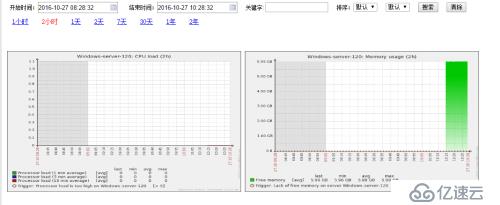
10.监控的展示
免责声明:本站发布的内容(图片、视频和文字)以原创、转载和分享为主,文章观点不代表本网站立场,如果涉及侵权请联系站长邮箱:is@yisu.com进行举报,并提供相关证据,一经查实,将立刻删除涉嫌侵权内容。