CardView在设置阴影的效果上来讲,确实是蛮不错的。
但是涉及到变更阴影颜色这个需求,就不是太好操作。
然后就自己描边画了一个阴影效果,分享,支持任何颜色。
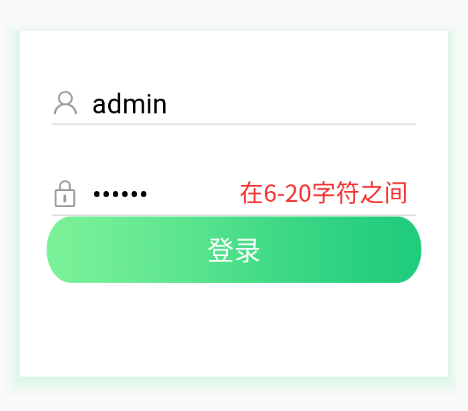
效果:
xml-selector
<?xml version="1.0" encoding="utf-8"?>
<selector xmlns:android="http://schemas.android.com/apk/res/android">
  <item android:state_enabled="true">
    <layer-list>
      <item android:right="1dp" android:top="2dp">
        <layer-list>
          <item>
            <shape android:shape="rectangle">
              <solid android:color="#15cbf2e0" />
              <padding android:bottom="6px" android:left="6px" android:right="6px" android:top="6px" />
            </shape>
          </item>
          <item>
            <shape android:shape="rectangle">
              <solid android:color="#16cbf2e0" />
              <padding android:bottom="4px" android:left="4px" android:right="4px" android:top="4px" />
            </shape>
          </item>
          <item>
            <shape android:shape="rectangle">
              <solid android:color="#17cbf2e0" />
              <padding android:bottom="2px" android:left="2px" android:right="2px" android:top="2px" />
            </shape>
          </item>
          <item>
            <shape android:shape="rectangle">
              <solid android:color="#18cbf2e0" />
              <padding android:bottom="3px" android:left="2px" android:right="2px" android:top="1px" />
            </shape>
          </item>
          <item>
            <shape android:shape="rectangle">
              <solid android:color="#19cbf2e0" />
              <padding android:bottom="3px" android:left="2px" android:right="2px" android:top="1px" />
            </shape>
          </item>
          <item>
            <shape android:shape="rectangle">
              <solid android:color="#20cbf2e0" />
              <padding android:bottom="3px" android:left="2px" android:right="2px" android:top="1px" />
            </shape>
          </item>
          <item>
            <shape android:shape="rectangle">
              <solid android:color="#21cbf2e0" />
              <padding android:bottom="3px" android:left="2px" android:right="2px" android:top="1px" />
            </shape>
          </item>
          <item>
            <shape android:shape="rectangle">
              <solid android:color="#22cbf2e0" />
              <padding android:bottom="3px" android:left="2px" android:right="2px" android:top="1px" />
            </shape>
          </item>
          <item>
            <shape android:shape="rectangle">
              <solid android:color="#23cbf2e0" />
              <padding android:bottom="3px" android:left="2px" android:right="2px" android:top="1px" />
            </shape>
          </item>
        </layer-list>
      </item>
      <item>
        <shape android:shape="rectangle">
          <solid android:color="@color/white" />
        </shape>
      </item>
    </layer-list>
  </item>
</selector>
关于描边的大小什么的,都可以自己设置,颜色也一样。都自己随意。
使用起来也是非常简单,
android:background="@drawable/lay_back"以上就是本文的全部内容,希望对大家的学习有所帮助,也希望大家多多支持亿速云。
亿速云「云服务器」,即开即用、新一代英特尔至强铂金CPU、三副本存储NVMe SSD云盘,价格低至29元/月。点击查看>>
免责声明:本站发布的内容(图片、视频和文字)以原创、转载和分享为主,文章观点不代表本网站立场,如果涉及侵权请联系站长邮箱:is@yisu.com进行举报,并提供相关证据,一经查实,将立刻删除涉嫌侵权内容。


 计算
计算 安全
安全 数据库
数据库 网络和加速
网络和加速 企业服务
企业服务


