这篇文章主要介绍了微信小程序如何实现录音Record功能,具有一定借鉴价值,感兴趣的朋友可以参考下,希望大家阅读完这篇文章之后大有收获,下面让小编带着大家一起了解一下。
具体内容如下
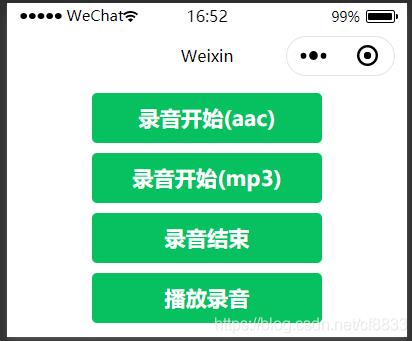
布局
<!--pages/record/record.wxml-->
<view>
 <button
  class="tui-menu-list"
  bindtap="startRecordAac"
  type="primary">录音开始(aac)</button>
 <button
  class="tui-menu-list"
  bindtap="startRecordMp3"
  type="primary">录音开始(mp3)</button>
 <button
  class="tui-menu-list"
  bindtap="stopRecord"
  type="primary">录音结束</button>
 <button
  class="tui-menu-list"
  bindtap="playRecord"
  type="primary">播放录音</button>
</view>
样式:
/* pages/record/record.wxss */

.tui-menu-list{
  flex-direction: row;
  margin: 20rpx;
  padding: 20rpx;
}
开始录音和停止录音
// pages/record/record.js
Page({

  /**
   * 页面的初始数据
   */
  data: {

  },

  onLoad:function (options) {
    var that = this
    this.recorderManager = wx.getRecorderManager();
    this.recorderManager.onError(function () {
      that.tip("录音失败!");
    })
    this.recorderManager.onStop(function (res) {
      that.setData({
        src:res.tempFilePath
      })
      console.log(res.tempFilePath)
      that.tip("录音完成!")
    })
    this.innerAudioContext = wx.createInnerAudioContext()
    this.innerAudioContext.onError((res) =>{
      that.tip("播放录音失败!")
    })
  },

  //提示
  tip:function (msg) {
    wx.showModal({
      cancelColor: 'cancelColor',
      title:'提示',
      content:msg,
      showCancel:false
    })
  },

  //录制aac
  startRecordAac:function () {
    this.recorderManager.start({
      format:'aac'
    })
  },

  //录制mp3
  startRecordMp3:function () {
    this.recorderManager.start({
      format:'mp3'
    })
  },

  //停止录音
  stopRecord:function () {
    this.recorderManager.stop()
  },

  //播放录音
  playRecord:function () {
    var that = this
    var src = this.data.src
    if (src='') {
      this.tip('请先录音')
      return
    }
    this.innerAudioContext.src = this.data.src
    this.innerAudioContext.play()
  }


})
效果图:
感谢你能够认真阅读完这篇文章,希望小编分享的“微信小程序如何实现录音Record功能”这篇文章对大家有帮助,同时也希望大家多多支持亿速云,关注亿速云行业资讯频道,更多相关知识等着你来学习!
免责声明:本站发布的内容(图片、视频和文字)以原创、转载和分享为主,文章观点不代表本网站立场,如果涉及侵权请联系站长邮箱:is@yisu.com进行举报,并提供相关证据,一经查实,将立刻删除涉嫌侵权内容。


