小编给大家分享一下原生JS如何实现滑动按钮效果,相信大部分人都还不怎么了解,因此分享这篇文章给大家参考一下,希望大家阅读完这篇文章后大有收获,下面让我们一起去了解一下吧!
利用Js制作的滑动按钮的具体代码,供大家参考,具体内容如下
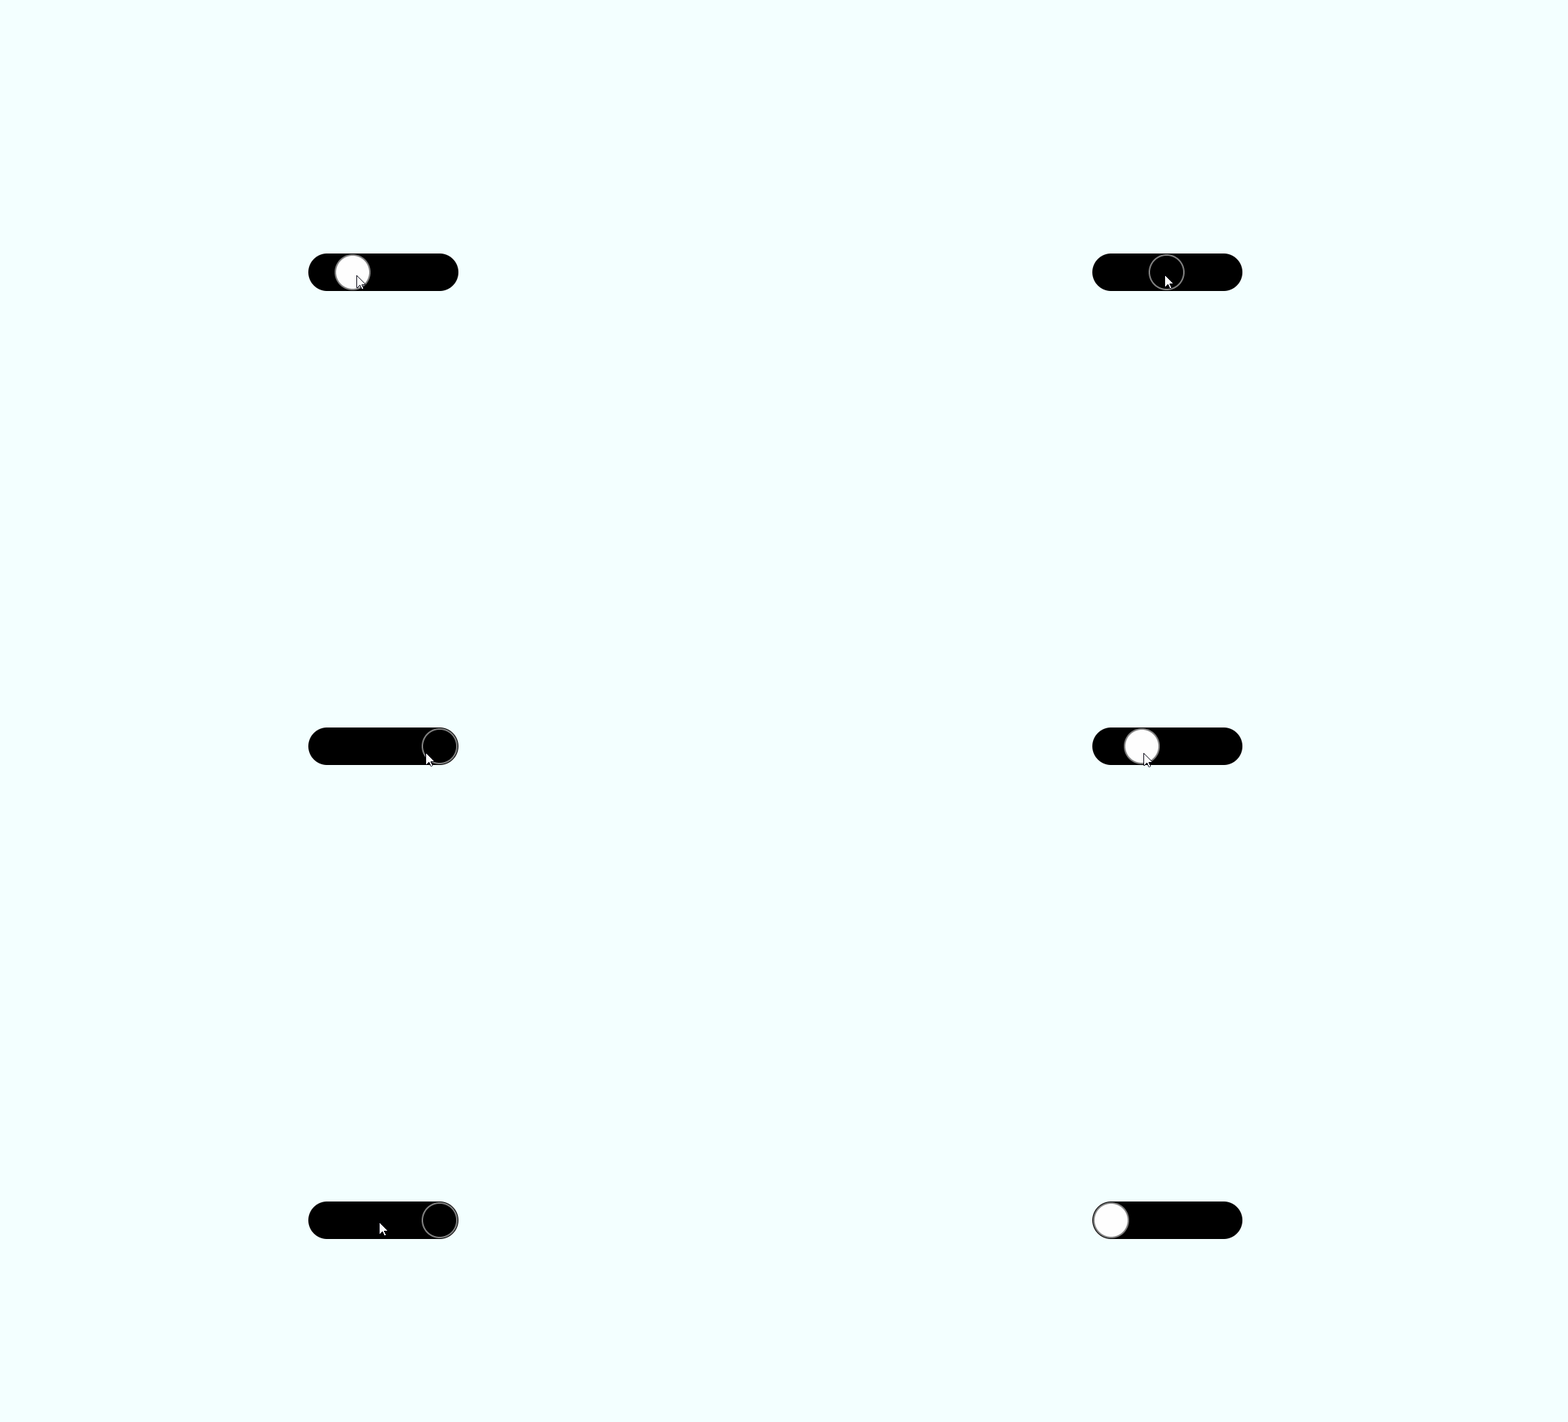
首先贴上效果图

再贴上源码
<!DOCTYPE html>
<html lang="en">
<head>
    <meta charset="UTF-8">
    <meta http-equiv="X-UA-Compatible" content="IE=edge">
    <meta name="viewport" content="width=device-width, initial-scale=1.0">
    <title>Document</title>
</head>
<body>

    <div >
        <div id="container">
            <svg >
                <circle  id="c" cx="25" cy="25" r="23"

                onmousedown="down(event)"
                onmouseup="up(event)"
                onmouseleave="up(event)"
               />
            </svg>
        </div>
         </div>
         <!-- <script>
             setTimeout(function () {
                let c =  document.querySelector('circle');
                console.log(c.parentNode.parentNode.style)

               },500)

         </script> -->

  <style>
      body{
          margin:0;
          background-color:azure;
      }
      #container{
          position:absolute;
          left: 50%; top: 50%;
          transform: translateX(-50%) translateY(-50%);
          width: 200px;
          height: 50px;
          background-color: black;
          border-radius: 50px;
      }

  </style>
  <script>
      let circle = document.getElementById('c'),
          clicked = false,

          x = 0,y = 0;

      circle.addEventListener("mousemove",function(e){
      x = e.offsetX;


      if(clicked){

          circle.setAttribute("cx",x)
      }


      })
      function t(e){
        circle.setAttribute("cx",e.offsetX);
      }
      function down(e){
       clicked = true;
      }
      function up(){
      if(clicked){
          let flag;
     if(x <= 100)
      new Promise(function(resolve,reject){
     flag = setInterval(function(){
          x -= 2;

          circle.setAttribute("cx",x);
          if(x <= 25){

              circle.setAttribute("cx",25)
              circle.setAttribute("style","fill:white; stroke:gray; stroke-width:2;")
              resolve("ok")
          }
      })
      }).then(res => {
        clearInterval(flag)
      })
      else
      new Promise(function(resolve,reject){
     flag = setInterval(function(){
          x += 2;
          circle.setAttribute("cx",x);
          if(x >= 175){
              circle.setAttribute("cx",175);
              circle.setAttribute("style","fill:black; stroke:gray; stroke-width:2;")
              resolve("ok")
          }
      })
      }).then(res => {
        clearInterval(flag)
      })
      }
      clicked = false;

      }

  </script>

</body>
</html>知识点和制作思路及步骤
1、基本布局(父相子绝,left: 50%; top: 50%; transform: translateX(-50%)
translateY(-50%);)
2、svg的circle( cx )控制移动, 对于circle的cx采用setAtrribute来进行控制。
3、**Promise.then()**用来保证结束后进行clearInterval
4、circle监听了mousemove,mouseup,mousedown事件。 当mousedown事件触发会将cliked置为true进而move事件会进行reset;
5、mouseup和mouseleave会将cliked置为false;进而无法触发move事件的reset(停止);
6、当停止状态下,判断原点在左侧还是右侧, 动画: 如果在左半部分则利用setInterval进行10ms一帧每次1.5px的移动,判断到达开始或者结束点则停止。
7、再进行样式切换。
代码本人全部原创,请尽情抄袭,代码写完没有经过整理,可能存在无效变量,仅仅代表我的思路。
以上是“原生JS如何实现滑动按钮效果”这篇文章的所有内容,感谢各位的阅读!相信大家都有了一定的了解,希望分享的内容对大家有所帮助,如果还想学习更多知识,欢迎关注亿速云行业资讯频道!
免责声明:本站发布的内容(图片、视频和文字)以原创、转载和分享为主,文章观点不代表本网站立场,如果涉及侵权请联系站长邮箱:is@yisu.com进行举报,并提供相关证据,一经查实,将立刻删除涉嫌侵权内容。