这篇文章主要介绍“Android怎么实现小球自由碰撞动画”,在日常操作中,相信很多人在Android怎么实现小球自由碰撞动画问题上存在疑惑,小编查阅了各式资料,整理出简单好用的操作方法,希望对大家解答”Android怎么实现小球自由碰撞动画”的疑惑有所帮助!接下来,请跟着小编一起来学习吧!
本文将基于Android对一个小球自由碰撞动画项目做一个简单介绍,并展示部分关键代码以及实际效果动态图
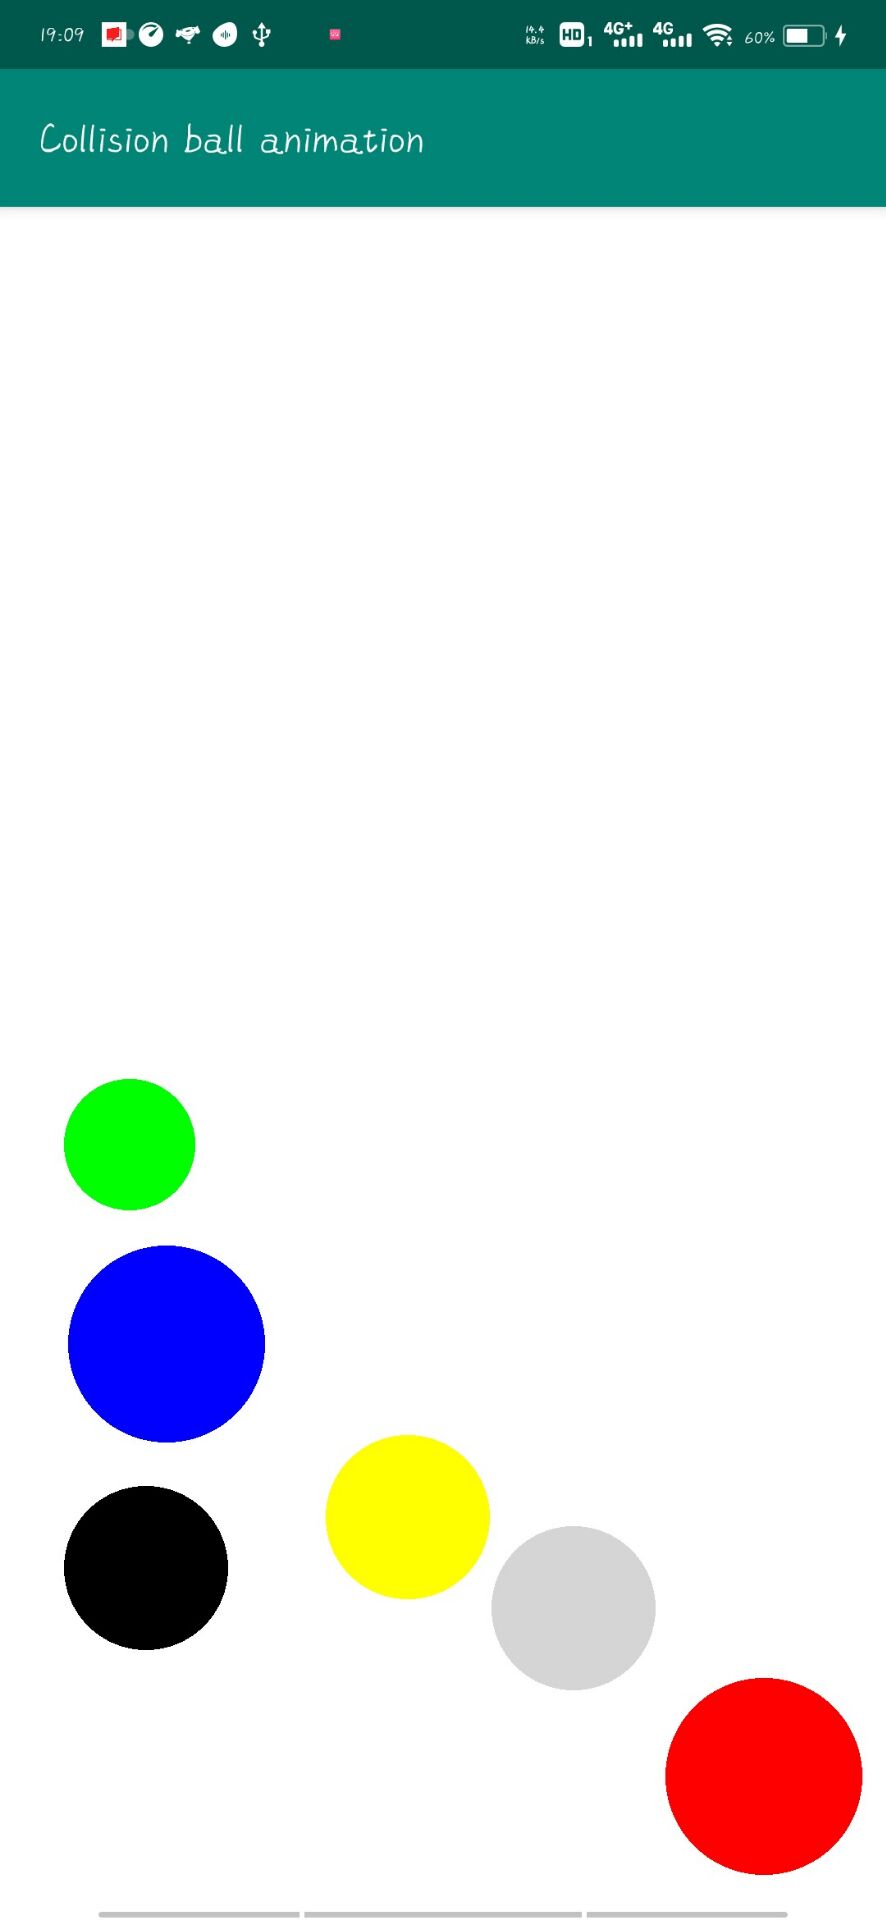
添加颜色为绿,黄,红,黑,蓝,灰的小球,并设置其大小
ballList.add(new Ball(80, Color.GREEN, 700, width / 2, height / 2));
        ballList.add(new Ball(100, Color.YELLOW, 600, width / 4 * 3, height / 4 * 3));
        ballList.add(new Ball(120, Color.RED, 800, width / 3 * 3, height / 3 * 3));
        ballList.add(new Ball(100, Color.BLACK, 800, width / 3 * 4, height / 3 * 4));
        ballList.add(new Ball(120, Color.BLUE, 800, width / 5 * 3, height / 5 * 3));
ballList.add(new Ball(100, Color.DKGRAY, 800, width / 4 * 5, height / 5 * 4));int radius; //半径大小
long speed =-1; //碰撞速度
int color; //颜色
long degree =-1; //初始方向值
int bgAlpha; //透明度
long lifeSpan =-1;关键代码
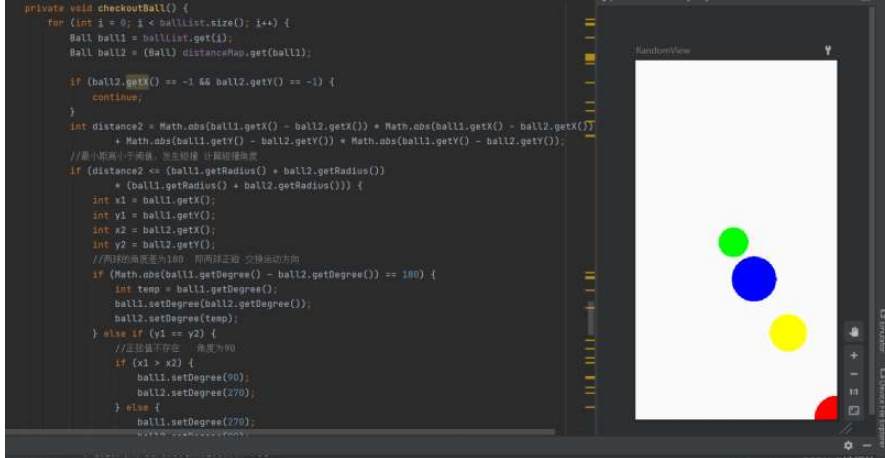
private void checkoutBall() {
        for (int i = 0; i < ballList.size(); i++) {
            Ball ball1 = ballList.get(i);
            Ball ball2 = (Ball) distanceMap.get(ball1);

            if (ball2.getX() == -1 && ball2.getY() == -1) {
                continue;
            }
            int distance2 = Math.abs(ball1.getX() - ball2.getX()) * Math.abs(ball1.getX() - ball2.getX())
                    + Math.abs(ball1.getY() - ball2.getY()) * Math.abs(ball1.getY() - ball2.getY());
            //最小距离小于阈值,发生碰撞 计算碰撞角度
            if (distance2 <= (ball1.getRadius() + ball2.getRadius())
                    * (ball1.getRadius() + ball2.getRadius())) {
                int x1 = ball1.getX();
                int y1 = ball1.getY();
                int x2 = ball2.getX();
                int y2 = ball2.getY();
                //两球的角度差为180  即两球正碰 交换运动方向
                if (Math.abs(ball1.getDegree() - ball2.getDegree()) == 180) {
                    int temp = ball1.getDegree();
                    ball1.setDegree(ball2.getDegree());
                    ball2.setDegree(temp);
                } else if (y1 == y2) {
                    //正弦值不存在   角度为90
                    if (x1 > x2) {
                        ball1.setDegree(90);
                        ball2.setDegree(270);
                    } else {
                        ball1.setDegree(270);
                        ball2.setDegree(90);
                    }
                } else {
                    //斜碰  两球圆心连接线的角度做反向运动
                    float tan = (x1 - x2) / (y1 - y2);
                    //正弦对应的角度在[-90,90]   在这取绝对值让角度值为正值
                    int angle = (int) Math.abs(Math.atan(tan));
                    if (x1 > x2 && y1 > y2) {
                        //正弦值为正数    角度为[0,90] ball1在右下   ball2在左上
                        ball1.setDegree(angle + 90);
                        ball2.setDegree(angle + 270);
                    } else if (x1 > x2 && y1 < y2) {
                        //正弦值为负数   角度为[-90,0] ball1在右上   ball2在左下
                        ball1.setDegree(90 - angle);
                        ball2.setDegree(270 - angle);
                    } else if (x1 < x2 && y1 > y2) {
                        //正弦值为负数   角度为[-90,0] ball1在右下   ball2在左上
                        ball1.setDegree(270 - angle);
                        ball2.setDegree(90 - angle);
                    } else if (x1 < x2 && y1 < y2) {
                        //正弦值为正数   角度为[0,90] ball1在左上   ball2在右下
                        ball1.setDegree(angle + 270);
                        ball2.setDegree(angle + 90);
                    } else if (x1 == x1) {
                        //正弦值为0  angle为0
                        if (y1 > y2) {
                            ball1.setDegree(180);
                            ball2.setDegree(angle);
                        } else {
                            ball1.setDegree(angle);
                            ball2.setDegree(180);
                        }
                    }
                }
                //发生碰撞 重新初始化数据
                distanceMap.put(ball2, new Ball());
                distanceMap.put(ball1, new Ball());
            }
        }
}1.collision detection

2.碰撞后重新调用onDraw(绘制小球)
private class MyThread extends Thread {
        @Override
        public void run() {
            while (true) {
                actionBall();
                postInvalidate();  //  更新界面,重新调用onDraw()
                try {
//                    sleep(1000 / 36);
                    sleep(10);
                } catch (Exception e) {
                    e.printStackTrace();
                }
            }
        }
}onDraw
 protected void onDraw(Canvas canvas) {
        super.onDraw(canvas);
        for (int i = 0; i < ballList.size(); i++) {
            Ball ball = ballList.get(i);
            Paint paint = new Paint();
            paint.setColor(ball.getColor());
            paint.setAlpha(ball.getAlpha());
            paint.setStyle(Paint.Style.FILL);
            paint.setStrokeWidth(1);
            canvas.drawCircle(ball.getX(), ball.getY(), ball.getRadius(), paint);
        }
}1.静态界面

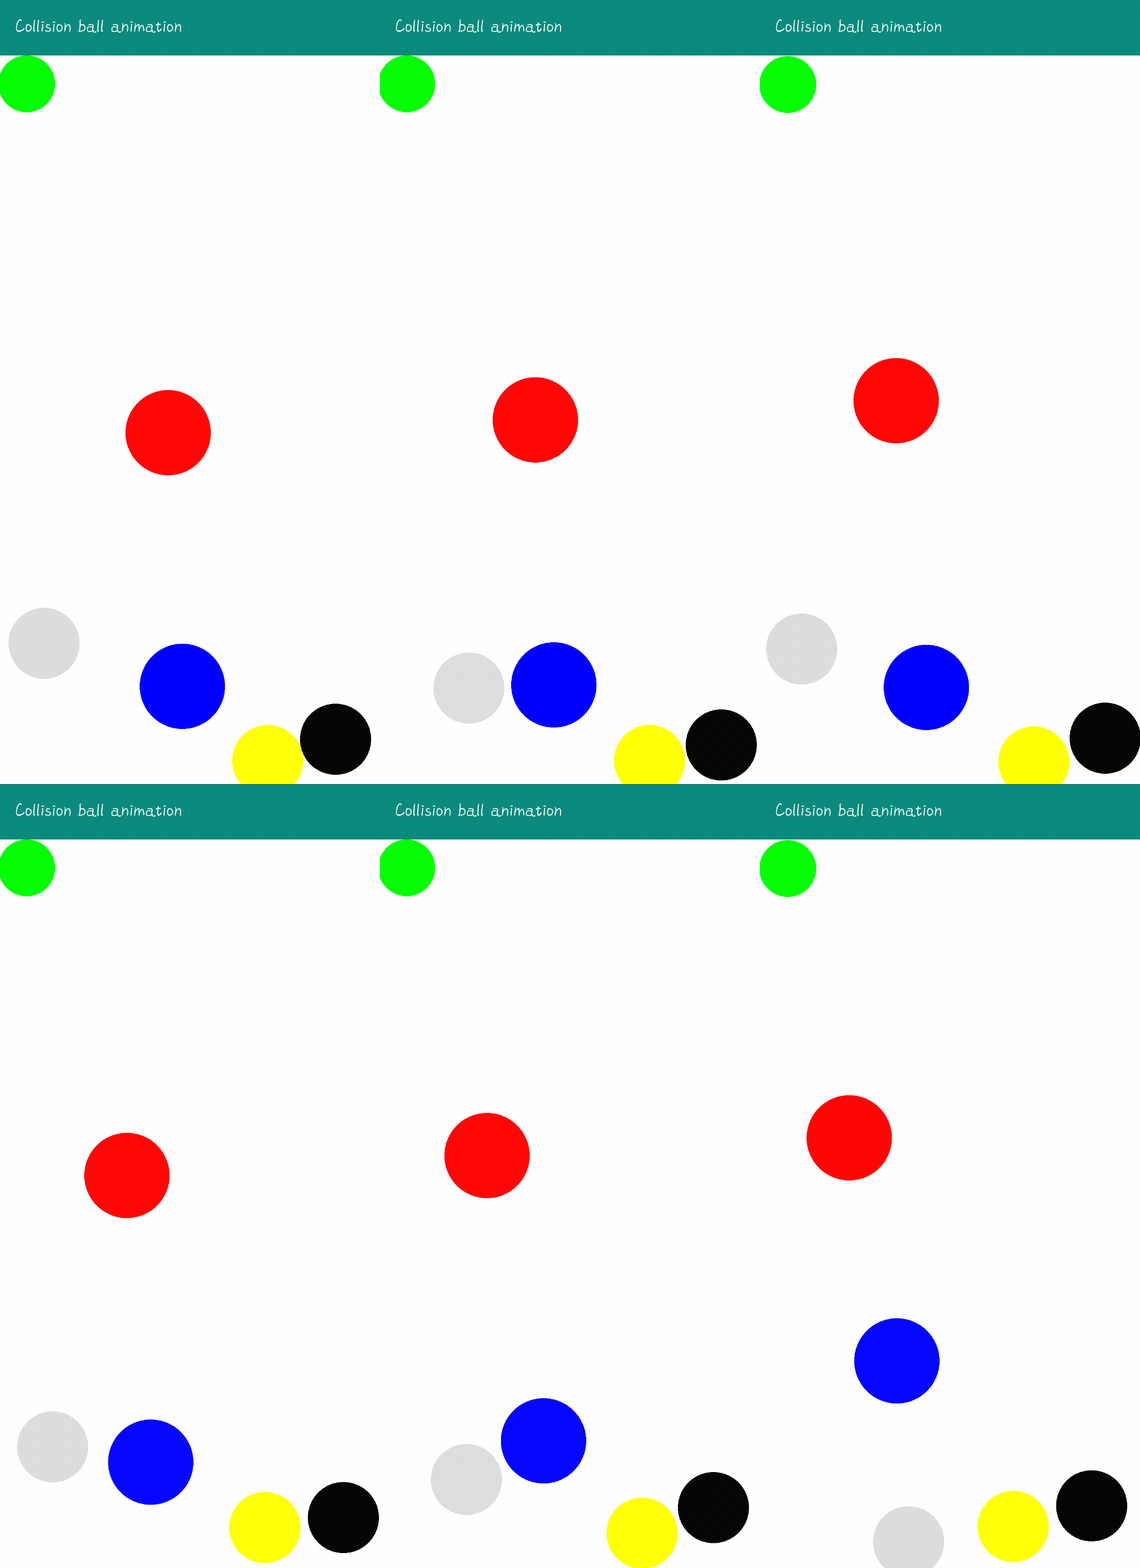
2.动态效果图

到此,关于“Android怎么实现小球自由碰撞动画”的学习就结束了,希望能够解决大家的疑惑。理论与实践的搭配能更好的帮助大家学习,快去试试吧!若想继续学习更多相关知识,请继续关注亿速云网站,小编会继续努力为大家带来更多实用的文章!
亿速云「云服务器」,即开即用、新一代英特尔至强铂金CPU、三副本存储NVMe SSD云盘,价格低至29元/月。点击查看>>
免责声明:本站发布的内容(图片、视频和文字)以原创、转载和分享为主,文章观点不代表本网站立场,如果涉及侵权请联系站长邮箱:is@yisu.com进行举报,并提供相关证据,一经查实,将立刻删除涉嫌侵权内容。