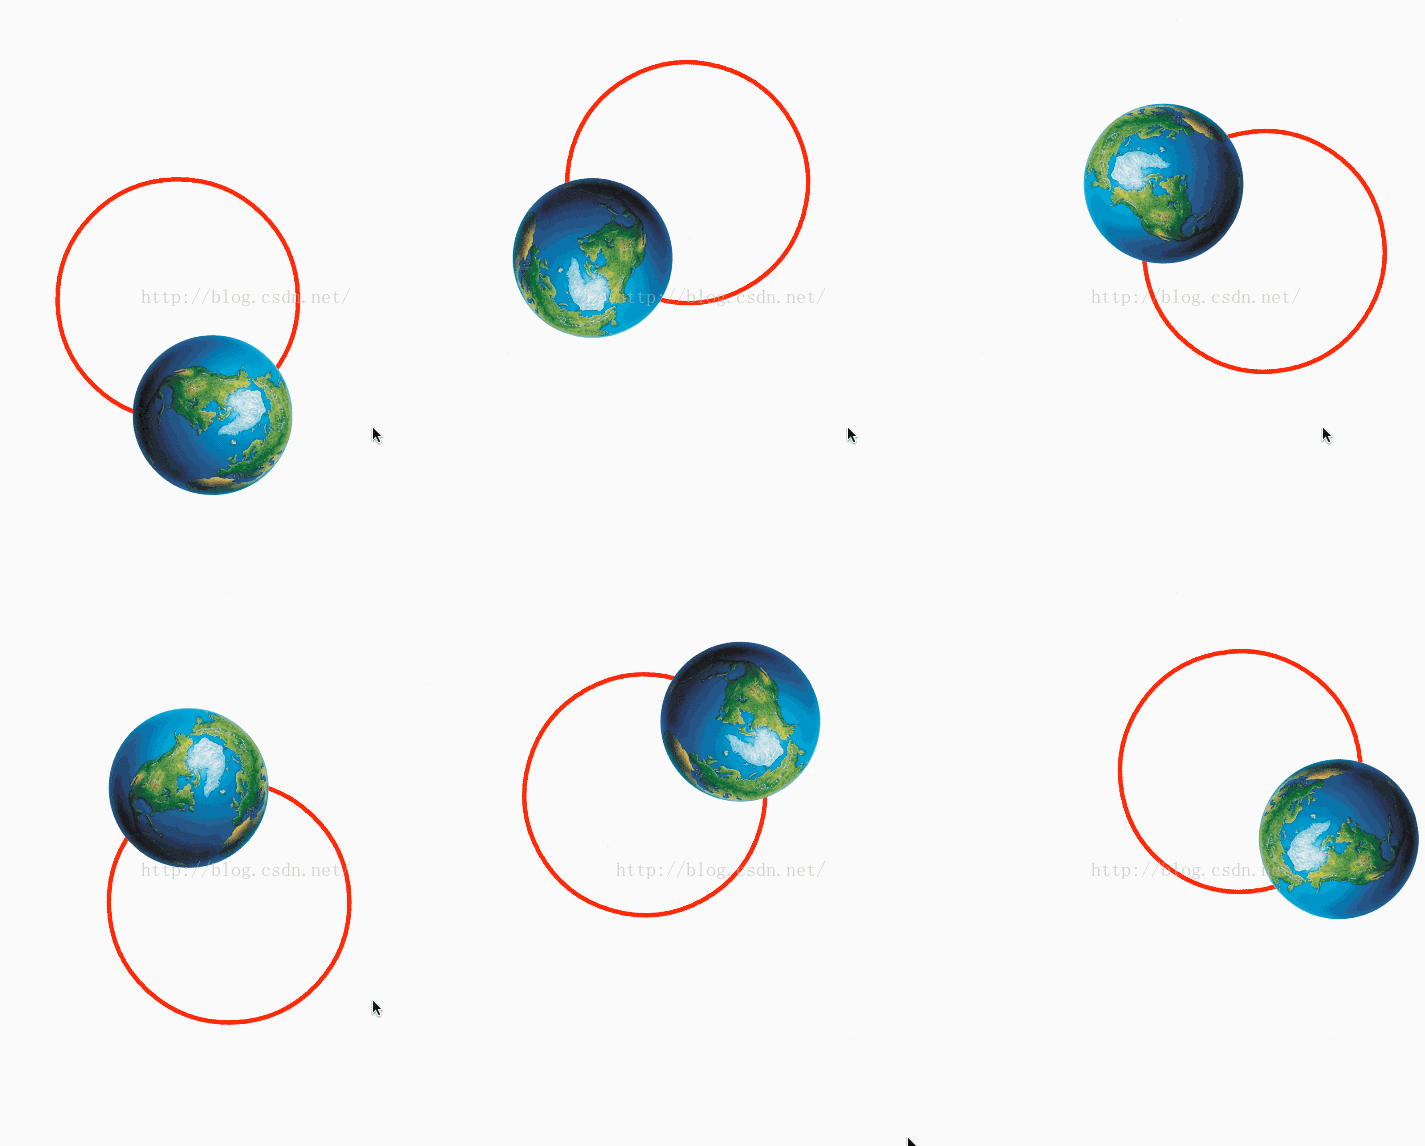
这篇文章主要为大家展示了“Android如何实现自定义View图片按Path运动和旋转效果”,内容简而易懂,条理清晰,希望能够帮助大家解决疑惑,下面让小编带领大家一起研究并学习一下“Android如何实现自定义View图片按Path运动和旋转效果”这篇文章吧。
具体内容如下

View:
/**
 * author : stone
 * email : aa86799@163.com
 * time : 16/5/29 15 29
 */
public class EarthPathView extends View {

 private Path mPath;
 private Paint mPaint;
 private Bitmap mBitmap;
 private PathMeasure mPathMeasure;
 private float[] mPoint;
 private float[] mTan;
 private float mDdegrees;

 public EarthPathView(Context context) {
  this(context, null);
 }

 public EarthPathView(Context context, AttributeSet attrs) {
  this(context, attrs, 0);
 }

 public EarthPathView(Context context, AttributeSet attrs, int defStyleAttr) {
  super(context, attrs, defStyleAttr);

  mPaint = new Paint();
  mPaint.setColor(Color.RED);
  mPaint.setStyle(Paint.Style.STROKE);
  mPaint.setStrokeWidth(10);

  InputStream is = getResources().openRawResource(R.drawable.earth);
  mBitmap = BitmapFactory.decodeStream(is);

 }

 public void setPath(Path path) {
  mPath = path;
  mPathMeasure = new PathMeasure(path, false);
  mPoint = new float[2];
  mTan = new float[2];

 }

 @Override
 protected void onDraw(Canvas canvas) {
  super.onDraw(canvas);
  if (mPath == null) {
   return;
  }


  canvas.rotate(mDdegrees+=2, getWidth()/2, getHeight()/2);
  canvas.drawPath(mPath, mPaint);

  float degress = (float) Math.toDegrees(Math.atan2(mTan[1], mTan[0]));
  Matrix matrix = new Matrix();
  matrix.postRotate(degress, mBitmap.getWidth() / 2, mBitmap.getHeight() / 2);
  matrix.postTranslate(mPoint[0] - mBitmap.getWidth() / 2, mPoint[1] - mBitmap.getHeight() / 2);
  canvas.drawBitmap(mBitmap, matrix, null);


 }

 @TargetApi(Build.VERSION_CODES.HONEYCOMB)
 public void startAnim() {
  ValueAnimator animator = ValueAnimator.ofFloat(0, mPathMeasure.getLength());
  animator.setDuration(2000);
  animator.setInterpolator(new LinearInterpolator()); //插值器
  animator.setRepeatCount(ValueAnimator.INFINITE);
  animator.addUpdateListener(new ValueAnimator.AnimatorUpdateListener() {
   @Override
   public void onAnimationUpdate(ValueAnimator animation) {
    float distance = (float) animation.getAnimatedValue();
    mPathMeasure.getPosTan(distance, mPoint, mTan);
    invalidate();
   }
  });
  animator.start();
 }
}
Activity
package com.stone.canvaspath;

import android.app.Activity;
import android.graphics.Path;
import android.os.Bundle;

import com.stone.canvaspath.earth.EarthPathView;

/**
 * author : stone
 * email : aa86799@163.com
 * time : 16/5/29 15 27
 */
public class EarthActivity extends Activity {

 private EarthPathView mPathView;
 private Path mPath;

 @Override
 protected void onCreate(Bundle savedInstanceState) {
  super.onCreate(savedInstanceState);

  int w = getResources().getDisplayMetrics().widthPixels;
  int h = getResources().getDisplayMetrics().heightPixels;

  mPathView = new EarthPathView(this);

  setContentView(mPathView);

  int min = Math.min(w, h);
  buildPath(w / 2 + 100, h / 2 + 100, min / 4);

  mPathView.setPath(mPath);

  mPathView.startAnim();
 }

 private void buildPath(float x, float y, float radius) {
  mPath = new Path();
  mPath.addCircle(x, y, radius, Path.Direction.CW);
 }

}
以上是“Android如何实现自定义View图片按Path运动和旋转效果”这篇文章的所有内容,感谢各位的阅读!希望分享的内容对大家有帮助,更多相关知识,欢迎关注亿速云行业资讯频道!
免责声明:本站发布的内容(图片、视频和文字)以原创、转载和分享为主,文章观点不代表本网站立场,如果涉及侵权请联系站长邮箱:is@yisu.com进行举报,并提供相关证据,一经查实,将立刻删除涉嫌侵权内容。