这篇文章主要介绍“element-ui图片上传组件查看和限制的方法是什么”,在日常操作中,相信很多人在element-ui图片上传组件查看和限制的方法是什么问题上存在疑惑,小编查阅了各式资料,整理出简单好用的操作方法,希望对大家解答”element-ui图片上传组件查看和限制的方法是什么”的疑惑有所帮助!接下来,请跟着小编一起来学习吧!
element-ui经常遇到图片上传,然后编辑查看限制上传个数和上传提示
1、limit上传个数限制配合on-exceed属性使用
2、上传之前提示图片大小限制属性before-upload
3、上传带参数data
4、上传成功on-success和移除on-remove
5、file-list属性展示的列表数组,查看也是设置这个
html的代码
<el-upload
    :limit="1"
    :on-exceed="config.exceed" ref="upload" class="upload-demo"
    :before-upload="config.onBeforeUpload"
    :on-success="config.handleAvatarSuccess"
    :data="config.dataParam"
    :action="config.actionUrl"
     :on-remove="config.handleRemove"
      :file-list="config.fileList2" //保存当前图片对象数组
      :multiple="false"
      :show-file-list="true"
      list-type="picture">
            <el-button size="small" type="primary">点击上传</el-button>
</el-upload>配置信息js 代码
config: {
        dataParam: {
          bizType: 3,
          useType: 2
        },
        actionUrl: 'api/base-fdfs/fdfs/public/upload',
        exceed:()=>{
            this.$alert('请删除后再上传', '异常提示', {
              confirmButtonText: '确定',
              type: 'warning'
            });
        },
        handleRemove: (file,fileList) => {
          this.form.picture=''
          this.config.fileList2=[] //删除此数组内的图片对象
        },
        onBeforeUpload: (file) => {
          const isIMAGE = ((file.type === 'image/jpeg') || (file.type === 'image/png') || (file.type === 'image/bmp'));
          if (!isIMAGE) {
            this.$alert('上传文件只能是图片格式(jpeg/png/bmp)', '异常提示', {
              confirmButtonText: '确定',
              type: 'warning'
            });
            return false
          }
          if(file.size/1024/1024>5){
            console.log(file.size)
            this.$alert('图片不能大于5M', '异常提示', {
              confirmButtonText: '确定',
              type: 'warning'
            });
            return false
          }
          return true
        },
        handleAvatarSuccess: (res, file) => {
          this.form.repairImages = file.response.data
        },
        fileList2: [],
},查看的时候还需给file-list数组设置,展示图片
    let obj={}
    this.config.fileList2=[]
    this.$set(obj,'name','file');
    this.$set(obj,'url',response.data.picture);
this.config.fileList2.push(obj)清除文件列表,上传组件变初始状态
this.$refs.upload.clearFiles() //清除图片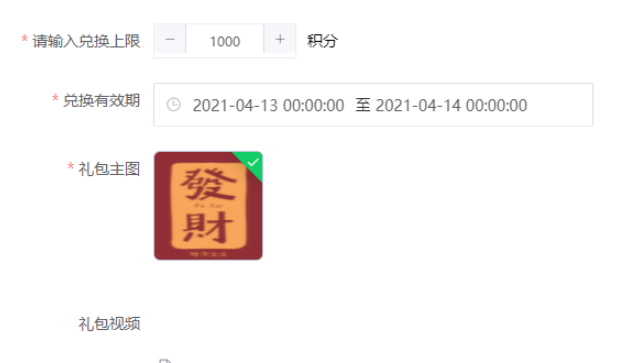
在做图片上传组件的时候 有时候需求回要求只能上传一张图片
bug:element-ui在上传完一张图片后上传按钮还会存在 虽然可以用自带的limt属性加以限制 但是上传按钮依然会存在 且存入数组的值依然会增加
可以判断上传后数组的length来控制图片上传的样式 让其上传一张后隐藏上传按钮 达到控制图片上传的数量需求
<el-form-item label="礼包主图" prop="goodsimage" :required="true">
        <el-upload
          :class="{ disabled: uploadDisabled }"   //这里动态控制样式
          :limit="1"
          ref="picUpload"
          class="pic-div"
          action="'xxxxxxx'"
          :with-credentials="true"
          list-type="picture-card"
          :on-remove="removePic"
          :on-change="handleEditChange"
          :file-list="goodsimage"
          :on-exceed="beyond"
        >
          <div class="el-upload file-upload-container" @click.stop="popFileUpload('0')">
            <i class="el-icon-plus"></i>
          </div>
        </el-upload>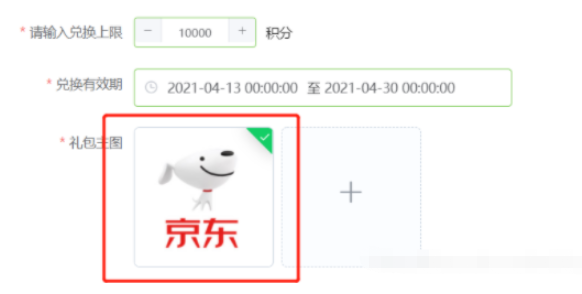
</el-form-item> // 隐藏图片上传按钮
uploadDisabled() {
return this.goodsimage.length > 0 //判断图片上传的数量动态控制按钮隐藏与显示
},<style>
.disabled .el-upload--picture-card {
display: none;
}
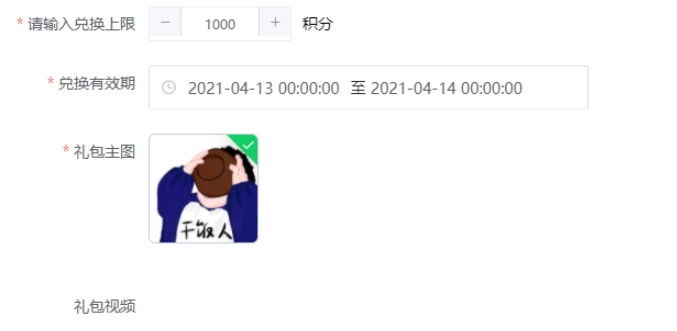
</style>最终效果
礼包视频也是如此要求仅限上传1个视频 由于是button按钮 俺就直接使用v-if判断视频的length来控制视频上传按钮的显示与隐藏
<el-button ***v-if="this.goodsvideo.length < 1"*** class="file-upload-btn-container" @click.stop="popFileUpload('1')" size="small" type="primary">点击上传</el-button >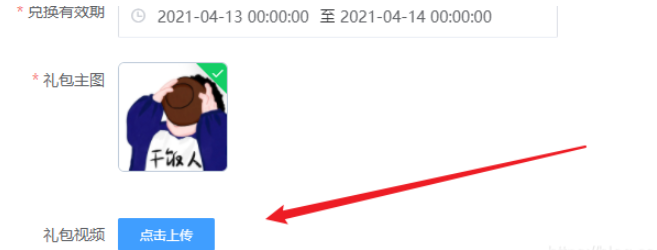
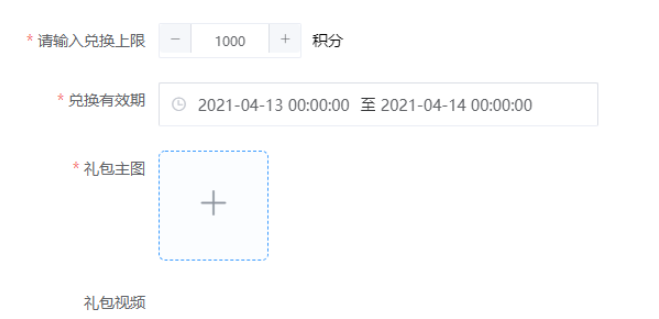
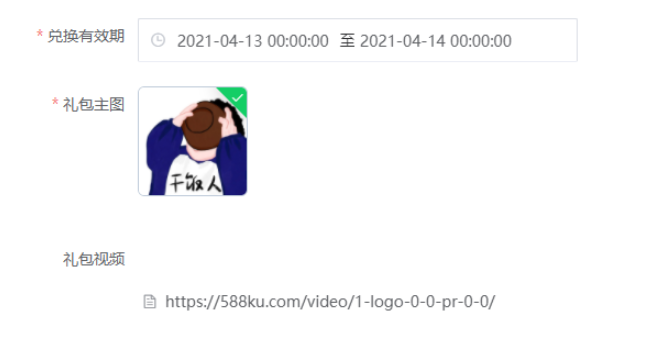
上传视频后按钮隐藏
到此,关于“element-ui图片上传组件查看和限制的方法是什么”的学习就结束了,希望能够解决大家的疑惑。理论与实践的搭配能更好的帮助大家学习,快去试试吧!若想继续学习更多相关知识,请继续关注亿速云网站,小编会继续努力为大家带来更多实用的文章!
亿速云「云服务器」,即开即用、新一代英特尔至强铂金CPU、三副本存储NVMe SSD云盘,价格低至29元/月。点击查看>>
免责声明:本站发布的内容(图片、视频和文字)以原创、转载和分享为主,文章观点不代表本网站立场,如果涉及侵权请联系站长邮箱:is@yisu.com进行举报,并提供相关证据,一经查实,将立刻删除涉嫌侵权内容。
原文链接:https://blog.csdn.net/qq_32615575/article/details/96482239


 计算
计算 安全
安全 数据库
数据库 网络和加速
网络和加速 企业服务
企业服务


