本篇内容主要讲解“vue2怎么实现传送门效果”,感兴趣的朋友不妨来看看。本文介绍的方法操作简单快捷,实用性强。下面就让小编来带大家学习“vue2怎么实现传送门效果”吧!

Teleport 组件:
<script>
export default {
  props: {
    to: {
      type: String,
      required: true
    },
    disabled: {
      type: Boolean,
      required: true
    }
  },
  inject: ['parent'],
  //   inject 选项应该是:
  // 一个字符串数组,或 一个对象,对象的 key 是本地的绑定名,value 是:
  //     在可用的注入内容中搜索用的 key (字符串或 Symbol),或
  //     一个对象,该对象的:
  //          from property 是在可用的注入内容中搜索用的 key (字符串或 Symbol)
  //          default property 是降级情况下使用的 value

  // Vue 选项中的 render 函数若存在,则 Vue 构造函数不会从 template 选项或通过 el 选项指定的挂载元素中提取出的 HTML 模板编译渲染函数。
  render() {
    return <div class="Teleport">{this.$scopedSlots.default()}</div>
    // $scopedSlots用来访问作用域插槽。对于包括 默认 slot 在内的每一个插槽,该对象都包含一个返回相应 VNode 的函数。
  },
  watch: {
    disabled() {
      if (!this.disabled) {
        // this指向组件的实例。$el指向当前组件的DOM元素。
        document.querySelector(this.to).appendChild(this.$el);
      } else {
        this.parent.toSourceDom(this.$el);
      }
    }
  },
  mounted() {
    if(!this.disabled) document.querySelector(this.to).appendChild(this.$el)
  },
  methods: {},
};
</script>
<style lang="scss" scoped>
.Teleport {
  width: 100%;
  height: 100%;
}
</style>index.vue 中引用 Teleport.vue 组件
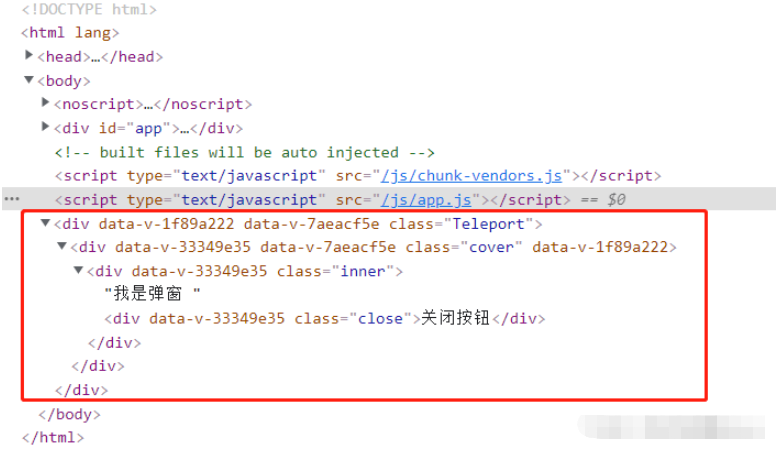
<template>
  <div>
    <Teleport v-if="isShow" :disabled="isTeleport" to="body">
      <div class="cover">
        <div class="inner">
          我是弹窗
          <div class="close" @click="closed">关闭按钮</div>
        </div>
      </div>
    </Teleport>
    <button @click="show">显示</button>
  </div>
</template>
<script>
import Teleport from "./Teleport.vue";
import model from "./model.vue";
export default {
  data() {
    return {
      isShow: false, // 控制 Teleport 组件挂载时机
      isTeleport: false, // 控制什么时候被传送
    };
  },
  provide() {
    return {
      parent: this,
    };
  },
  components: { Teleport, model },
  methods: {
    show() {
      this.isShow = true;
    },
    closeModel() {
      this.isShow = false;
    },
    toSourceDom(dom) {
      document.getElementById("sourceBox").appendChild(dom);
    },
  },
};
</script>
<style lang="scss" scoped>
.cover {
  position: fixed;
  top: 0;
  left: 0;
  right: 0;
  bottom: 0;
  background: rgba($color: #000000, $alpha: 0.3);
  .inner {
    width: 500px;
    height: 300px;
    border-radius: 10px;
    background: #fff;
    color: red;
    font-weight: 600;
    position: absolute;
    left: 40%;
    top: 30%;
    text-align: center;
    font-size: 30px;
    .close{
      position: absolute;
      bottom: 0;
      right: 0;
      background: skyblue;
      padding: 10px;
      cursor: pointer;
      border-radius: 10px 0 0 0;
    }
  }
}
</style>到此,相信大家对“vue2怎么实现传送门效果”有了更深的了解,不妨来实际操作一番吧!这里是亿速云网站,更多相关内容可以进入相关频道进行查询,关注我们,继续学习!
亿速云「云服务器」,即开即用、新一代英特尔至强铂金CPU、三副本存储NVMe SSD云盘,价格低至29元/月。点击查看>>
免责声明:本站发布的内容(图片、视频和文字)以原创、转载和分享为主,文章观点不代表本网站立场,如果涉及侵权请联系站长邮箱:is@yisu.com进行举报,并提供相关证据,一经查实,将立刻删除涉嫌侵权内容。
原文链接:https://blog.csdn.net/yinge0508/article/details/125760442


 计算
计算 安全
安全 数据库
数据库 网络和加速
网络和加速 企业服务
企业服务


