这篇文章主要讲解了jQuery实现轮播图的方法,内容清晰明了,对此有兴趣的小伙伴可以学习一下,相信大家阅读完之后会有帮助。
<!DOCTYPE html>
<html>
<head>
<meta charset="utf-8" name="viewport" content="width=device-width,initial-scale=1.0, minimum-scale=1.0, maximum-scale=1.0, user-scalable=no">
<title>JQuery轮播图</title>
<style>
*{
padding:0;
margin:0;
}
.container{
width:600px;
height:400px;
overflow: hidden;
position:relative;
margin:0 auto;
}
.list{
width:3000px;
height:400px;
position:absolute;
}
.list>img{
float:left;
width:600px;
height:400px;
}
.pointer{
position:absolute;
width:100px;
bottom:20px;
left:250px;
}
.pointer>span{
cursor:pointer;
display:inline-block;
width:10px;
height:10px;
background: #7b7d80;
border-radius:50%;
border:1px solid #fff;
}
.pointer .on{
background: #28a4c9;
}
.arrow{
position:absolute;
text-decoration:none;
width:40px;
height:40px;
background: #727d8f;
color:#fff;
font-weight: bold;
line-height:40px;
text-align:center;
top:180px;
display:none;
}
.arrow:hover{
background: #0f0f0f;
}
.left{
left:0;
}
.right{
right:0;
}
.container:hover .arrow{
display:block;
}
</style>
</head>
<body>
<div class="container">
<div class="list" >
<!--<img src="../static/image/photo1.jpg" alt="5"/>-->
<img src="../static/image/banner.jpg" alt="1"/>
<img src="../static/image/slide1.jpg" alt="2"/>
<img src="../static/image/slide1.jpg" alt="3"/>
<img src="../static/image/slide1.jpg" alt="4"/>
<img src="../static/image/photo1.jpg" alt="5"/>
<!--<img src="../static/image/banner.jpg" alt="1"/>-->
</div>
<div class="pointer">
<span index="1" class="on"></span>
<span index="2"></span>
<span index="3"></span>
<span index="4"></span>
<span index="5"></span>
</div>
<a href="#" rel="external nofollow" rel="external nofollow" class="arrow left">></a>
<a href="#" rel="external nofollow" rel="external nofollow" class="arrow right"><</a>
</div>
<script src="../static/js/jquery-3.2.1.min.js"></script>
<script>
var imgCount = 5;
var index = 1;
var intervalId;
var buttonSpan = $('.pointer')[0].children;//htmlCollection 集合
//自动轮播功能 使用定时器
autoNextPage();
function autoNextPage(){
intervalId = setInterval(function(){
nextPage(true);
},3000);
}
//当鼠标移入 停止轮播
$('.container').mouseover(function(){
console.log('hah');
clearInterval(intervalId);
});
// 当鼠标移出,开始轮播
$('.container').mouseout(function(){
autoNextPage();
});
//点击下一页 上一页的功能
$('.left').click(function(){
nextPage(true);
});
$('.right').click(function(){
nextPage(false);
});
//小圆点的相应功能 事件委托
clickButtons();
function clickButtons(){
var length = buttonSpan.length;
for(var i=0;i<length;i++){
buttonSpan[i].onclick = function(){
$(buttonSpan[index-1]).removeClass('on');
if($(this).attr('index')==1){
index = 5;
}else{
index = $(this).attr('index')-1;
}
nextPage(true);
};
}
}
function nextPage(next){
var targetLeft = 0;
//当前的圆点去掉on样式
$(buttonSpan[index-1]).removeClass('on');
if(next){//往后走
if(index == 5){//到最后一张,直接跳到第一张
targetLeft = 0;
index = 1;
}else{
index++;
targetLeft = -600*(index-1);
}
}else{//往前走
if(index == 1){//在第一张,直接跳到第五张
index = 5;
targetLeft = -600*(imgCount-1);
}else{
index--;
targetLeft = -600*(index-1);
}
}
$('.list').animate({left:targetLeft+'px'});
//更新后的圆点加上样式
$(buttonSpan[index-1]).addClass('on');
}
</script>
</body>
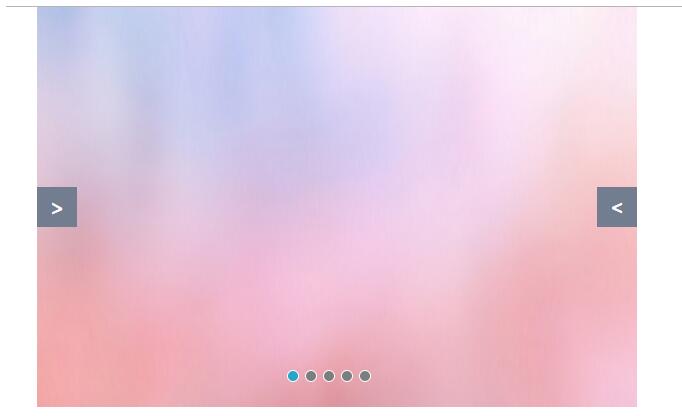
</html>效果图:
原理:
页面结构方面:
将轮播图容器设置成相对定位,宽度设置成图片的宽度;容器中分为四部分:轮播的图片;点击的小按钮;前一张;后一张
样式方面:
功能方面:
自动轮播为一个定时循环机制setInteval,鼠标移入,循环停止,移除循环继续;
精彩专题分享:jQuery图片轮播 JavaScript图片轮播 Bootstrap图片轮播
看完上述内容,是不是对jQuery实现轮播图的方法有进一步的了解,如果还想学习更多内容,欢迎关注亿速云行业资讯频道。
免责声明:本站发布的内容(图片、视频和文字)以原创、转载和分享为主,文章观点不代表本网站立场,如果涉及侵权请联系站长邮箱:is@yisu.com进行举报,并提供相关证据,一经查实,将立刻删除涉嫌侵权内容。


 计算
计算 安全
安全 数据库
数据库 网络和加速
网络和加速 企业服务
企业服务


