这篇文章给大家分享的是有关JavaScript如何实现可拖拽的进度条的内容。小编觉得挺实用的,因此分享给大家做个参考,一起跟随小编过来看看吧。
<html>
<head>
  <meta http-equiv="X-UA-Compatible" content="IE=edge">
  <meta name="viewport" content="width=device-width, initial-scale=1">
  <meta charset="UTF-8">
<title>可拖拽进度条</title>
<style>
body{
 margin:50px; ;
}

.box {
  width:49%;
  hegiht:3rem;
  line-height:3rem;
  float:left;
}
.boxDesc {
  width:50%;
  hegiht:3rem;
  line-height:0.3rem;
  float:left;
}

.scale span{
 background:url(scroll.gif) no-repeat;
 width:8px;
 height:16px;
 position:absolute;
 left:-2px;
 top:-5px;
 cursor:pointer;
}
.scale{ background-repeat: repeat-x; background-position: 0 100%; background-color: #E4E4E4; border-left: 1px #83BBD9 solid;  width: 100%; height: 10px; position: relative; font-size: 0px; border-radius: 3px; }
.scale div{ background-repeat: repeat-x; background-color: green;  position: absolute; height: 10px; left: 0; bottom: 0; }
li{
 font-size:12px;
 line-height:50px;
 position:relative;
 height:50px;
 list-style:none;
}
</style>
</head>
<body>
<ul style='width:100%;margin-top:15rem;'>
 <li>
    <div class = 'box'>
  <div class="scale" id="bar">
   <div></div>
   <span id="btn"></span>
  </div>
    </div>
  <div class='boxDesc'>
  <span id="title">0</span>
  </div>
 </li>

</ul>
</body>
<script>
scale=function (btn,bar,title){
 this.btn=document.getElementById(btn);
 this.bar=document.getElementById(bar);
 this.title=document.getElementById(title);
 this.step=this.bar.getElementsByTagName("DIV")[0];
 this.init();
};
scale.prototype={
 init:function (){
  var f=this,g=document,b=window,m=Math;
  f.btn.onmousedown=function (e){
   var x=(e||b.event).clientX;
   var l=this.offsetLeft;
   var max=f.bar.offsetWidth-this.offsetWidth;
   g.onmousemove=function (e){
    var thisX=(e||b.event).clientX;
    var to=m.min(max,m.max(-2,l+(thisX-x)));
    f.btn.style.left=to+'px';
    f.ondrag(m.round(m.max(0,to/max)*100),to);
    b.getSelection ? b.getSelection().removeAllRanges() : g.selection.empty();
   };
   g.onmouseup=new Function('this.οnmοusemοve=null');
  };
 },
 ondrag:function (pos,x){
  this.step.style.width=Math.max(0,x)+'px';
  this.title.innerHTML=pos+'%';
 }
}
new scale('btn','bar','title');
</script>
</html>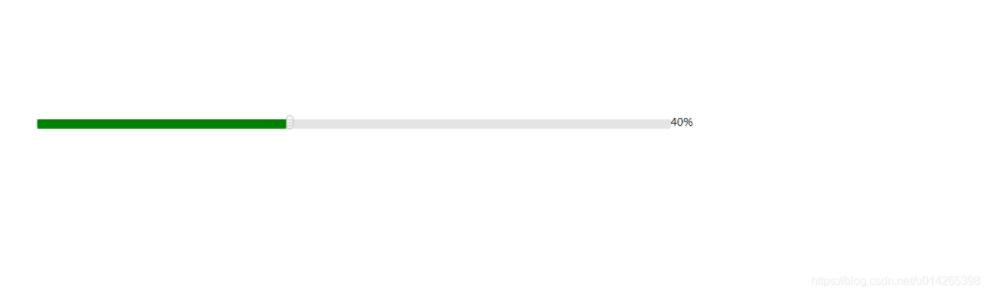
1、能够嵌入动态文本于HTML页面。2、对浏览器事件做出响应。3、读写HTML元素。4、在数据被提交到服务器之前验证数据。5、检测访客的浏览器信息。6、控制cookies,包括创建和修改等。7、基于Node.js技术进行服务器端编程。
感谢各位的阅读!关于“JavaScript如何实现可拖拽的进度条”这篇文章就分享到这里了,希望以上内容可以对大家有一定的帮助,让大家可以学到更多知识,如果觉得文章不错,可以把它分享出去让更多的人看到吧!
亿速云「云服务器」,即开即用、新一代英特尔至强铂金CPU、三副本存储NVMe SSD云盘,价格低至29元/月。点击查看>>
免责声明:本站发布的内容(图片、视频和文字)以原创、转载和分享为主,文章观点不代表本网站立场,如果涉及侵权请联系站长邮箱:is@yisu.com进行举报,并提供相关证据,一经查实,将立刻删除涉嫌侵权内容。


 计算
计算 安全
安全 数据库
数据库 网络和加速
网络和加速 企业服务
企业服务


