这篇文章将为大家详细讲解有关如何使用clusterProfiler包利用eggnog-mapper软件注释结果做GO和KEGG富集分析,小编觉得挺实用的,因此分享给大家做个参考,希望大家阅读完这篇文章后可以有所收获。
conda activate emapper
python emapper.py -i orgdb_example/GCF_000002945.1_ASM294v2_protein.faa --output orgdb_example/out -m diamond --cpu 8
将注释结果下载到本地,手动删除前三行带井号的行,第四行开头的井号去掉,文件末尾带井号的行去掉。
library(stringr)
library(dplyr)
egg<-read.table("out.emapper.annotations",sep="\t",header=T)
egg[egg==""]<-NA
gterms <- egg %>%
  select(query_name, GOs) %>%
  na.omit()
gene2go <- data.frame(term = character(),
                      gene = character())
for (row in 1:nrow(gterms)) {
  gene_terms <- str_split(gterms[row,"GOs"], ",", simplify = FALSE)[[1]]
  gene_id <- gterms[row, "query_name"][[1]]
  tmp <- data_frame(gene = rep(gene_id, length(gene_terms)),
                    term = gene_terms)
  gene2go <- rbind(gene2go, tmp)
}
head(gene2go)

> head(gene2go)
# A tibble: 6 x 2
  gene           term
  <chr>          <chr>
1 NP_001018179.1 GO:0003674
2 NP_001018179.1 GO:0003824
3 NP_001018179.1 GO:0004418
4 NP_001018179.1 GO:0005575
5 NP_001018179.1 GO:0005622
6 NP_001018179.1 GO:0005623
获得一个两列的数据框,有了这个数据框就可以做GO富集分析了
在 https://www.jianshu.com/p/9c9e97167377 这篇文章里的评论区有人提到上面用到的for循环代码效率比较低,他提供的代码是
gene_ids <- egg$query_name
eggnog_lines_with_go <- egg$GOs!= ""
eggnog_lines_with_go
eggnog_annoations_go <- str_split(egg[eggnog_lines_with_go,]$GOs, ",")
gene_to_go <- data.frame(gene = rep(gene_ids[eggnog_lines_with_go],
                                   times = sapply(eggnog_annoations_go, length)),
                         term = unlist(eggnog_annoations_go))
head(gene_to_go)

> head(gene_to_go)
            gene       term
1 NP_001018179.1 GO:0003674
2 NP_001018179.1 GO:0003824
3 NP_001018179.1 GO:0004418
4 NP_001018179.1 GO:0005575
5 NP_001018179.1 GO:0005622
6 NP_001018179.1 GO:0005623
用这个代码替换for循环,确实快好多。
首先准备一个基因列表,我这里选取gene2go中的前40个基因作为测试 还需要为TERM2GENE=参数准备一个数据框,第一列是term,第二列是基因ID,只需要把gene2go的列调换顺序就可以了。
library(clusterProfiler)
gene_list<-gene2go$gene[1:40]
term2gene<-gene2go[,c(2,1)]
df<-enricher(gene=gene_list,
             pvalueCutoff = 0.05,
             pAdjustMethod = "BH",
             TERM2GENE = term2gene)
head(df)
barplot(df)
dotplot(df)
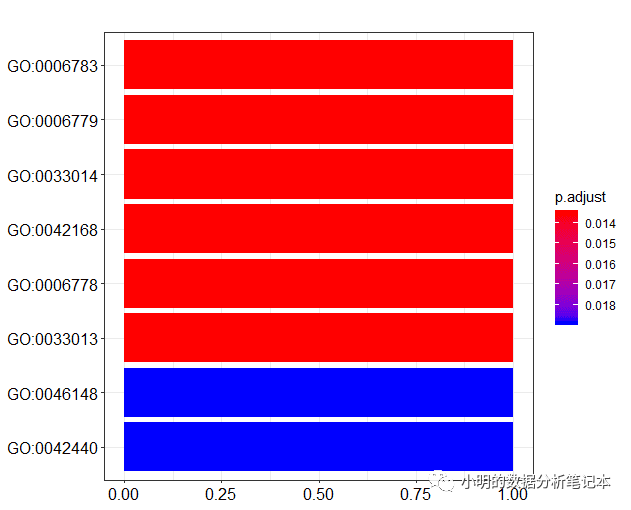
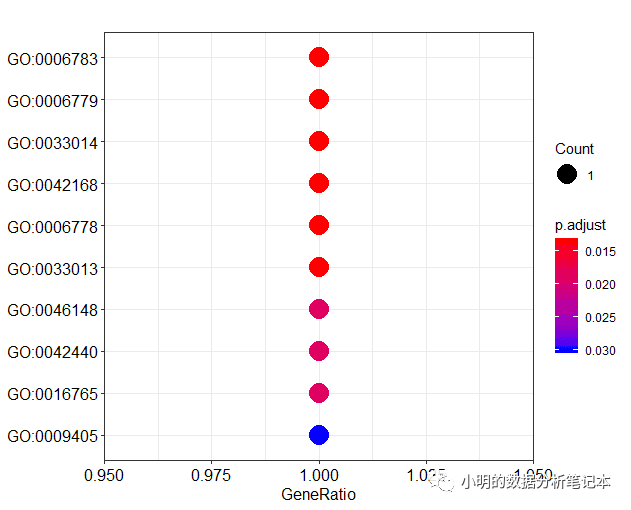
y轴的标签通常是GO term (就是文字的那个)而不是GO id。clusterProfiler包同样提供了函数对ID和term互相转换。go2term()go2ont()
df<-as.data.frame(df)
head(df)
dim(df)
df1<-go2term(df$ID)
dim(df1)
head(df1)
df$term<-df1$Term
df2<-go2ont(df$ID)
dim(df2)
head(df2)
df$Ont<-df2$Ontology
head(df)
df3<-df%>%
  select(c("term","Ont","pvalue"))
head(df3)
library(ggplot2)
ggplot(df3,aes(x=term,y=-log10(pvalue)))+
  geom_col(aes(fill=Ont))+
  coord_flip()+labs(x="")+
  theme_bw()
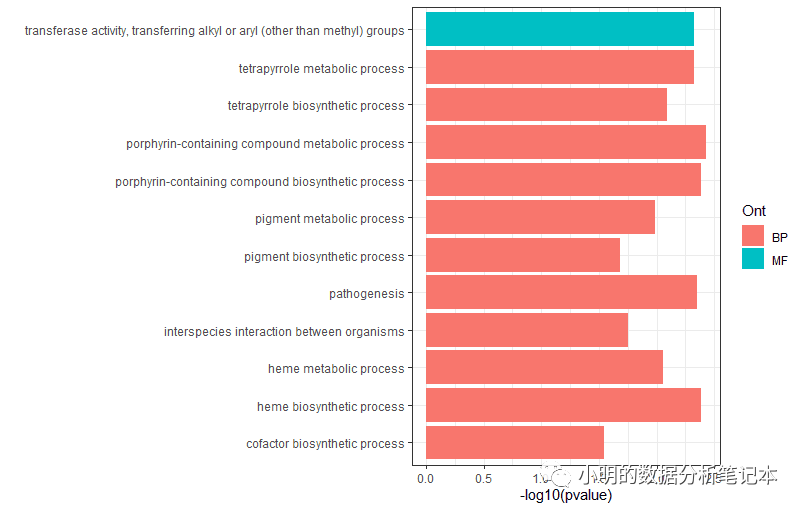
这里遇到一个问题:数据框如何分组排序?目前想到一个比较麻烦的办法是将每组数据弄成一个单独的数据框,排好序后再合并。
library(stringr)
library(dplyr)
library(clusterProfiler)
egg<-read.table("out.emapper.annotations",sep="\t",header=T)
egg[egg==""]<-NA
gene2ko <- egg %>%
  dplyr::select(GID = query_name, Ko = KEGG_ko) %>%
  na.omit()
head(gene2ko)
head(gene2go)
gene2ko[,2]<-gsub("ko:","",gene2ko[,2])
head(gene2ko)
#kegg_info.RData这个文件里有pathway2name这个对象
load(file = "kegg_info.RData")
pathway2gene <- gene2ko %>% left_join(ko2pathway, by = "Ko") %>%
  dplyr::select(pathway=Pathway,gene=GID) %>%
  na.omit()
head(pathway2gene)
pathway2name
df<-enricher(gene=gene_list,
             pvalueCutoff = 0.05,
             pAdjustMethod = "BH",
             TERM2GENE = pathway2gene,
             TERM2NAME = pathway2name)
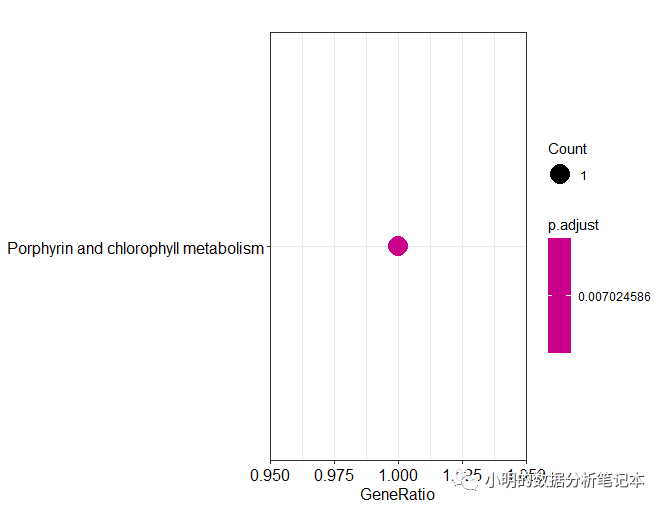
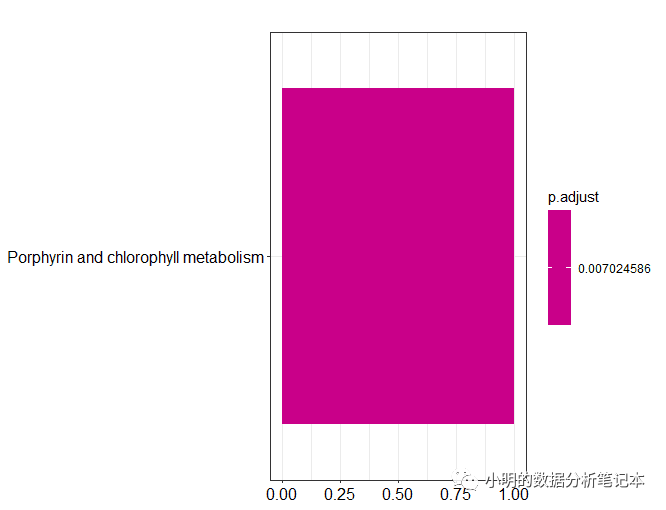
dotplot(df)
barplot(df)
以上最开始的输入文件是eggnog-mapper软件本地版注释结果,如果用在线版获得的注释结果,下载的结果好像没有表头,需要自己对应好要选择的列。
关于“如何使用clusterProfiler包利用eggnog-mapper软件注释结果做GO和KEGG富集分析”这篇文章就分享到这里了,希望以上内容可以对大家有一定的帮助,使各位可以学到更多知识,如果觉得文章不错,请把它分享出去让更多的人看到。
免责声明:本站发布的内容(图片、视频和文字)以原创、转载和分享为主,文章观点不代表本网站立场,如果涉及侵权请联系站长邮箱:is@yisu.com进行举报,并提供相关证据,一经查实,将立刻删除涉嫌侵权内容。