这篇文章主要讲解了“vue如何实现移动端拖拽悬浮按钮”,文中的讲解内容简单清晰,易于学习与理解,下面请大家跟着小编的思路慢慢深入,一起来研究和学习“vue如何实现移动端拖拽悬浮按钮”吧!
在移动端开发中,实现悬浮按钮在侧边显示,为不遮挡页面内容,允许手指拖拽换位。
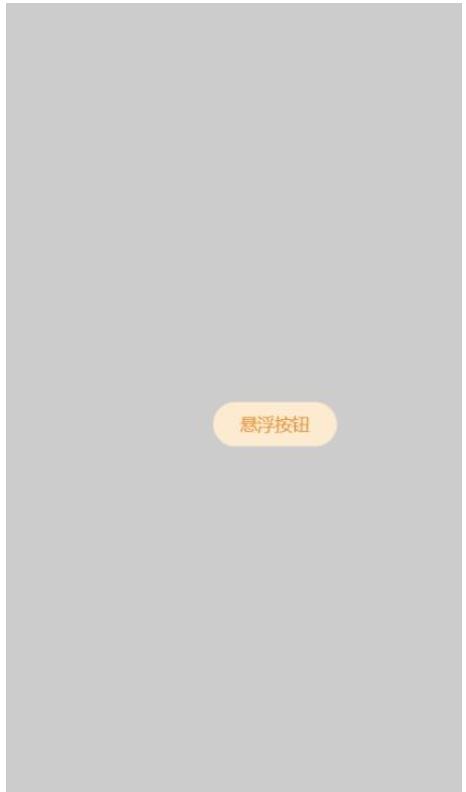
1、按钮在页面侧边悬浮显示;
2、手指长按按钮,按钮改变样式,允许拖拽改变位置;
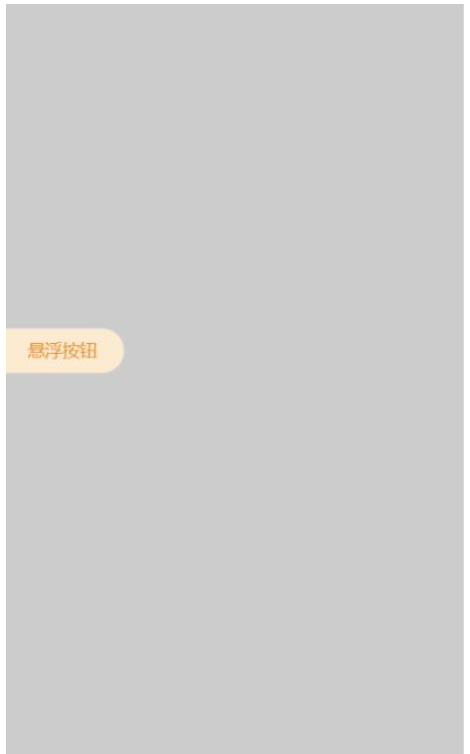
3、按钮移动结束,手指松开,计算距离左右两侧距离并自动移动至侧边显示;
4、移动至侧边后,按钮根据具体左右两次位置判断改变现实样式;
1、按钮实行position:fixed布局,在页面两侧最上层悬浮显示;
2、手指长按可使用定时器来判断,若手指松开,则关闭定时器,等待下次操作再启用;
3、跟随手指移动计算按钮与页面两侧的距离,判断手指松开时停留的位置;
简单效果展示:

使用定位实现
<!-- 外层ul控制卡片范围 -->
<div>
    <div class="floatBtn"
        :class="[{moveBtn: longClick}, `${btnType}Btn`]">
    <span>悬浮按钮</span>
  </div>
</div><style lang="scss" scoped>
@mixin notSelect{
-moz-user-select:none; /*火狐*/
-webkit-user-select:none; /*webkit浏览器*/
-ms-user-select:none; /*IE10*/
-khtml-user-select:none; /*早期浏览器*/
user-select:none;
}
@mixin not-touch {
-webkit-touch-callout: none;
-webkit-user-select: none;
-khtml-user-select: none;
-moz-user-select: none;
-ms-user-select: none;
user-select: none;
}
.floatBtn {
@include notSelect;
@include not-touch();
position: fixed;
z-index: 1;
overflow: hidden;
width: 100px;
left: calc(100% - 100px);
top: calc(100% - 100px);
color: #E0933A;
background: #FCEBD0;
font-size: 14px;
height: 36px;
line-height: 36px;
text-align: center;
box-sizing: border-box;
display: flex;
justify-content: center;
align-items: center;
padding: 10px;
&.rightBtn {
border-radius: 20px 0 0 20px;
}
&.leftBtn {
border-radius: 0 20px 20px 0;
}
&.moveBtn {
border-radius: 20px;
}
}
</style>应用到touchstart,touchmove,touchend事件,使用定时器实现长按效果:
<div class="floatBtn"
    :class="[{moveBtn: longClick}, `${btnType}Btn`]"
    @touchstart="touchstart($event)"
    @touchmove="touchMove($event)"
    @touchend="touchEnd($event)"
>
    <span>悬浮按钮</span>
</div><script>
export default {
data() {
return {
timeOutEvent: 0,
longClick: 0,
// 手指原始位置
oldMousePos: {},
// 元素原始位置
oldNodePos: {},
btnType: 'right'
};
},
touchstart(ev) {
// 定时器控制长按时间,超过500毫秒开始进行拖拽
this.timeOutEvent = setTimeout(() => {
this.longClick = 1;
}, 500);
const selectDom = ev.currentTarget;
const { pageX, pageY } = ev.touches[0]; // 手指位置
const { offsetLeft, offsetTop } = selectDom; // 元素位置
// 手指原始位置
this.oldMousePos = {
x: pageX,
y: pageY
};
// 元素原始位置
this.oldNodePos = {
x: offsetLeft,
y: offsetTop
};
selectDom.style.left = `${offsetLeft}px`;
selectDom.style.top = `${offsetTop}px`;
},
touchMove(ev) {
// 未达到500毫秒就移动则不触发长按,清空定时器
clearTimeout(this.timeOutEvent);
if (this.longClick === 1) {
const selectDom = ev.currentTarget;
// x轴偏移量
const lefts = this.oldMousePos.x - this.oldNodePos.x;
// y轴偏移量
const tops = this.oldMousePos.y - this.oldNodePos.y;
const { pageX, pageY } = ev.touches[0]; // 手指位置
selectDom.style.left = `${pageX - lefts}px`;
selectDom.style.top = `${pageY - tops}px`;
}
},
touchEnd(ev) {
// 清空定时器
clearTimeout(this.timeOutEvent);
if (this.longClick === 1) {
this.longClick = 0;
const selectDom = ev.currentTarget;
const {clientWidth, clientHeight} = document.body;
const {offsetLeft, offsetTop} = selectDom;
selectDom.style.left =
(offsetLeft + 50) > (clientWidth / 2) ?
'calc(100% - 100px)' : 0;
if (offsetTop < 90) {
selectDom.style.top = '90px';
} else if (offsetTop + 36 > clientHeight) {
selectDom.style.top = `${clientHeight - 36}px`;
}
this.btnType =
(offsetLeft + 50) > (clientWidth / 2) ?
'right' : 'left';
}
},
};
</script>单个页面引入
<template>
    <floatBtn/>
</template><script>
import floatBtn from './floatBtn';
export default {
components: {
floatBtn
},
};
</script>感谢各位的阅读,以上就是“vue如何实现移动端拖拽悬浮按钮”的内容了,经过本文的学习后,相信大家对vue如何实现移动端拖拽悬浮按钮这一问题有了更深刻的体会,具体使用情况还需要大家实践验证。这里是亿速云,小编将为大家推送更多相关知识点的文章,欢迎关注!
亿速云「云服务器」,即开即用、新一代英特尔至强铂金CPU、三副本存储NVMe SSD云盘,价格低至29元/月。点击查看>>
免责声明:本站发布的内容(图片、视频和文字)以原创、转载和分享为主,文章观点不代表本网站立场,如果涉及侵权请联系站长邮箱:is@yisu.com进行举报,并提供相关证据,一经查实,将立刻删除涉嫌侵权内容。


 计算
计算 安全
安全 数据库
数据库 网络和加速
网络和加速 企业服务
企业服务


